
Beginner seamstresses, be fearless in your efforts to learn the art and skill of good sewing. This post is for you.
Lets say you want to sew up something where two seam edges are NOT a straight line. This non-linear seam may be a purely creative design or an essential structural element in your sewing project. The one thing in common for seams with some curvature is the task of clipping into the seam allowance. No, it doesn’t show on the right side.
The Purely Aesthetic Seam (for pure delight and inspiration)
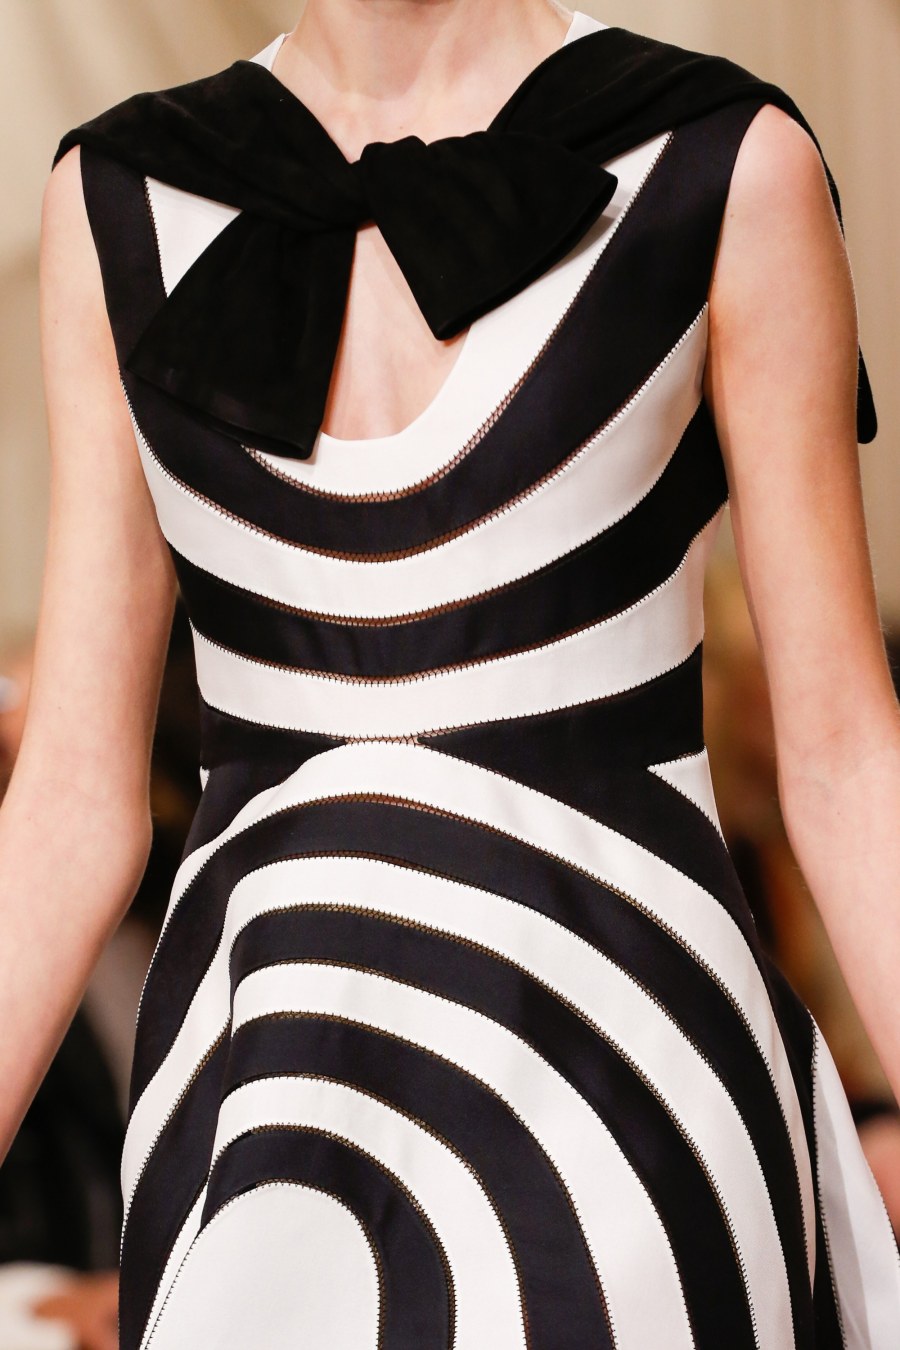
Identical curved edges can be joined in a curved seam, like this Dior Spring Haute Couture 2018, (click on the link to take a look at the full image) but the curved edges in this dress are joined by an embroidery stitch. Well, lets assume that you (yes, you) want the curved seams without the see-through element of the embroidery, and you want the two edges actually sewn together – fabric to fabric. Here’s how.
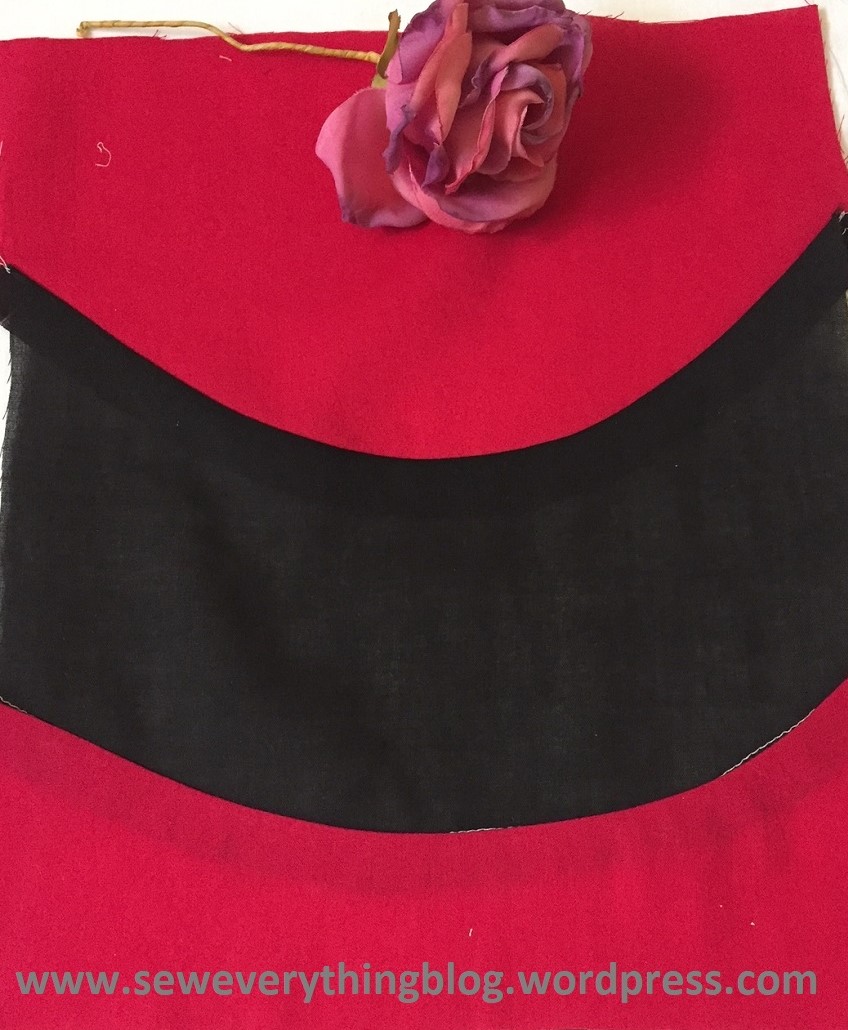
There are two pieces that need to be sewn together in a curved seam, and they are cut in identical curved edges. Since the two edges are identical one would think sewing them together would be easy. We-e-ell, lets say a different approach is required. Making small clips is part of that approach in stitching the curves in a “seamless” seam – oooh, I love that play on words.
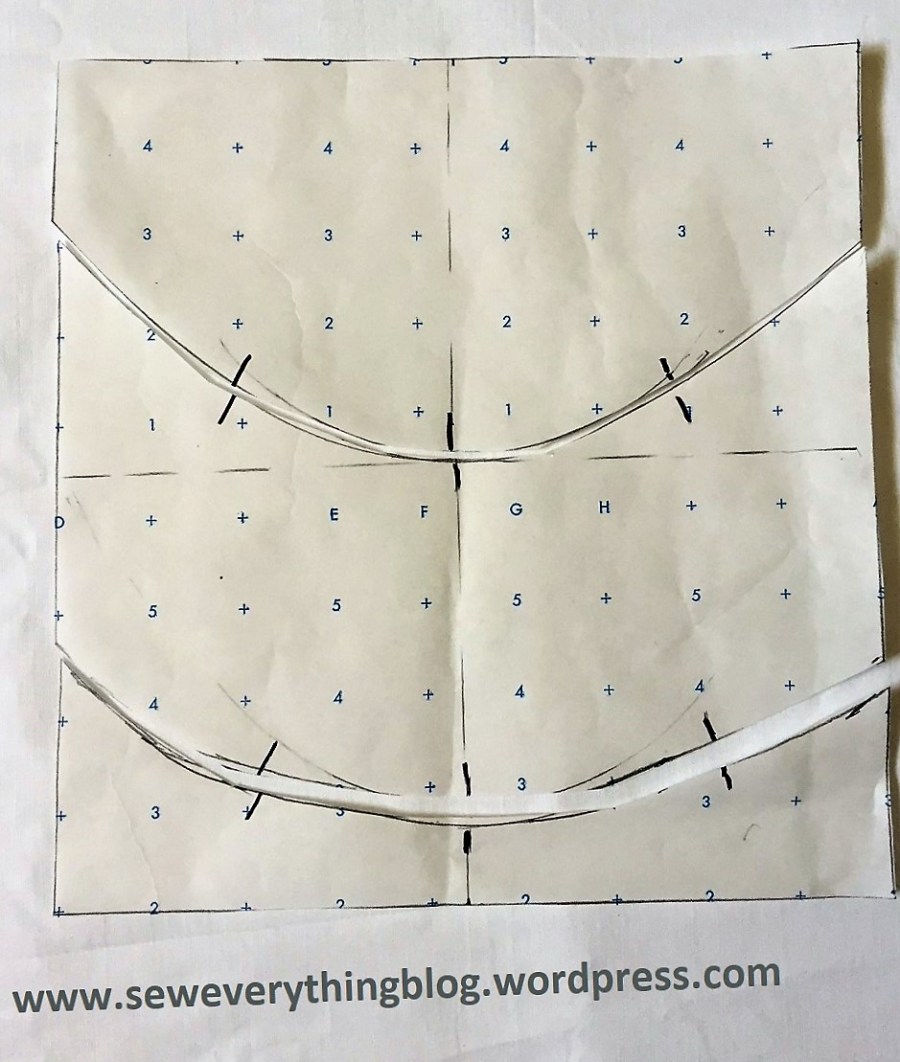
- For my sample, I made a quick paper pattern(above) and marked the center point and a couple of notches on either side, on all three pieces to help in alignment while sewing.

As I pinned the pattern on the fabric, I marked the actual seamline and also remembered to add ½” seam allowance to the seam. See above image.
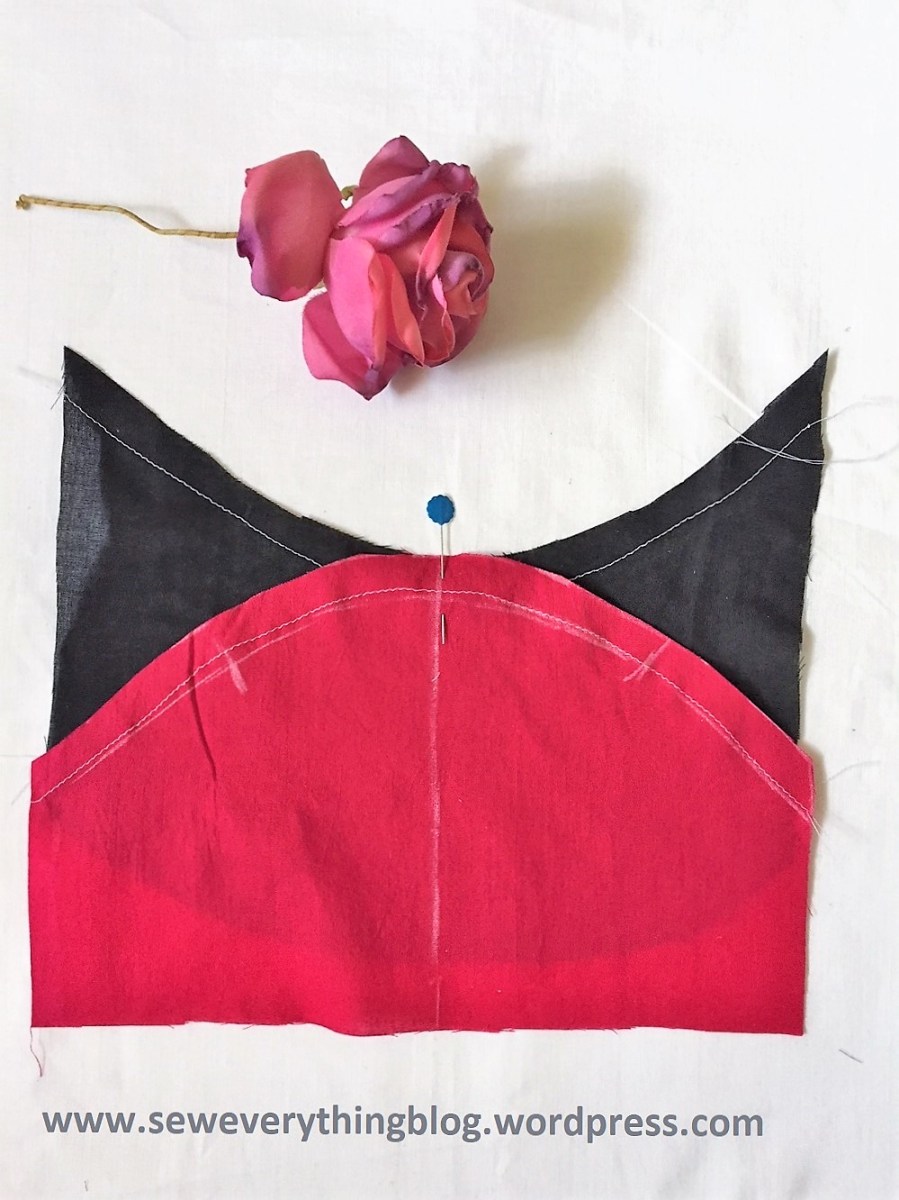
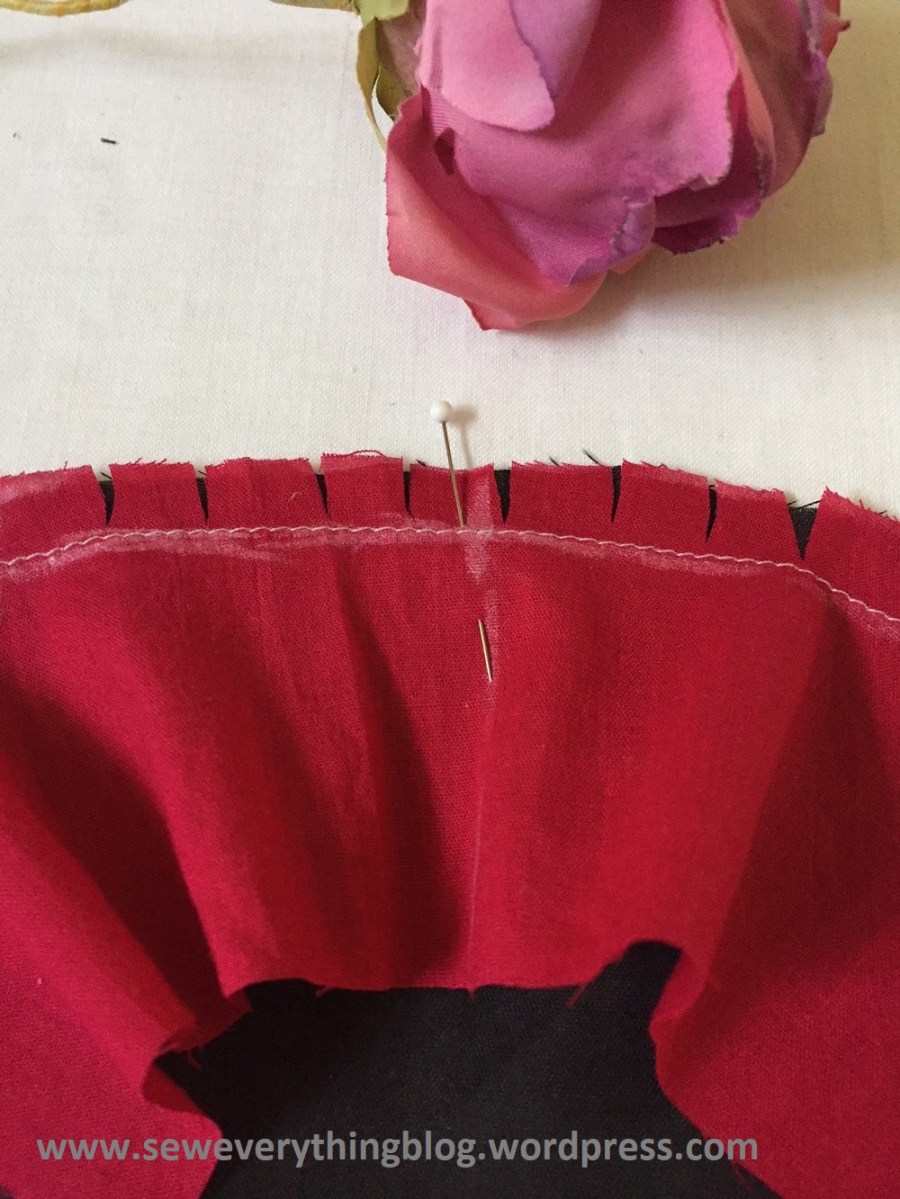
There are a total of three pieces to form the curved seam design. Start working with the first two pieces. Sew a line of stay-stitching just a smidge inside the actual seamline on all curved edges. Just to illustrate the concept, take a look at the image above. Oops. See what’s happening? The curves go the opposite way when right sides are put together .
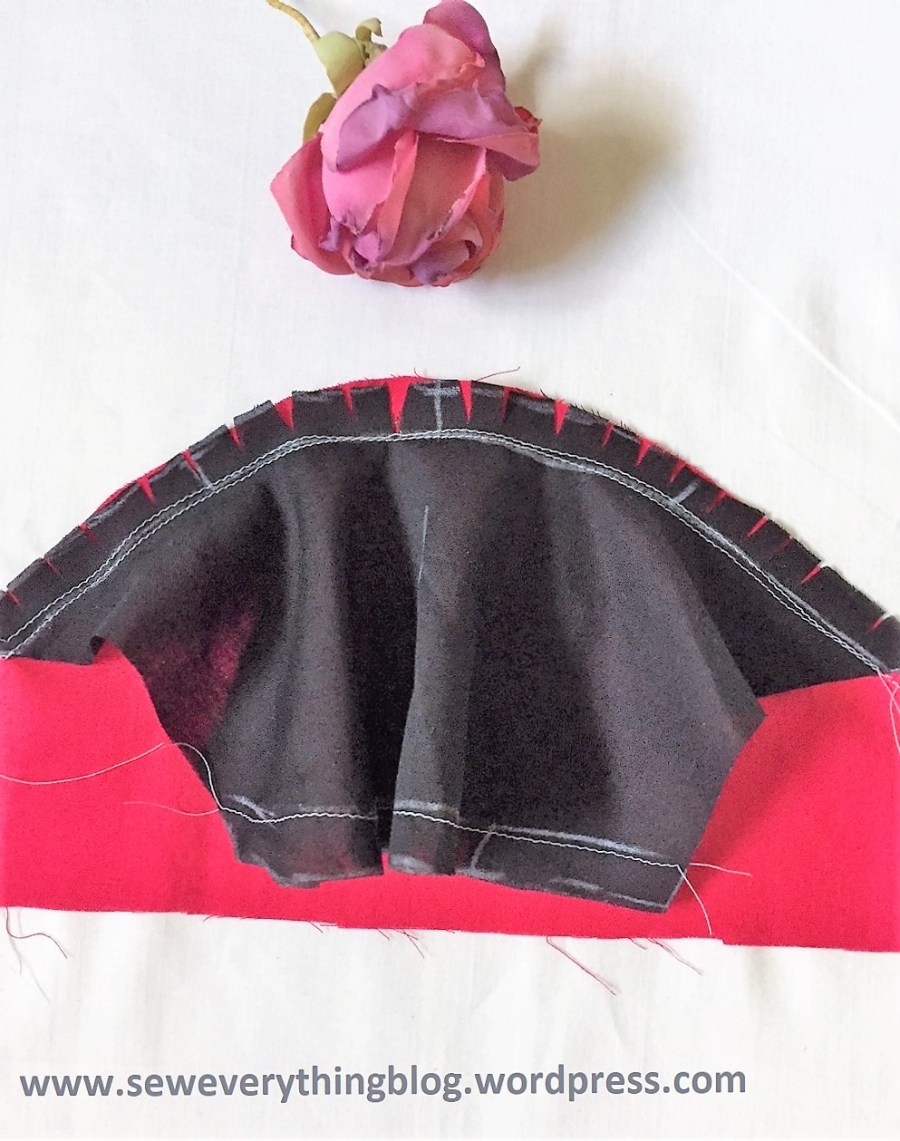
Pick up a fabric piece with the concave curve (inside curve). Clip (i.e. make small cuts or snips) with a sharp scissor about ½” apart along the edge) without cutting through the stay-stitching. Pin the clipped piece to the convex curved piece (outside curve), matching centers and other marks. Now do you see what’s happening? Notice that the concave piece expands enough to make the alignment easy.
Stitch at the actual seamline. You may hand-baste first, if you wish. Repeat the process with the middle piece (which has the opposite curvature at it’s other end) and the third piece.
Press with the convex curves going down.

On the right side, you now have a magical, smooth as ice, curved seam. Yay.
Clipping applied to curved structural seams:
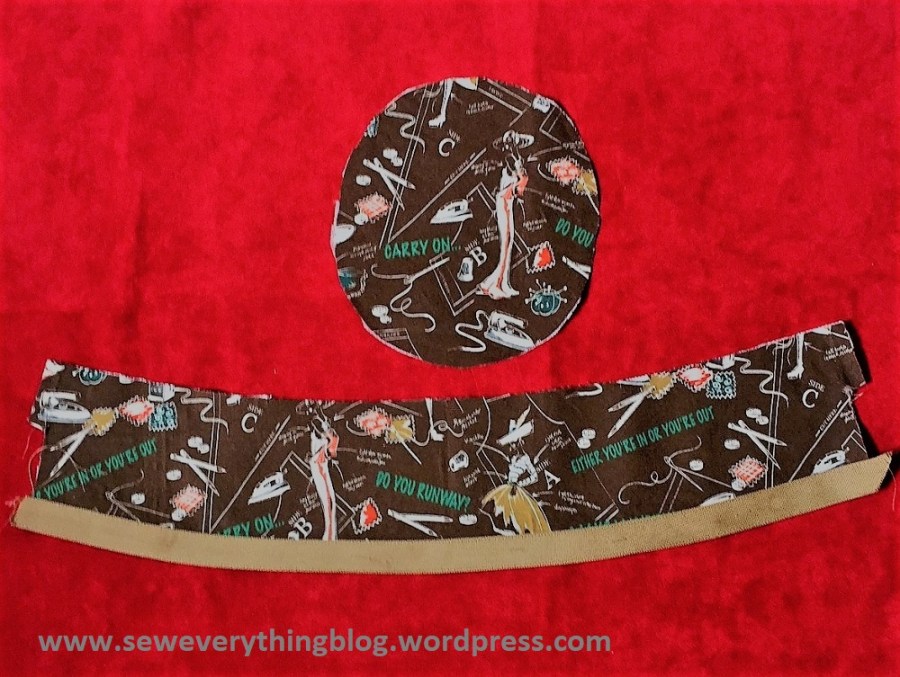
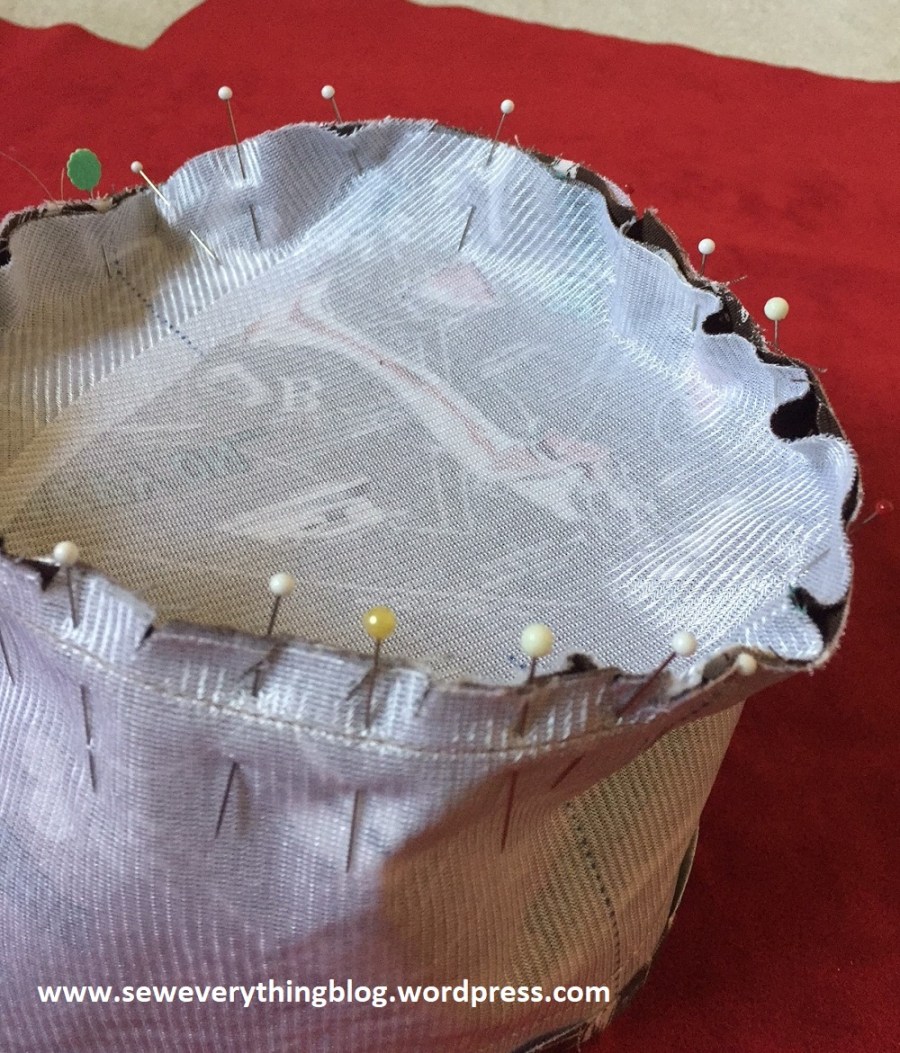
One example is a hat, where the crown and top are totally different shapes but need to be sewn together to form the hat shape. Clipping (or snipping) the crown edge is essential for it to be smoothly attached to the top. Shown below is the lining of said hat. The seam edges couldn’t be more disparate, but it’s easy to sew them together — magic of clipping.
Other structural applications of the clipped seam:
- A princess line in a dress or jacket has a curve at the bust level, therefore the clipping process is essential to create a smooth line on the body.
- The collar/collar-stand seam on a button down shirt, attaching a collar to the neckline.
- Generally releasing the tension on any curved seam to avoid “tension puckers”.
So beginning seamstresses, learn to clip and snip your way to sewing success. (heh, I like the way that sentence came out). Feel free to ask questions, or offer suggestions — I’m always looking for new sewing tips and hacks. Hope you’re having a great summer – stay safe.
Samina
