
….and continuing to indulge my current obsession with pintucking ….. (did you read the last post?)
Today, I’m proceeding with basic, straight pintucks. Sewing experts, please chime in with any thoughts or corrections. Interested beginning sewers, I hope you find this useful.
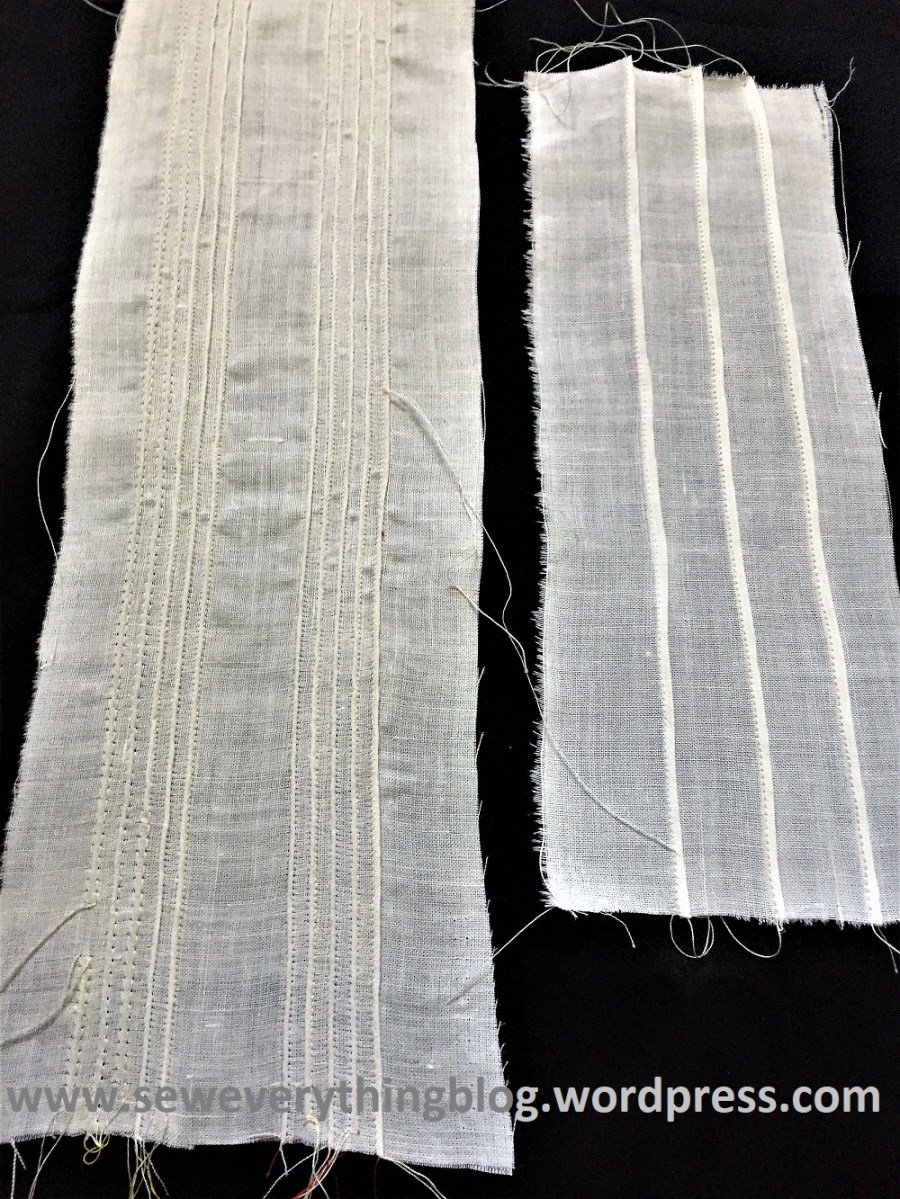
There are two ways you can make pintucks. The end result is slightly different with each method.
Sewing notions that give the best result: a small size machine needle (assuming you’ve selected lightweight fabric), fine thread, starch, disappearing marking pen and ruler. For the second method, a pintuck presser foot, a double needle and an extra spool of thread is needed. Fine linen or other lightweight fabric piece, cut perfectly on grain, and starched somewhat heavily.
Method 1: Pintucking manually (without the aid of a pintuck foot)
a) Mark the tuck lines accurately with a removable marking tool (such as a Frixion pen). Each line will be a pintuck.  Determine the distance between the lines before marking, keeping in mind that there will be fabric take-up after you sew the pintuck. For example, a one inch distance between the marked lines will end up as a ¾” distance after the 1/8” tucks are sewn. Yep, sewing requires mathematical smarts; don’t let anyone tell you it’s a mindless activity.
b) For each pintuck, fold and press on the marked line (the marking will disappear with pressing if you used a Frixion pen).
c) Stitch 1/8” away from the fold; the best way is to use the markings on your machine’s throat plate. There’s your pintuck! Press and sew the next tuck on the pre-marked line. And so on and so on…. It may be easier for a beginner to make ¼” pin tucks. Tip: what does one do to keep the narrow tuck from being eaten by the throat plate? Use tissue paper underneath while sewing, but make sure that you know where to align the tiny fold on your presser foot.
Method 2: Pintucking with a specialty “Pintuck” presser foot
Yes, there is a presser foot created just for pintucking! Besides this foot, you’ll need a double needle, and you must be able, or be willing to tighten the bobbin tension. 
a) just one line needs to be marked when using this specialty foot. You’ll see why later…
b) The bobbin tension needs to be tightened slightly. Or, loosen the upper thread tension. In my Bernina 1230 (29 years old) there is a “finger” sticking out from the bobbin case. To slightly tighten the bobbin tension, the user threads the bobbin as usual, puts it in the bobbin case, and then passes the thread end through the tiny hole in that “finger”. That means, having to pass through an extra hole, the bobbin thread tension is a bit tighter. When I bought my machine decades ago, the dealer warned me to NEVER mess with the bobbin screw to change the factory set tension. She scarred me for life, and therefore I never touch the screw on the original bobbin. The photo below is the wrong side of the sample; you can distinctly see that the bobbin tension in some of the tucks is not tight enough. Oh, pooh. (I’ve noted that for next time.)
c) insert and thread the double needle. Begin sewing with the marked line visible in the center of the foot, with the two needles on either side. Use the following settings, but experimentation and samples are encouraged. Settings: Use a straight stitch; stitch length – 2 or a slightly smaller (depends on the fabric).
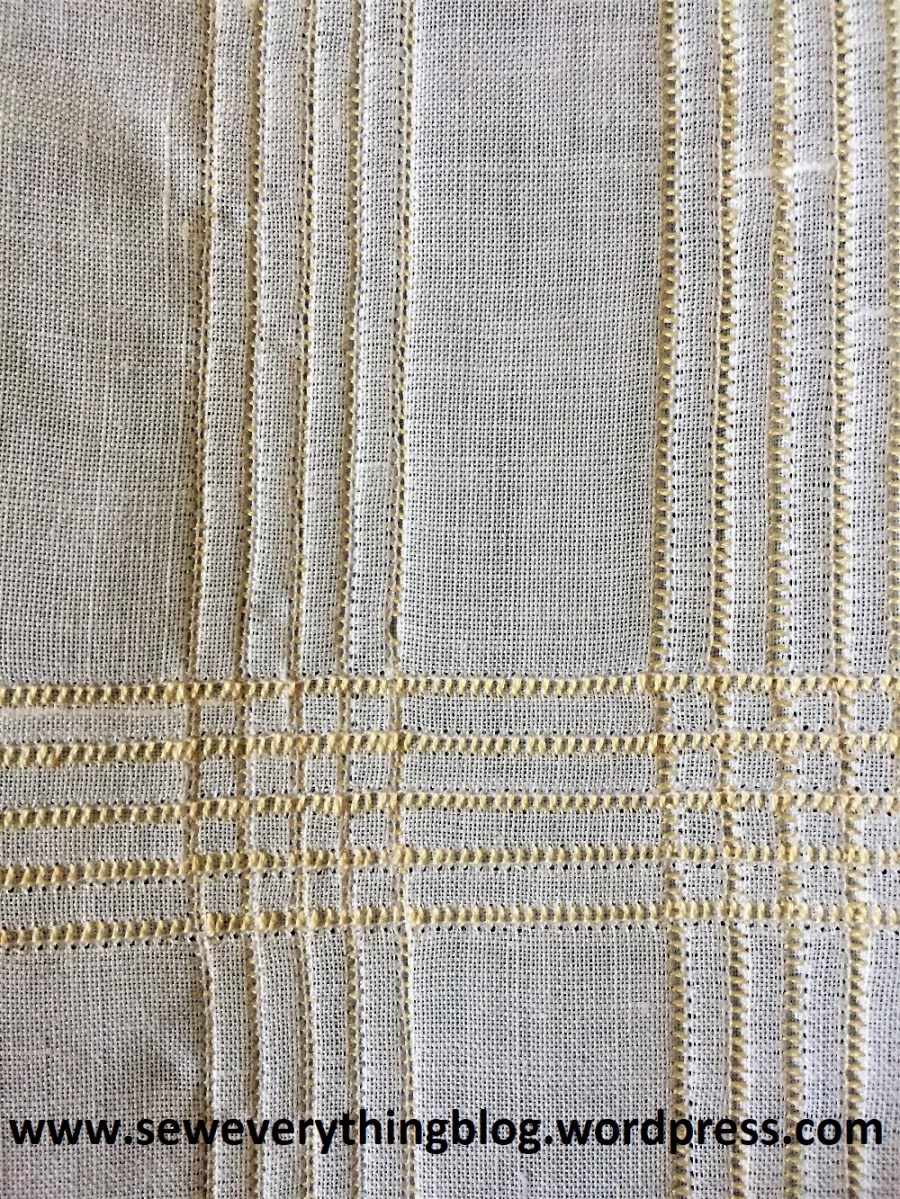
d) after the first tuck is sewn, move the fabric so that it (the first tuck) is inside one of the grooves. Pintucking feet are available in a couple of different groove-depths and number of grooves. Here I’m using one with three grooves on each side of the opening. Once the first tuck is snugly settled in one of the grooves, sew the second one. And so on and so on…. Magically, the tucks will be perfectly parallel to each other.
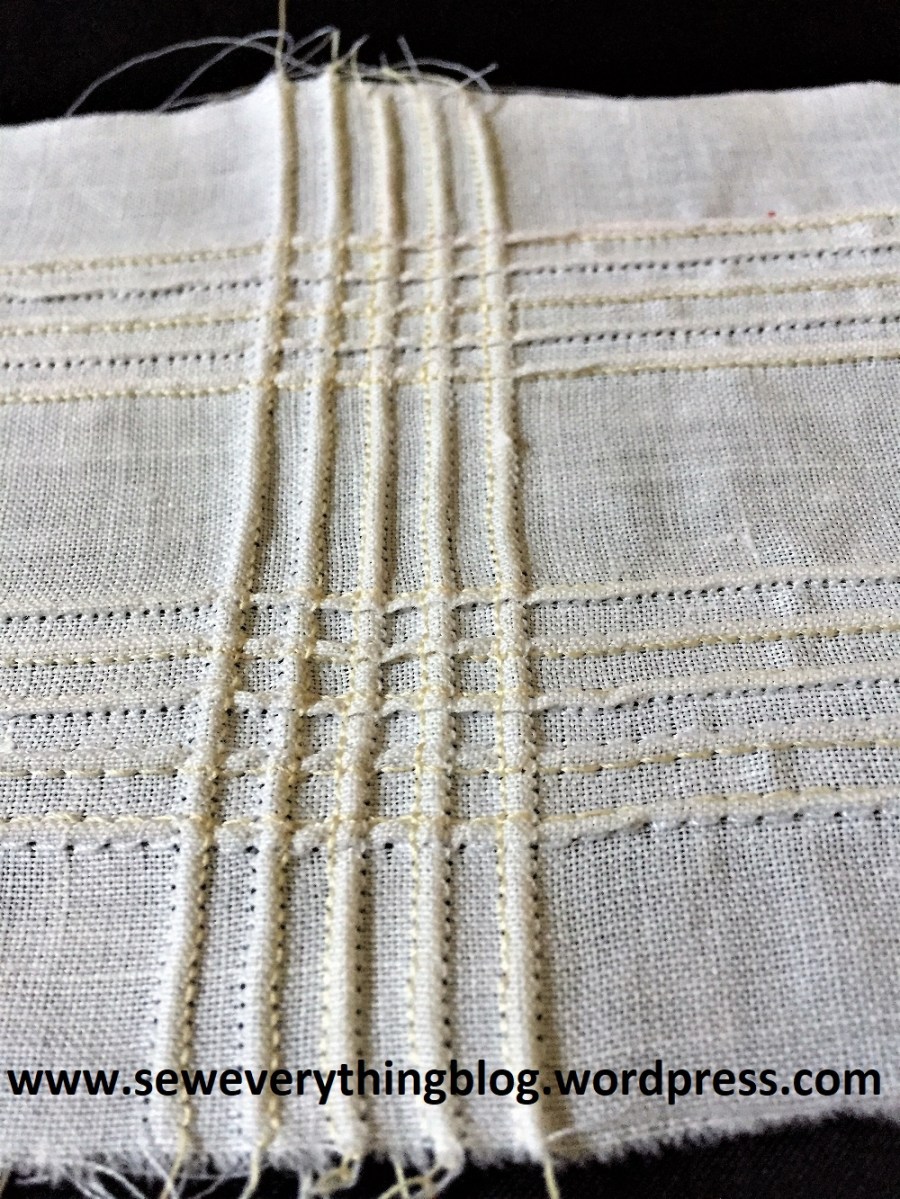
e) …and here you can see I’ve done what they call “cross hatching”.
f) did I mention that pintucks can be corded for more dimension? I haven’t tried it, but apparently corded tucks can be made easily while using the pintucking presser foot. It’s worth a try….
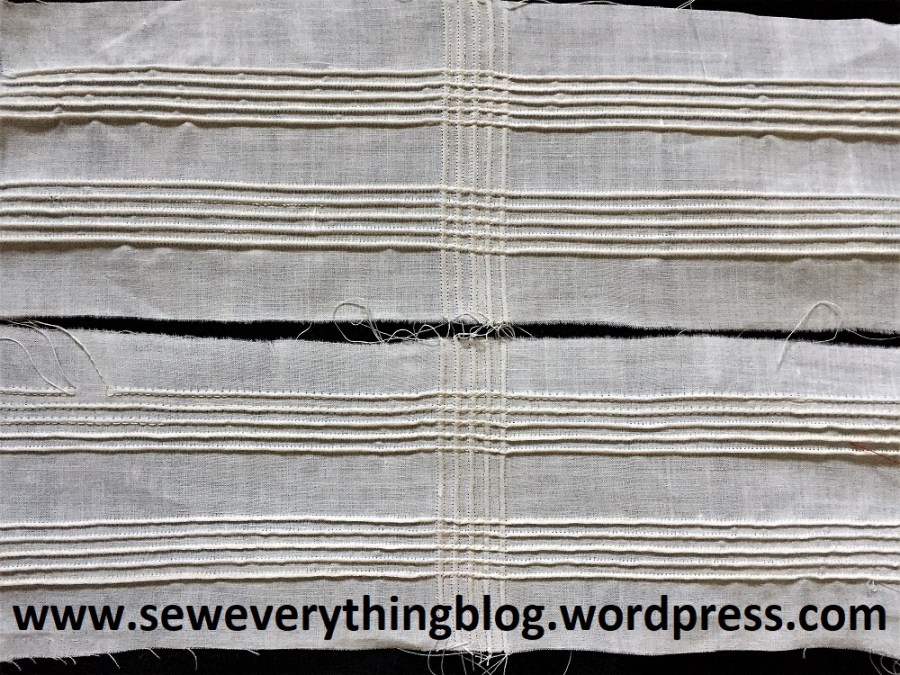
These two pieces were made as tryouts; but I would like to use them in a usable sewn item. Where do you think? Any ideas? Garment? Pillow?
One more thing; in the previous post, I said that pintucking is unsuitable for heavier fabric — I’m taking back those words. More about it in a future post.
Sending “sew” much love to my readers….
Samina

Thanks for the tips. I’m about to experiment with pintucking to create custom trim. This is very helpful.
LikeLike