
….. which is also termed “Point and Tuck”, and is a distant relative of “Prairie Points”. I hope you’re intrigued enough to keep reading. “Sharks teeth” lives under the umbrella of “heirloom sewing”. Heirloom sewing is based on dainty, hand sewn traditional French embellishment of the old days.
Learning and exploring the “sharks teeth” technique is among my sewing plans for 2018, as mentioned in the last post. There are four places where I found the initial inspiration, and education for the “teeth”.
Inspiration
- Magazine feature
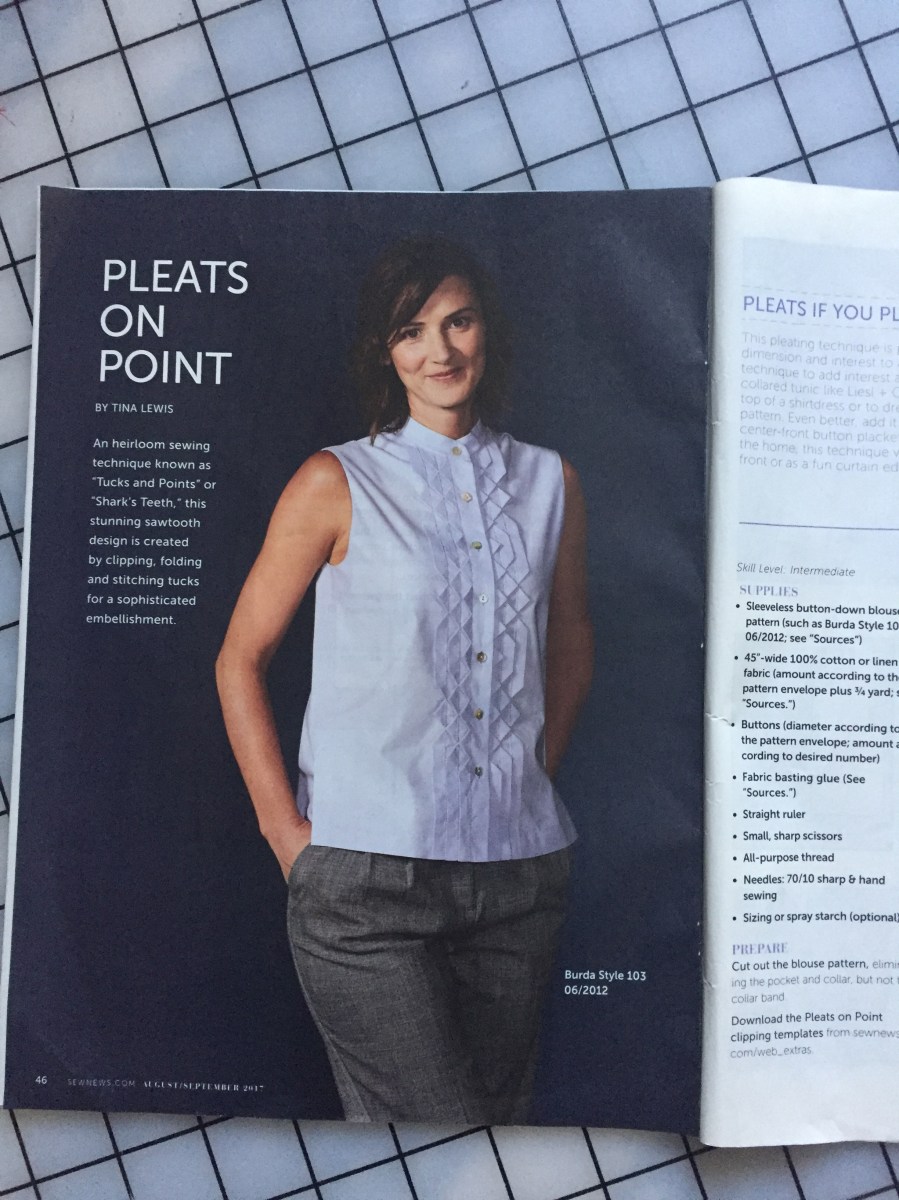
This page in the August/September issue of Sew News jolted me into action. A free template for the technique was still available on the Sew News website at the time of this writing.
2. Susan Stewart coined the term:

Who came up with the term “sharks teeth” anyway? For fear of missing out on more ‘sharks teeth” stuff, off I went to Pinterest and found Susan Stewart (Sue Pennington) and her blog post about how she had coined the term, and you can see her wearing this very jacket! There is a Craftsy class by Susan on heirloom sewing with a section on sharks teeth; of course, I bought the class – when I’m obsessed, I don’t do things half way.
(The following two books were finally dusted off from my bookshelf and I was emotionally fulfilled for having opened their pages again — sniff.)
3. Book one:

Fabric Origami by Linda Teufel Chang. This is my preferred book for planning and marking instructions. Because the entire book is about Sharks Teeth. It gives you the formula and does the math for you for ½ inch “teeth”. If you want your teeth to be larger, you can use the formula in her to calculate. Linda organizes the whole process mathematically, complete with planning it out on a ½ inch grid. I liked the fact that Linda credits Susan Stewart (then Pennington) with coining the term “sharks teeth”.
4. Book two:
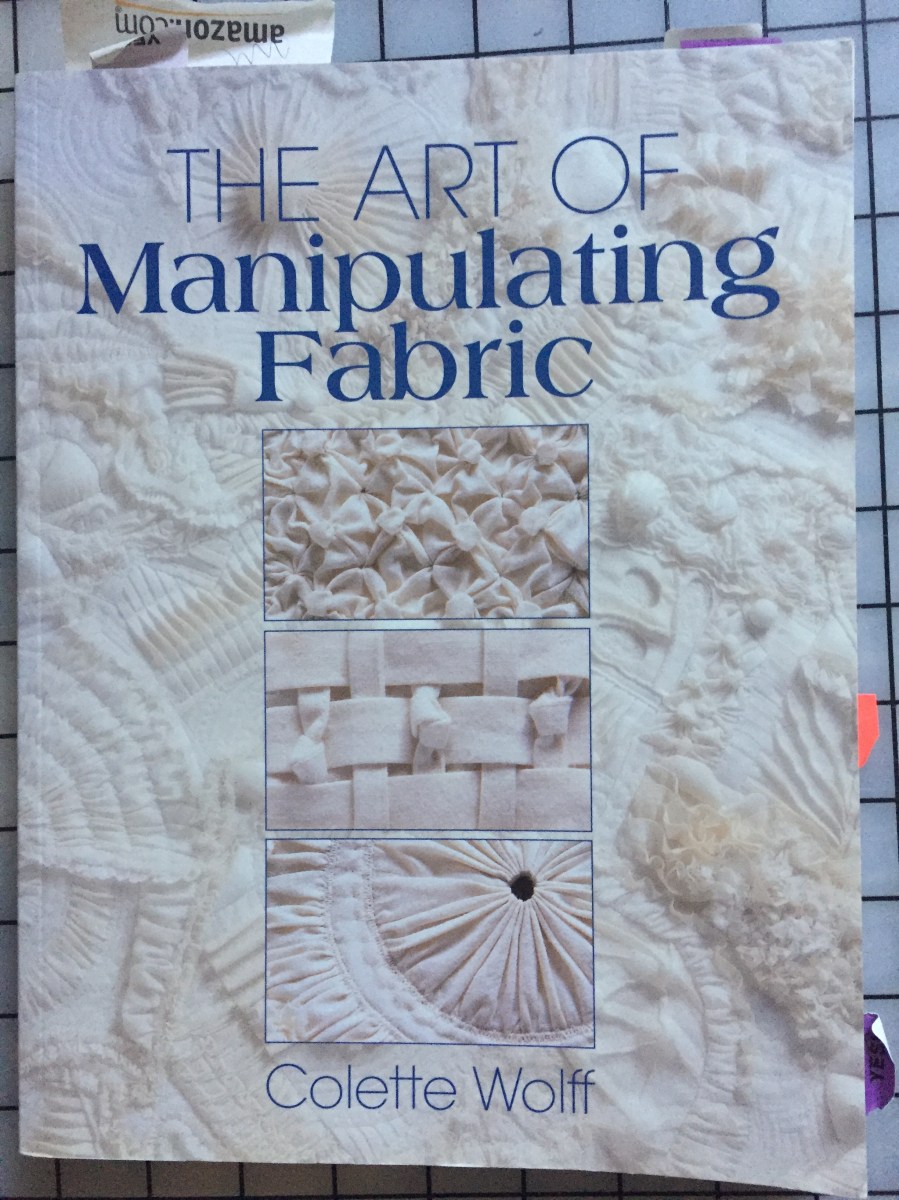
The Art of Manipulating Fabric by Colette Wolff. This is a gem of a book and includes a small section on making “sharks teeth” in the chapter for making tucks and their variations. My go-to book for “teeth” remains “Fabric Origami”.
Things to Remember
I will go into the process of actually making the sharks teeth when I actually apply it to a project (garment ot other), but below are things to keep in mind. Actually, you can pretty much understand how it’s done from my photographs – click on the photos to enlarge. Or, you can beg, borrow or buy Fabric Origami to start you off.
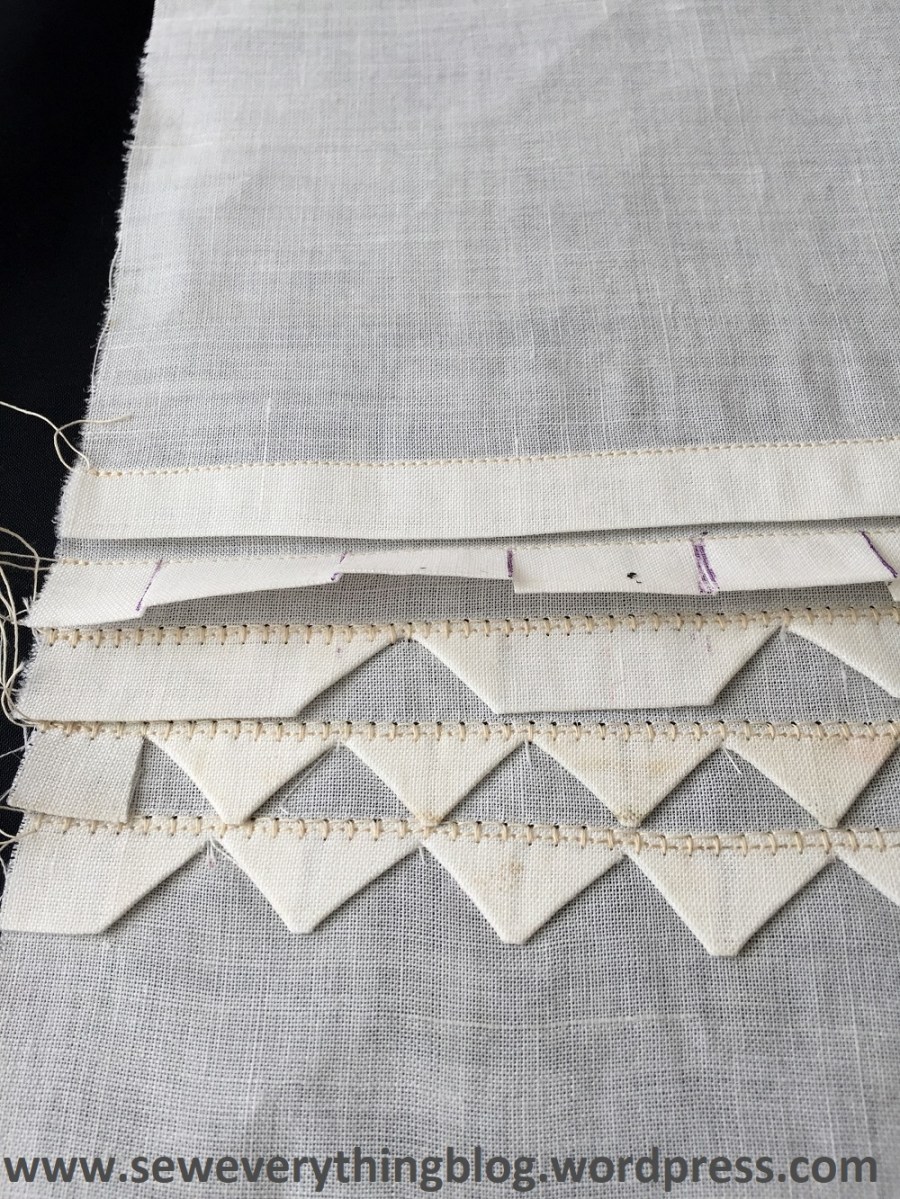
Starting with a sample is important. The sample below shows the process in stages. From left, this is the first step – sew the tuck. The second row is a sewn tuck with markings for slashing and folding. The middle row is a variation, and extended “tooth” – I want to call it the dental bridge. The last two rows (right) are finished “teeth”, with the final decorative stitch sewn on the first seam. Er, look away from the scorch mark. It’s easy to fall into the trap of thinking like me: “it’s sewing, I know sewing, so how complicated could it be?” Get away from those thoughts. Sample making was necessary for me just so I could understand the nitty gritty of this technique; and I’m glad I did because there are things I learned.
Fine Linen, cotton or some other crisp, natural fiber is best.  It should press well and hold a crease. I used to own (and wore to death) an ecru, fine linen top which no longer held up to almost daily wear. These scraps are remains of that top, since I couldn’t bear to give it away, but ended up cutting it up.
Starch on the heavy side is best.  Starch and press. During pressing, make sure that the linen does not get scorched. Take a good look at the photo and see if you can spot my scorched oopsie. Two words: press cloth.
Tuck dimension: success of the entire process depends on pre-planning the “teeth” size.  Making the initial tucks on grain is crucial. Make the lines with a removable marking pen. And, sew accurately. Oh, did I say I did a marking session on paper first (below)?
While I explore this some more and make actual projects with “teeth”, I’d urge you to explore it too. If you’ve made “sharks teeth”, please share your experience with everyone in the comments section. Thank you!
Samina

I so want to try this process. Thanks for showing your trial 😃
LikeLiked by 1 person
Kim, please do try it. It’s fun and worth the time.
LikeLiked by 1 person
It looks beautiful as always! I don’t know if I have the patience for it though. Per usual, your posts are always educational and enjoyable!
LikeLike
Thanks, Rebecca! I am exploring it some more, and will soon end up applying it to a usable project.
LikeLike
This looks really fun! I will look into those books.
LikeLike
Lynn, it’s tons of fun 🙂
LikeLike
The inspiration blouse is beautiful. Your sewing library must be extensive if you had two books with this technique!
LikeLike
Hi Lisa! My sewing library is quite large — even after giving away a box full of books. Its information — that’s how I justify it. I haven’t bought any lately, though.
LikeLike
The inspiration blouse is gorgeous! I look forward to see your creations with this technique.
LikeLike
I took a Techniques class many years ago and Prairie points were one of them. I don’t remember it being difficult but accuracy is important, I, too, saw the Sew News article and want to make that blouse. Thanks for sharing.
LikeLike