Earth Day is approaching! Time to re-use, re-cycle, re-make and whatever re-something you can do. I’m having a ball creating on-trend wearables by re-styling my own clothing.
I made this classic navy jacket as a student in a tailoring class eons ago. You can tell; huge shoulders are divulging it’s age. Because of it’s classic nautical style it just hung out in my closet, and when large shoulders went out the style window, the jacket did not see any wear. But there was a lot of effort put into creating it, and many tailoring lessons learned. The fabric is tropical wool, lined with Bemberg rayon and I used a Burda pattern.
In 2014 it’s high time this classic got updated. An image in one of my favorite magazines, In Style, was the inspiration. Did you know that jackets (all kinds, from blazers to motorcycle) without sleeves are so on trend right now? In other words, vests.


Here’s how I did it:
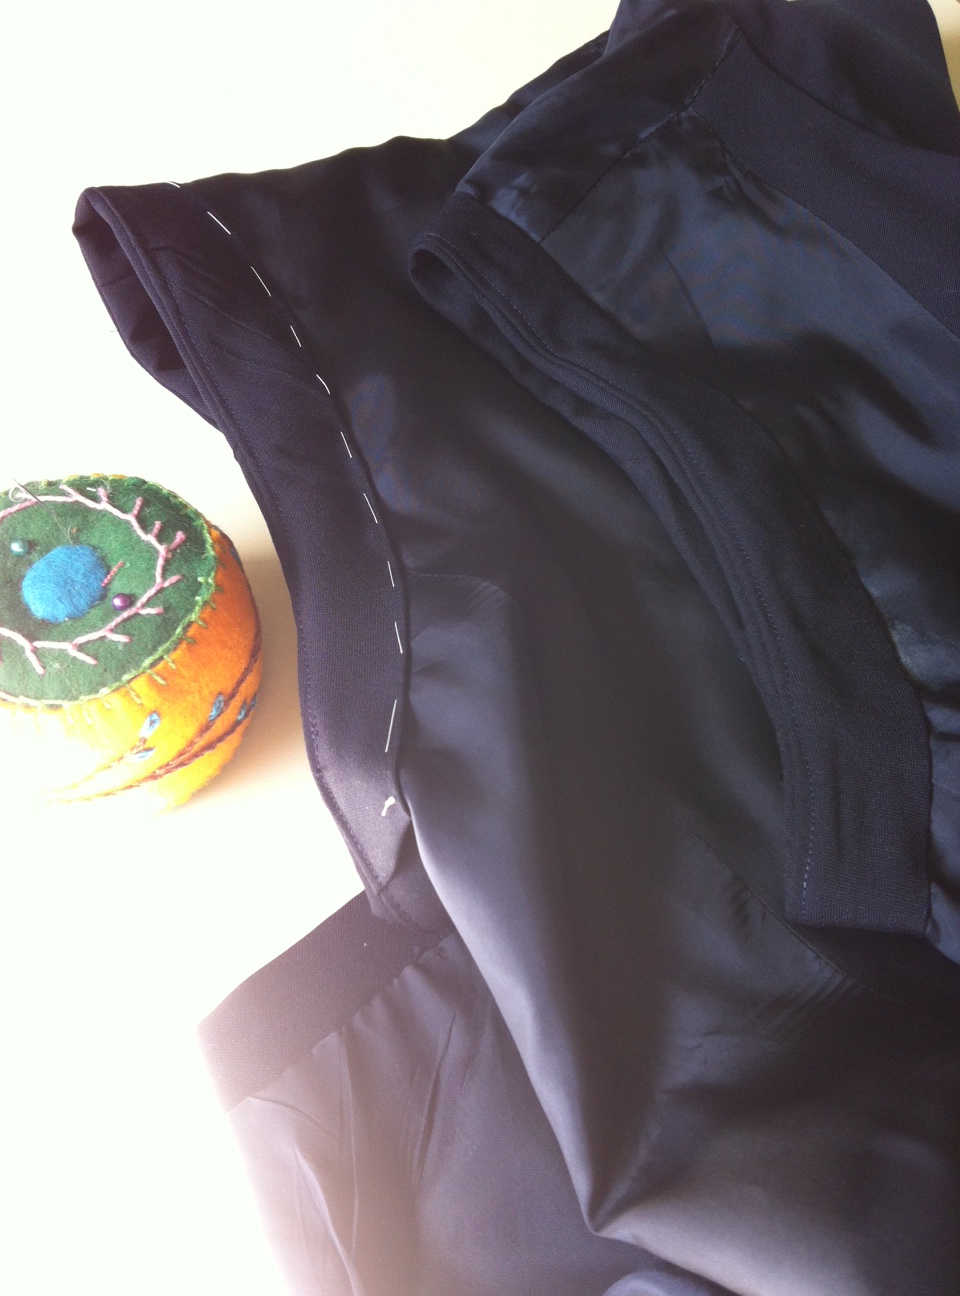
The jacket was turned inside out and I assessed the sleeve/shoulder area. As you can see I had hand sewn the lining to the shoulder seam which made it easy to remove it.

Take a peek at all the “support” inside for those large shoulders. Shoulder pads, sleeveheads (batting strips along the armscye top to give shape to the shoulder), and hair canvas in the chest area created the support system. Then — I became one with the seam ripper and removed the sleeve from the jacket body!
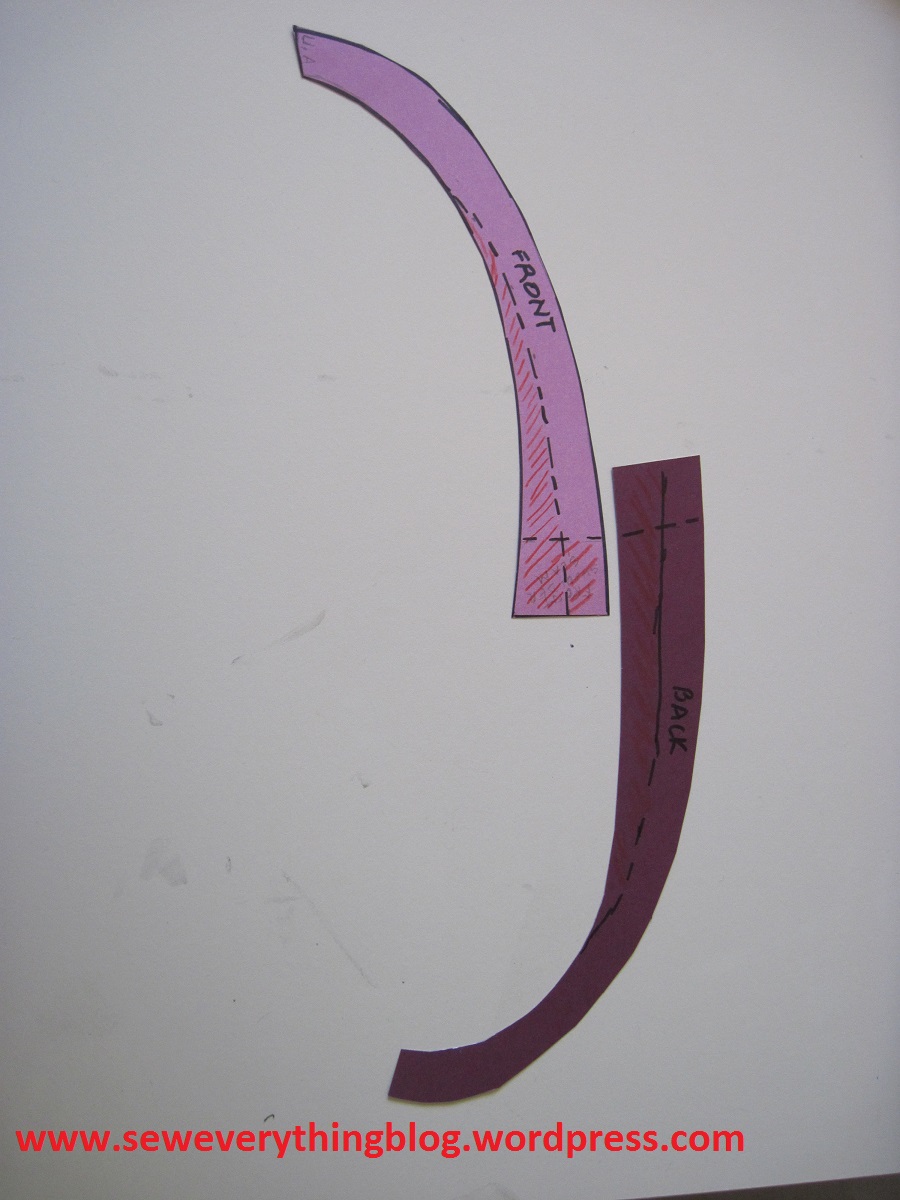
Since this jacket was going to be sleeveless, I made a plan to make the armhole a little deeper at the top half. It merges into the original edge at the underarm. Here’s where a cardboard template comes in handy, mainly to match both armholes.

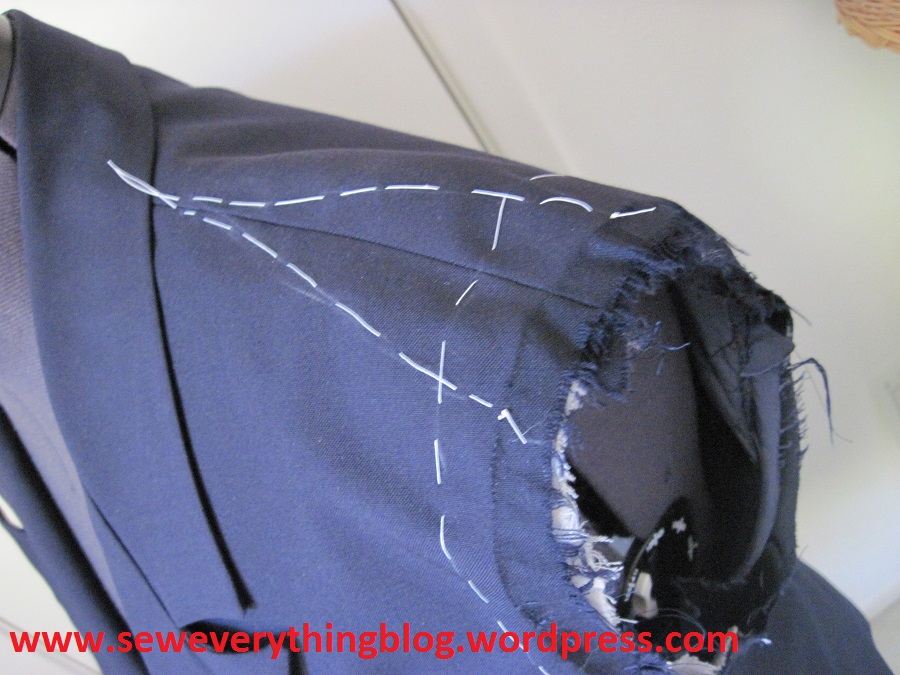
Once the “innards” are removed (you’ll notice that I kept the hair canvas which supports the chest area), I pinned the shoulder seam to lower it since no extra fabric was needed to accommodate the shoulder pad, and placed pins along the lines where armholes were to be reduced.
I thread basted along the pins. You can mark with chalk if you wish. The marking should be done on the fashion fabric and the lining separately. Remember that these markings are sewing lines not cutting lines, and they merge to nothing towards the neck.
I aligned the two marked lines along the shoulder and stitched the seam right sides together, then trimmed it to 5/8 inch. Do the same with the lining. Press seams open.
Pin lining and jacket armhole edges together along the marked lines and baste. Again, this is your seam line, not cutting line. Mark 5/8” from basted line and cut away the rest.
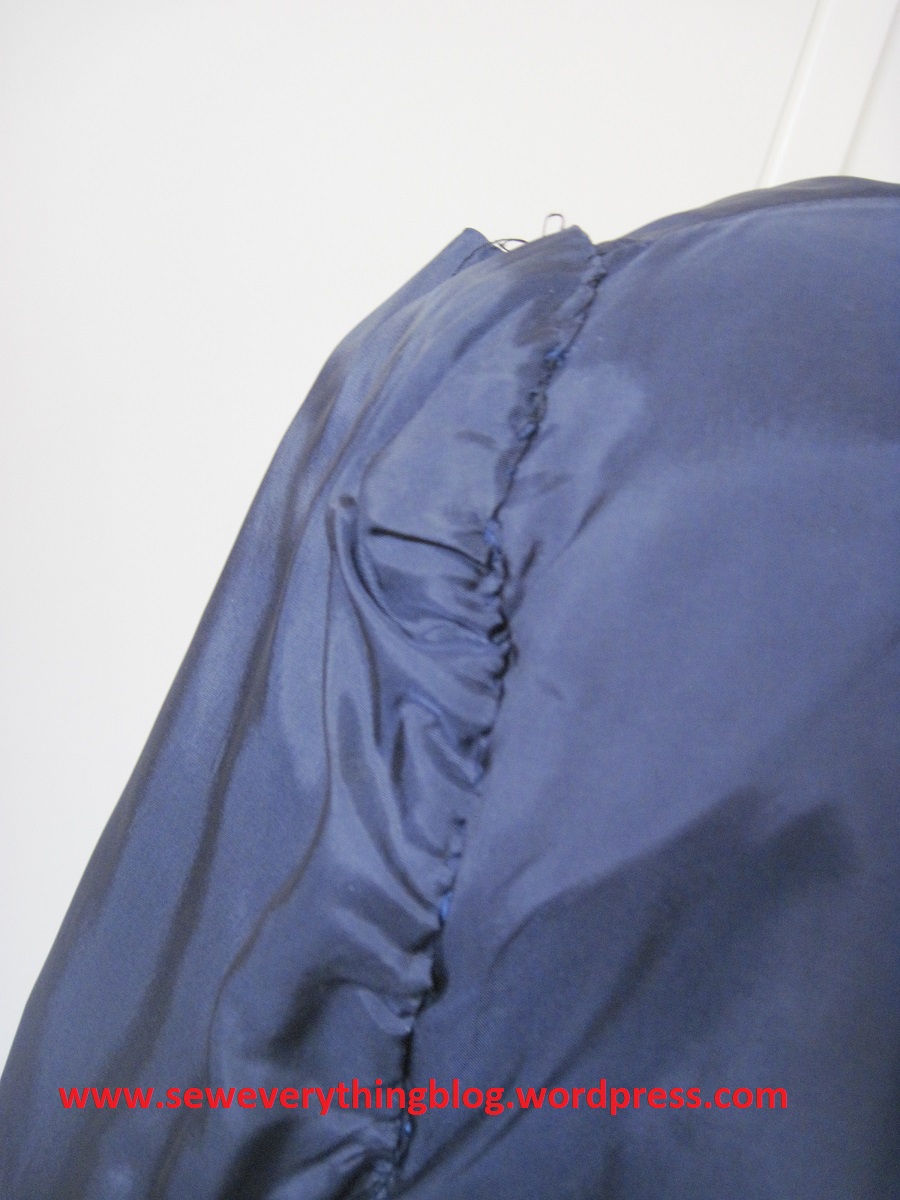
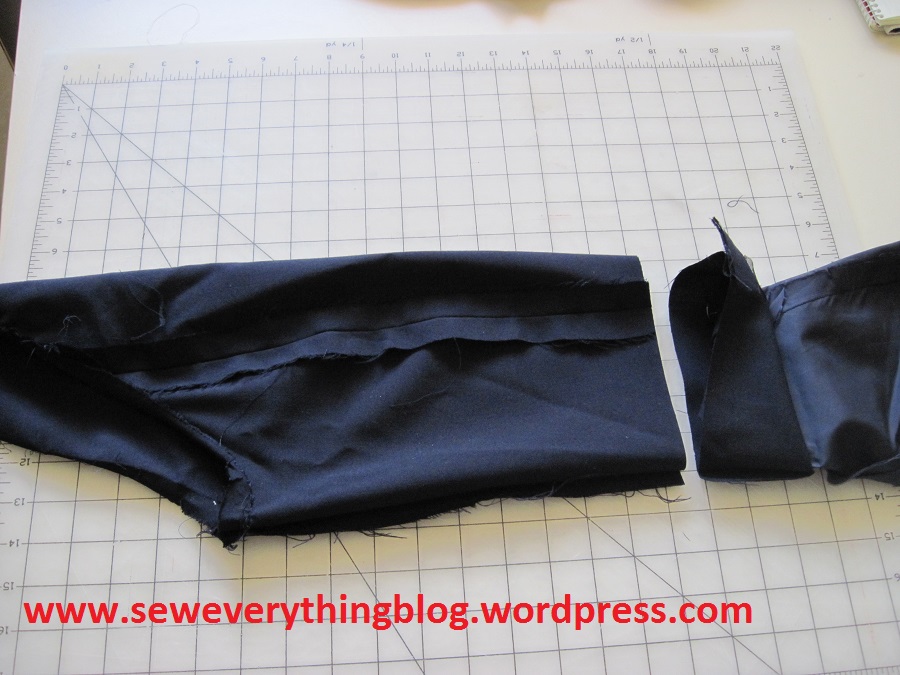
To finish the armhole edge I used the sleeves to cut out bias strips to make a bias facing, the circumference of the armhole plus 1.5” overlap, and 3.5” wide.

The strip was folded lengthwise to make a narrower strip; was sewn to the armhole edge from the right side, raw edges aligned. Where the strips ended I overlapped the bias facing, diagonally.
Seam was trimmed to ¼”, clipped and pressed toward facing and under stitched. Under stitching will keep the facing from rolling out.
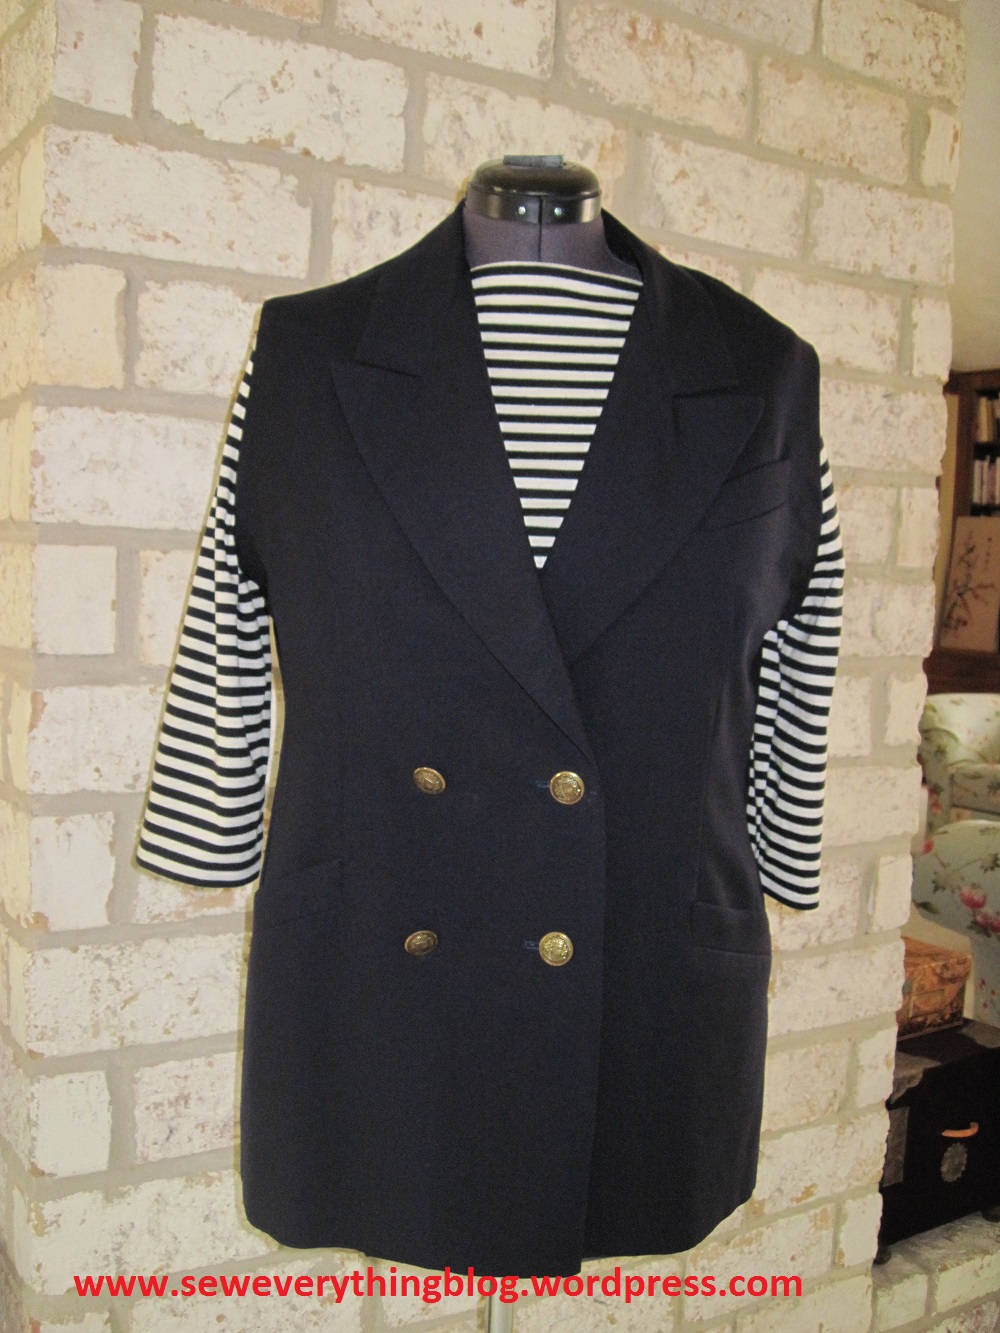
The armhole was pressed carefully since the fabric was wool, clapped (a wooden clapper is a tailor’s bestie) and voila. Into the closet she goes to wear on my next foray out the door. (Edit: it was road tested yesterday, and passed with flying colors. My personal photographer was not available, so the vest had to be photographed on the dress form. It looks better on me.)

Thanks for visiting, dear readers! Have you been celebrating Mother Earth? If so, how? I’m looking into a tripod and remote to take non-phone selfies.
Samina

Adorable! I love to re-fashion, but I never thought of this one. You did a great job!
LikeLike
Thank you! I’m very happy with it and have already worn it a few times, which did not happen much with the original blazer. The wearing is the real test of a successful re-fashion, I think. 🙂
LikeLike
I am so afraid of shoulders!! I keep making halter things to avoid structuring and building proper shoulders Lol
LikeLike
Nicely done! I like the new look, and it’s great that you did this for Earth day.
LikeLike
Thanks so much for your post! I’m doing the same project and have been terrified of raising the shoulder as well. Unfortunately, I threw away the sleeves nearly immediately (note to self!) Will turning the outer fabric in over the top of the lining have the same effect as your biased facing or make it worse? What do you think ladies?
LikeLiked by 1 person
Thanks for the comment, Deana! In answer to your question about turning back the edge of the sleeve, I wanna say that it may look better if you used a coordinating or even contrasting fabric for the bias facing. That way it will look like a design feature. Turning back the edge has been done by some people, but I’m not sure it looks that great. I suggest that you try the edge turn, baste it and see how it looks before stitching permanently. Good luck!
LikeLike
Thanks for the quick response! I was afraid that I’d have to just do a turned hem and did. Thanks to the original design, it looks good. I was thinking the same as you were, ‘it’s not going to look professionally done.’ I went very slowly, put in a slit where needed and it lays well—thankfully.
Again, Thanks so much for the post and the response. Having not sewn in years then picking it back up again, I’m relearning.
LikeLike