It’s tip time again! This time from a book long out of print from a pattern company long out of business. I wish Spadea Pattern Company was still operating since their designs were all from well known designers.
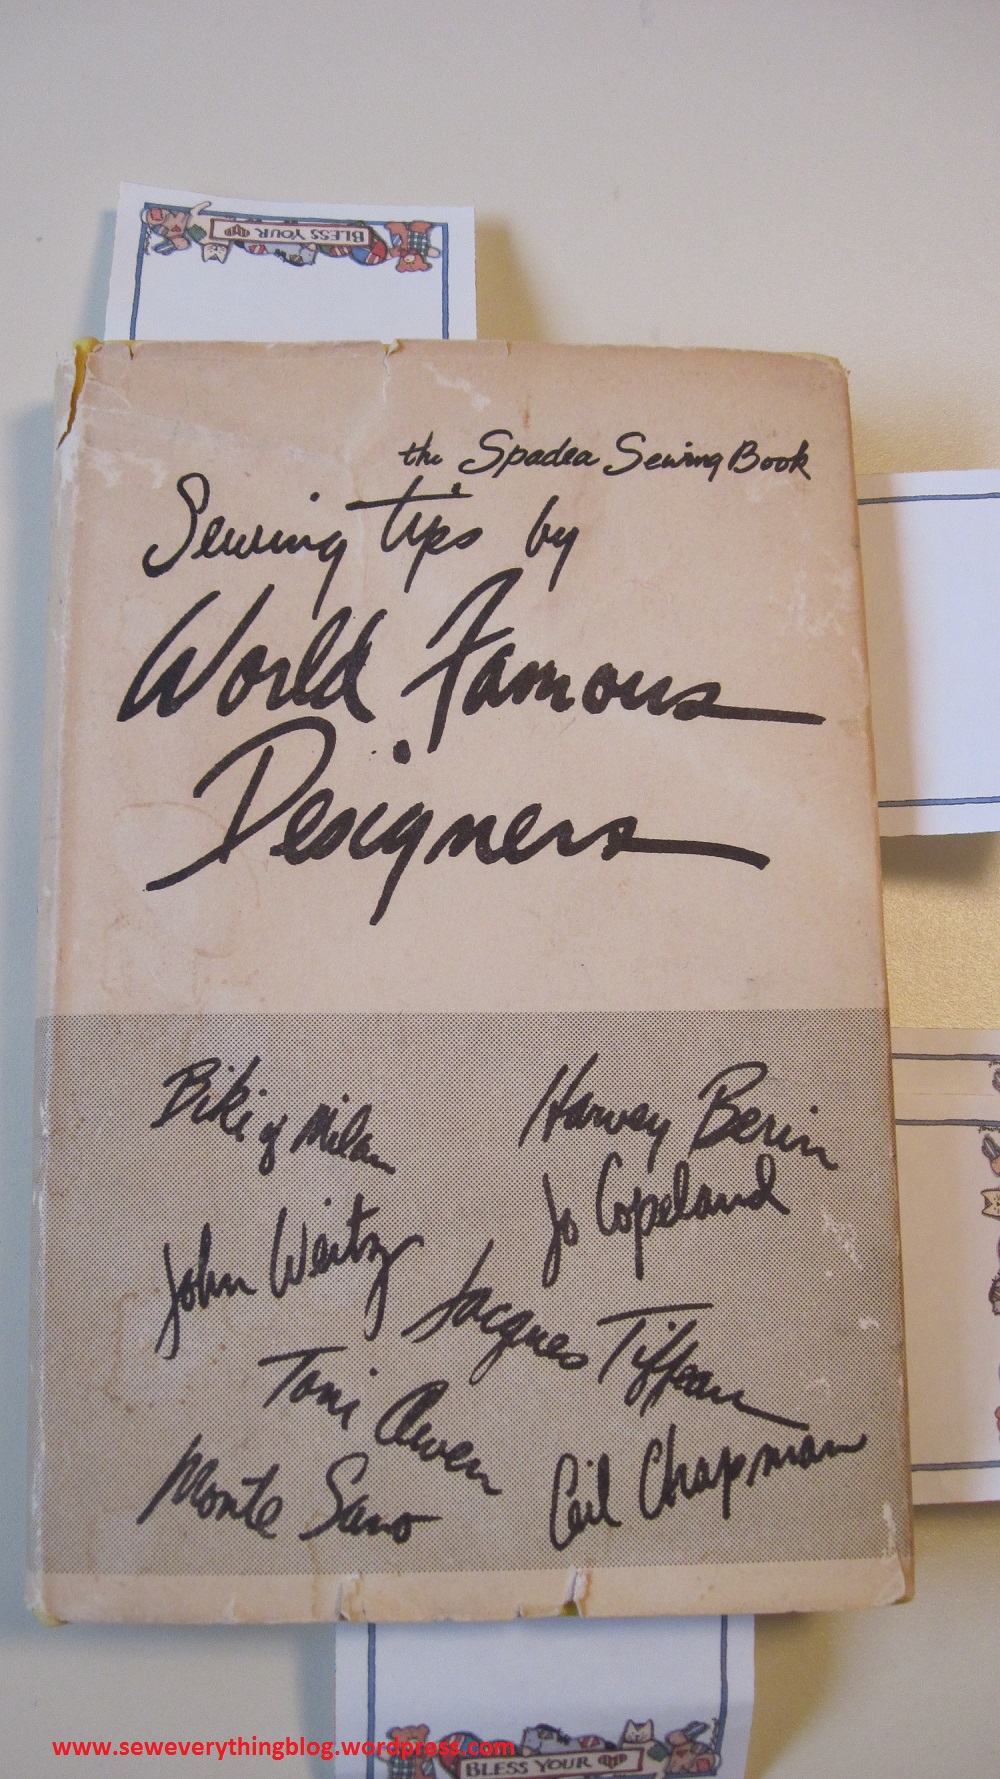
The book referred to in the blog title is “The Spadea Sewing Book. Sewing Tips by World Famous Designers”, circa 1967, published by the Spadea Press. I happened to purchase this book online. For fascinating information about the Spadea family’s enterprises, go over to Lizzie Bramlett’s write up.
Some of the aforementioned “world famous” designers are well known even today (Bill Blass, Ceil Chapman and more), but I had never heard of some of the others.
Also note that the copy editors of the book probably were in a creative mood and gave a tongue-in-cheek flair to the title of each tip which I will repeat exactly.
Since the tips in the book run a little bit lengthy, I will try to paraphrase – except for the titles. The illustrations are all from the book. I recommend that all vintage sewing enthusiasts try and find this book – even only to own a piece of sewing pattern & design history.
Tip #1: A Smart Move
When making a sleeveless dress in wool, velvet or stable cotton, finishing the armhole usually calls for a facing. The underarm seams of dress and facing are supposed to match exactly, which can turn into a bulky proposition. Sportswear designer John Weitz solves this by moving the underarm seam of the facing towards the back. But wait. You can’t just twist the facing to off-set the underarm seam. You have to do some simple pattern work. Change the facing pattern thusly:

Bring the ends of the facing pattern tissue together at seam line and tape. Draw a line 1¼” toward the back parallel to the original seam line; as parallel as possible, that is. Cut apart pattern on this new line. Add 5/8” to each cut end. Remember to keep the original notches and other markings.


You now have an adjusted facing pattern which, when cut in fabric and sewn to the armhole will lie towards the back of the armhole. Bulky area avoided. Genius!! Thank you John Weitz.
Tip #2: Facing the Flare
From John Weitz again: Finish a flared or bias lightweight skirt hem with bias silk organza instead of turning up like the usual hem. Cut bias strips of organza 5-6” wide, join to make a long strip equal to the hem circumference plus seam allowances. Prepare the skirt hem by marking it with a basting stitch and making sure it’s even when worn. Cut away 1 or 1.5” below the marked line. 
Fold bias organza strip lengthwise and press. Stitch to the outside of skirt hem edge, raw edges aligned, stretching the organza slightly (do not stretch the skirt hem, please). No indication of seam allowance width, but I’d say go for the 5/8”. Join bias ends. Press seam allowance towards the organza. Fold up hem at the previously marked hemline on skirt. Baste lower edge. Press. Slip stitch folded edge of organza to the inside of skirt to finish. I assume that you remove the lower basting at this point, although it is not mentioned in the book.
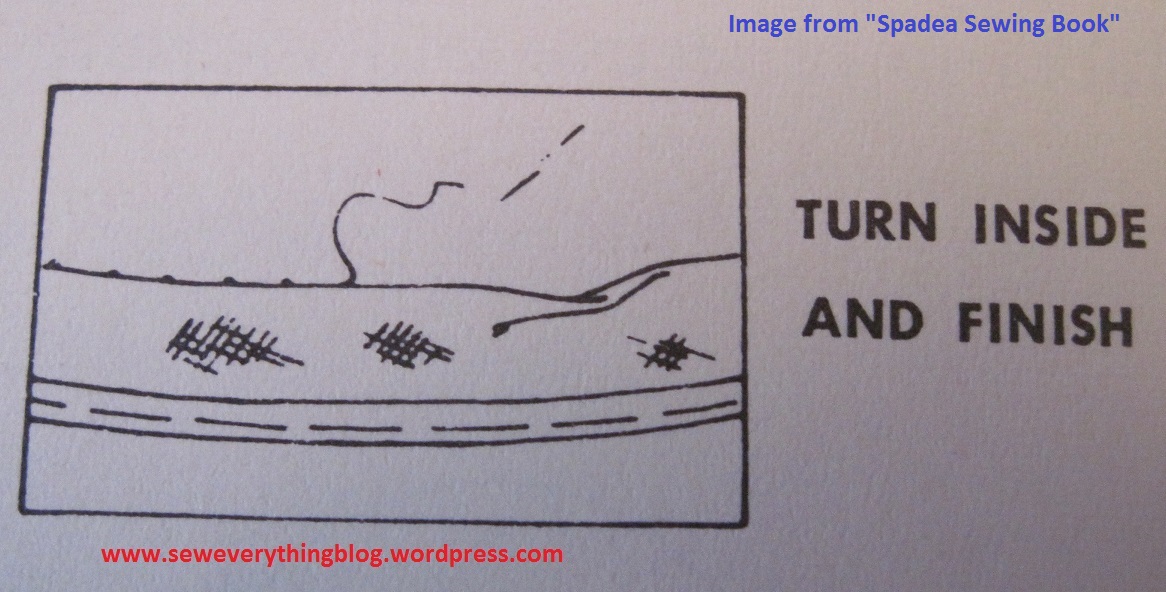
This hem finish is not relegated to flared skirts. It can be used on straighter hems and heavier fabrics as well as pleated hems. For heavier fabrics, substitute taffeta or China silk.
Tip #3: Cover Up for a Collar
Anthony Blotta’s tip: Another unfamiliar designer from the 60s, he shows how to cover up an existing jacket collar with a velvet collar. Maybe the existing collar has frayed, or you just want a different look. I have several candidates in my closet for this makeover! Here’s how Mr Blotta’s tip goes:
Cut a velvet piece on the same grain as existing collar, making sure there is a seam allowance all around. Mark center back. Turn under the allowance at lower neck edge and baste. 
Pin this edge along neck seam of existing jacket, as in picture below. Slip stitch invisibly to the collar. 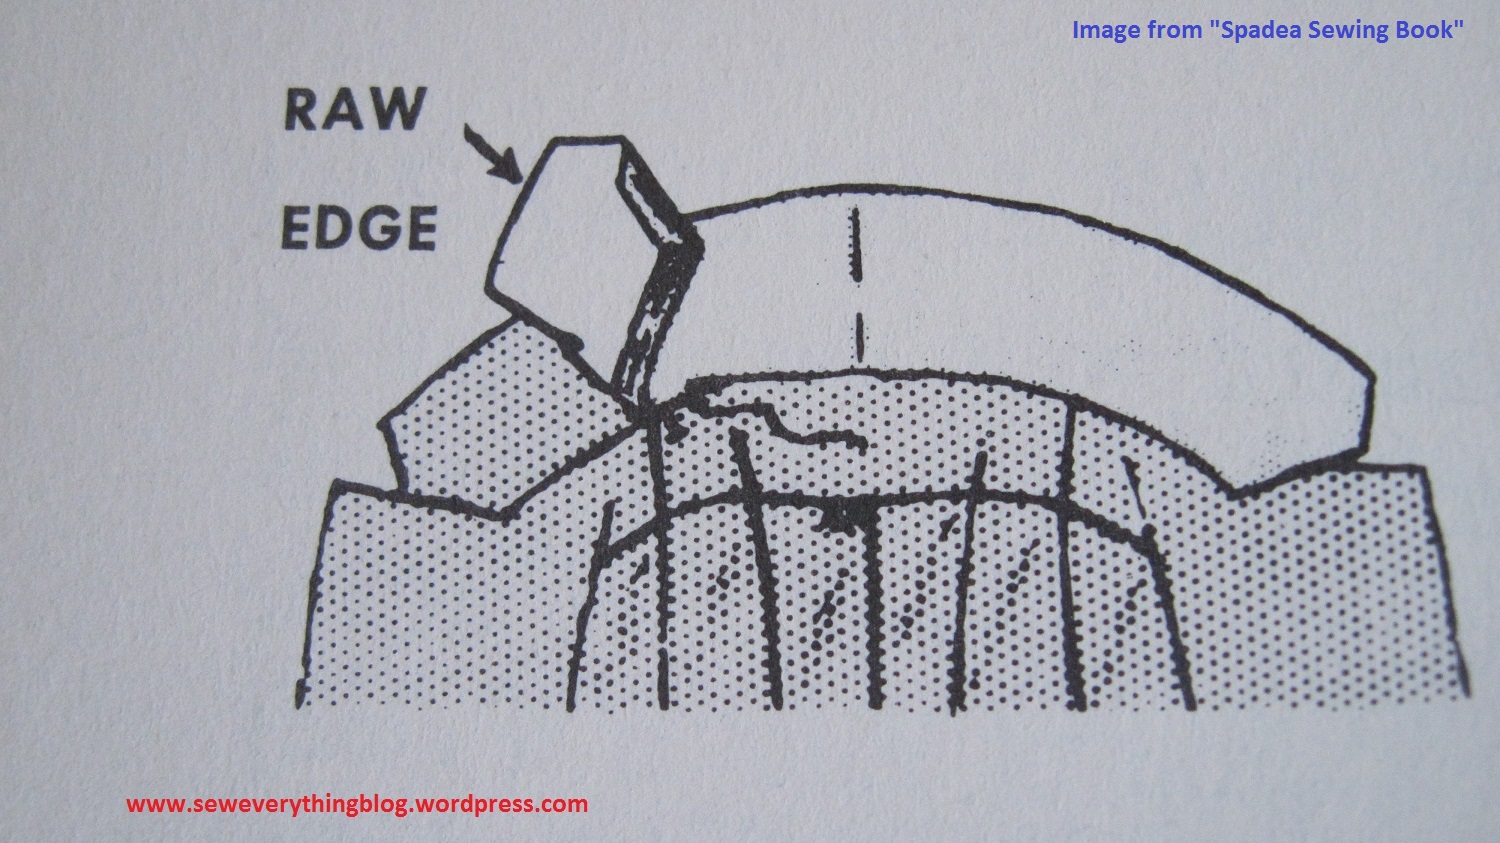
Roll collar outward into position it will be when worn. Turn raw edge of velvet under and pin to under collar, pleating the corners (or miter). 
Catch stitch raw edge of velvet against under collar, keeping stitches small, OR whip stitch the velvet down to the under collar. 
As always, I really want to hear what you think of these tips. Of course there are many more sewing tips than these three in the book.
This is a great idea for a post-Holiday gift to yourself……
Samina

The bias organza hem is one I use a often. It is a great way to finish off a lovely garment. Thanks especially for the tip on the facing. I’ll certainly try that on my new red wool crepe sleeveless top.
LikeLike
I’ll be waiting to see your new red top, Janith!
LikeLike
I really like tip 1, the facing move. I’ve done similar for moving seams on neck bands (I like mine on the side.) I’ve never done this for a facing. But, of course! I must give this a try next time. 🙂
LikeLike
I’m ready to make a sleeveless top just so I can use this facing trick! Found myself looking in the pattern stash…………
LikeLike
I like the idea of shifting the facing seam. I had never thought about that. But you’re right about it being bulky. I’ll keep that in mind the next time I do a sleeveless top or dress.
LikeLike
Tip #1 is really innovative. One of those “why-didn’t-I-think-of-this” moments. Thank you, all for commenting, and hope you’re having a great Holiday week!
LikeLike
Facing tip – brilliant!
LikeLike