
I had a treatise planned to upload today – a dig into palazzo pants, the origin of the name and all that. The extra wide legged Mirage pants prompted me to look into “palazzo” pants. Instead, I thought this buttoned waistband version of the tied wrap pants (Mirage Pants by CamiMade Patterns) would be worth a share. So, onward to the waistband hack.

On the left is the original tied closure of the pants when made according to the pattern. So very cute – when you wear these pants with the waist ties visible. But that’s not my thing; I keep my waist covered. See me wearing the rust pants here. Therefore, instead of living with a knotty bump under my over blouse, I decided to change the wrap waistband closure to a button closure as in the green linen on the right. Yeah, an elastic option was considered but that’s for exploring on another day.

I could just extend the waistband on each end (there are four ends where each wraps around the other and buttons on the front and back) and let the extensions button up. Well, there was not enough fabric for the waistband as designed in the pattern. Therefore, a creative solution had to be found. And, this is what I did:

Due to not enough fabric for the separate waistband, a waist facing seemed to be the best solution. See the extension, there? Well, once turned over as a facing, the other side needed a “cover up”. Yikes! There’s an example of not thinking it through.
Okay, bring on the scraps.
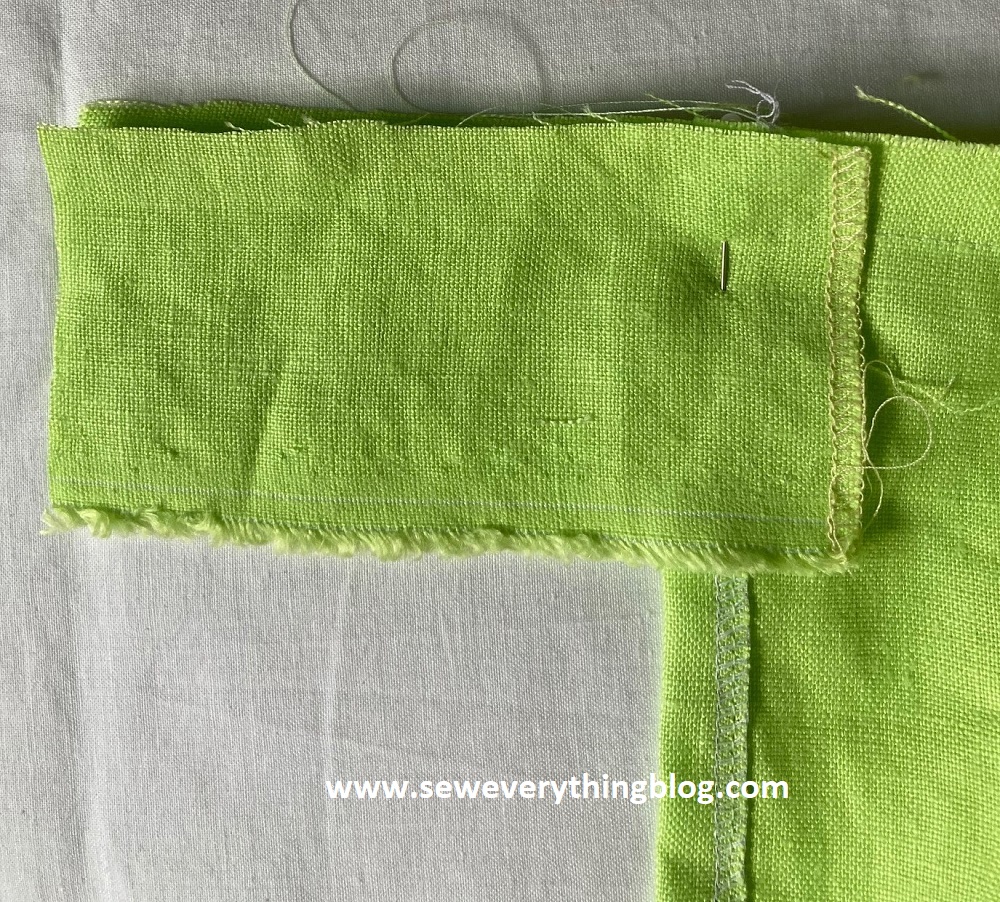
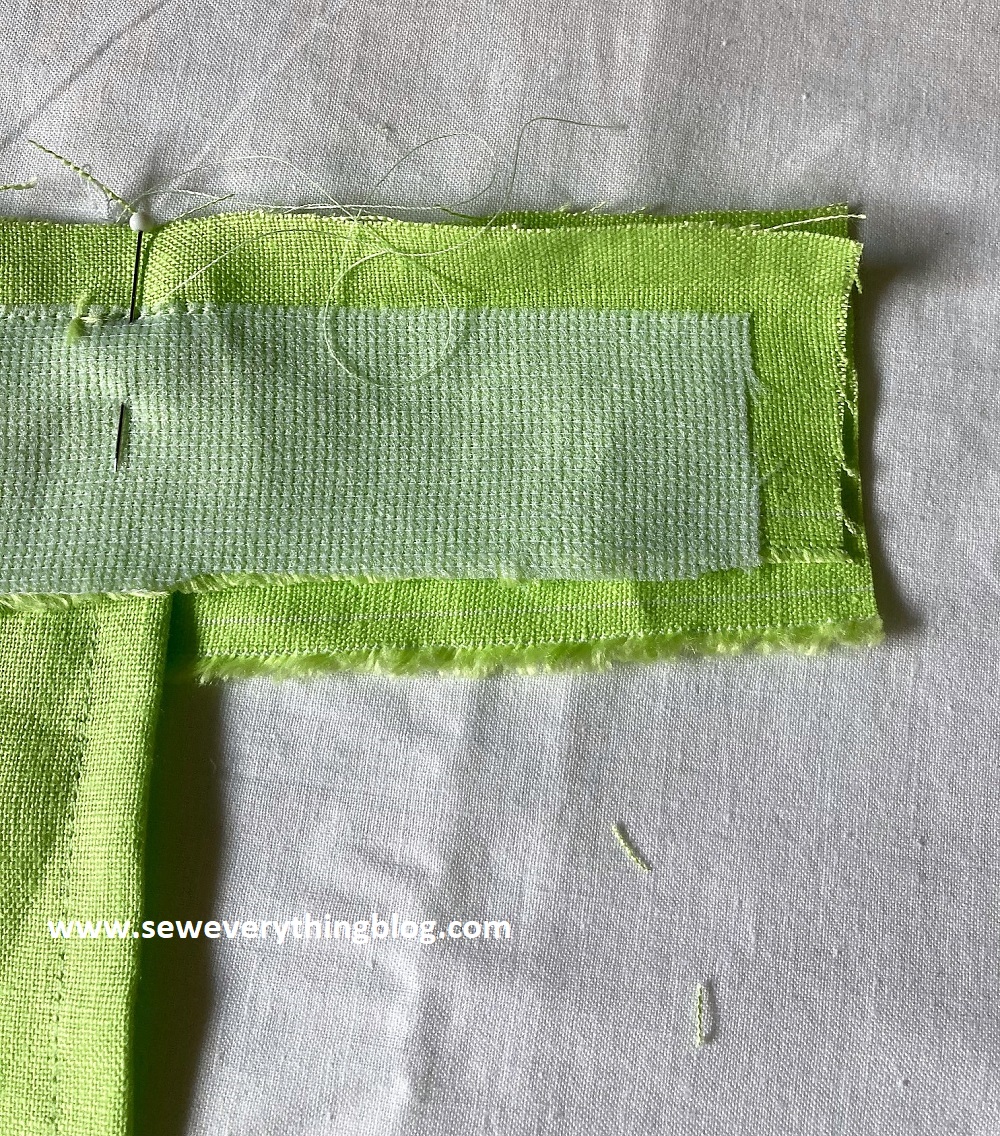
I cut small rectangles, the width of the facing/waistband and enough length to overlap the inside edge so that it is enclosed. The stitching line follows the edge of the interfacing, then the seam trimmed and the extension turned to the right side. Is this clear as mud?
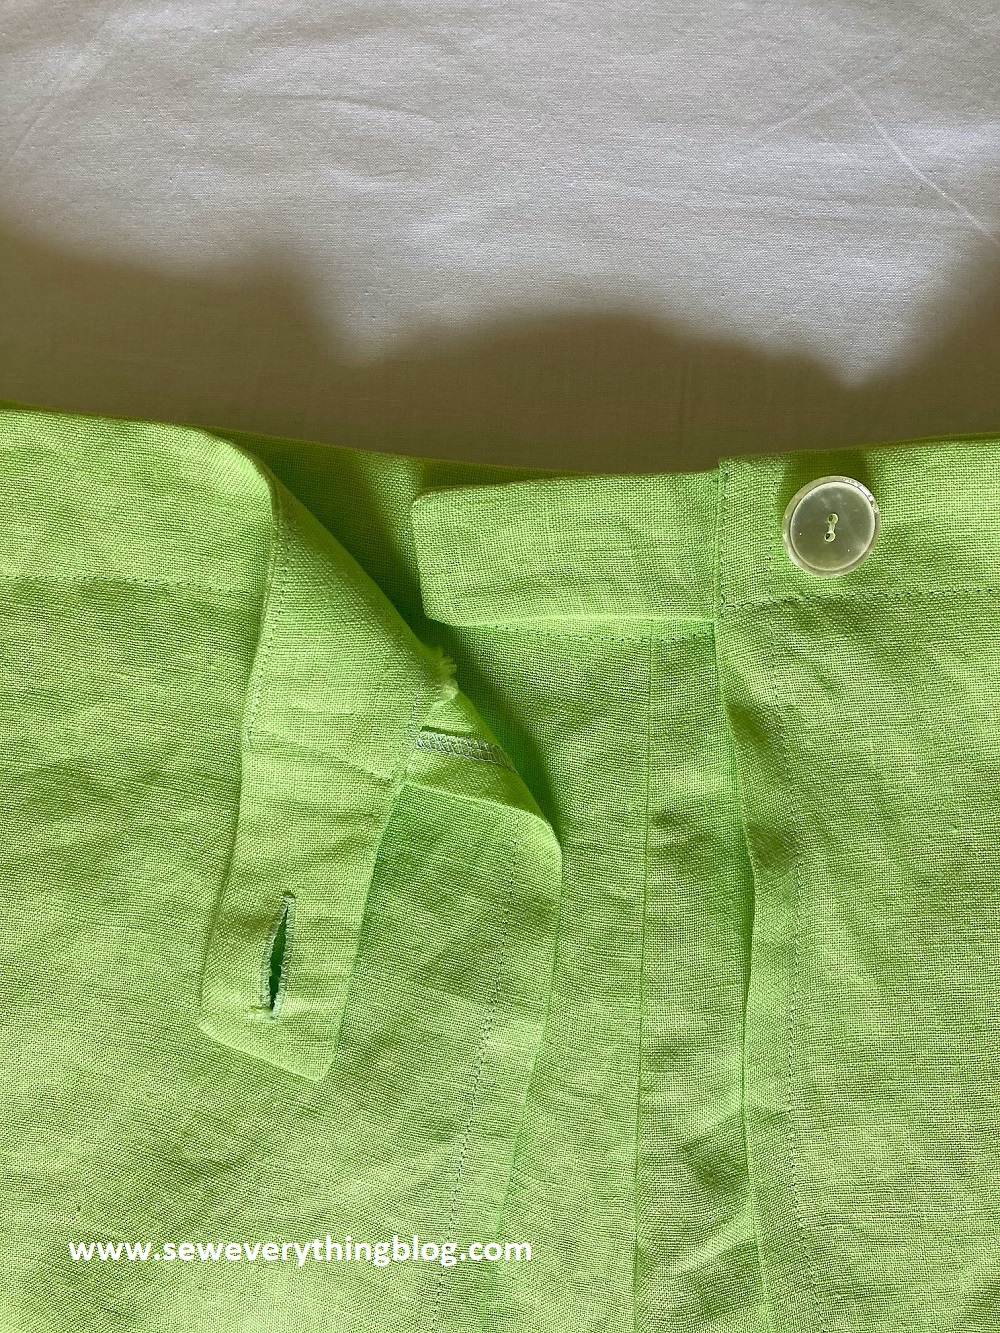
Look! The waistband facing has it’s own facing which is visible on the right side at the closure. This is the place for a buttonhole; the buttons are sewn on the pant waist, or wherever they can be buttoned comfortably. See the extra inside flap? I left it there to add an inside closure for a little more waistband sturdiness.
That’s it, folks! Until next time…..
Samina

I’ll have to give this a try. I love how comfortable my wrap pants are, but ties aren’t my favorite to deal with. Buttons seem much more convenient. Thanks for sharing!
LikeLike
You are welcome! So glad you found it useful. 🙂
LikeLiked by 1 person
Good morning Samina! I think you did a great job working with what you had; and I’m jealous of your straight and neat top-stitching! Can’t wait to see you in these.
LikeLike
Thanks, Kasey! Soon, I’ll be sharing a photo of me in these pants. I was thinking of adding a bit of tonal machine embroidery at the corner of the front flaps, inspired by your red jacket — still thinking.
LikeLike
Samina, This looks like a lovely pattern…I love Palazzo pants! I agree with the tie vs button closure – one other consideration to eliminate the “bump” even more would be to place the button on the inside of the top tab and do the buttonhole on the underlap thereby putting the button on the inside next to your body. As long as the tab is interfaced, it’s quite easy to put the button on without the threads showing through to the right side.
Snaps or hook & eye can be used on the remaining tab for extra support. Have fun wearing them – love the green!
LikeLiked by 1 person
Hi Charlene! Always a treat to hear from you. That’s a great idea — putting the button to the inside to eliminate further “bumpage”. I will try it with the next pair. These wrap pants would look great on you with your height advantage.
LikeLike