
Shirring is really gathered fabric in a contained boundary – that is, multiple lines of gathering in one piece of fabric. When gathering fabric in parallel lines, the effect is more contained — corralled into one area of a whole sewn piece. When you let it loose above and below the gathering stitch – then it’s a ruffle where one side (of said gathering line is a seam allowance, and the other falls free (as in a gathered skirt). And then there are real ruffles — as if you didn’t know, dear readers.

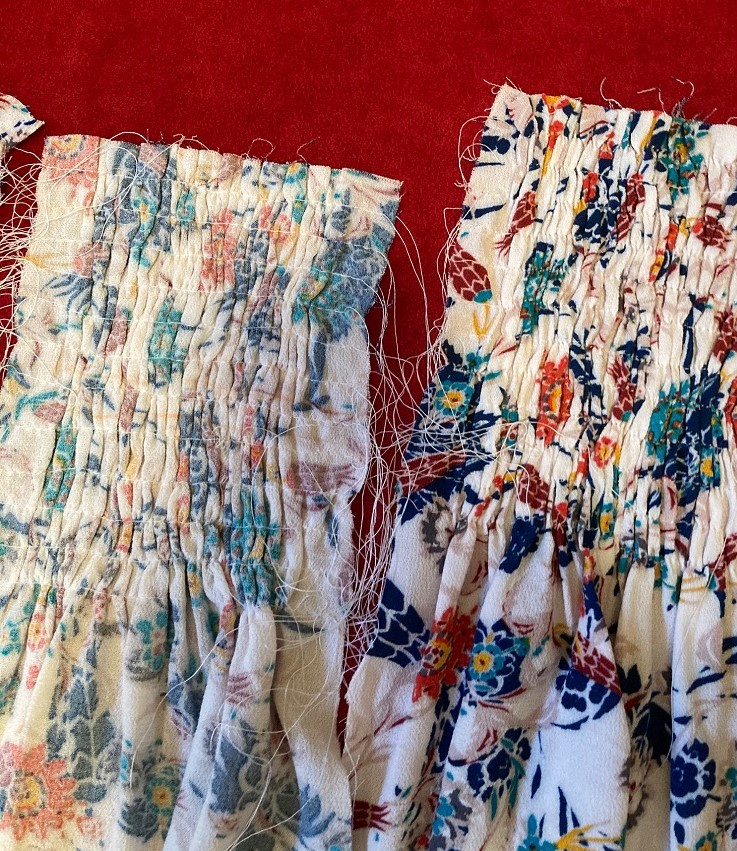
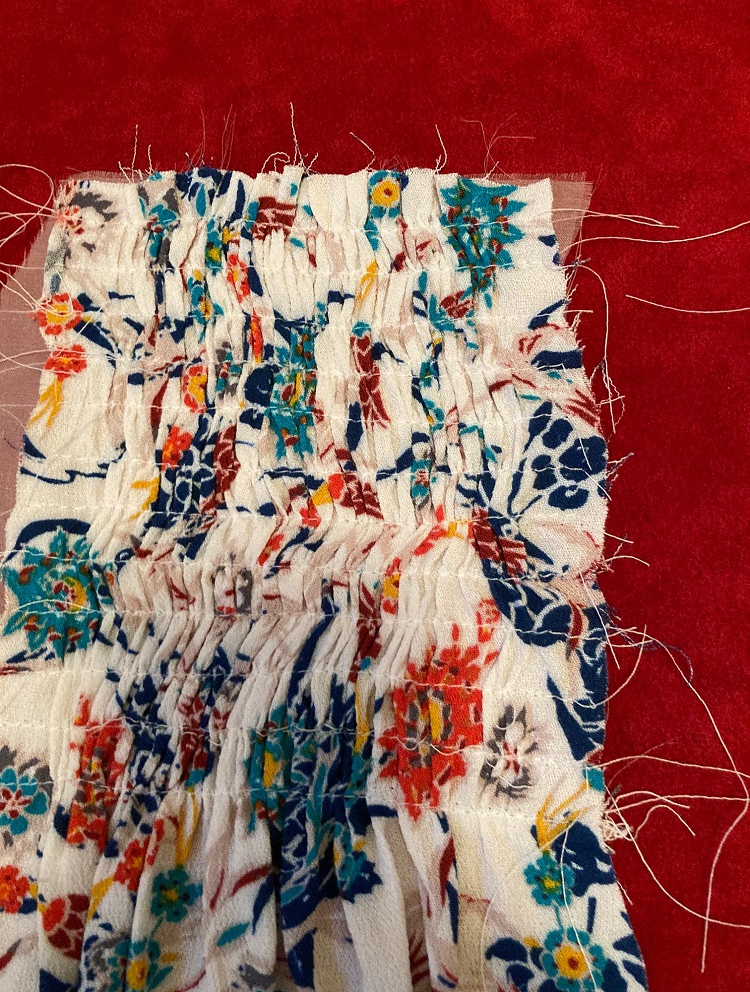
Inspired by Ann’s blouse in the same fabric (video link below) and a RTW blouse by COS (image in a later post), I indulged in some shirring; but after 12 lines of gathering on each piece, I let the bottom fall into gathers. Complicated? Where do these shirred pieces (above) go anyway? All will be revealed soon. For now, let’s obsess over shirring. I have never before used shirring on any sewing projects for me or mine. So chime in if you have any tips!
Here are some tips that I “gathered” from my experience and other sources such as two excellent books: Colette Wolff’s The Art of Manipulating Fabric and Ellen W. Miller’s Creating Couture Embellishment.

How much Fabric? Shirring is a somewhat tightly gathered look. Depending on the fabric weight, it has to be at least twice the desired finished size, or at the most three times the desired size, as my shirred piece was. I started with a 12 inch wide georgette piece which shirred down to 3 inches, not including seam allowances. For an inset piece it’s best to make a shirred piece larger than you need, and then cut it down to the inset pattern shape. Watch Ann Ngo’s video to see some hand shirring.

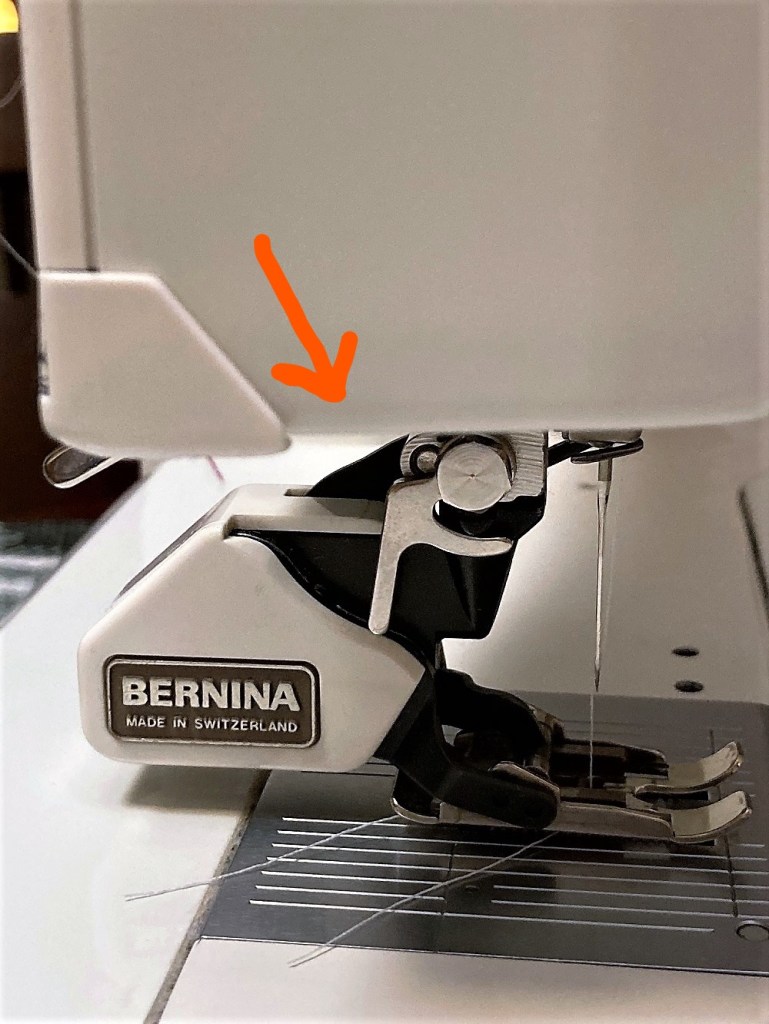
Marking the stitching lines on the wrong side of fabric: it’s best to mark the lines clearly with an erasable marking pen, 1/2inch apart. Except, it became tricky on my rayon georgette from Sew Much Fabric (fair warning: it may be sold out but look anyway) – the marking pen or chalk doesn’t move smoothly on it’s crepey surface. In the end I decided to use the markings on the sewing machine bed. Then… how does one sew accurately once one moves down the fabric piece and the markings get covered by said fabric? Here’s a trick (see image above): I stuck on a couple of sticky notes along the ½” mark on the machine bed so that I could feel it through the rayon and made sure the previous stitching was running along the paper’s edge – or you can rig up something else. If the fabric is smooth, there should be no problem in using a marking pen. Whew, so much to consider and we’ve only just begun….

Stitching on the lines: Stitch along the marked lines on the wrong side of fabric. They must not be too close! You have a choice of any method of sewing the lines which will be pulled up into gathers. A) hand sewing a straight running stitch along the marked lines. Watch Ann’s video where she takes you through her shirring process for shoulder yokes on her blouse. The shirred piece is contained within a boundary. B) I machine-stitched the lines with the longest stitch on my machine – without getting into the basting feature; the basting button would have made my stitch much longer. The longer the stitch, the deeper the gather. I’m clear as mud, right? Whichever method you use, remember to leave long thread tales at both ends.
Pulling Threads to Gather: Pull the bobbin thread only up to the center, then pull the bobbin thread from the opposite side — until the piece is about the size you want with a little extra.
Backing: This may be optional, but I used silk organza on the back of the shirred area by pinning it to the fashion fabric. It was permanently attached by topstitching the shirred lines.
Topstitching the gathered lines: I topstitched on all the shirred lines, through the backing to make it stable without making it stiff. Rayon georgette hates to be stiff. A tip for topstitching: use a walking foot (if you have one) instead of an all-purpose presser foot. It will not cause a drag on the topstitching. Remember, topstitching is optional. I did it to make the shirred lines more prominent. After topstitching you can remove the original gathering thread — carefully.
So, here we are. You see four pieces which will be attached to the final garment; you’ll see that very soon. Meanwhile, a view from my window 🙂

Stay healthy, friends. Until next time,
Samina
