
The Schiaparelli pocket has found a home – an unfinished one, but a home nonetheless.
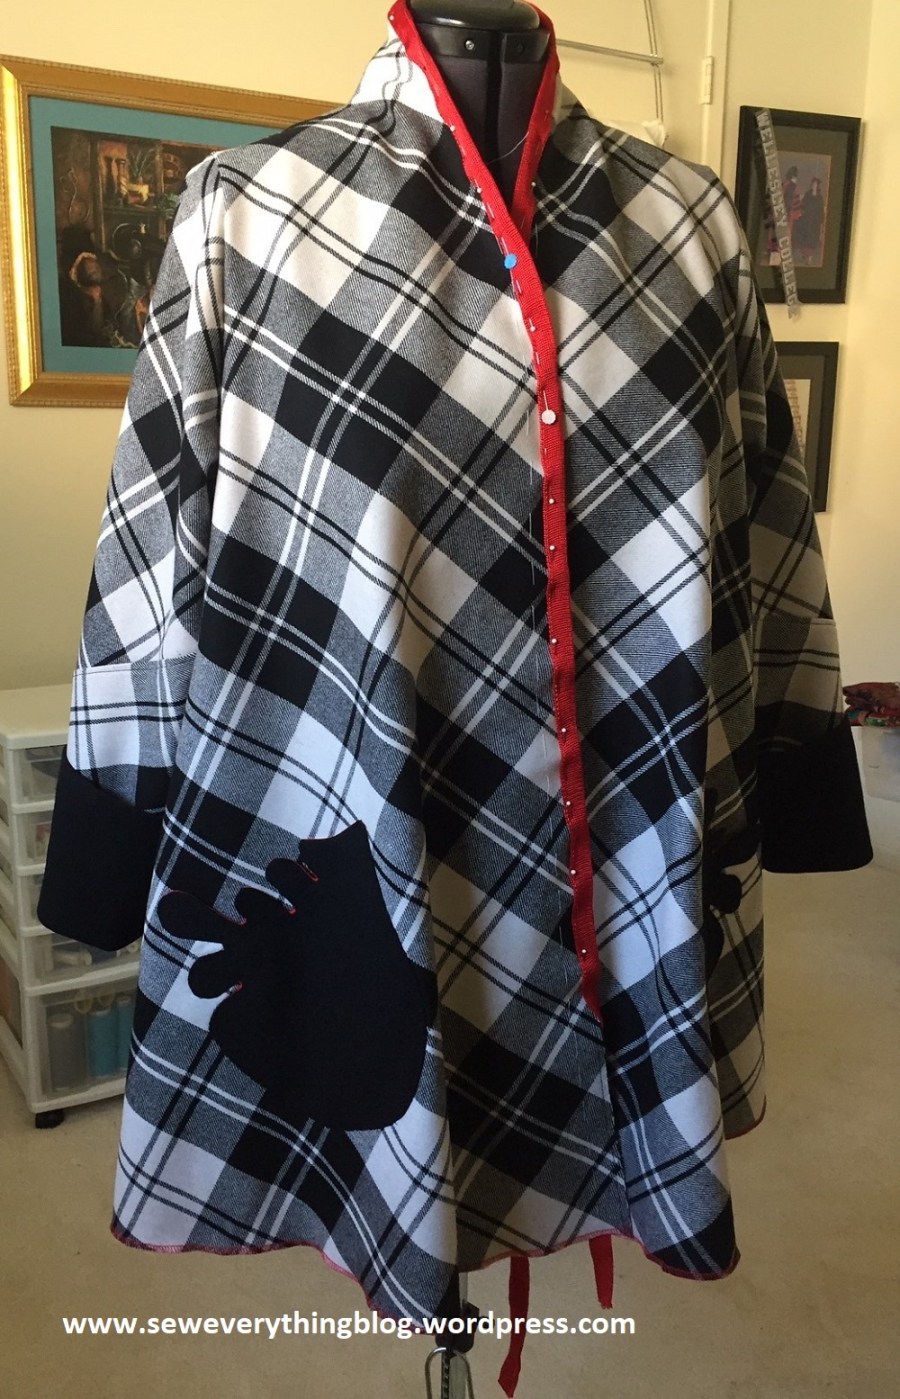
For the new readers who are wondering about the Schiaparelli pocket, go to my fun little post back here. Meanwhile, I’m letting everyone in on the unfinished jacket which is now a forever home for the coolest patch pocket ever! Now that the pocket(s) have moved in, I’m sharing this work-in-progress with you. Its slow going due to my own inaction and I’m sorry. I’m working on speeding up my sewing.
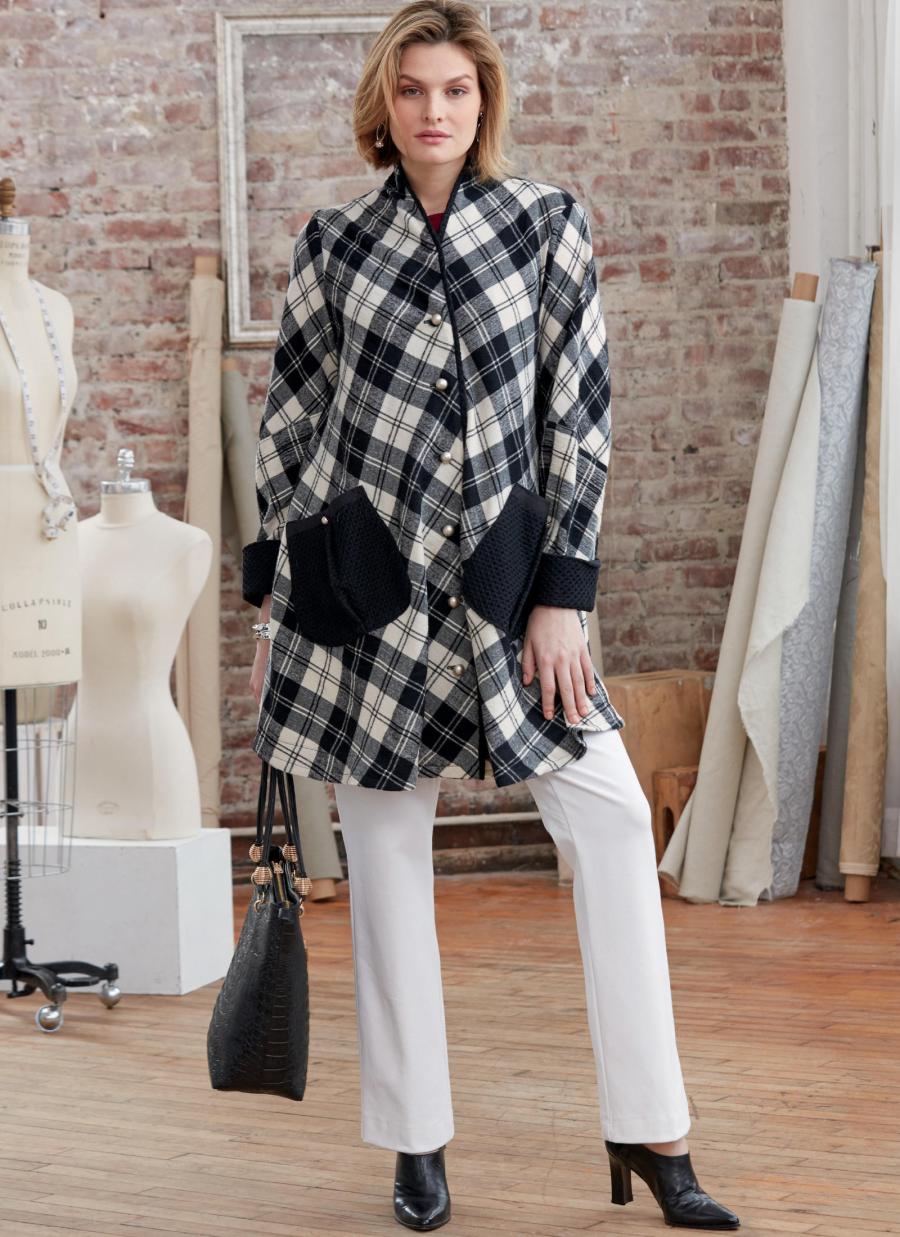
The pattern is Vogue 1598 and I’ll briefly tell you how I changed some things while still achieving the look intended by the pattern designer.
Things I did not change:
The trapeze shape is the essence of the design, so I did not mess with that. It reminds me of the time in my childhood when my mother wore short flared coats of the 1950s – over her sari!!! With elegant results, I remember vividly.
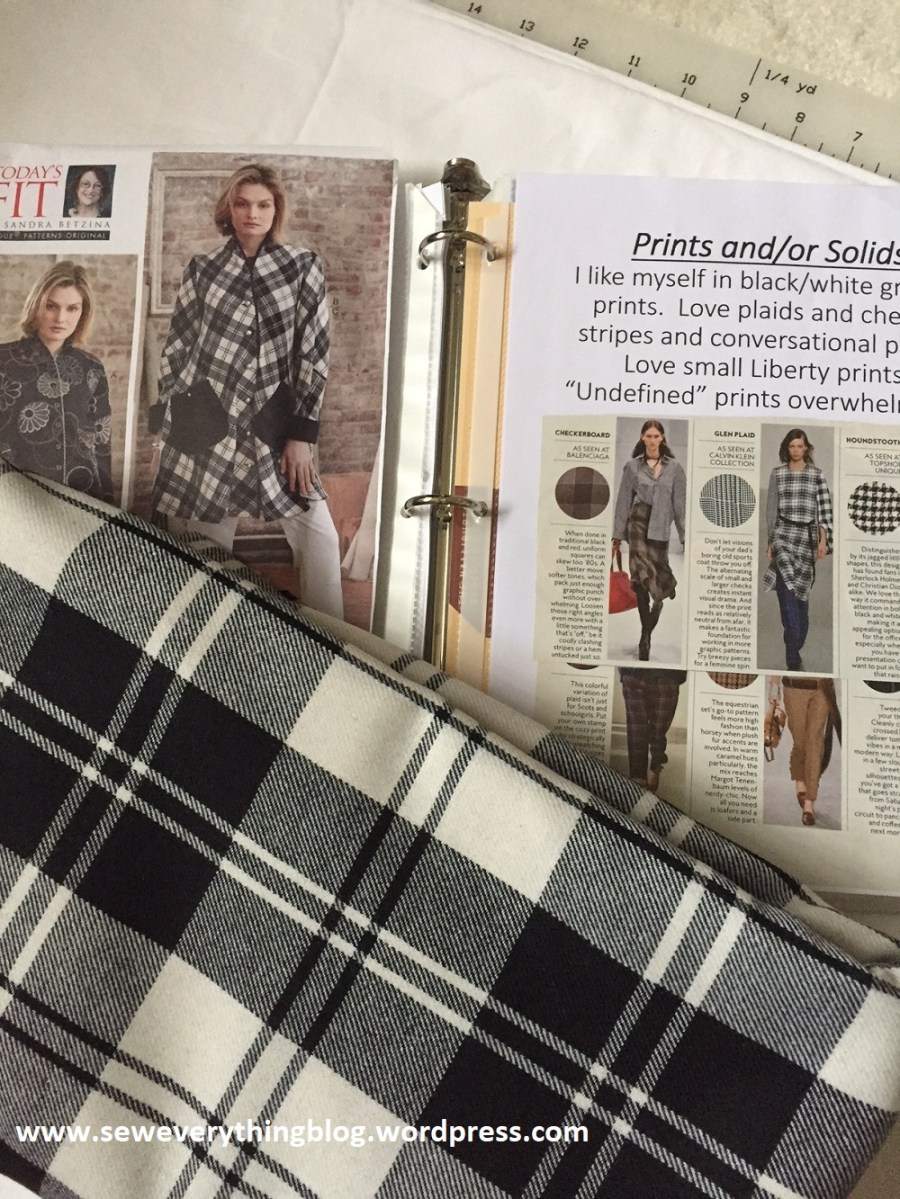
The fabric was snapped up the minute I saw it offered by Sew Much Fabric. Mine is wool, but not sure about the fabric in the pattern photo. Wool isn’t one of the recommended fabrics on the pattern envelope information.
Changes I made:

The pockets, obviously. Somehow, the Schiaparelli pocket , much different from the pleated ones in the pattern, did not change the general look of the garment. I used a formula to determine the pocket placement, and wrote a post about it. Click on this line to go read it.
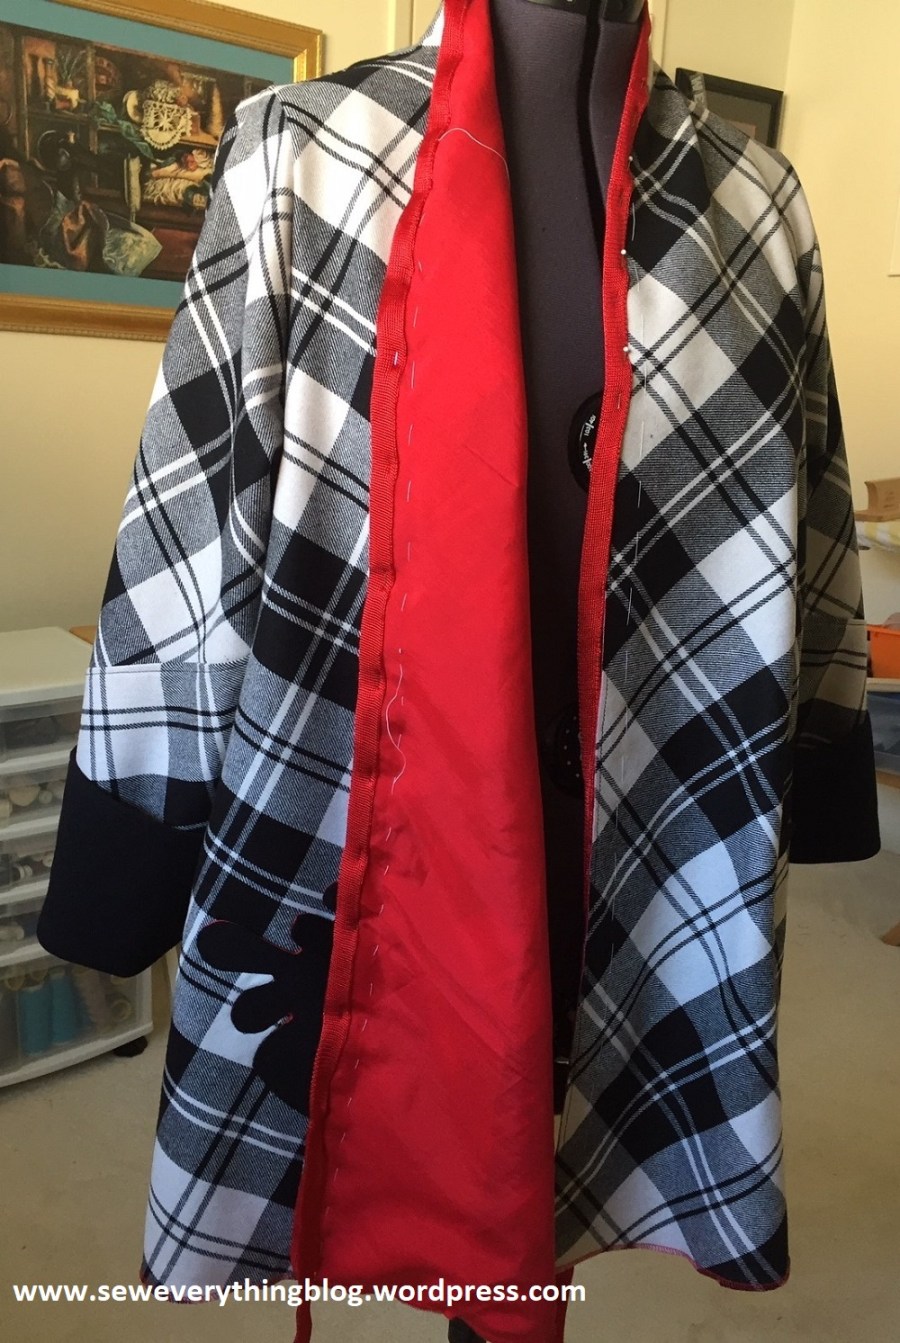
I am usually happier when wool fiber has at least two barriers between it and my skin. The original jacket pattern is unlined and has facings. I used a china silk (from stash) underlining all the way to the edges of the jacket, and in the process eliminated the facings; china silk is very lightweight and therefore, does not add much weight to the garment.
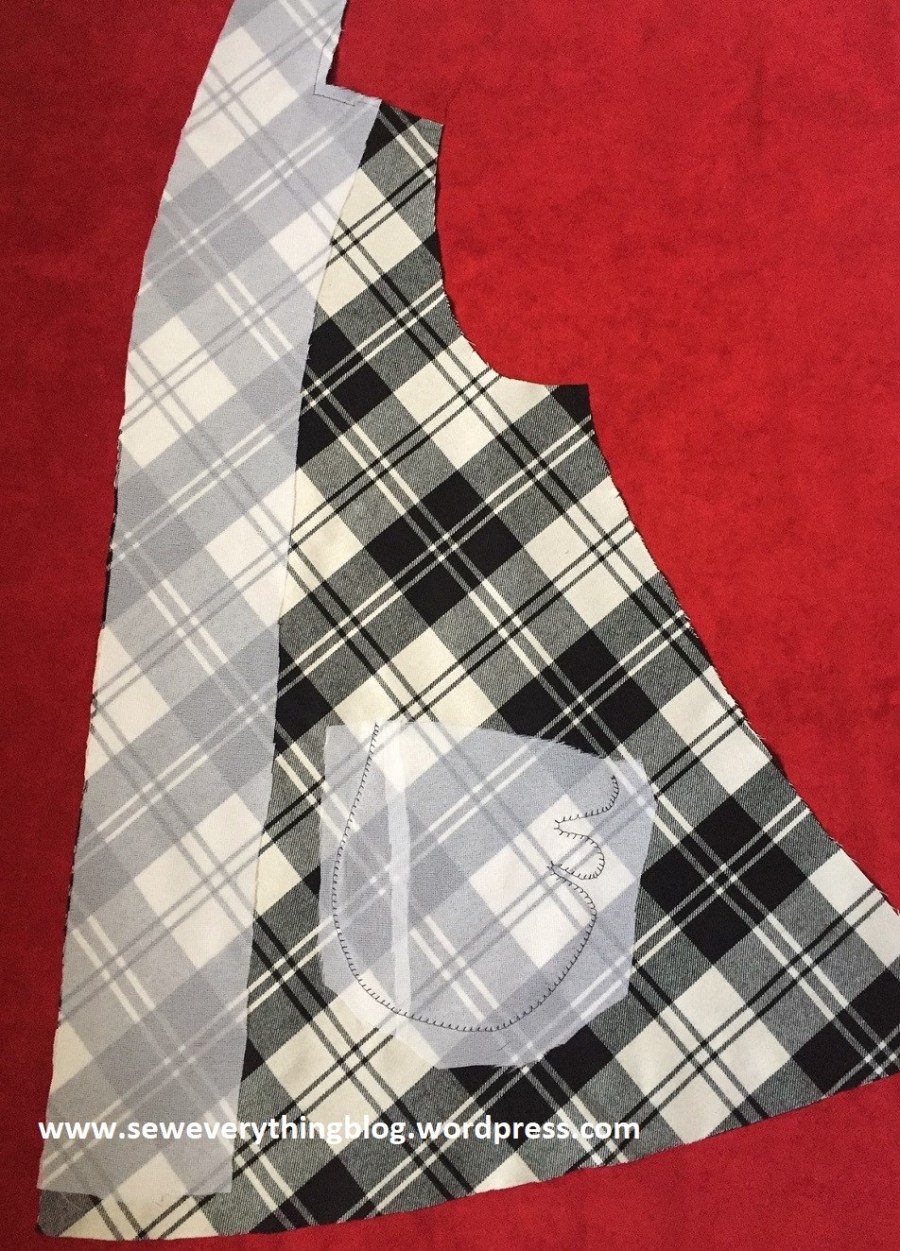
Elimination of the facings necessitated interfacing to be applied directly to the fronts (on the wrong side) and the back neck. The pocket area was also interfaced on the wrong side of each front as seen in image above.
Since the facings were eliminated, I enclosed the front edges and back neck with a red foldover braid which had been patiently waiting in my sewing stash for a decade or more. The braid’s time to shine is finally here.
I stared at the pattern photo for a while to gauge where the jacket hem was against the model’s legs; and concluded that it looked about six inches above her knee. Since I’m nowhere near the model’s height, I reduced the jacket length (at the marked length adjustment lines on the pattern) by – wait for it — 4 inches!! That brought the hem to 5-6 inches above my knee.
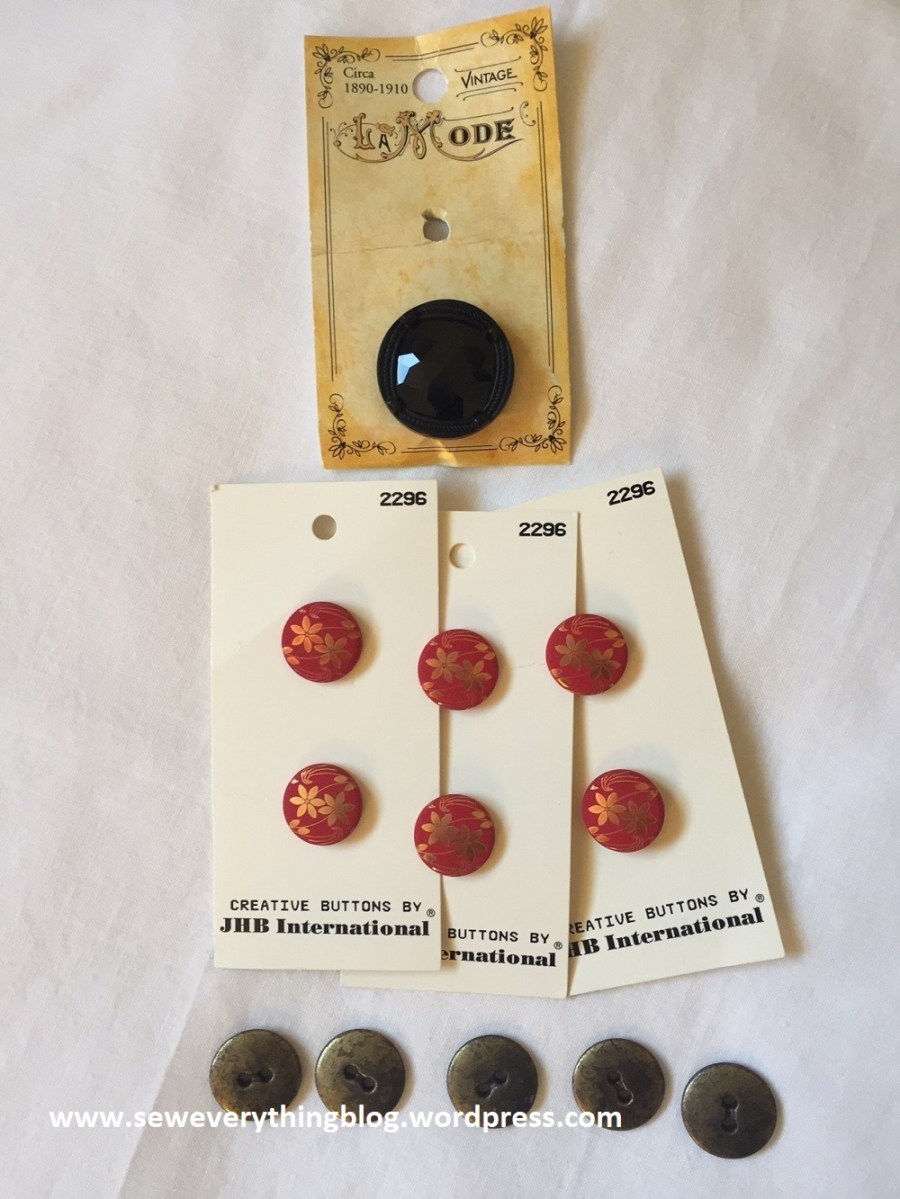
At this time, the closures have to be determined. It’s a toss-up between tarnished looking metal buttons that match the pattern photo, red and gold plastic buttons, or just one large black vintage button. What do you think?
Dear readers, I will hurry and finish this jacket, and will definitely try to up my sewing-speed game. Hoping for a cold front to hit Texas…..
Samina

Looks awesome!!
LikeLike
Thank you, Kristi 🙂
LikeLike
Ohhh… A beautiful coat! Can’t wait to see which buttons you choose; it always takes me forever to choose the buttons.
LikeLike
Thanks, Ellen! After much deliberation, the button choice is the big black button. Completed jacket photo coming soon, hopefully with me in it.
LikeLike
Love how this is turning out! I like the vintage button.
LikeLike
Thanks, Roz! You’ll see the jacket soon in person — on me.
LikeLike
Love it, especially the red braid! I’d go with the metal buttons, unless the red really look good against the plaid!
LikeLike
It was a difficult choice, Anne. I went with the big black button….
LikeLike
This is really cool! I can’t stop looking at the pockets! 😍
LikeLike
Thanks! I know, the pockets are kind of mesmerising….
LikeLiked by 1 person
Terrific. Those pockets are perfect on the check.
LikeLike
Thank you!
LikeLike