
Happy Birthday, America! May you have many happy birthdays for eternity. Onward, sewing pilgrim!
With not much experience in making head wear, I chose this project as a palate cleanser and a learning experience rolled into one. This project is also a bit of unselfish sewing – for someone who lives in sunny, drought-prone California.
PATTERN
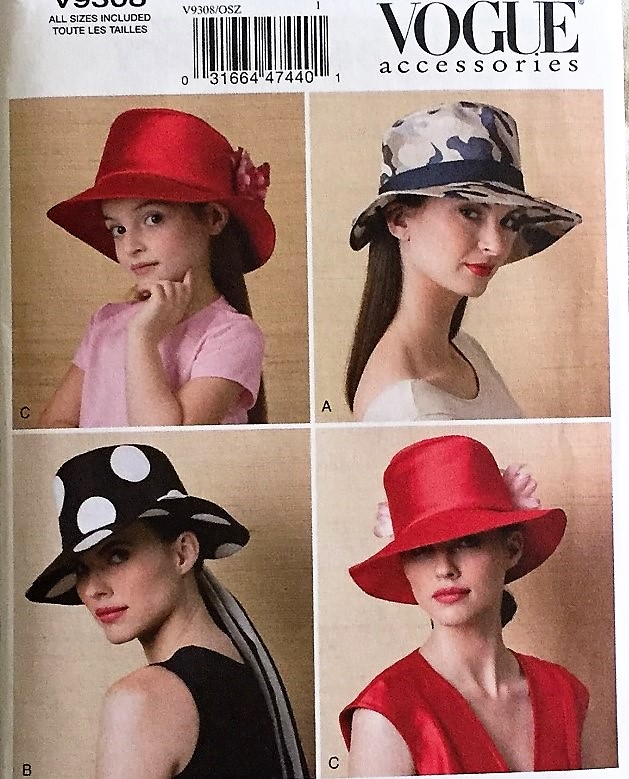
Vogue 9308’s collection of hats would be appropriate at the Kentucky Derby or a family wedding. I’m going for a casual look because that’s what suits the hat-recipient’s life, therefore View A seemed like a good choice. The selling point for the pattern is the adjustable, grommeted feature at the back. The pattern for a child’s hat is also included for those who favor the Mommy and Me look.
Where does one measure the head? Exactly. Kasey answered my measuring query in a comment in the previous post. She is right in that there’s no actual detail in the Vogue Sewing Book about measuring the head for a hat. Should there be some hints in the pattern guide sheet? All we know is that the Large size is for a 23 ½ inch head. Note: why did I not remember to find hat-measuring information in my vintage sewing books and patterns? Why???


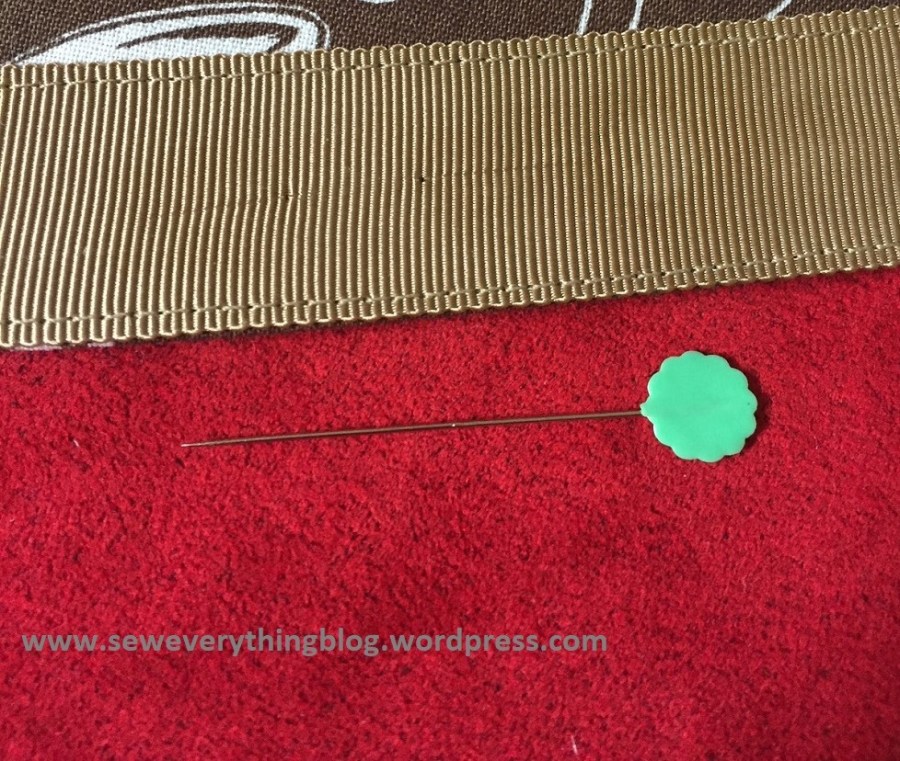
Interfacing conundrums: The right interfacing is always a crap shoot for me, especially when the pattern lists general descriptions – as they should. Pattern companies cannot favor one brand over the other. So I used interfacings from my stash, relying on my instincts about how stiff this particular hat should be. There are two layers of interfacing in each hat piece, and one layer in each lining piece.
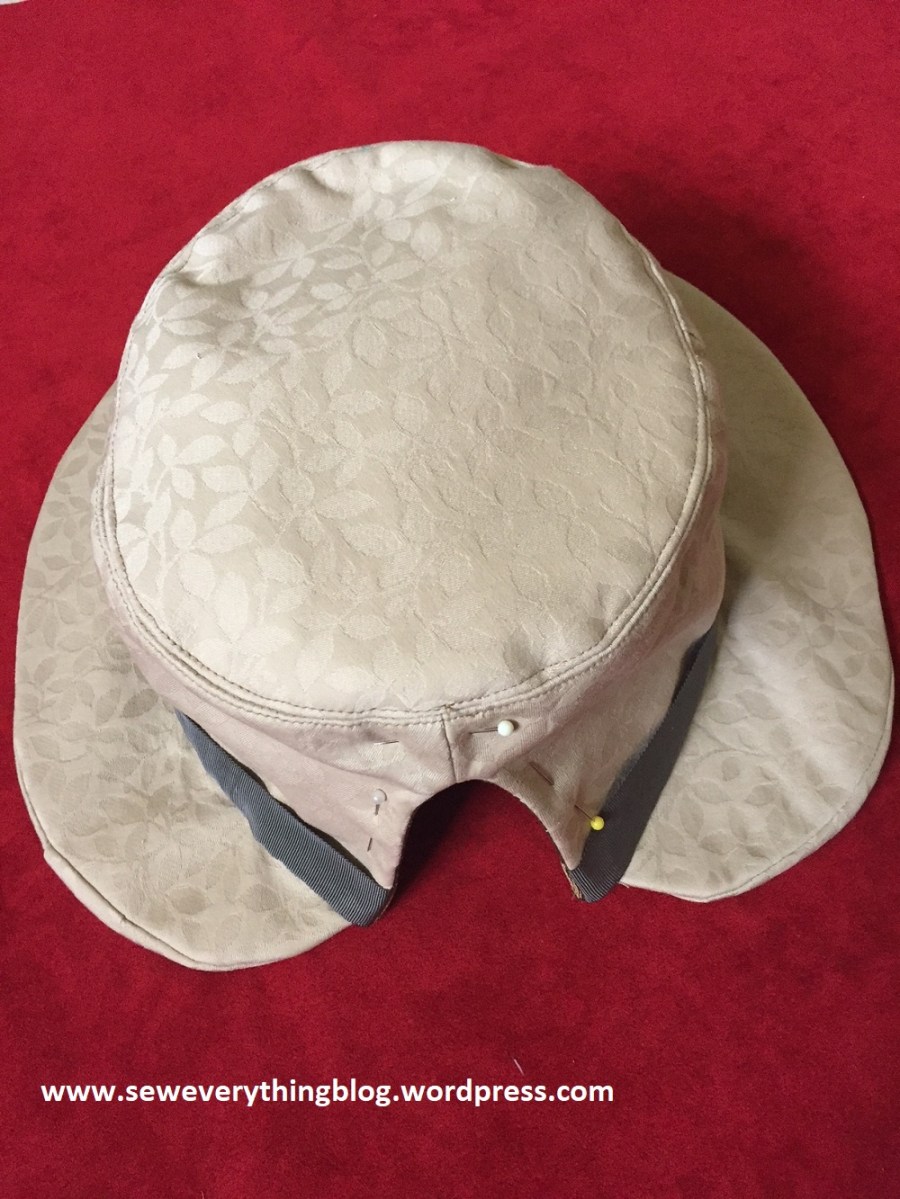
Pattern Puzzle: Why are the two brim pieces not matching at the back curve? This is particular to View A (not an issue with the View B pattern). I’m not sure whether this is a drafting error or an intentional technique to enable some kind of turn-of-the-cloth maneuver. I managed to match the outer brim seams, then the upper seams (which are sewn to the crown) by a combination of pulling, easing and pressing: the resulting brim is not too clean and crisp.
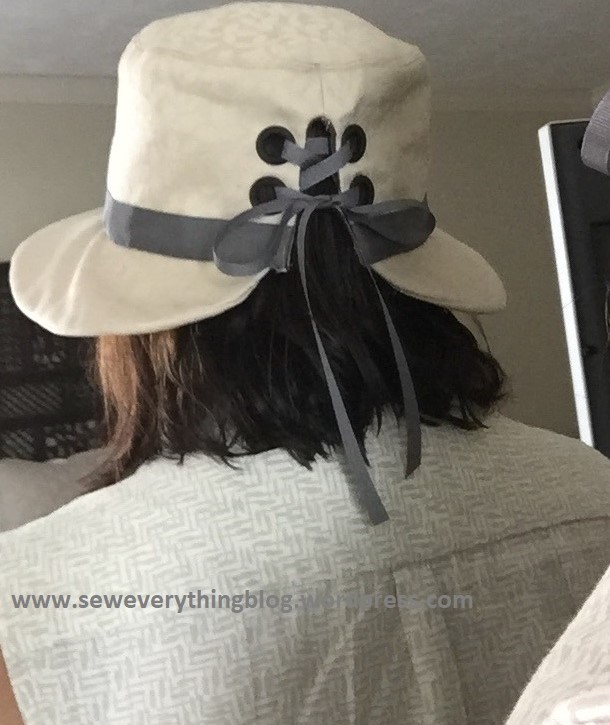
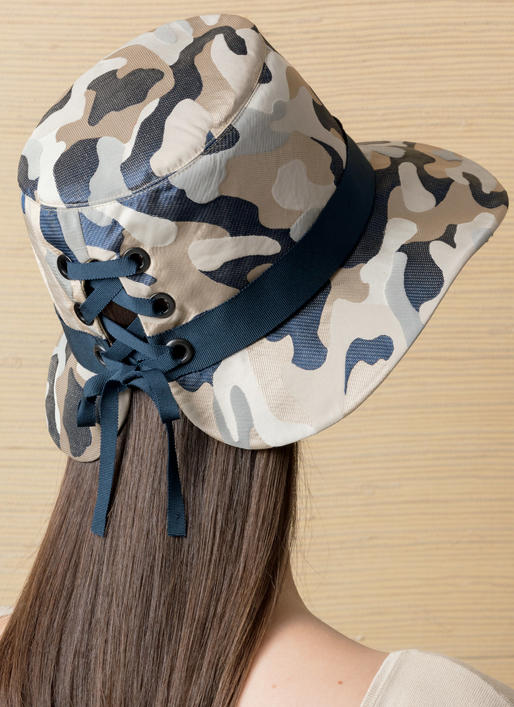
Well, the back of the hat turned out good looking! But I could not even attempt to add the last pair of grommets at the base of the crown where the ribbon band is an additional layer. It is just too thick with too many layers of fabric and I chickened out — what if the grommet doesn’t “take”?
I do like the end result – it has a good shape and sits well on the head. Some sewers might think the crown is too high – but not if you pull it down on the forehead and tilt it down at the back – just so.
There are some basic sewing concepts evident in this hat which will be addressed in a later post (I’m keeping a list). They are: 1) What does “turn-of-the-cloth” mean? (Mentioned under the Pattern Puzzle sub-heading. 2) Clipping the seam as a means to matching disparate edges. For example, sewing the top of the hat to the crown – one is a circular edge, and the other is a straight edge. Stay tuned, new seamstresses!
Lastly but not “leastly”… a couple of just-for-fun images:
Hope you had a happy Independence Day!
Samina

That linen looking with the gray ribbon is very nice indeed. Good job!
LikeLike
Thank you! All materials, except the grommets, were “bought” in my sewing and fabric stash. 🙂
LikeLike
The missing face is disturbing! Her neck is also elongated in a disturbing fashion.
The brim seam may have something to do with how the pieces are cut on the grain in comparison to each other – there might be some distortion. Maybe not, I could be very wrong. The underbrim should be a teeny bit smaller so that the upper piece rolls over to cover the edge. Sometimes this works better than other times, depending on the fabric and if you put out a big enough set of sacrificial cookies for the Hat Gods.
I’m not entirely joking about the cookies. I’ve made hats badly for a long time, and finally took a millinery course which just proved to me that I do not possess the hand sewing skills to make hats beyond a certain skill level. I keep the class hat out so that I can taunt myself with the hours I spent on a hat that is less than flattering. What was I thinking? I will tell you the method we used finished the wired brim edge with matching bias trim wrapped over it (machine stitched on the top, folded over and hand sewn on the less visible underside). That part looks great.
.
LikeLike