
Hi guys! Remember my last post? Well, the project is done, I’ve stopped whining, and I love the doily! This was an enjoyable sewing and designing experience.
Design Inspiration


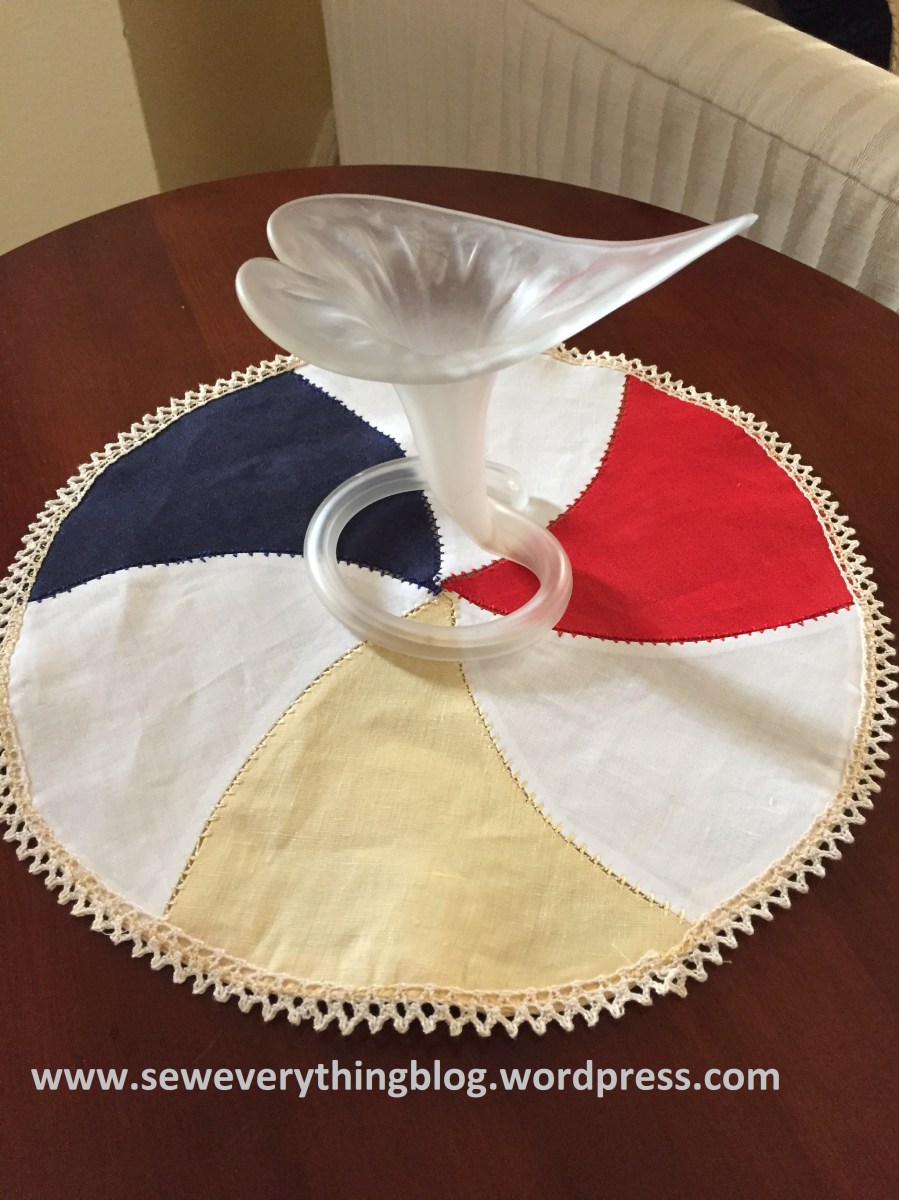
I’m calling it a pinwheel, with six sections joined at their sides with fagoting, an heirloom sewing method. About the design, I was inspired by this video by Ted Ed. I grabbed a compass and pencil, and revisited some grade school learning. Starting with a 13 inch circle, then marking half circles, I ended up retrieving one section of the design to use as a pattern. Now I’ve inspired myself to explore this further.
Stitch Inspiration
The inspiration for fagoting the edges together came from Carol Ahles’ book, Fine Machine Sewing; I’ve also attended Carol’s classes; she is a skillful, inspiring instructor.
Materials
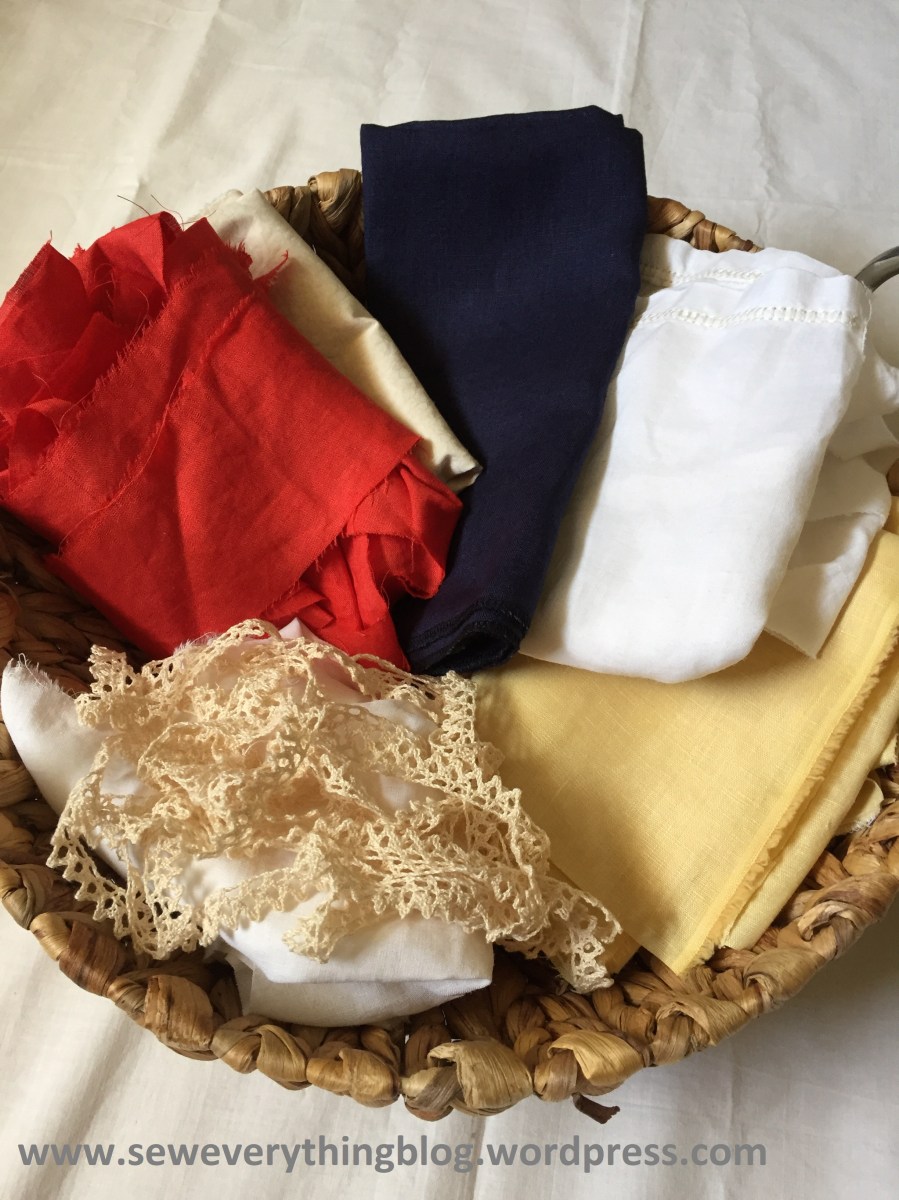
All scraps! They’re leftovers from various self-made linen clothing. I’m so glad these linen scraps were not thrown away.
Cutting out and Prepping
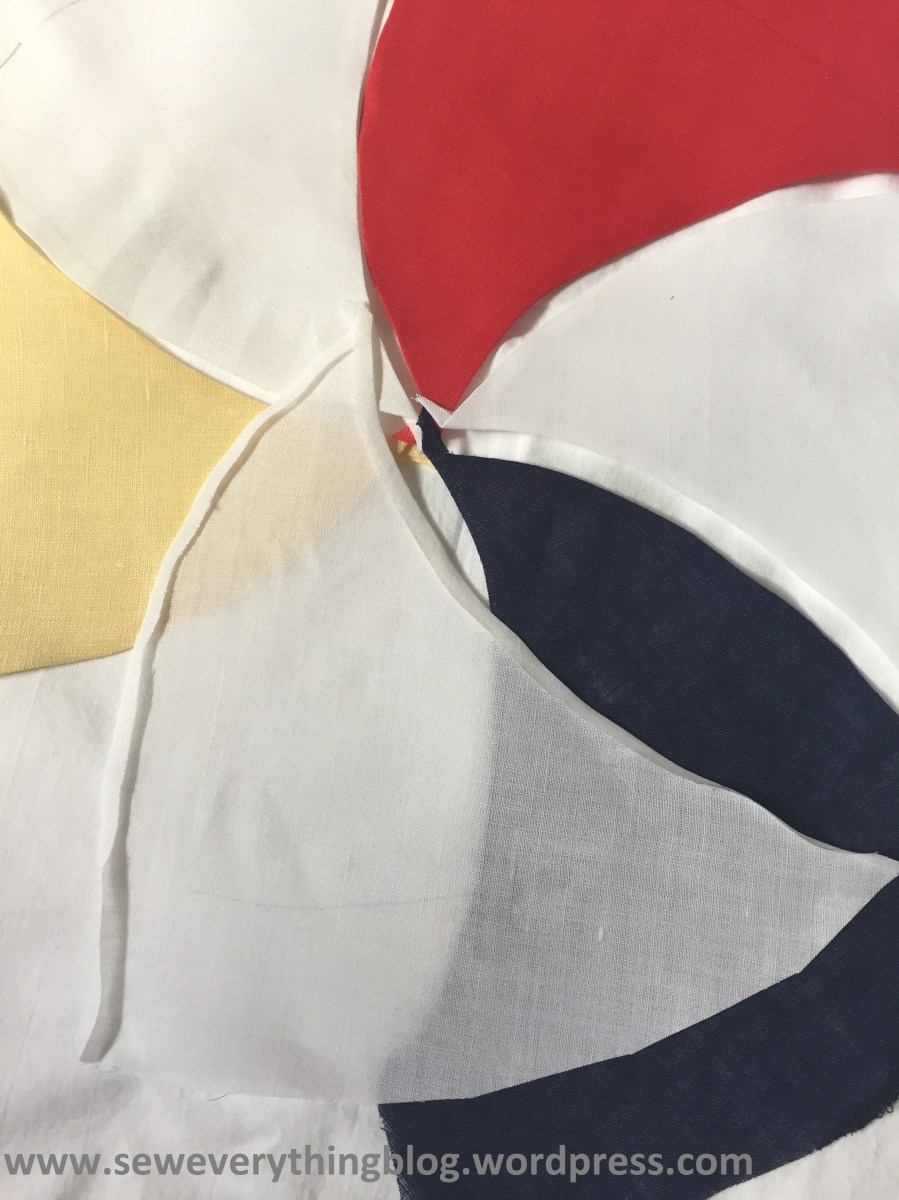
Starch the fabric pieces heavily. Trace the shape on starched fabric. Cut six pieces, three of white linen and one each of red, navy and yellow, 1/8” seam allowances being included. You read that right – 1/8th. The bottom of the pattern piece was extended beyond the line because I wanted to leave enough leeway to form a circle, without running too short. Does that make sense? Maybe it will later. Turn in 1/8 inch seam allowances on the sides. Leave bottom of the weird triangle unpressed.
Putting together
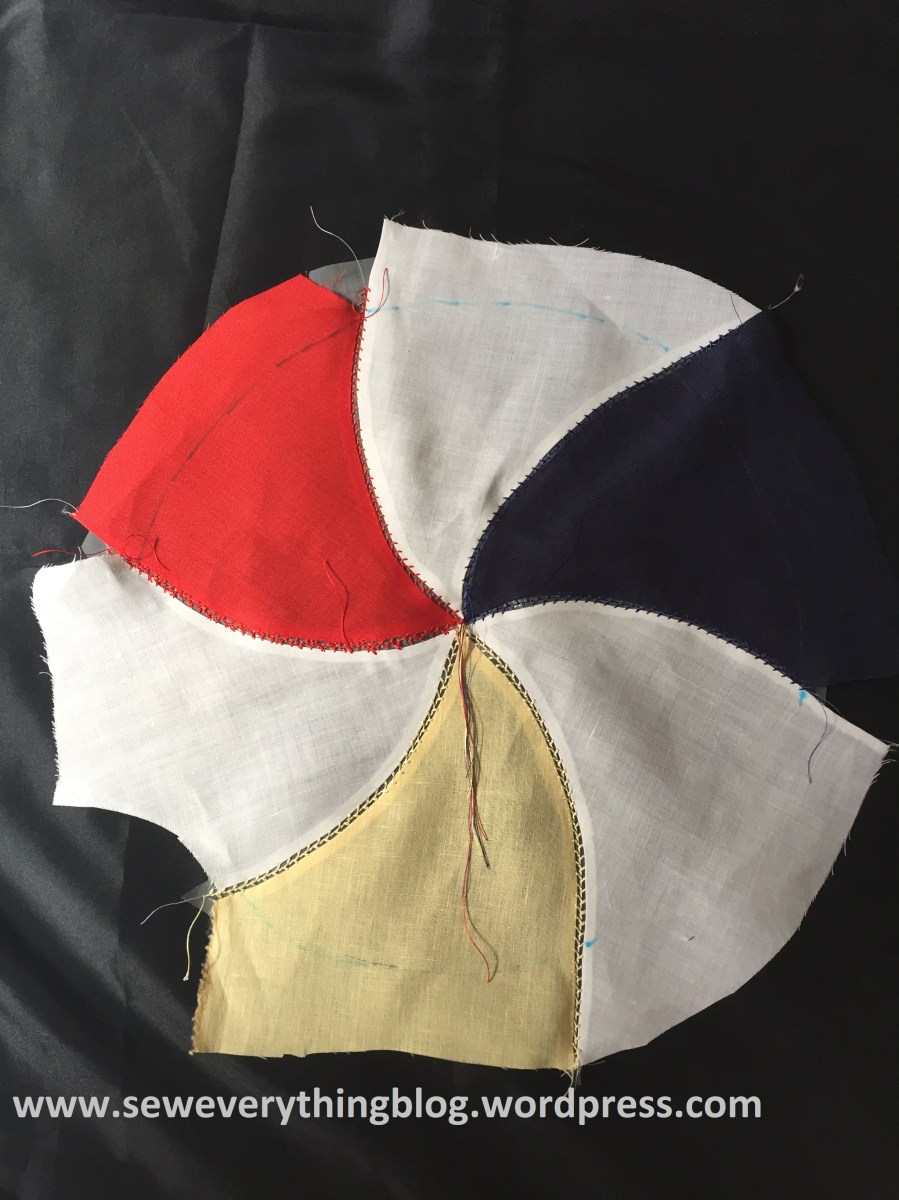
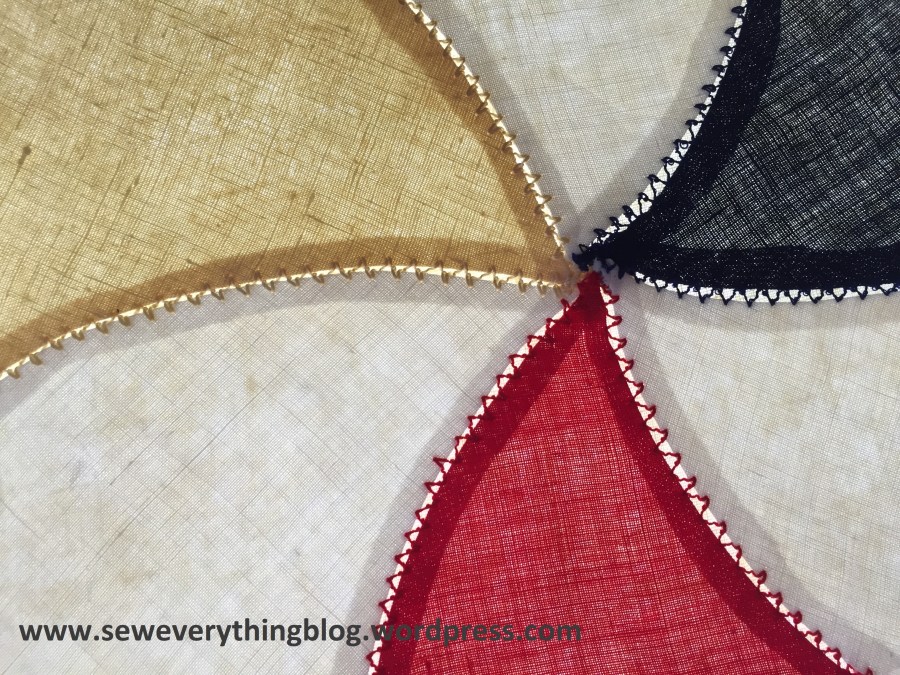
This is the fun part. If you’ve done fagoting or other heirloom stitching before, this should be easy. Align the two turned-under edges of a white piece and a red piece under the presser foot with no more than 1/8” open space between them. Any more than that, and you run the risk of missing one of the edges. Using red thread and an appropriate decorative stitch (I used feather stitch, which is #16 on my old Bernina 1230), sew the two edges – slowly – making sure that the stitches catch fabric edge on either side. Continue joining other linen pieces, until the last join will form a circle. Fagotng curved edges together will require a little more attention than straight edges but it’s cool. Press well. Note: my feather stitch does not look like a feather stitch anymore. That’s ok. Also note the weird looking outer edge. Relax.
The center


I pulled the loose threads to the back of the piece and made a small knot. It looks pretty clean from the right side.
Lining with the Circular Stitch Tool


I put a fun Bernina accessory to good use here – the circular embroidery tool. You can see it in action on the Bernina USA website, but mine was bought more than 25 years ago, and as such is simpler in looks; however, it achieves the same great results! The purpose is to sew a perfect circle without having to mark it on the fabric, and without too much manipulation. Here’s how I used it. The lining of the doily (square piece of yellow linen) and the doily were sewn in a circle, right sides together, leaving a 4 inch opening to turn. Since I used the circular tool/guide, the doily was sewn in a perfect circle. I pinned down the center of both layers on the pin (left side of picture), and covered the pin with the rubber cap. The outer edge of doily went under the presser foot. Sew up the circle! Then cut away, leaving ¼” seam allowance. Turn inside out through the 4 inch opening, pushing out the edges of the circle. Press well and close up the opening with hand or machine stitching.
Finishing touch
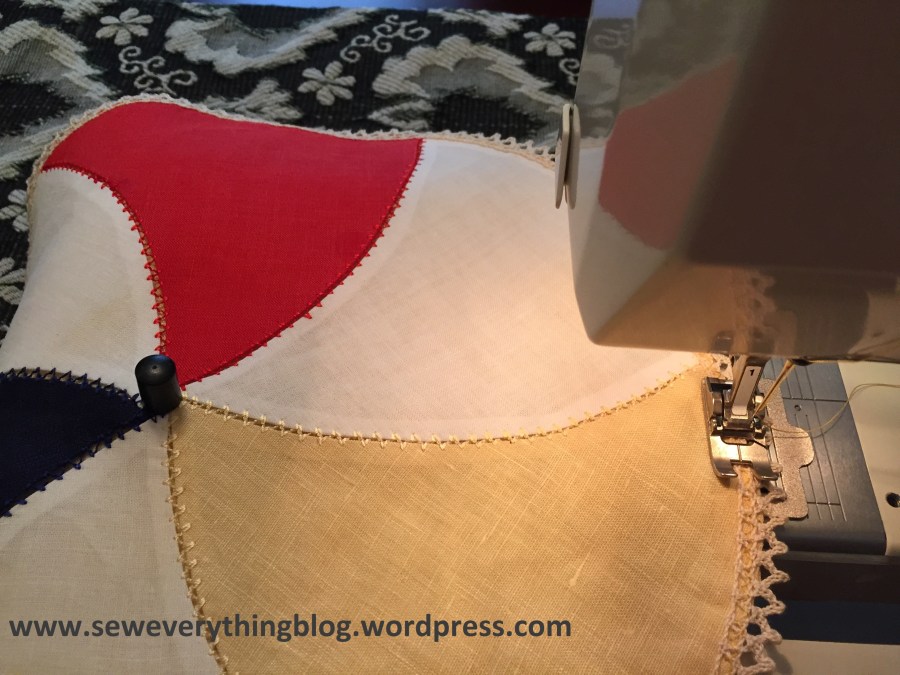
Wait, we’re not done yet. I added a cotton lace edging using a zig-zag stitch and my new best friend, the circular embroidery tool!
We’re done!
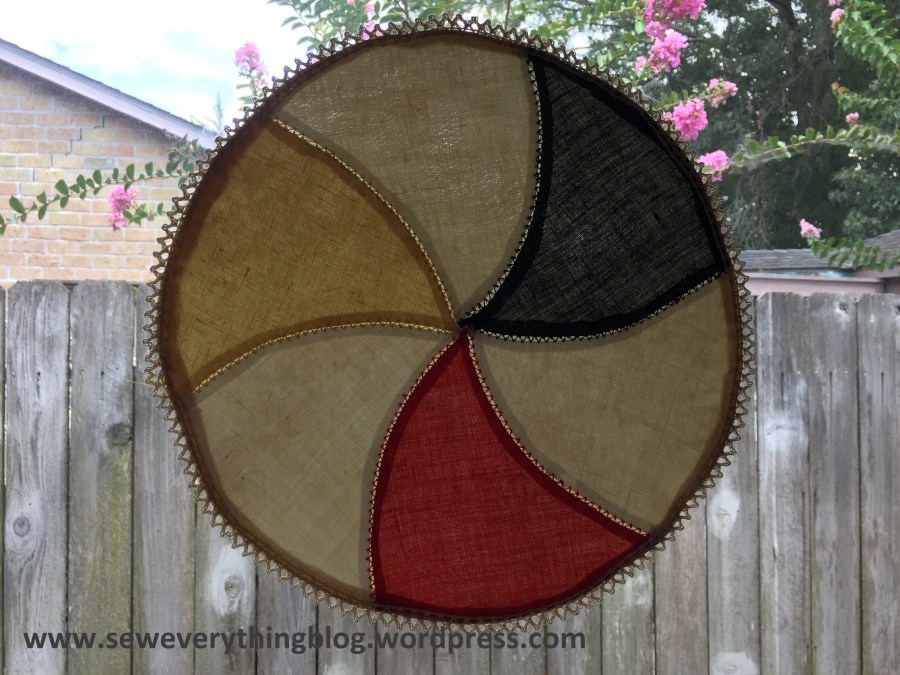
This was my second attempt at this patriotic pinwheel doily. The first was disastrous, in spite of all the prepping. Lessons were learned:
- In heirloom type sewing, starch is your best friend.
- You can use a backing such as tissue paper for the joining, or water soluble backing. In the first doily, I used “Paper Solvy” which turned out to be perfect for the fagoting but disastrous when washing it out. The stickiness just wouldn’t wash away easily. My second doily was done without any backing. Starch worked perfectly well.
- The first doily pieces were fagoted together with too wide a space between edges. The solvy underneath gave me a false sense of success, until the washing. There were many, many areas where I had missed the edge.
- White thread in the bobbin looked great, because of the presence of the thick Solvy stabilizer. On washing out, the white threads were visible and looked bad. So, match the bobbin thread to the top thread.
Feel free to ask any questions. If I can scan the one pattern piece as a PDF, I will surely put it up here so you don’t have to drag out your geometry tools. For my graphic designer friends out there – can one make this design in Power Point? Or Adobe Illustrator?
Have a happy, safe and creative summer.
Much love, Samina

This looks great and thank you for the tutorial.
LikeLike
You’re welcome, Catherine! I hope you make one soon.
LikeLike
What a great project and very good instructions. Thanks for the ideas
LikeLike
Hope you make one, Marilyn! Share a picture if you do 🙂
LikeLike
What an adorable pinwheel doily. The stitches are beautiful.
LikeLike
As always, appreciate your comment. Thank you, Tomasa.
LikeLike