
It’s time to divulge more sewing secrets from the mysterious east, and from last week’s Guessing Games post. Congratulations to Myra of the Simple Inspirations blog, for winning the game. You nailed it, Myra! To the “baggy pants” crowd, also well done.
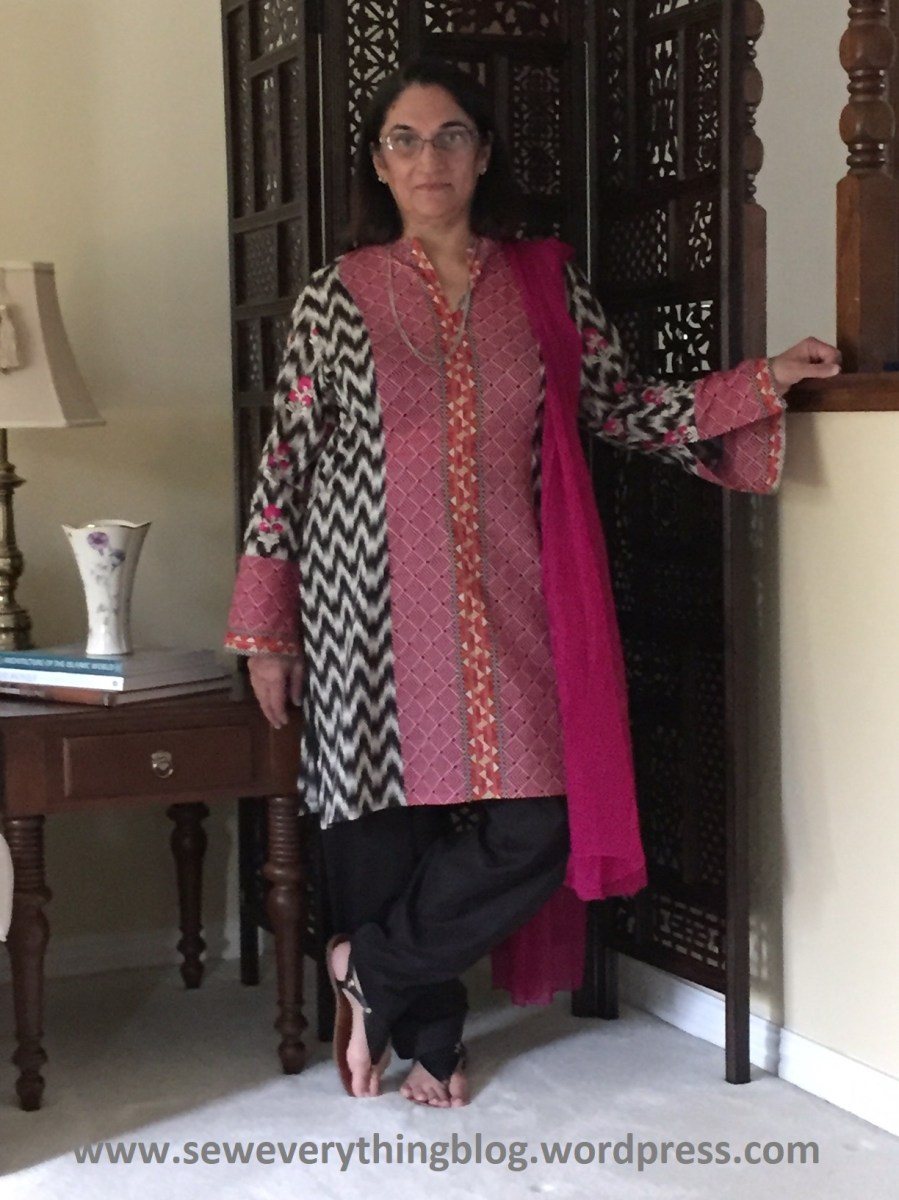
The bottom garment here is a shalwar (pronounced shull-waar). It’s worn with a long tunic called kurta, or with a shift-like kameez. The shalwar is indigenous to northern Pakistan and India, a region collectively known as the Punjab. Today, it’s a universal garment, worn on a daily basis by much of the female population in the subcontinent.


Generalities
I was going to photograph each stage of the basic black shalwar, except black fabric is so not photogenic. So I’ve included images of a green RTW one for better optics; plus I’ve attempted to create simple power point graphics to clarify. Now some general factoids:
- The shalwar is made of geometric shapes pieced together.
- It drapes loosely.
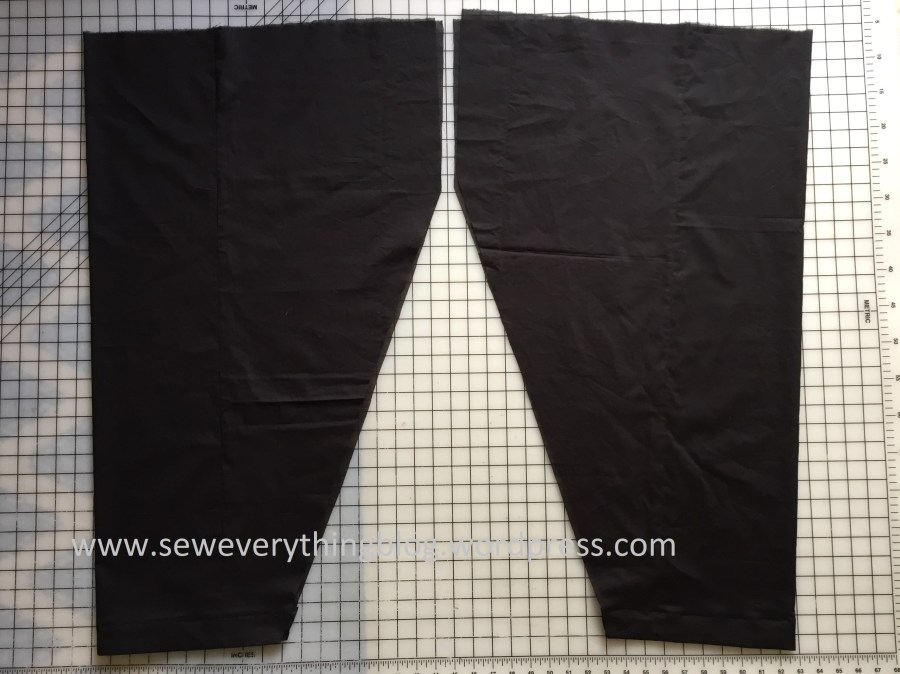
- Each pant leg has one straight panel and two side pieces (kali). There’s a “belt” at the top, with an elastic waist.
- The seams are straight, with one bias seam on each pant leg. No curved seams in the shalwar.
- I used ½ inch seams throughout.
- A shalwar has what would be called a dropped crotch.
- Fun fact: The shalwars were kept in place with drawstrings before the wonders of elastic were discovered. Sometimes belts are a perfectly tailored with a zipper on the side and/or pants-hooks and eyes. All are eventually hidden by the top, though.
Measuring and Cutting

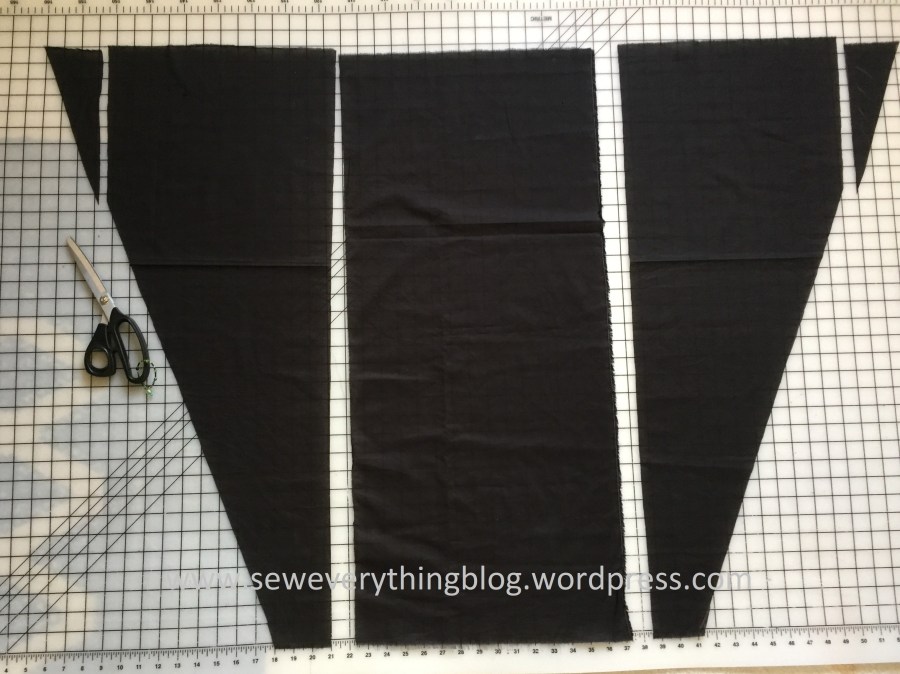
Components of each pant leg: one straight rectangle is the front panel, the triangles are the sides (kalis), 2” wide fabric strips to face the hem. Then, there’s the belt piece.
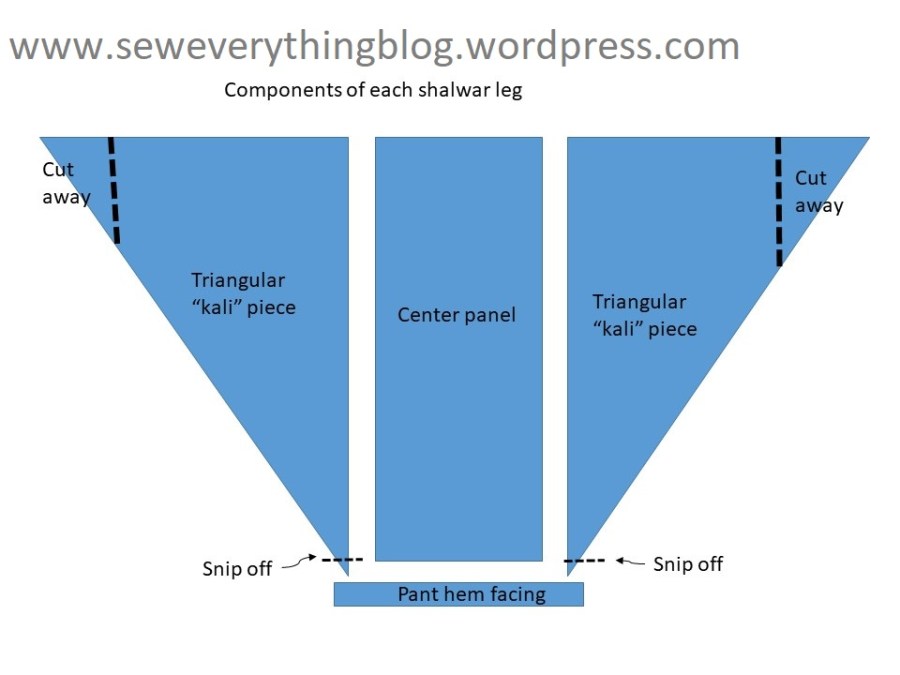
- Refer to the layout above when reading this section. Measure length, hips and preferred width of pant hem.
- Finished length of the shalwar is waist to below ankle. When worn, there is a slight break at the front hem.
- Belt length is hip measurement plus 4 inches plus 1/2 inch seam allowance on each side.
- Belt width is approximately 9.5 inches plus 1/2 inch seam allowance each on top and bottom, and 1 1/2 inch for casing. Total: 12 inches. This is a variable.
- From each “kali” (triangle) cut away the top points to create a new vertical edge which is 8-9 inches; this is also a variable with individual figure, because this edge (plus the belt width) will be the crotch seam. Refer to diagram below.
- Cut two 2” wide strips of fashion fabric X desired width of pant leg.
- Fun fact: Except for the diagonal kali seams, you can “tear” the fabric to get all pattern pieces, provided the fabric is on grain.
Construction
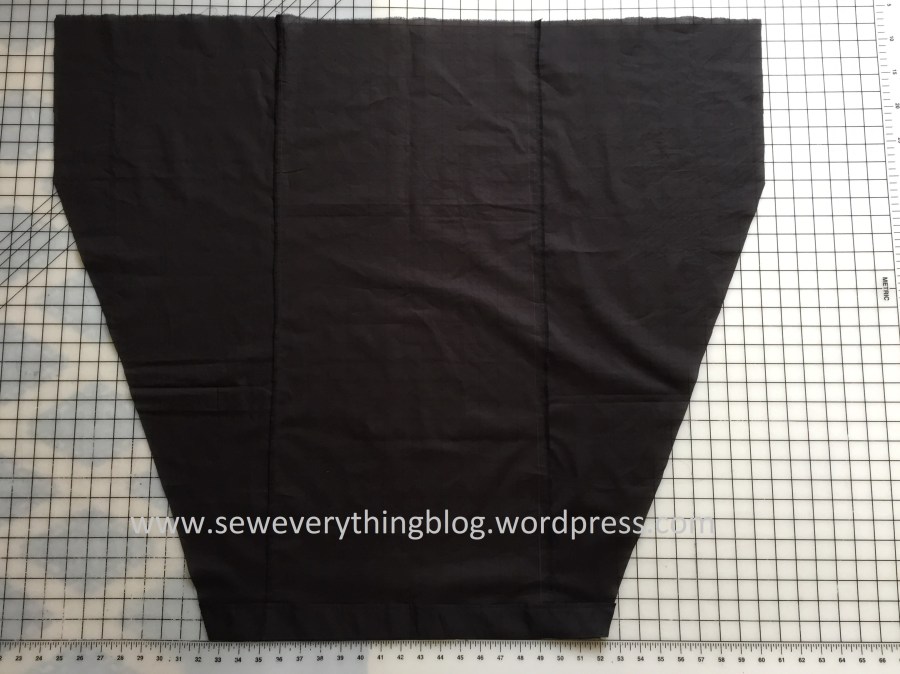
- Sew straight long edge of each kali to each long straight side of front panel. Repeat with the other front panel. Finish seams ; I serge-finished mine.

- Bottom of pant leg is faced/finished as follows:
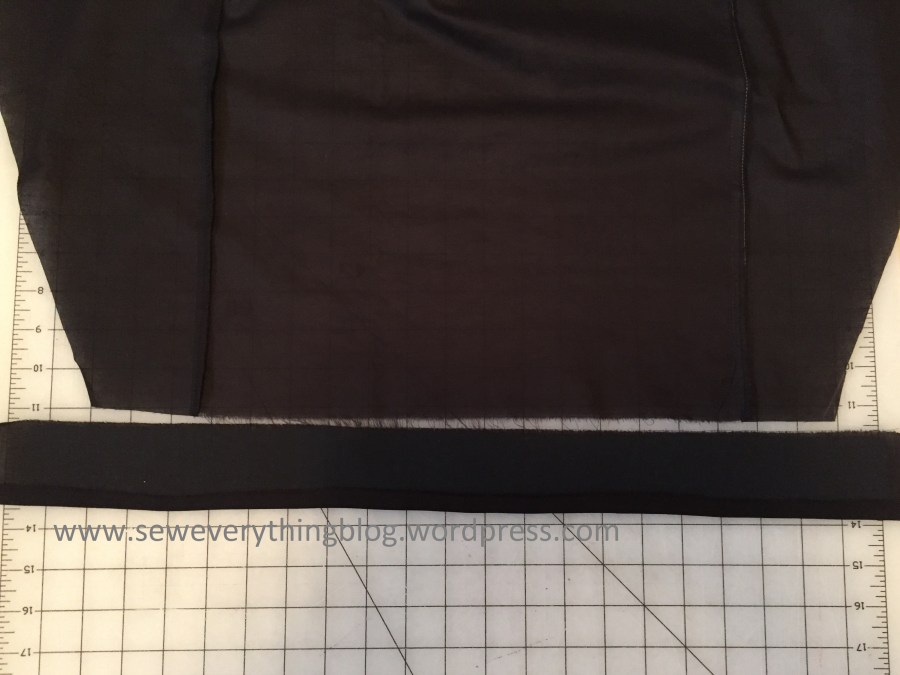
- Interface wrong side of strip/facing.
- Sew the strip to the bottom of pant hem, right sides together. Press and under-stitch.
- Turn up and press ½ inch on the unattached edge of strip.
- Press up strip/facing to the wrong side. Baste the top edge to the pant leg.
- From the right side top stitch in place with basting as guide.
- Fun fact: you can channel stitch the facing, use fancy stitches, machine embroidery or any embellishment you want on this pant hem. I left mine plain.

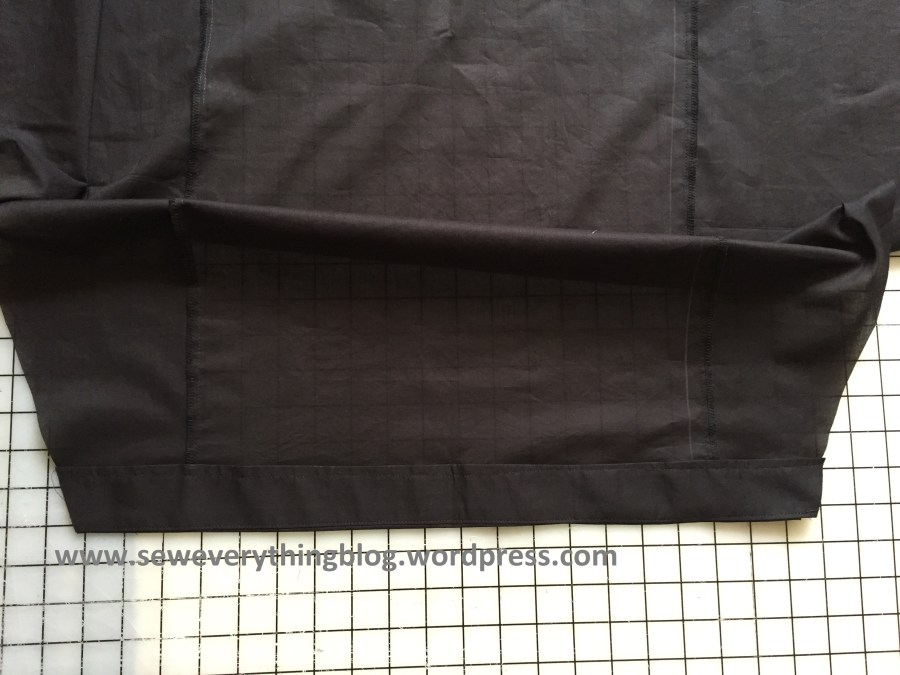
- Fold each leg, bringing the diagonal edges together. Sew this bias edge. Two shalwar legs have now taken shape.
- Sew crotch seam by inserting one pant leg into the other, right sides together. Finish seam, press and turn to right side. Crotch may seem a little short to you but we haven’t added the belt yet – remember??
- Press each pant leg flat to get the front crease established. It will look like the crease is on the side, but it will be on the front when finished. You’ll see…..
- Create the belt by sewing together the short edges – this seam will be the center front. Press down one long edge ½ inch and then again 1 ¼ inch, sew down to form elastic casing, leaving 2“ open to insert elastic. This is for 1 inch elastic, but it can vary. You can use any method for the elastic.
- Gathering the top of the shalwar to fit the belt: This step is easy to do but tricky to explain. I’ll do my best.
- Most of the gathers or pleats on the front are between the two front creases, crossing the crotch/center front seam. Gather enough that each front crease is midway between belt’s center seam and the side. This will ensure that the crease falls on the front of your leg. If you would like the front pant crease a little to the side, move the gathers so that the crease moves a little to the side.
- Gathering on the back is minimal, or none at all. If the pant has more fabric on the back than fits the belt, go ahead and take up the slack by gathering on either side of center back.

- Pin the belt and the shalwar right sides together; sew and serge-finish seam. Add elastic to the casing.
- Fun fact: I used the multi-channel elastic (sport elastic) because that is what I had in my stash. Another fun fact: the green shalwar leaves a few inches on the front portion of the belt un-elasticized; I kinda like that and made my waistband that way. But you can run an elastic all around.
And, we’re done! If any questions, I’d love to answer them!
Samina

Dear Samina,
Thankyou for these instructions. May I ask if 2.5 metres of 115 cm. wide fabric would be enough for a (British) size 8 woman to make shalwars? I bought some Indian indigo-dyed cotton two days ago, for this purpose – without any idea of how to set about it – so your post is wonderfully apposite. Kurti next!
Most sincerely, Sarah
LikeLike
Hi Sarah! I’m thrilled that you can put my shalwar post to good use 🙂 . I had to look up some conversion charts to answer your question. For an average height person, your yardage and fabric width seems enough. You may be left with some usable scraps, too. One way to make sure is to measure your waist to below-ankle length, plus seam allowances. The fabric yardage should be at least twice that length – remember, you need two pant legs!! 😀 . Your fabric width (45 inches) should accommodate all the pieces.
Feel free to ask any other questions. Would also love to see a picture of your finished shalwar.
LikeLike
Thanks so much for sharing the construction, Samina. I was always curious about how the shalwar was cut. It’s such a beautifully shaped garment made without curved edges.
LikeLike
You’re welcome, Olga. Amazing how geometric (masculine looking) pieces end up in a feminine garment.
LikeLike
Interesting shape and construction. I like the way the pleated front drapes.
LikeLike
Thanks for sharing this information. I like the fabric combinations you chose. You look great in this ensemble!
LikeLike