
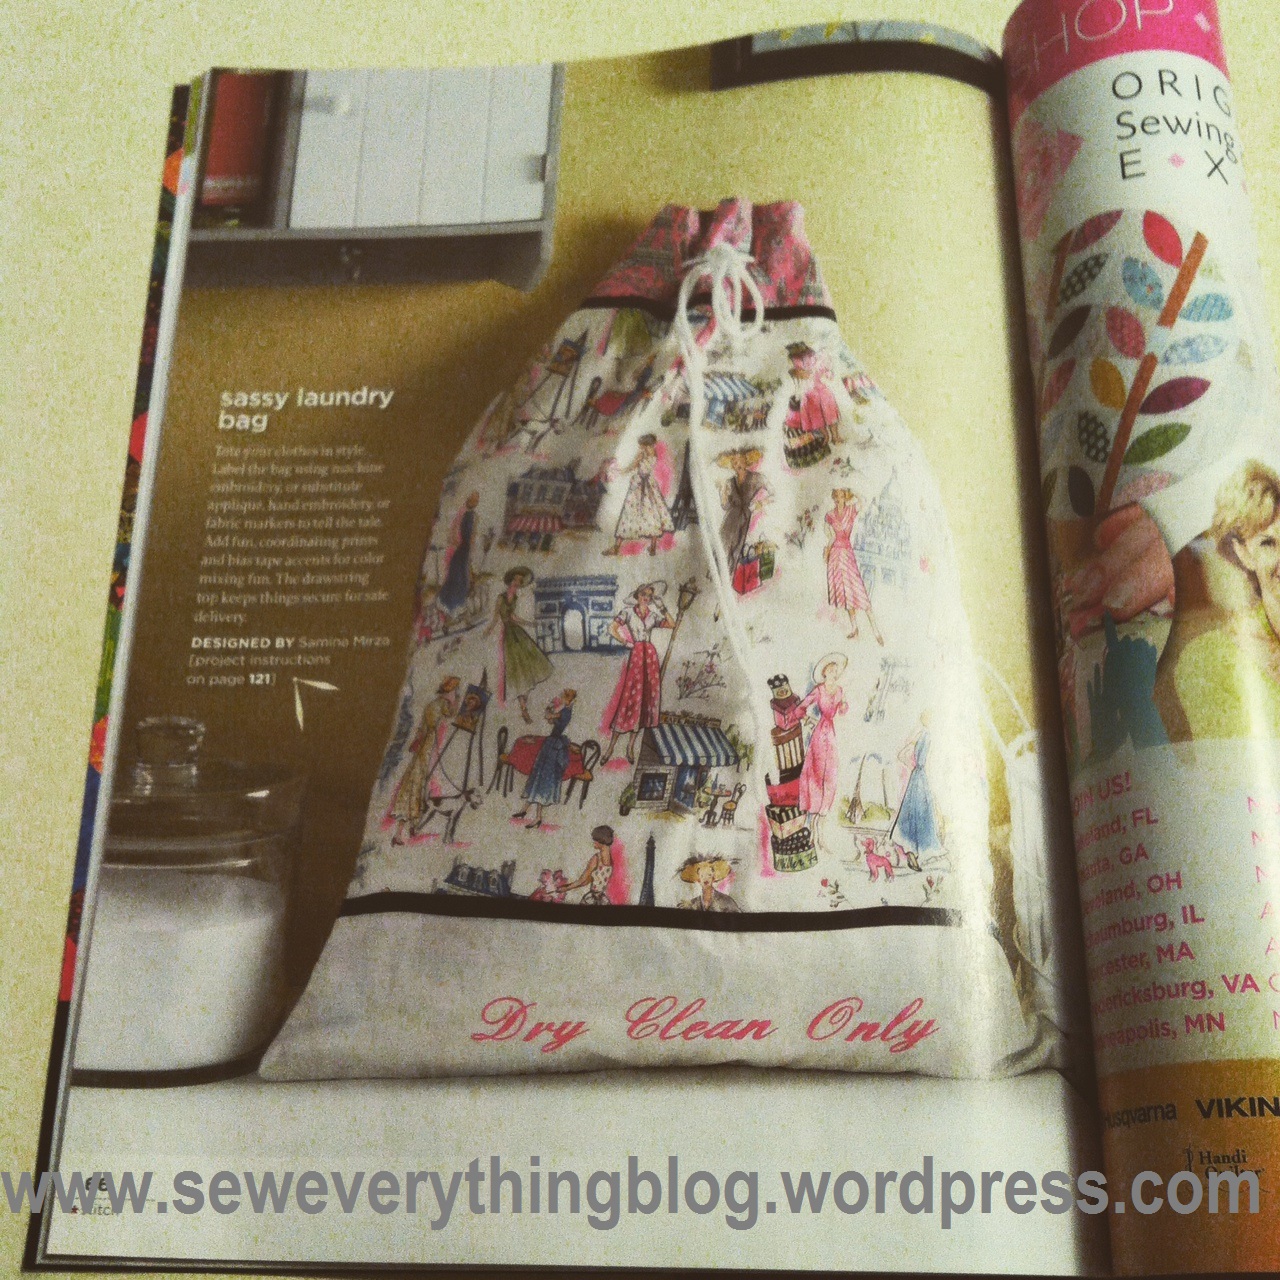
If you have to haul your dirty clothes to the laundry, I suggest you haul them in great style. I made this pillowcase-style laundry bag for my daughter who was probably just requesting a utilitarian sack to carry her dry cleanables to the corner laundry in New York. No fun. Trust Mama to turn a boring item into a fun sewing project.
Well, the laundry bag travelled across country to the West Coast, then went back to the East Coast as my contribution to the Spring 2015 Stitch magazine! Before the Spring issue is taken off the newsstands, go ahead and buy it. And make the laundry bag 🙂
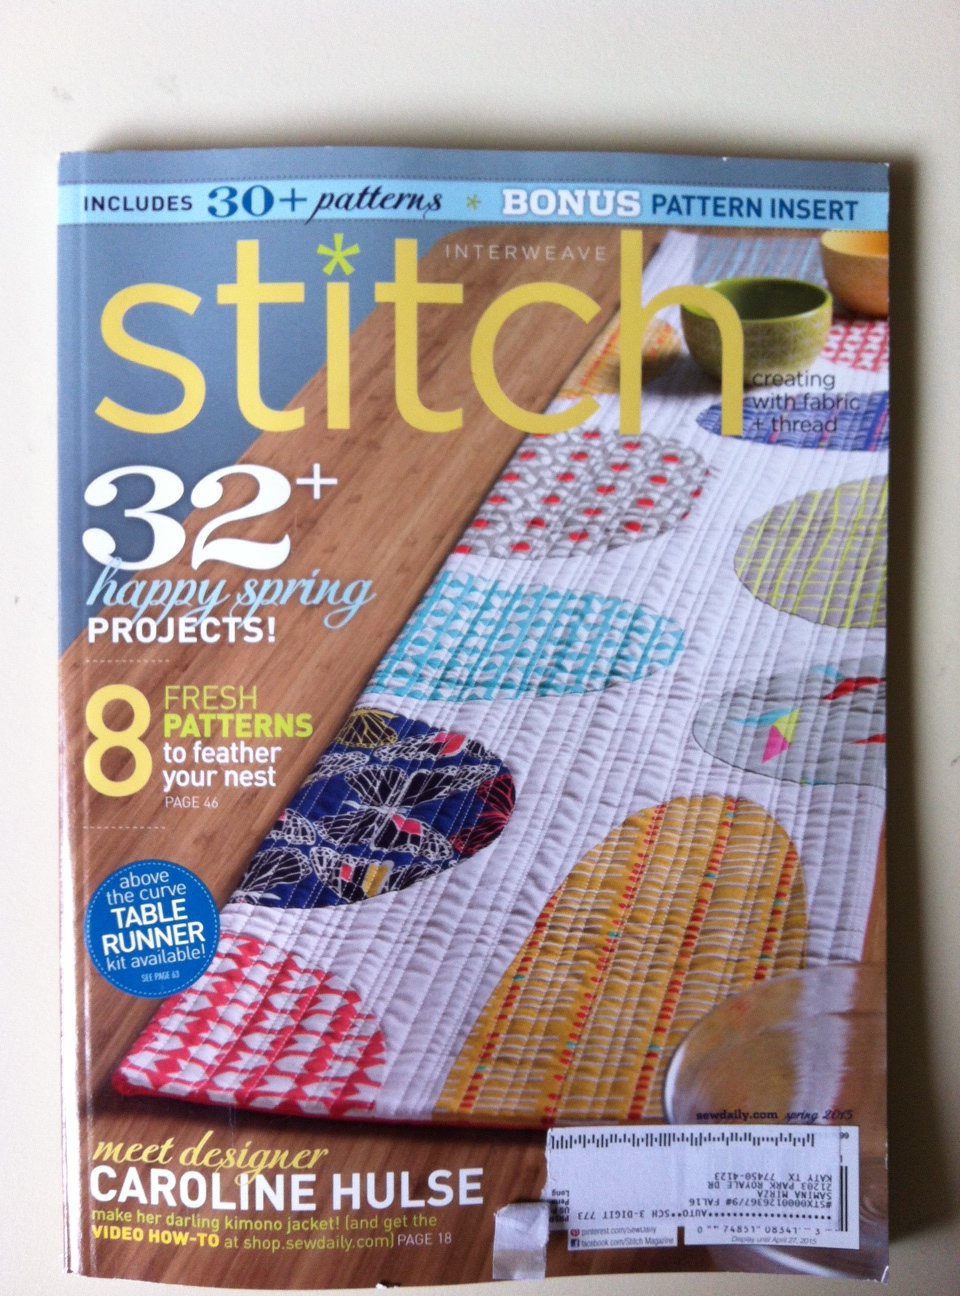
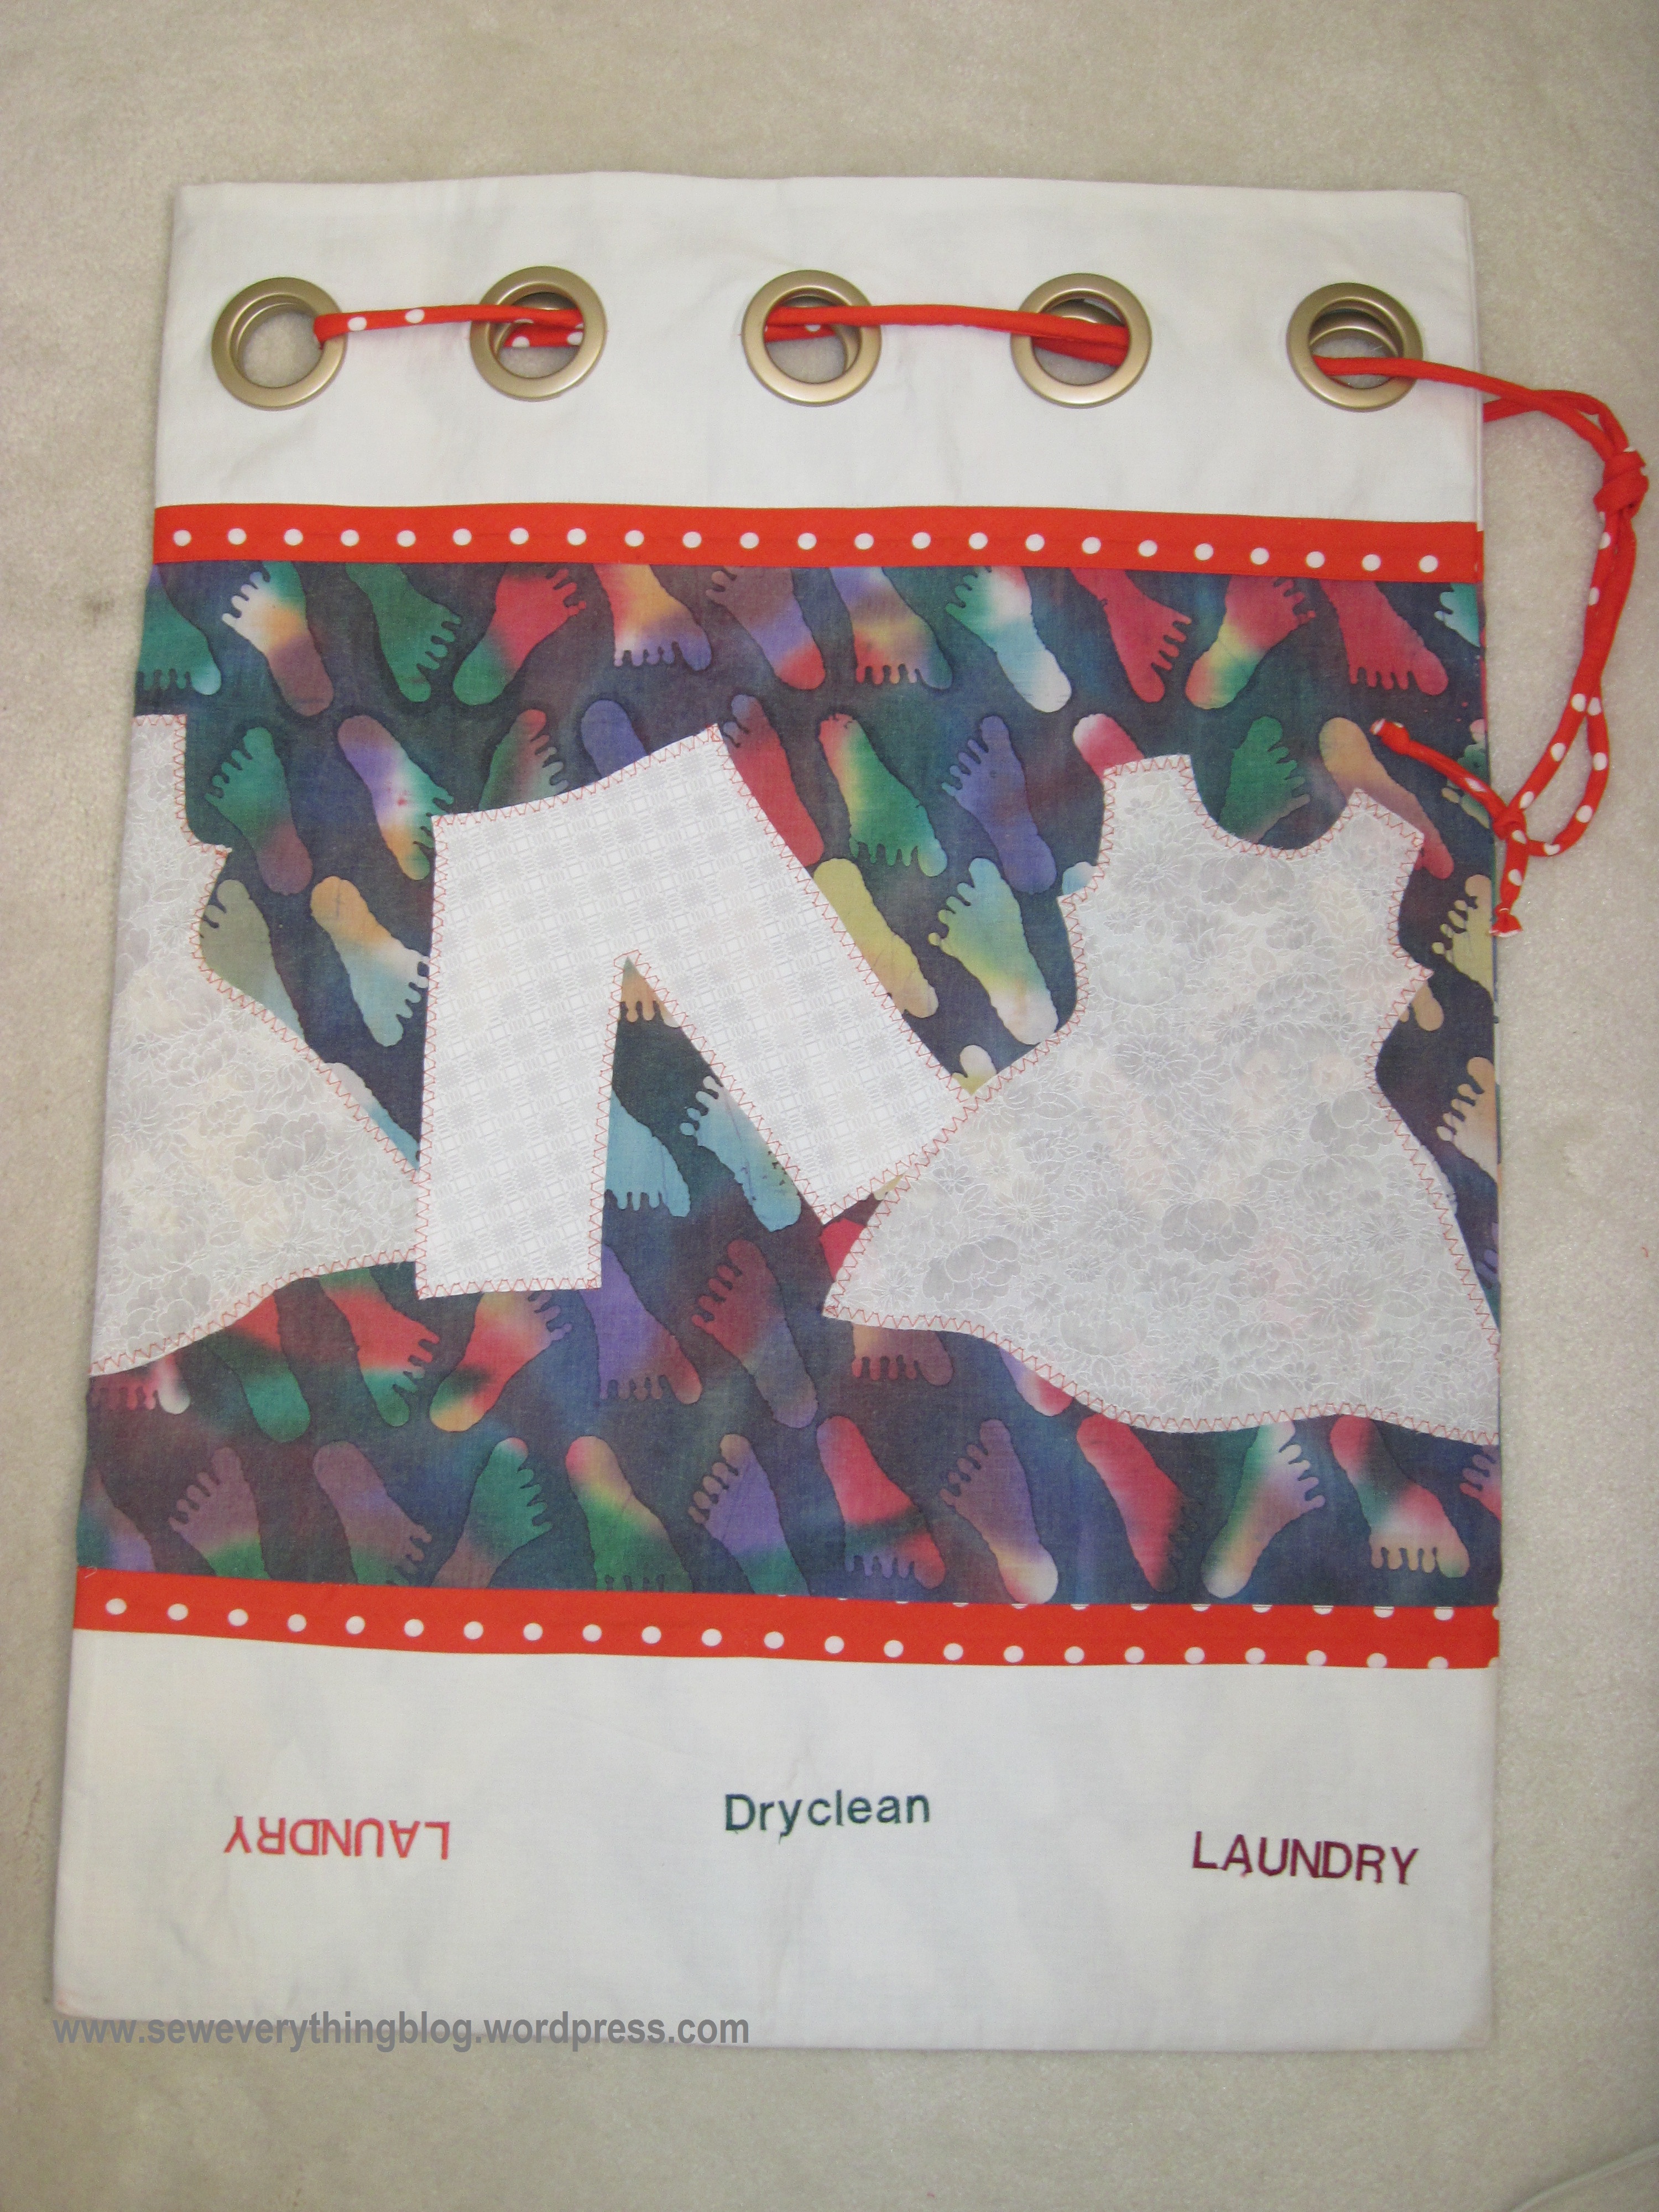
Besides being fun, it is the perfect, easy item to jump start a sewing slump. Details and instructions in Stitch (Interweave Press). Since we sewing enthusiasts are huge show-offs, here’s another one I made. The laundry bag below is made the same way as the published version. There are some changes I made; firstly, I appliqued some “laundry”, secondly, instead of making buttonholes at the top I installed plastic grommets. Thirdly, I covered the cotton cord with bias tape. You’ll notice that one of the words embroidered on the bottom panel is upside down — adds to the fun, funky character of the laundry bag.
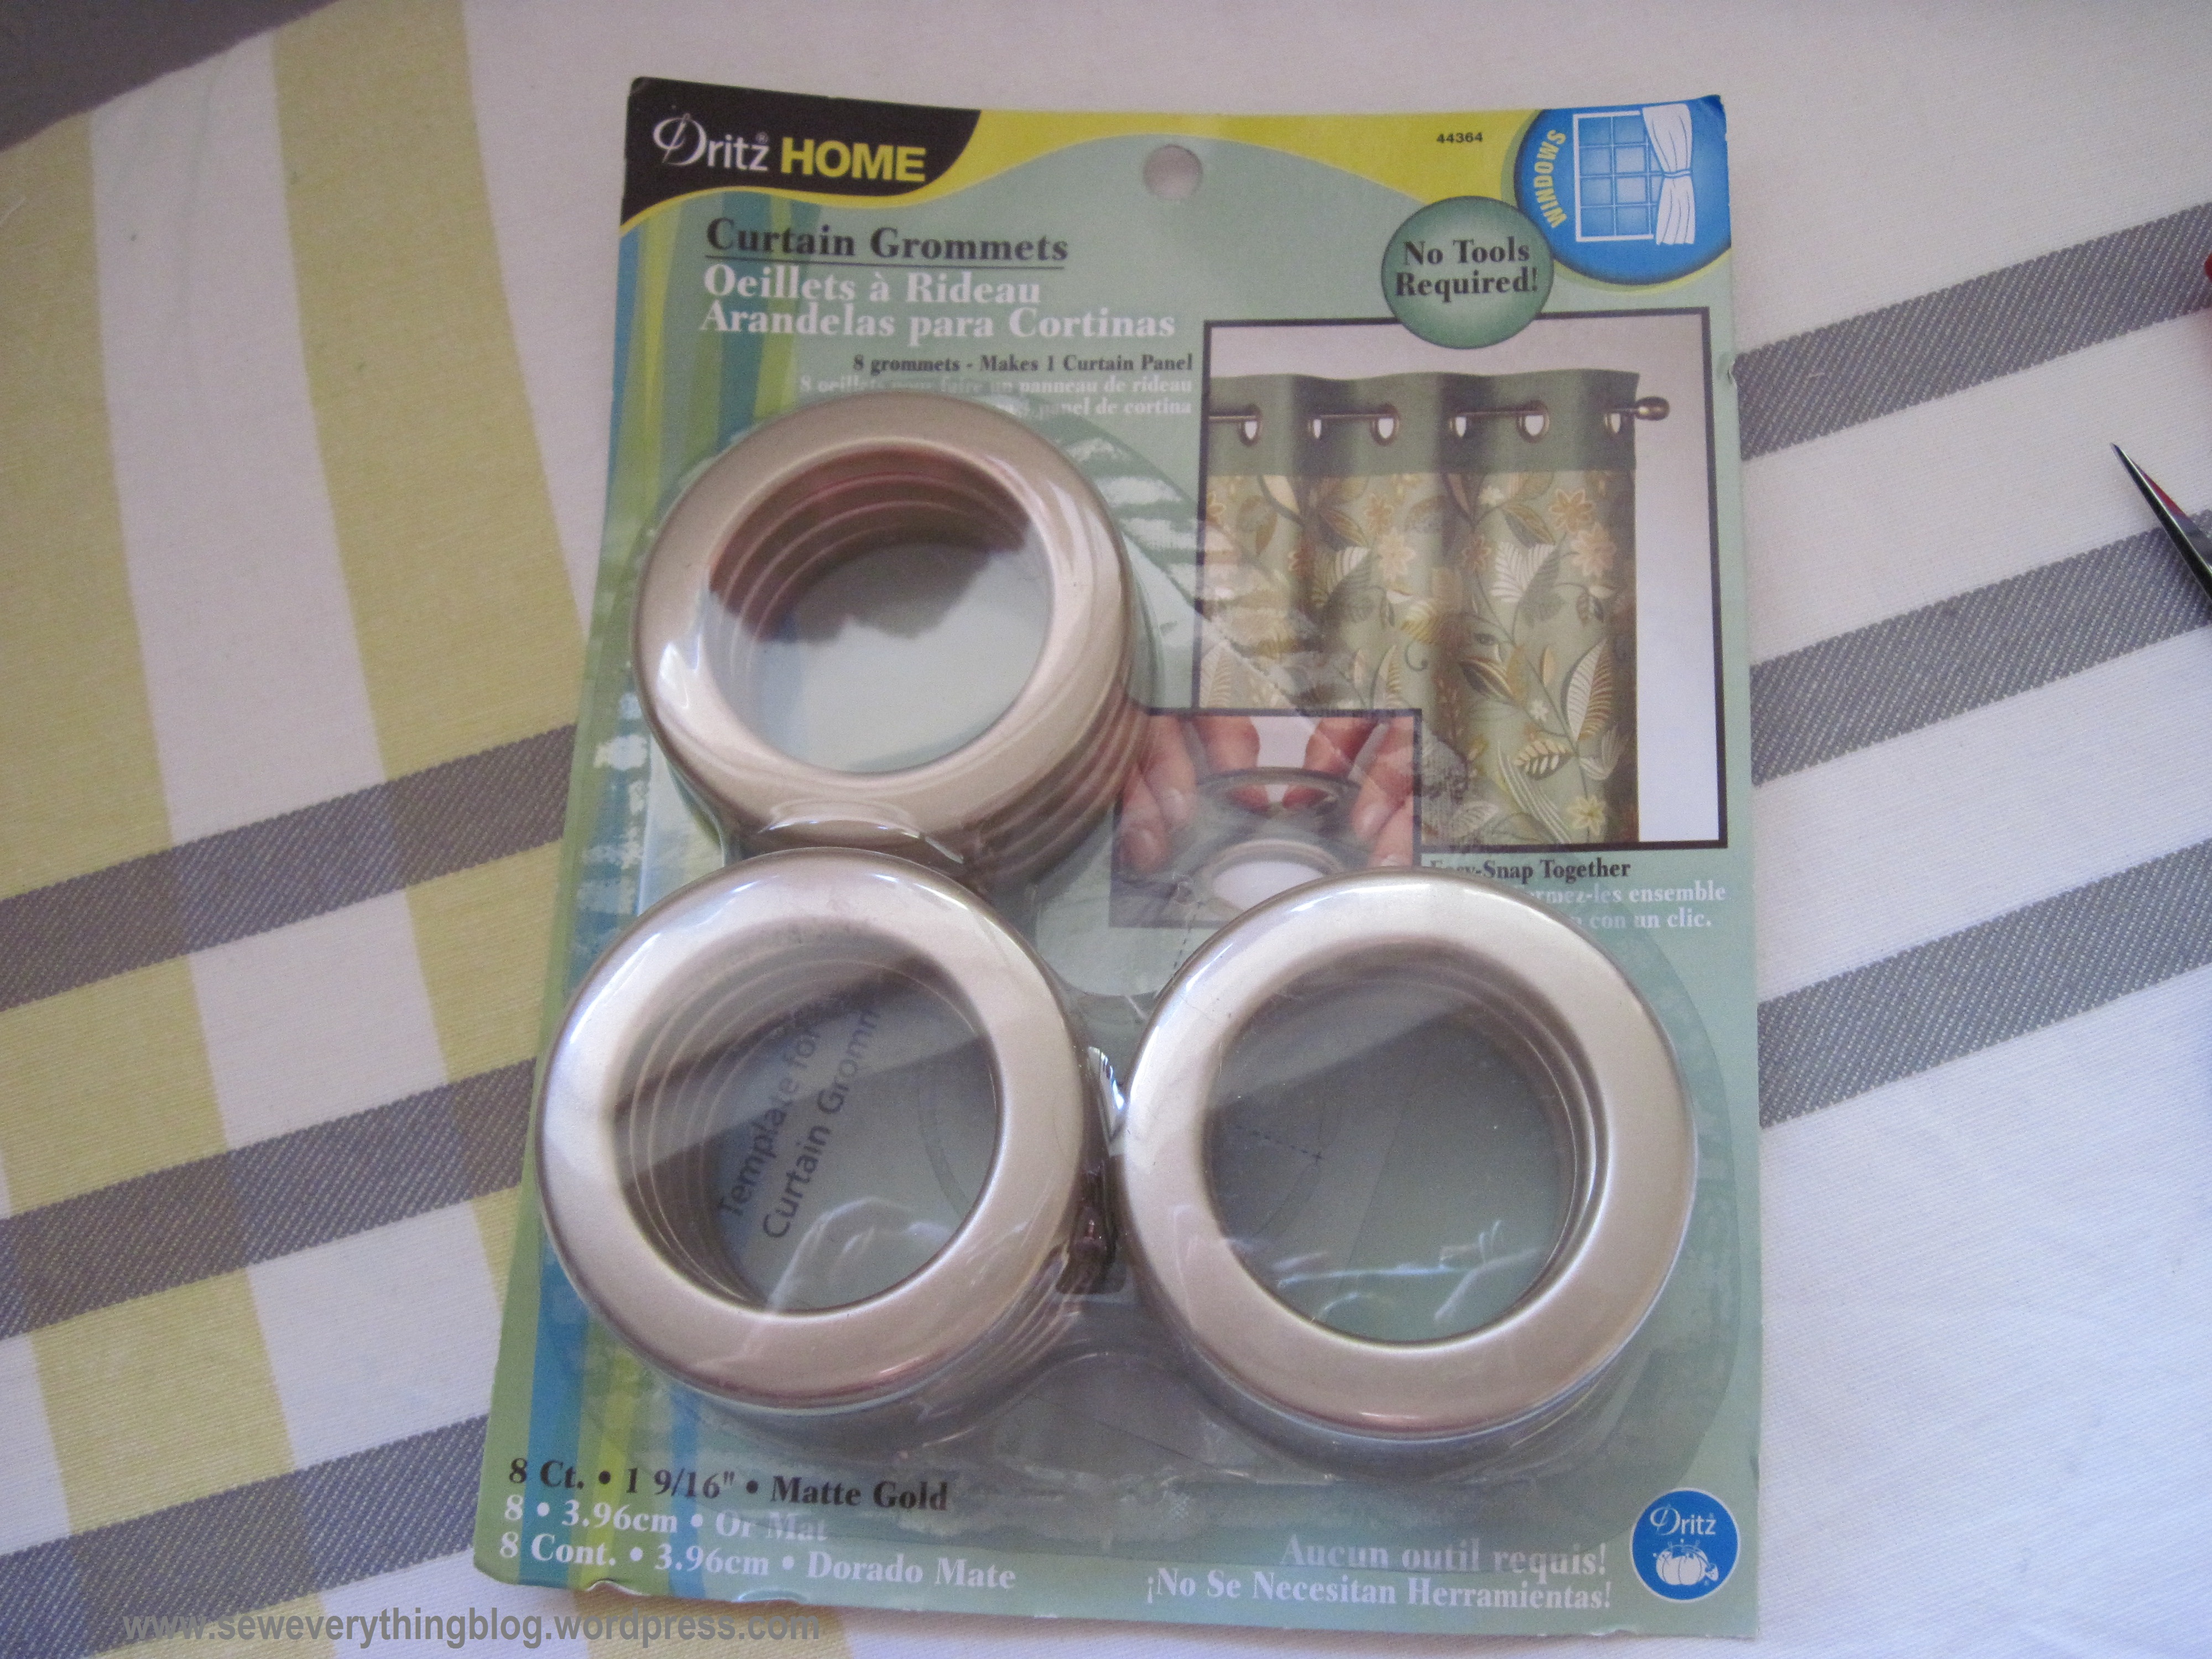
The grommets are manufactured by Dritz, and took me a few years to actually be able to install them. All previous attempts ended in failure, and I almost threw the whole package away, and am so glad I didn’t.
Here is how I installed the plastic grommets.
1. Interface, interface, interface. The fabric area where the grommet will be added needs some body – the kind provided by a non-woven fusible. On the upper white band I used an interfacing by Pellon.
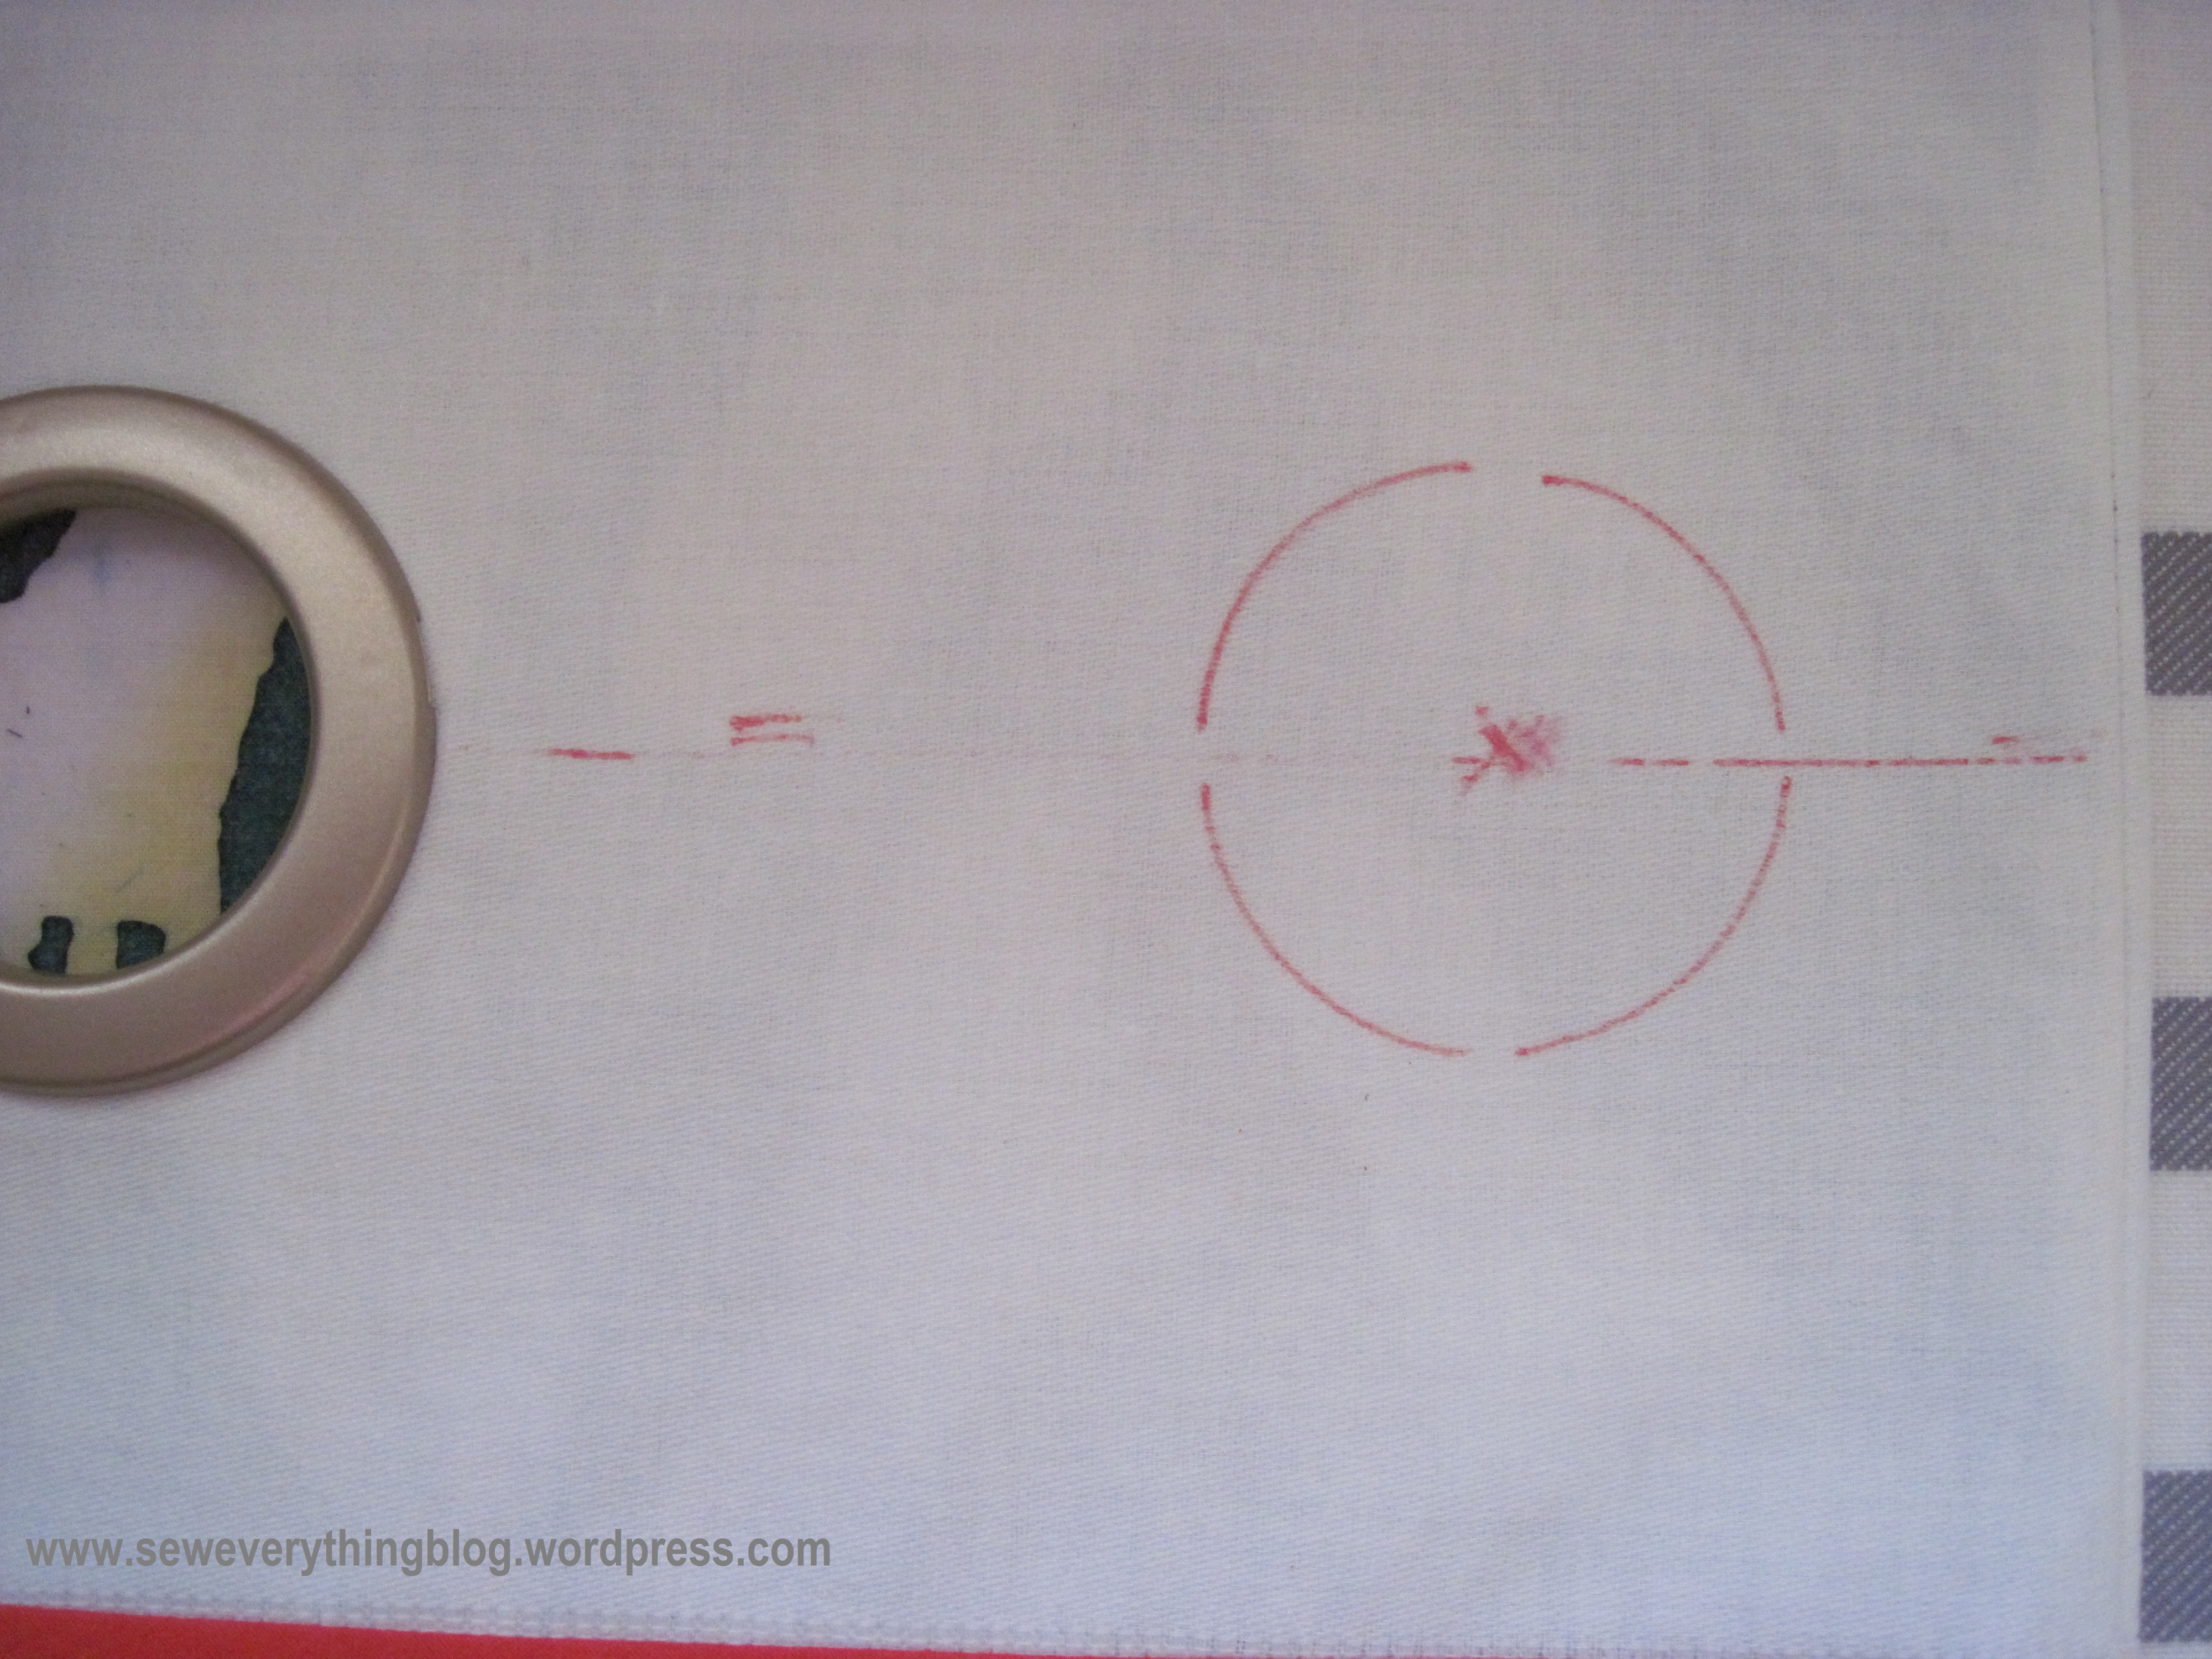
2. On the right side of the interfaced area, use the template provided in the grommets package to trace a circle. All circles should be traced at a predetermined equal distance.
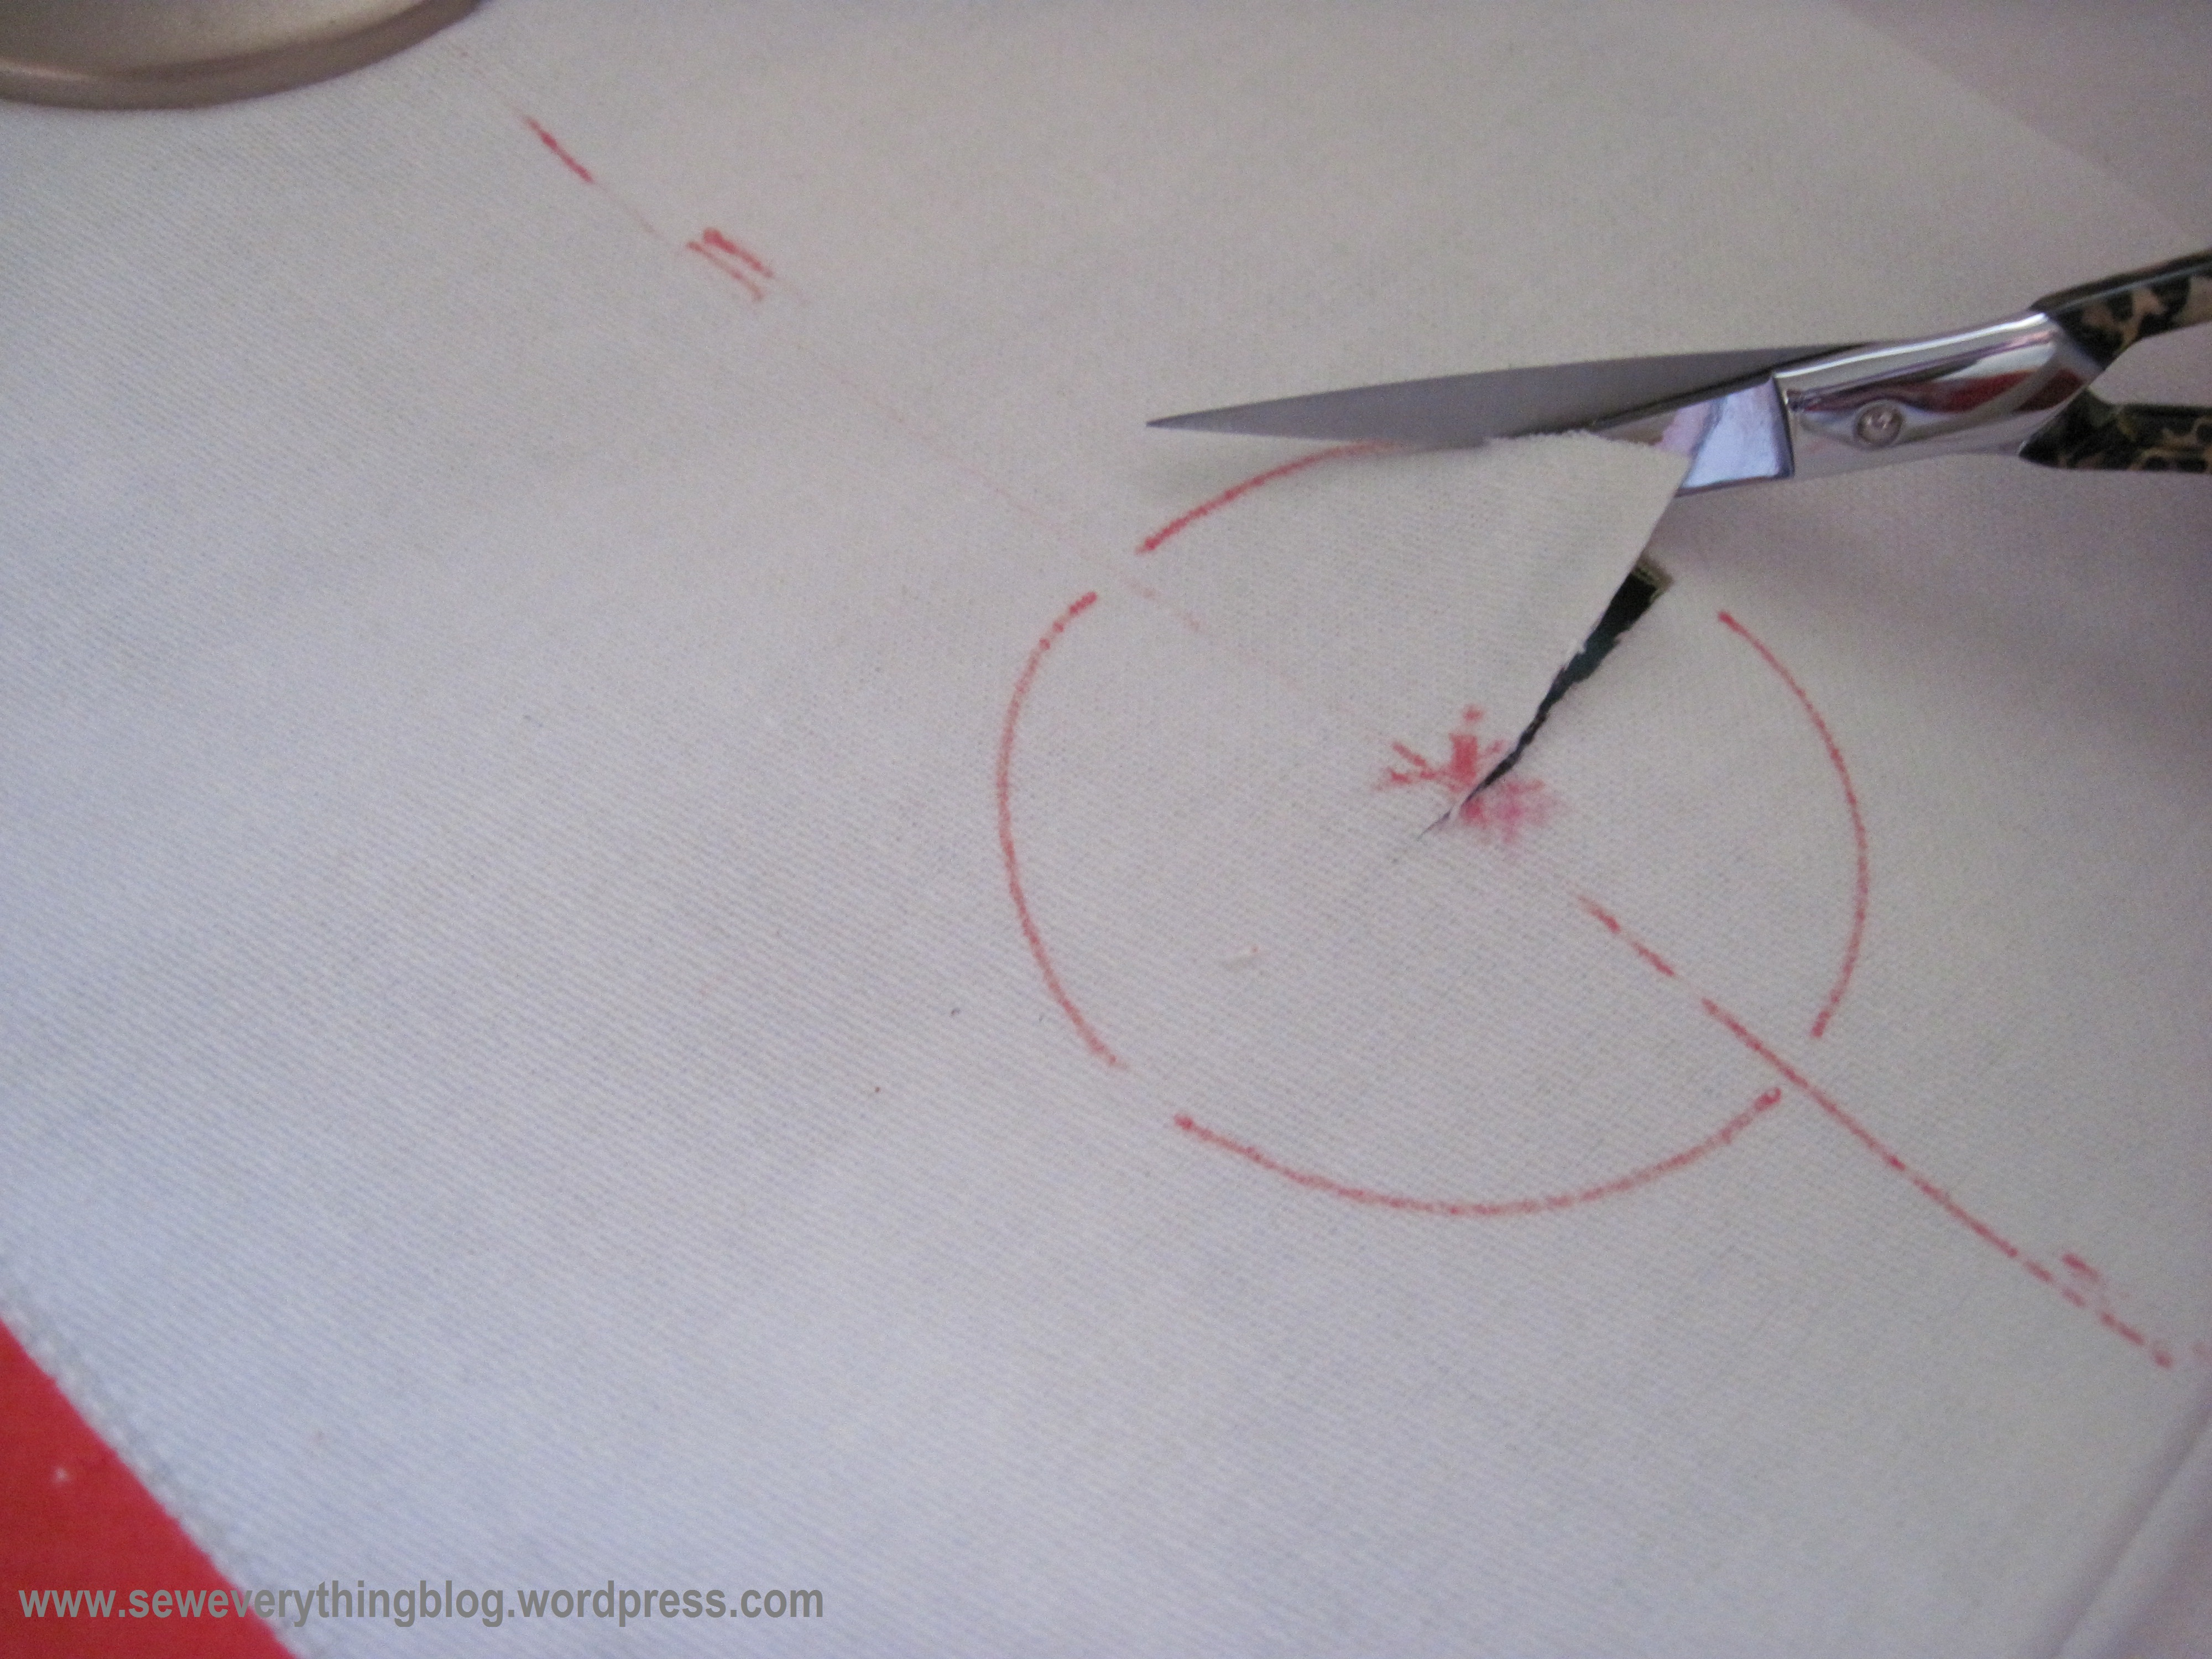
3. With a small sharp pair of scissors, cut out the traced circle – through both layers.
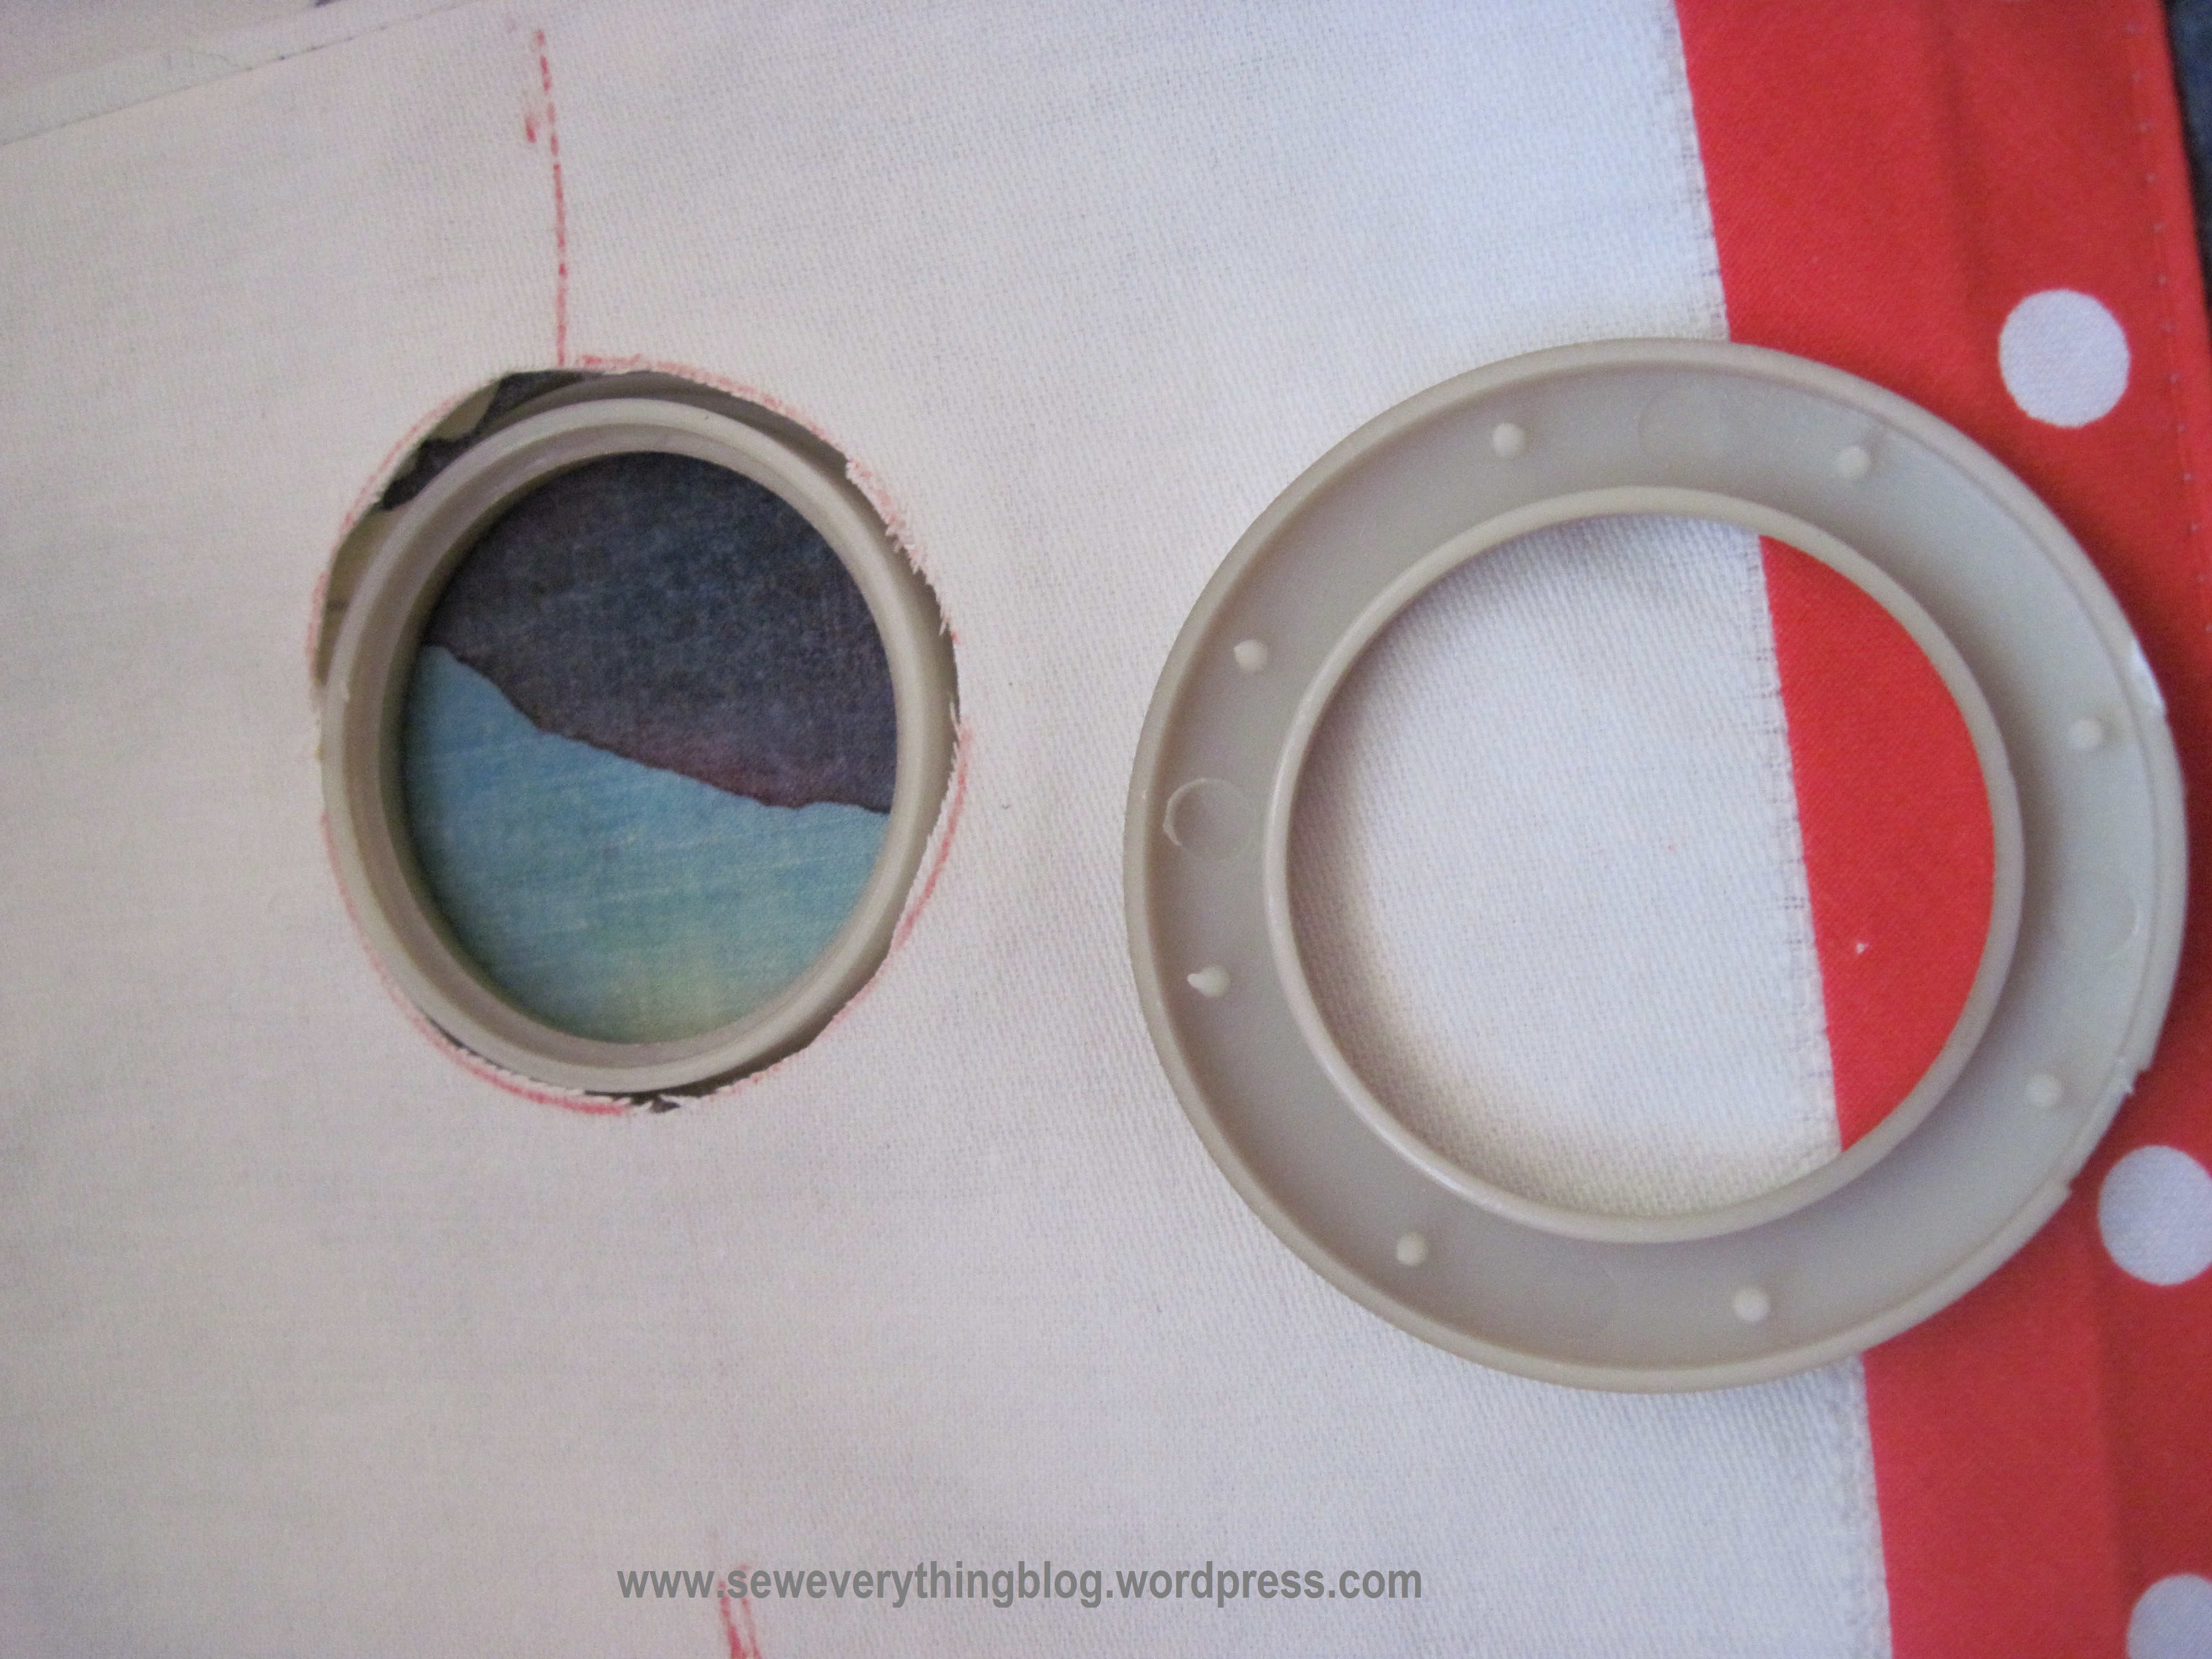
4. The plastic grommets are paired thusly: One has grooves on the underside and it’s partner has pins.

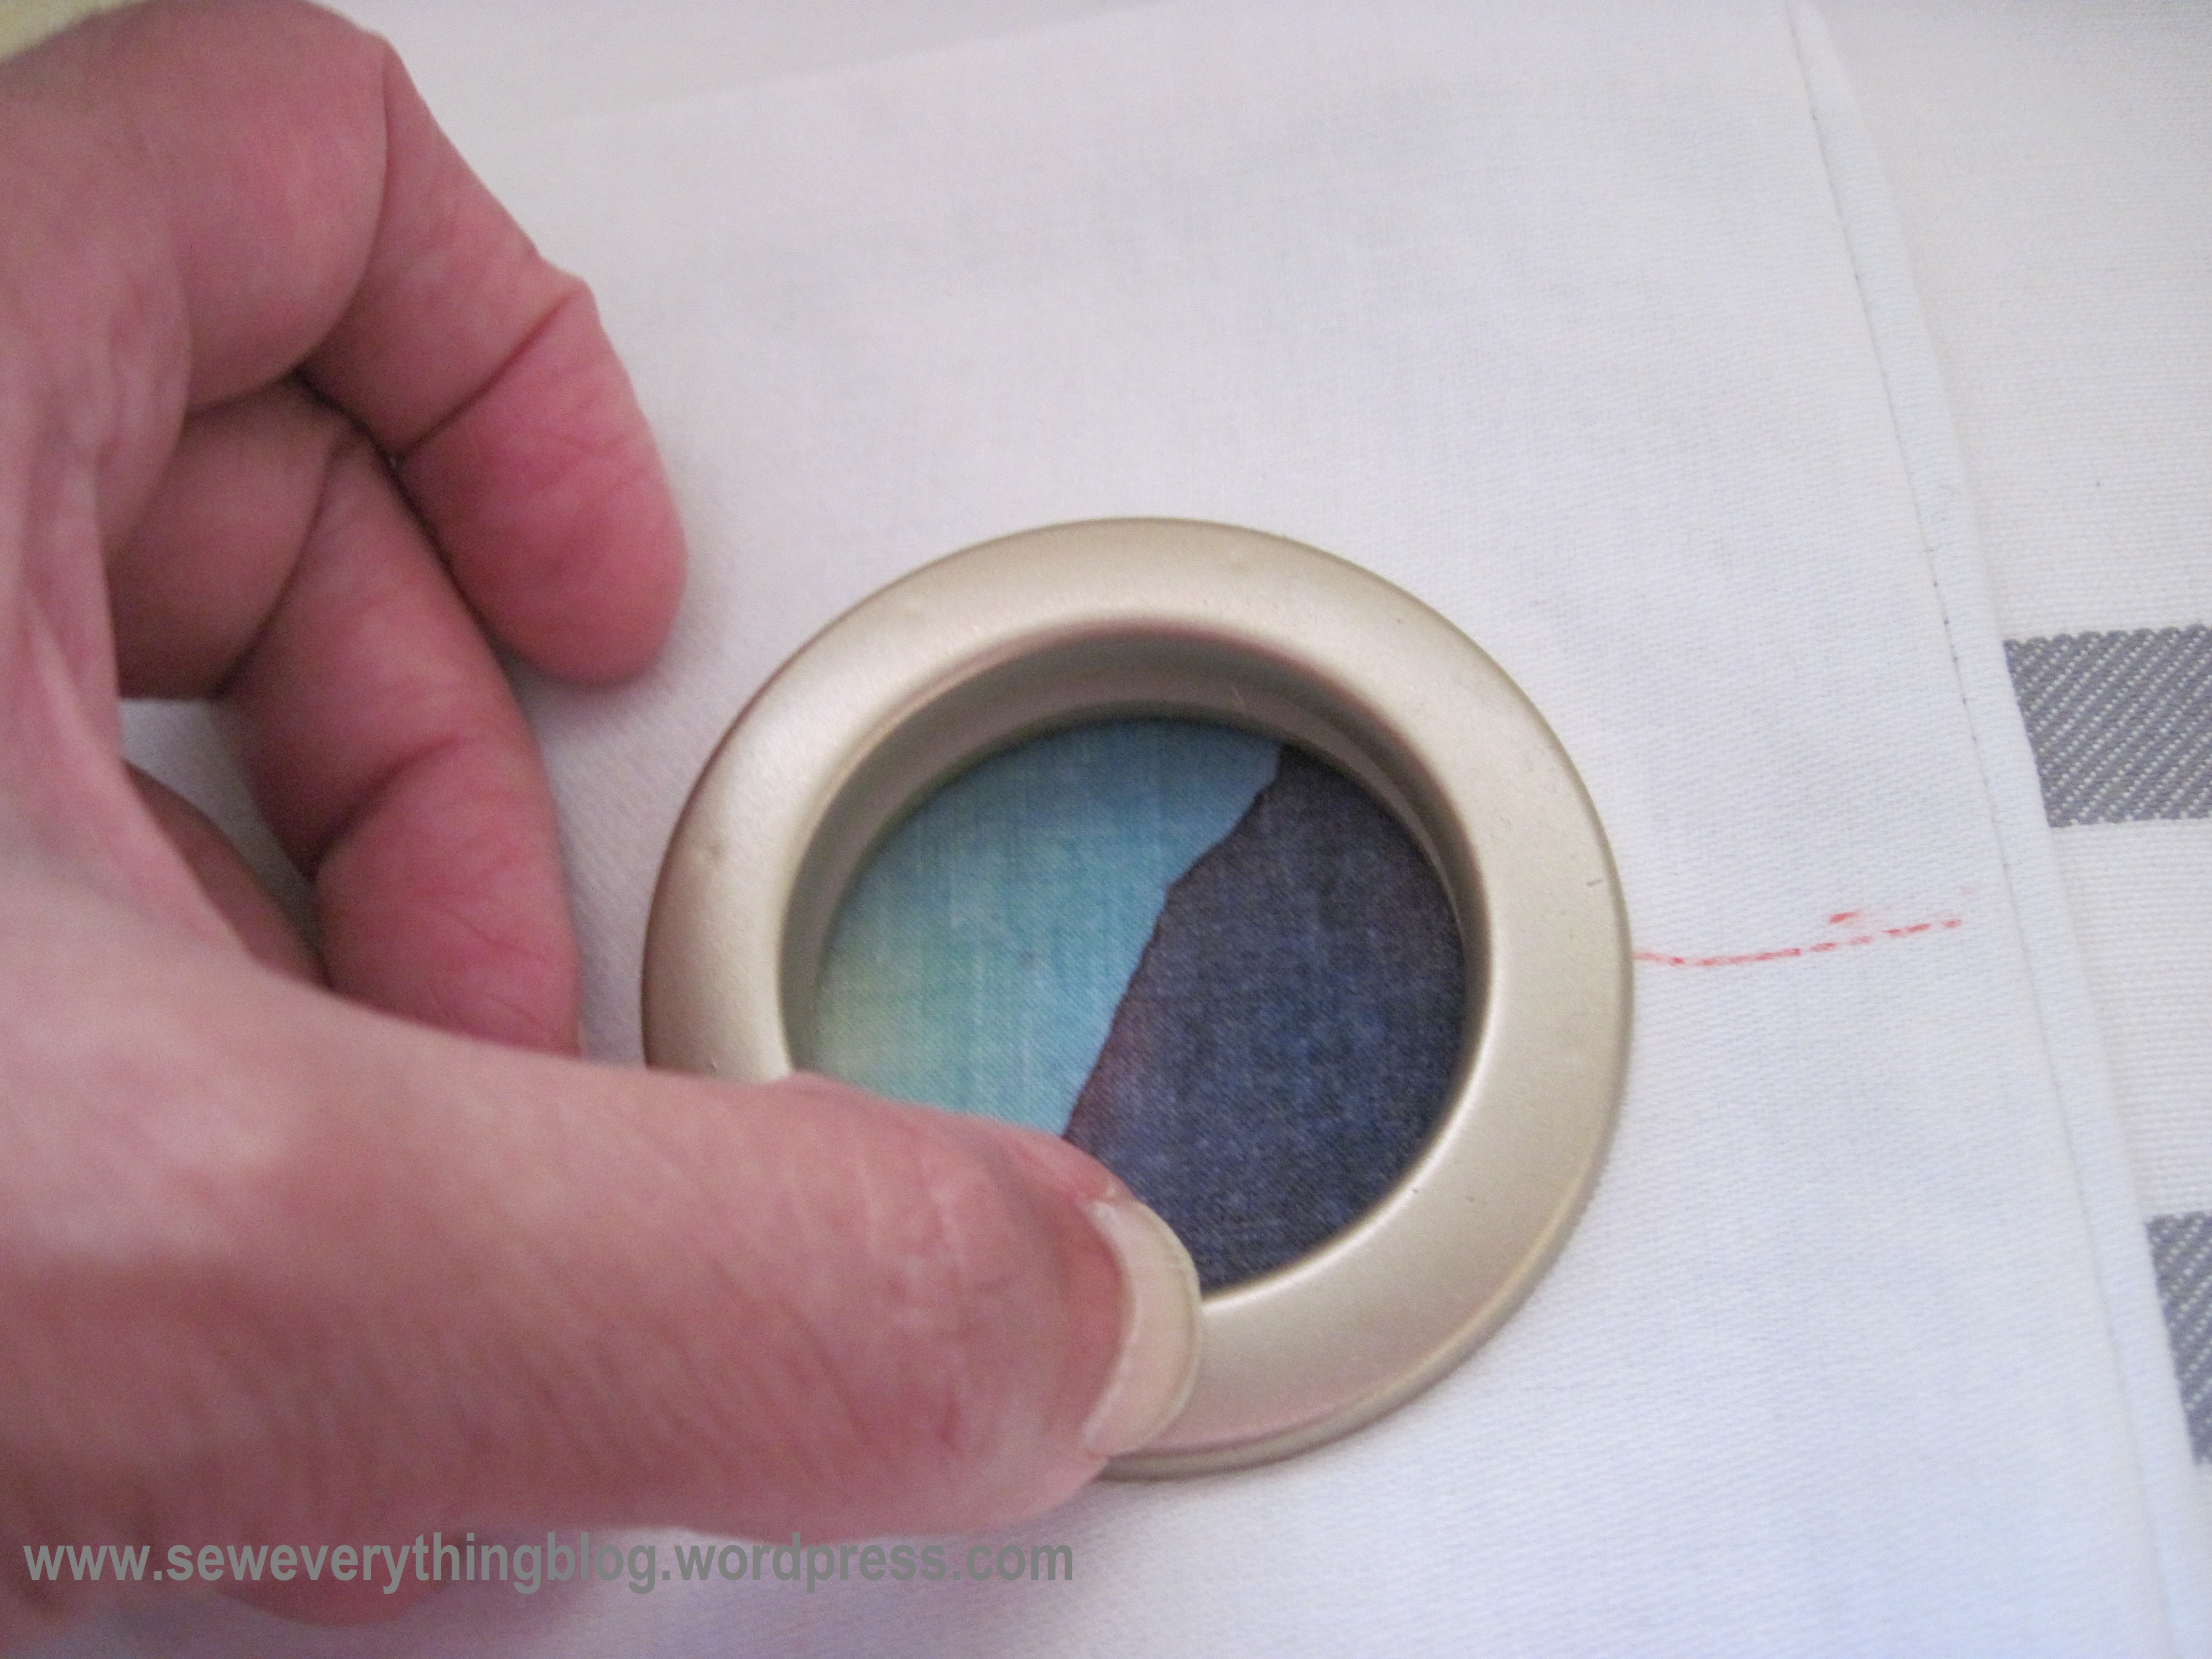
5. Place the grooved grommet behind the hole you just cut out, making sure the edge of the fabric circle is tucked in. The inner plastic edge should show. Note: Work on a solid surface such as a table, or uncarpeted floor.
6. Place the circle with pins on top, both inner edges aligned evenly.
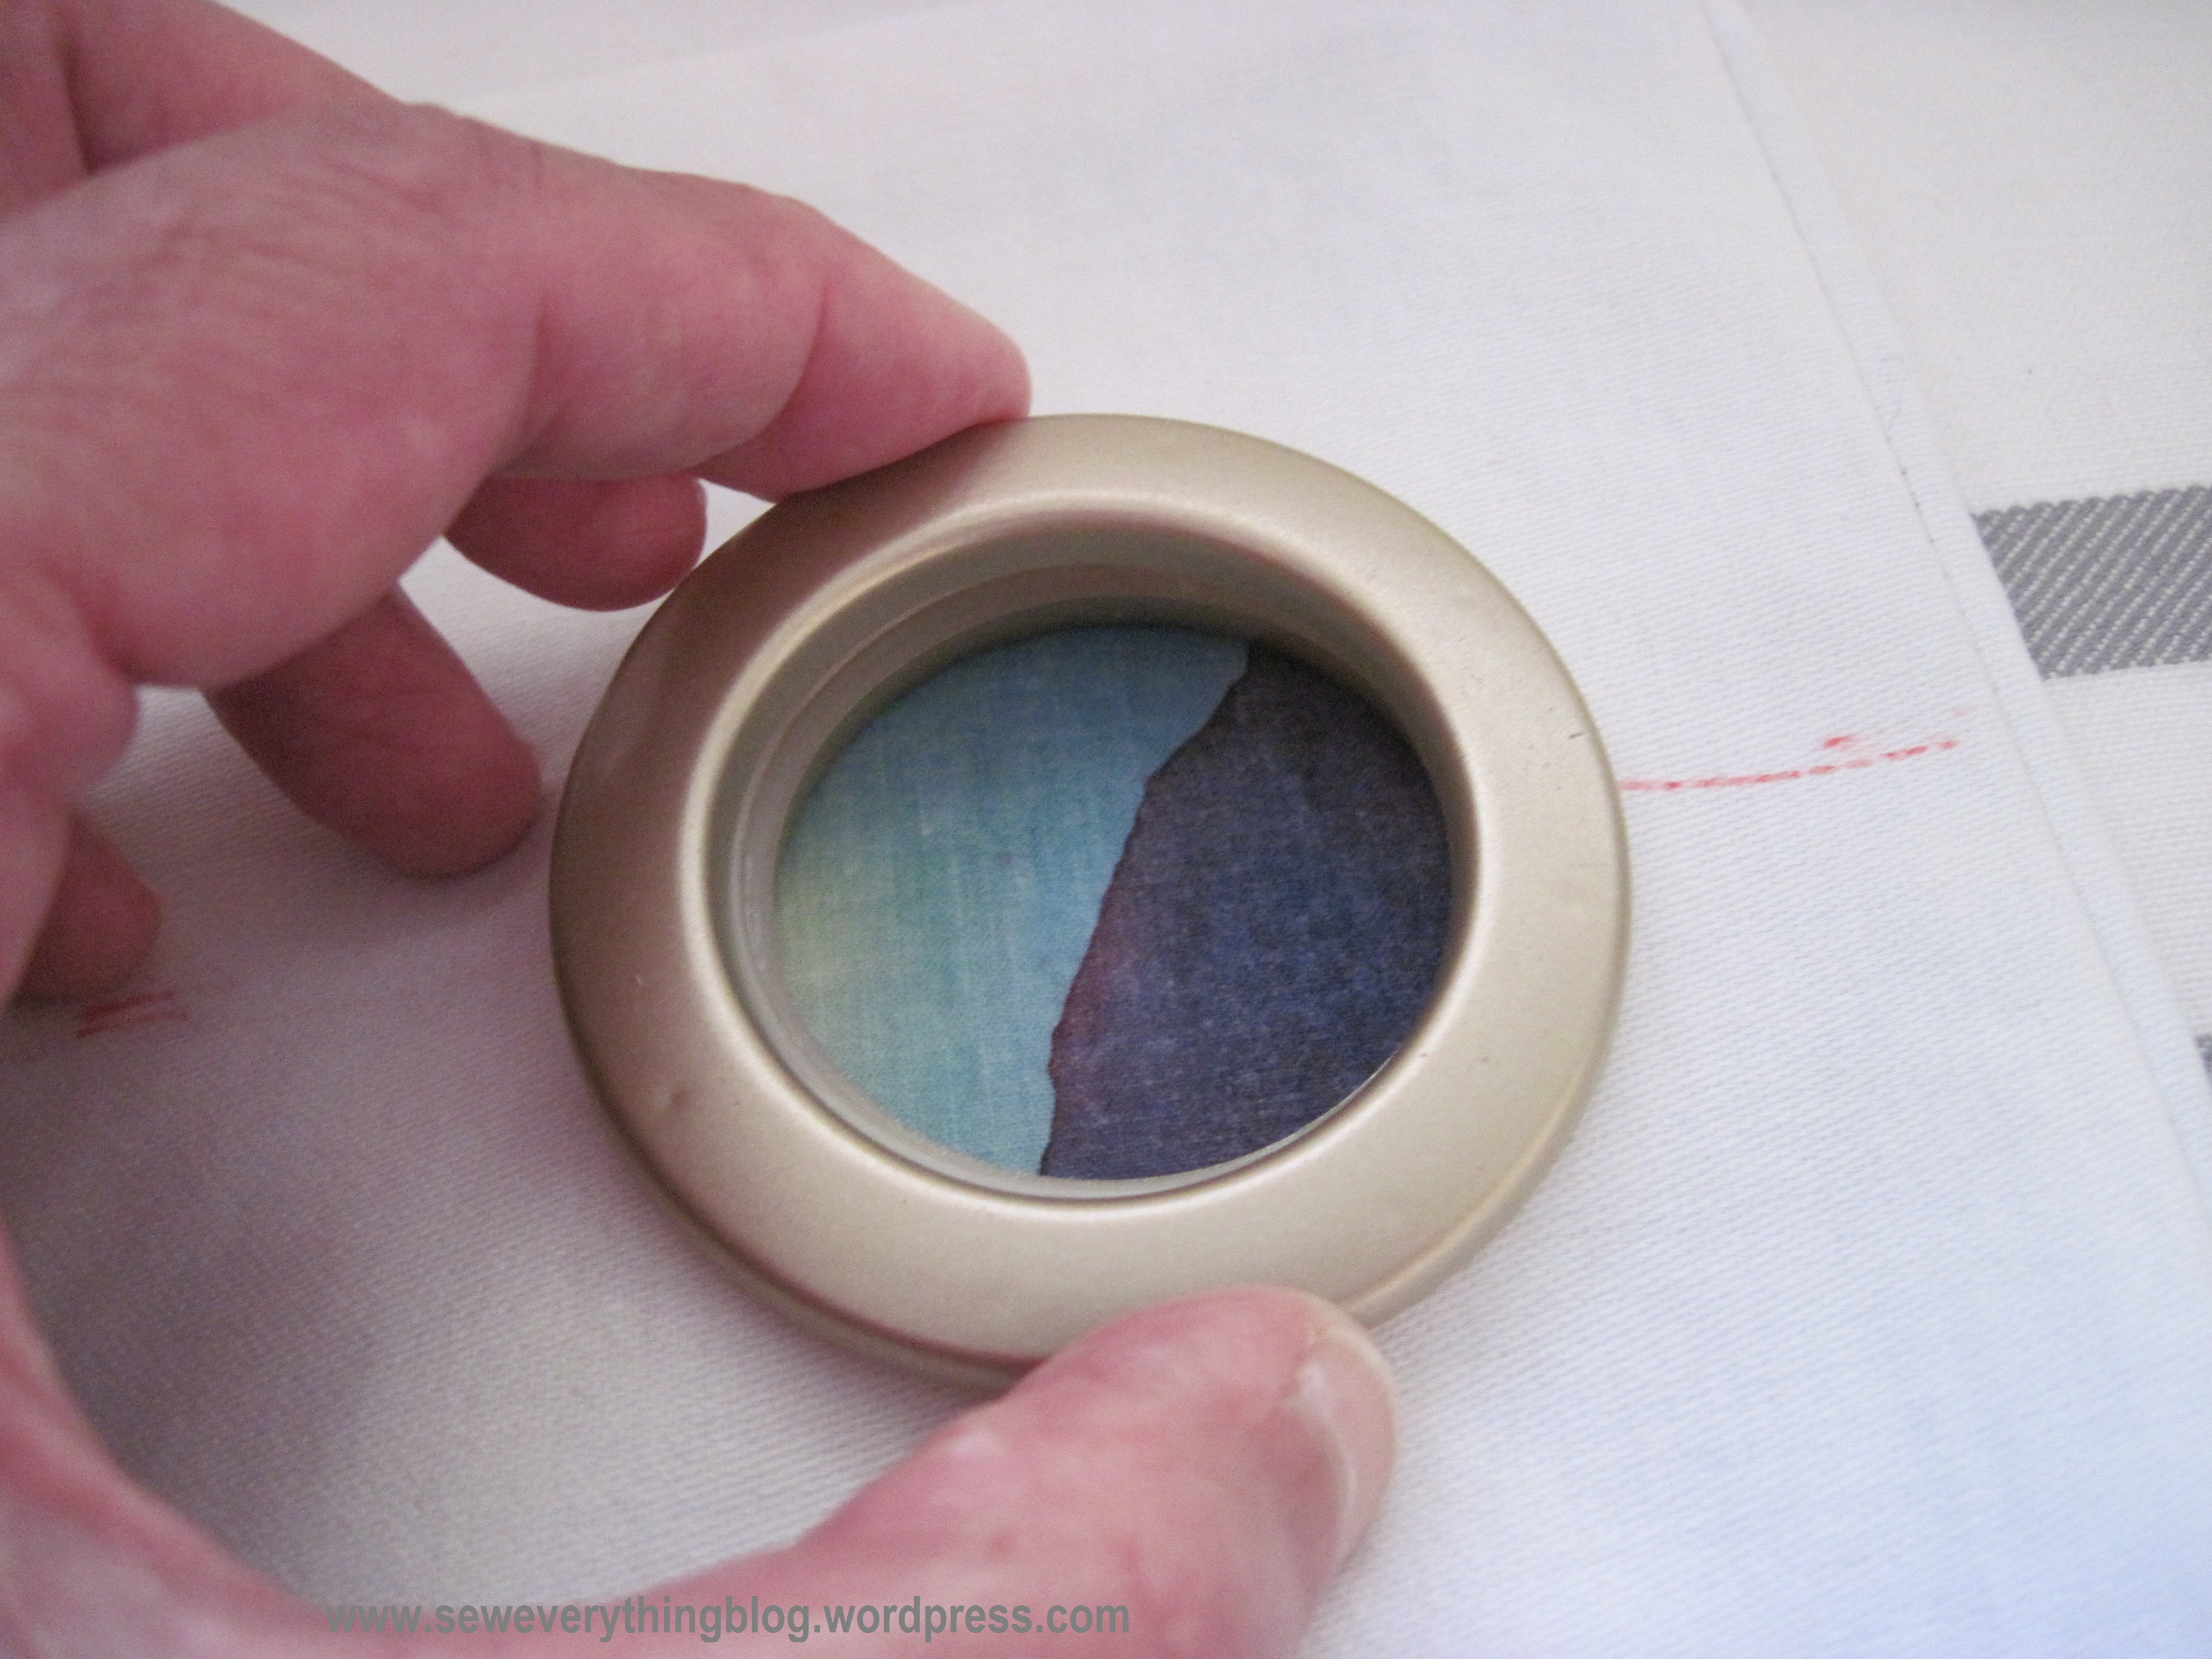
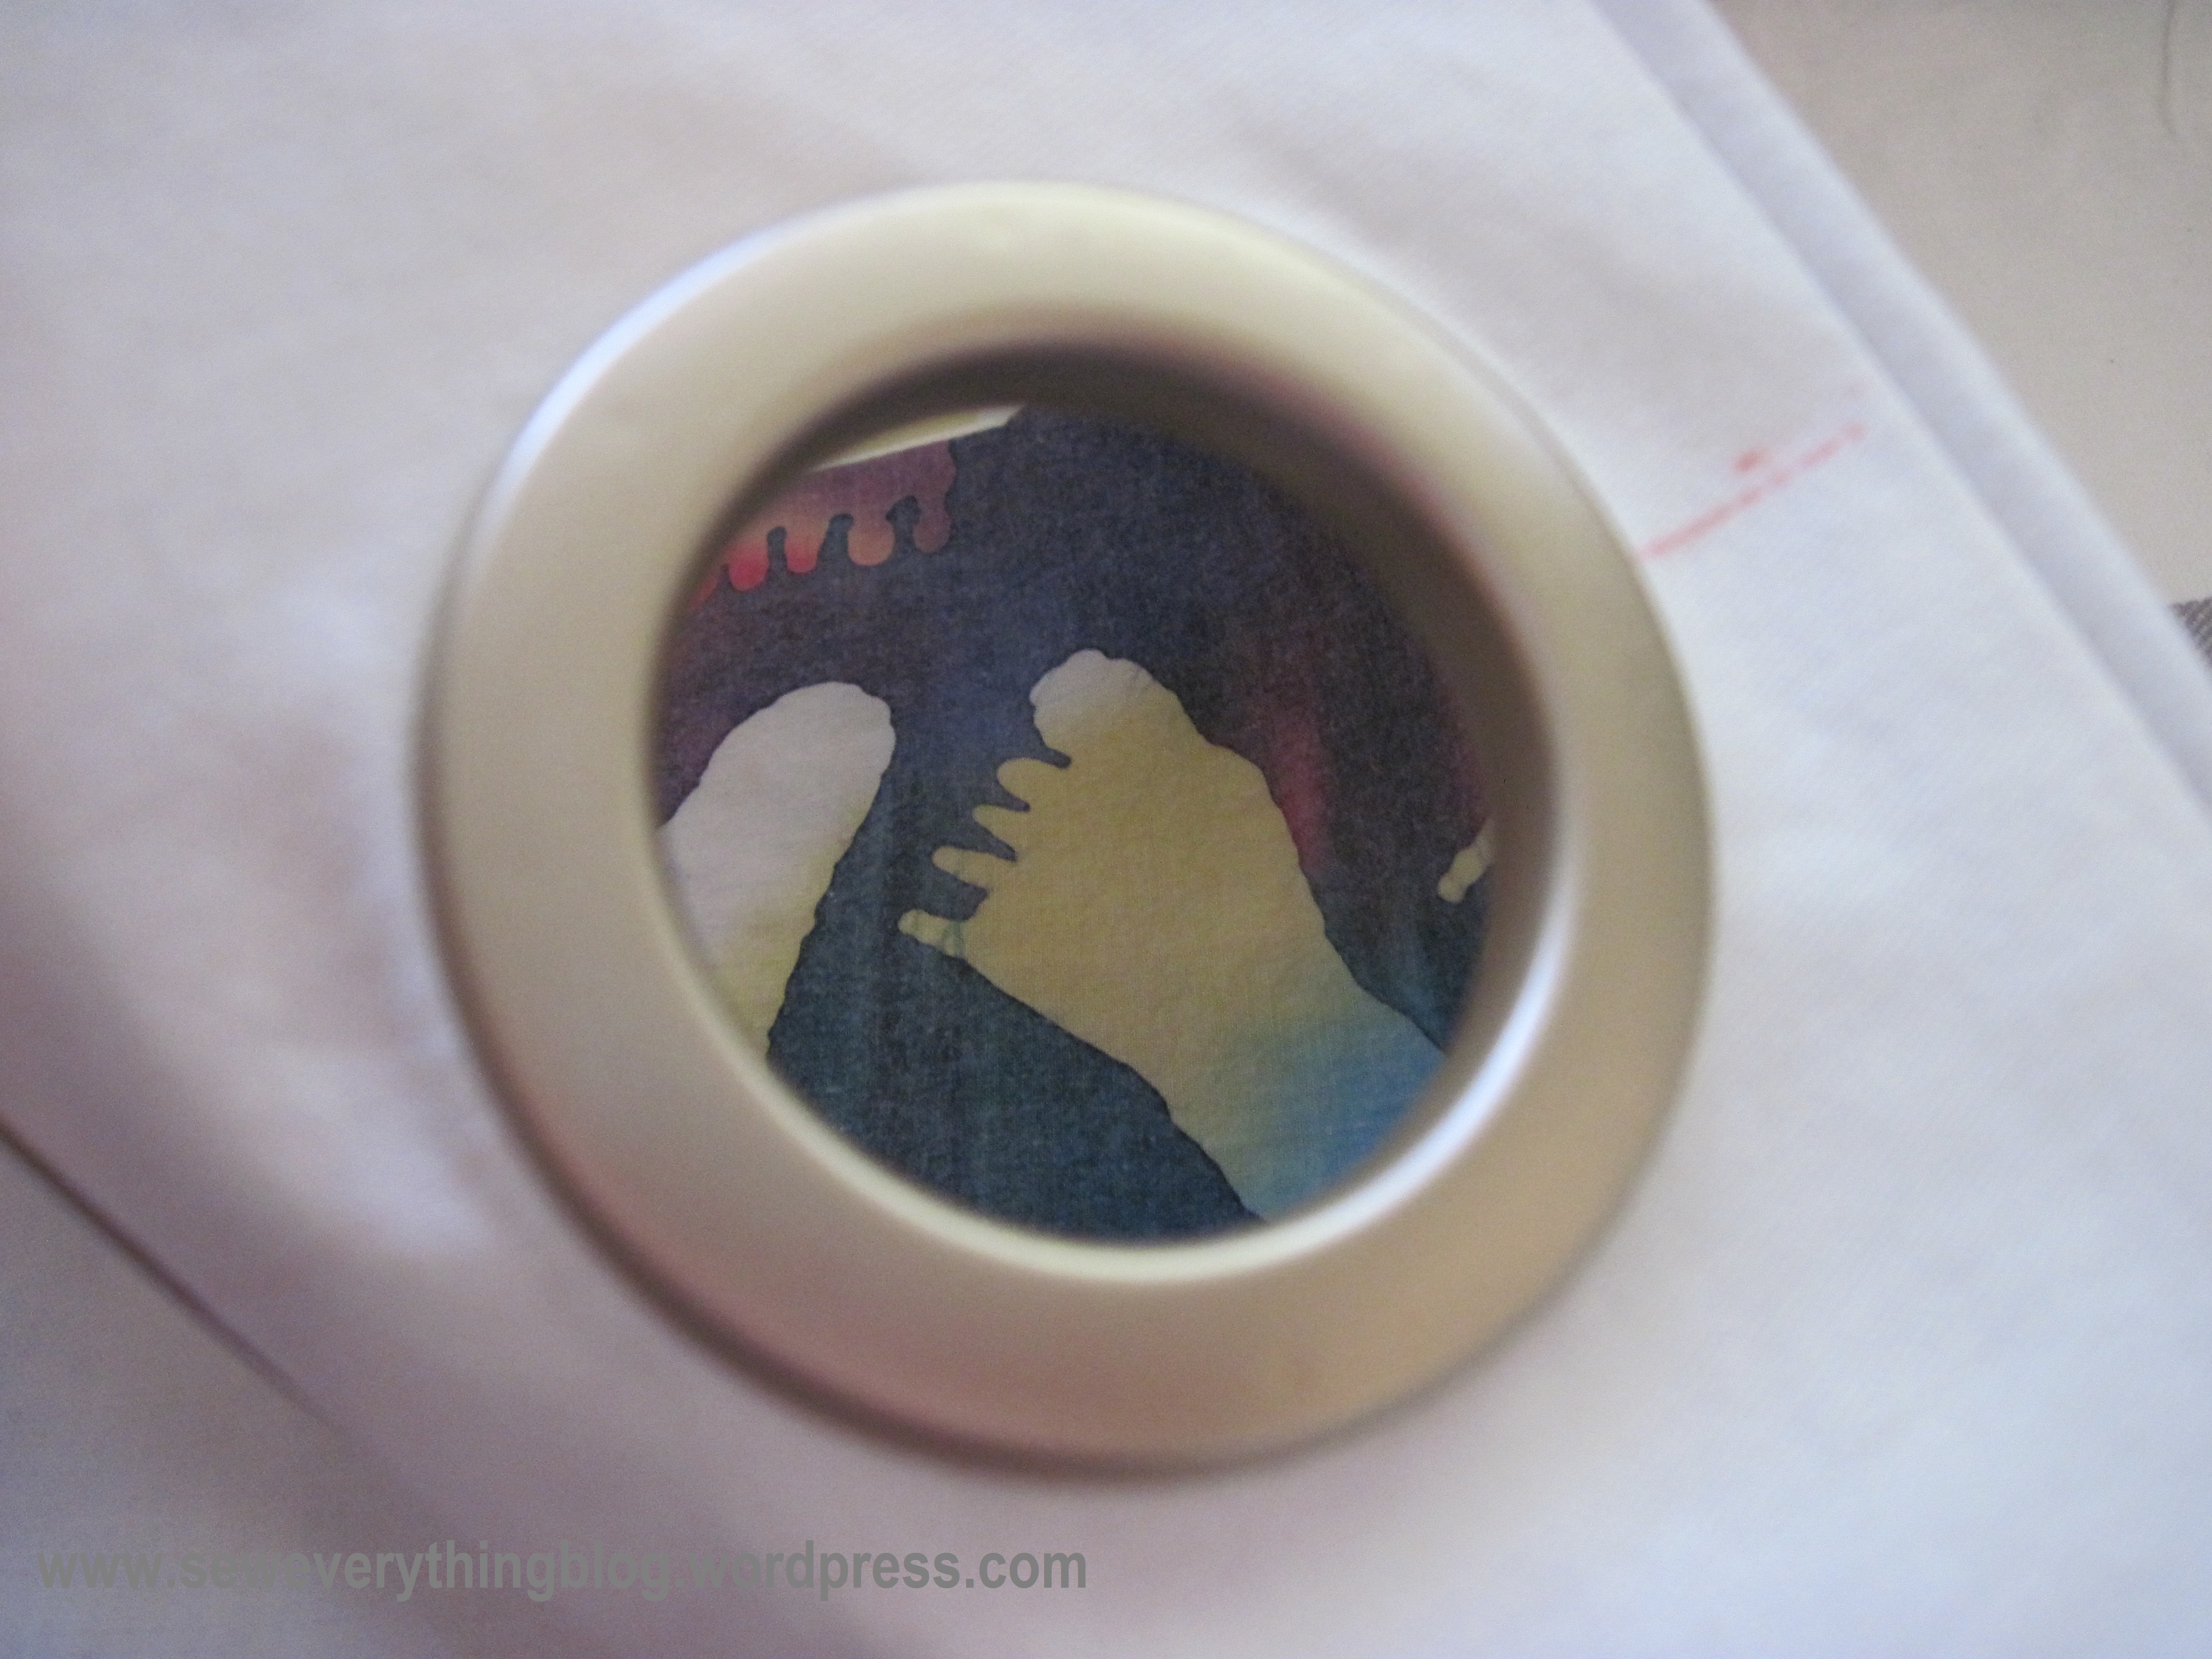
7. Press down with your thumb, or the fleshy area just below your thumb. While pressing, circle around the inner edge until you hear a click.
The grommet is in!
Until next time, have fun sewing up a storm!
Samina
PS: No affiliation with Dritz and Pellon – two wonderful companies, nonetheless.

That’s adorable, and much too fancy for a laundry bag! Thanks for the grommet tutorial. I was under the impression they had to be hammered so was avoiding them.
LikeLike
Thank you! The bag just adds some fun to everyday rituals…..
Actually, they’re plastic so no hammer is used. Once you get the hang of applying these grommets, they’re super easy. Of course it took me a very long time to get the “hang of it”. I thought, if other people can do it with ease, I can master it too. Finally did 🙂
LikeLike
This a great project to showcase fun fabric. Congratulations on getting your pattern published in Stitch magazine!
LikeLike