
A recent dive into my fabric and pattern stash turned up this blouse pattern designed by the fabulous Peggy Sagers owner of Silhouette Patterns, plus some red pleated fabric purchased together, waiting patiently for me to re-discover them. This duo goes back to the turn of the 21st century – 14-15 years ago. Yep, the new pattern envelope has live models and everything (click on the link above). I told you I bought the pattern, oh, probably when it was first published.
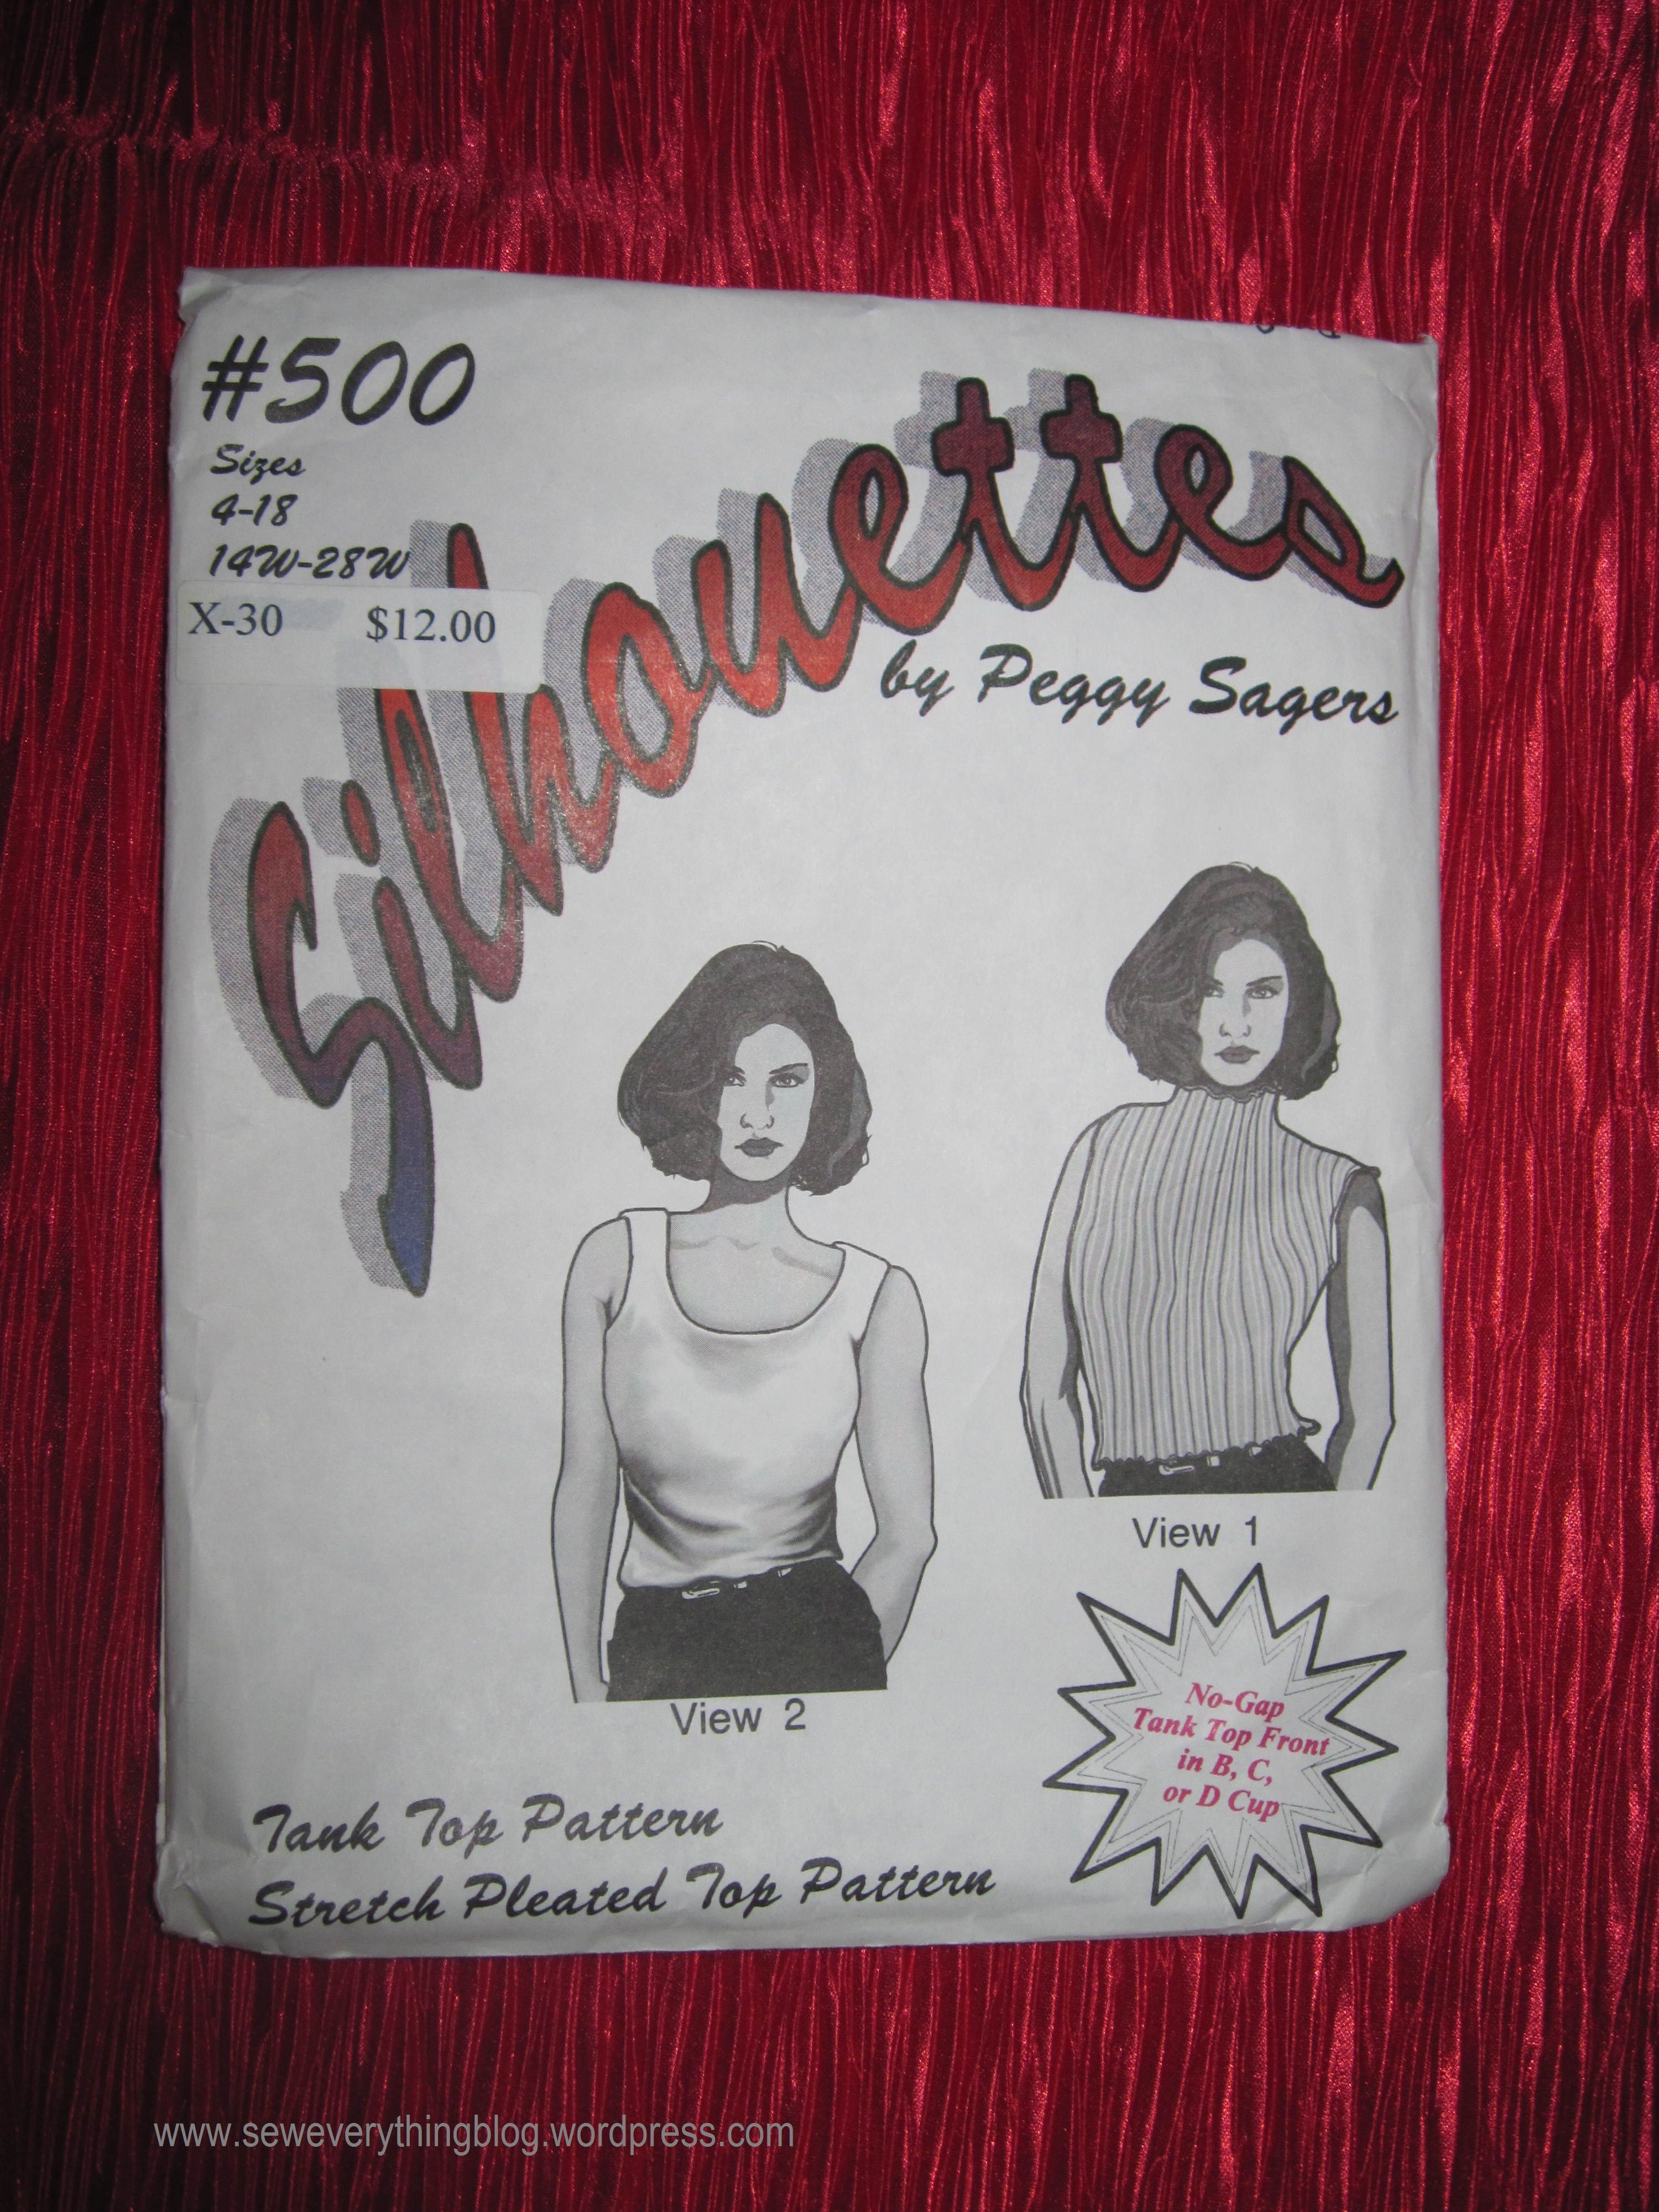
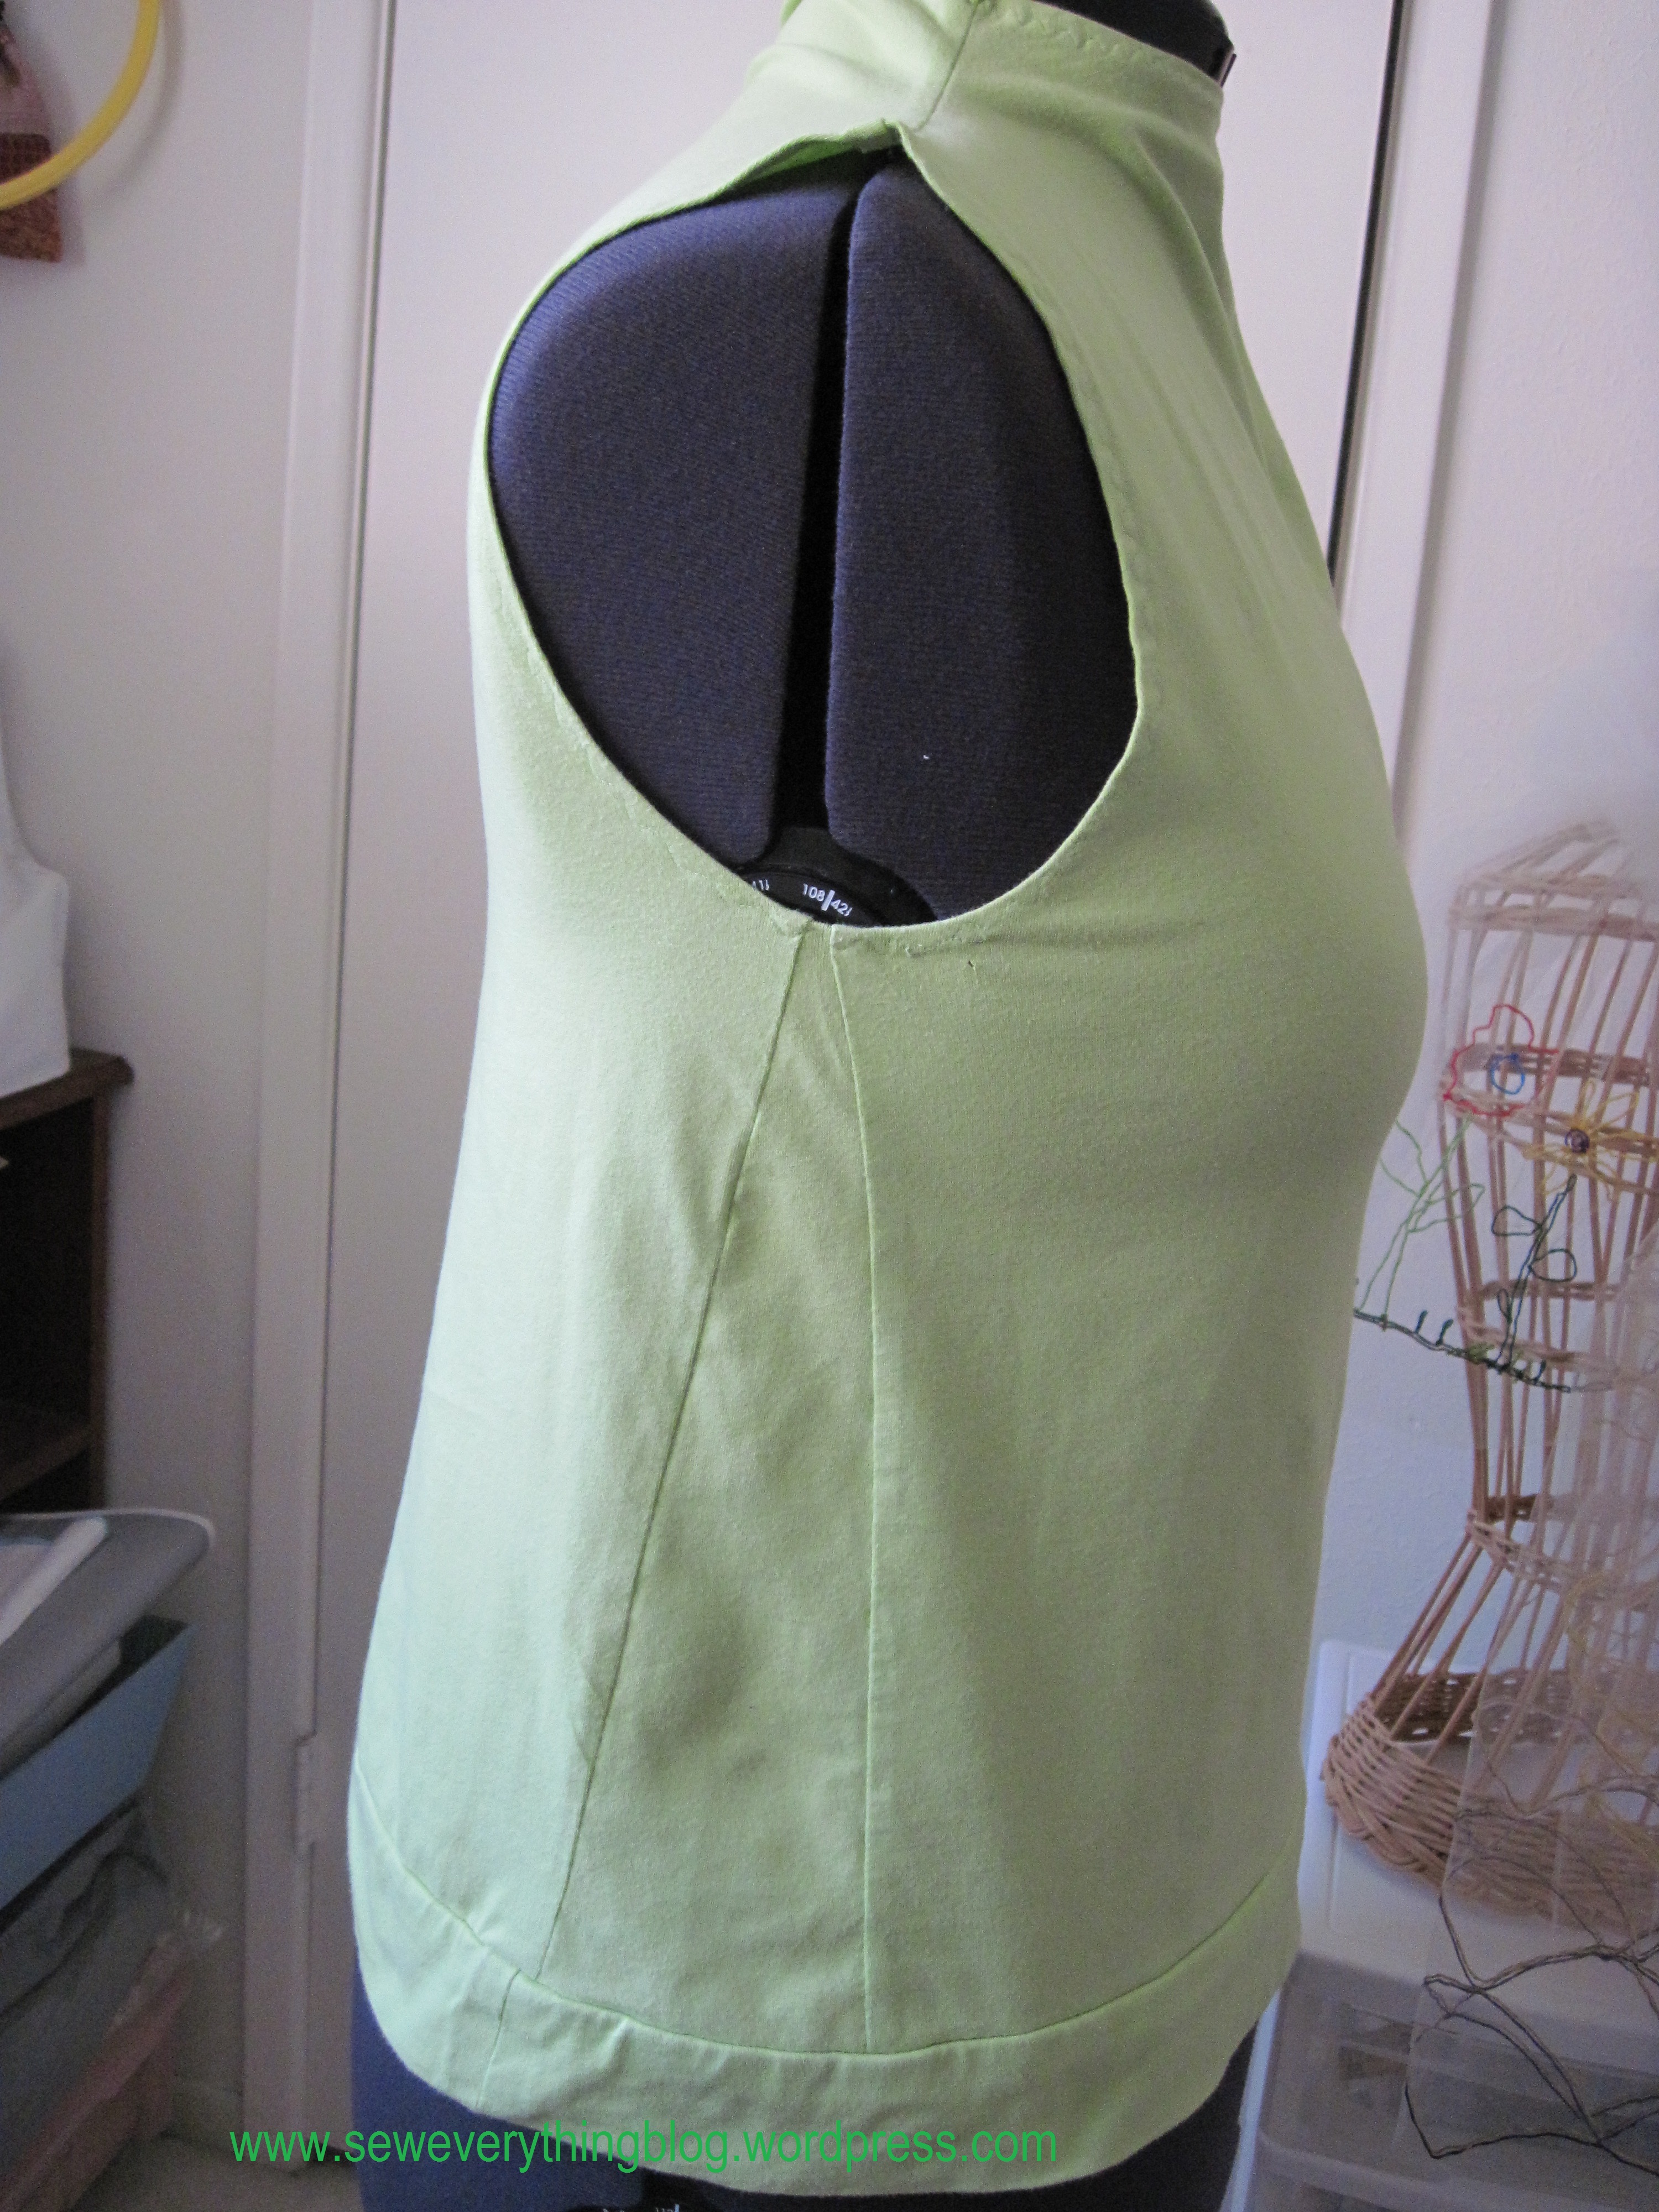
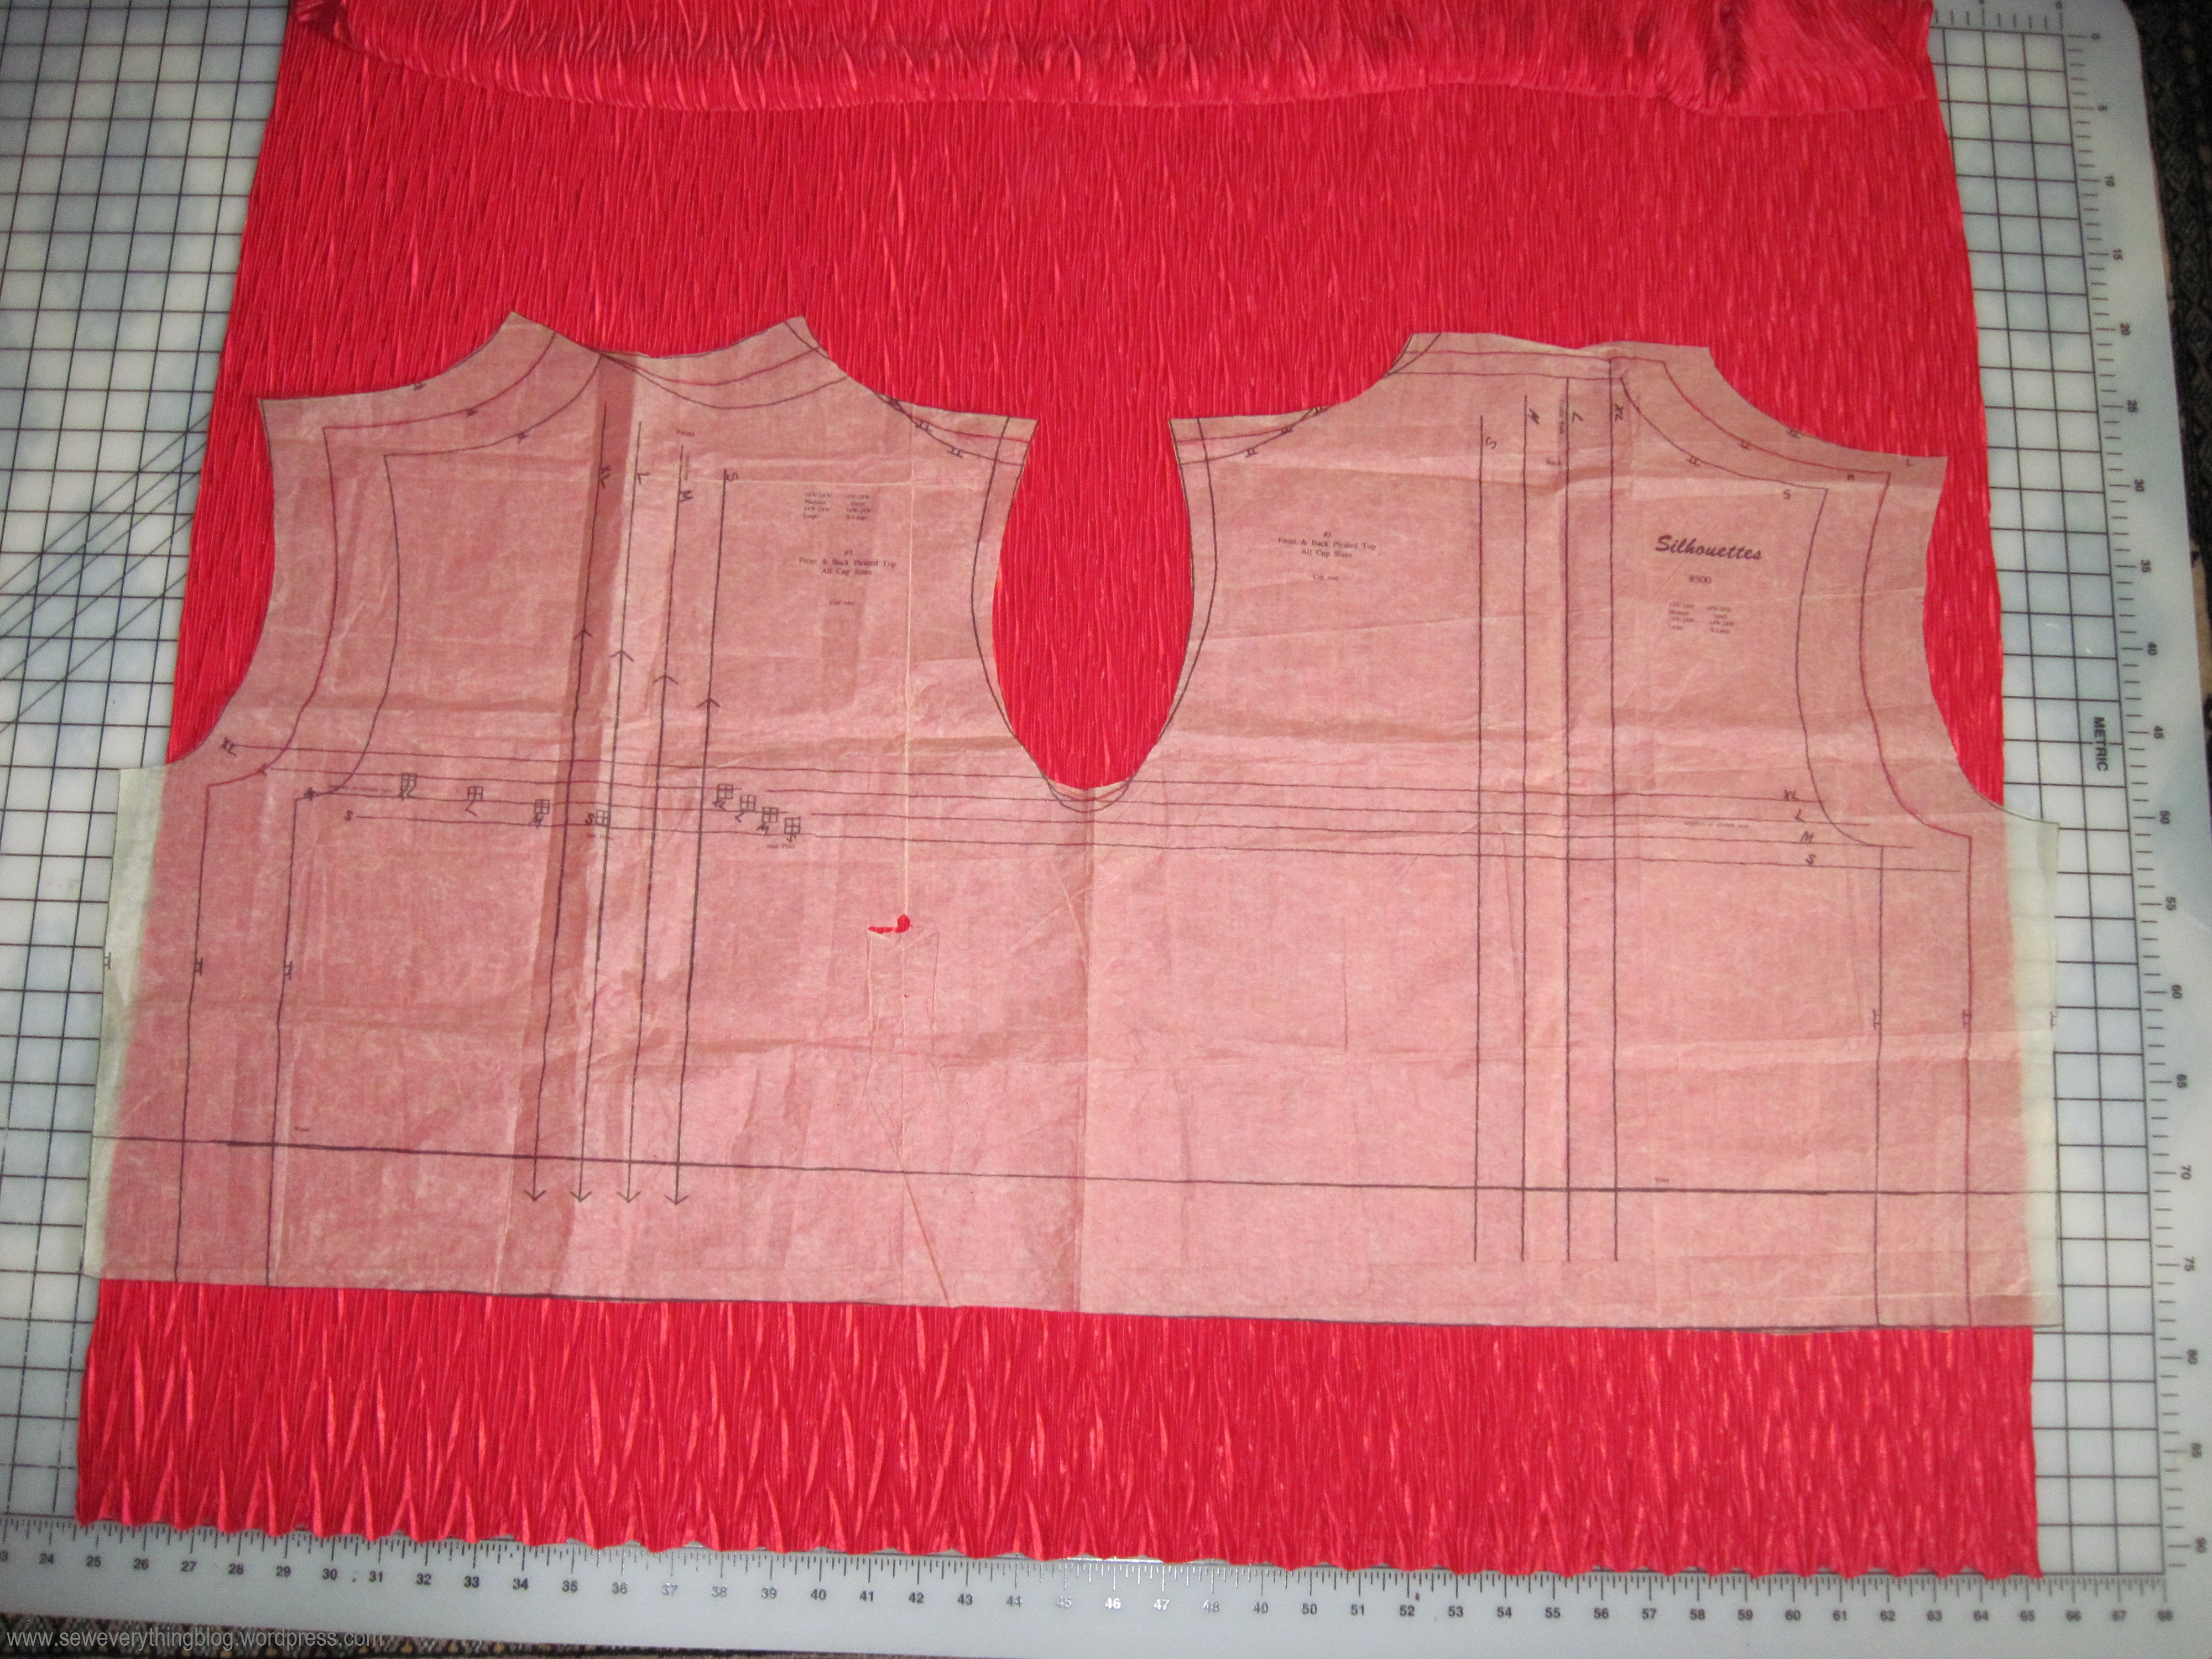
The pattern includes two views. A tank top drafted in a B, C, and D cup. The second view is the pleated top, which had my full attention because there is just one pattern piece! Glorious and intriguing! A total of 3 construction seams for the pleated top – one side and two shoulder. The fit of the top lies in spreading properties of the pleating – therefore, this view is best made in a pleated fabric. I made a wearable muslin first in a cotton lycra which did not stretch enough, forcing me to add two gussets (wedges) between the two side seams. I lost the 3-seam aesthetic right there.
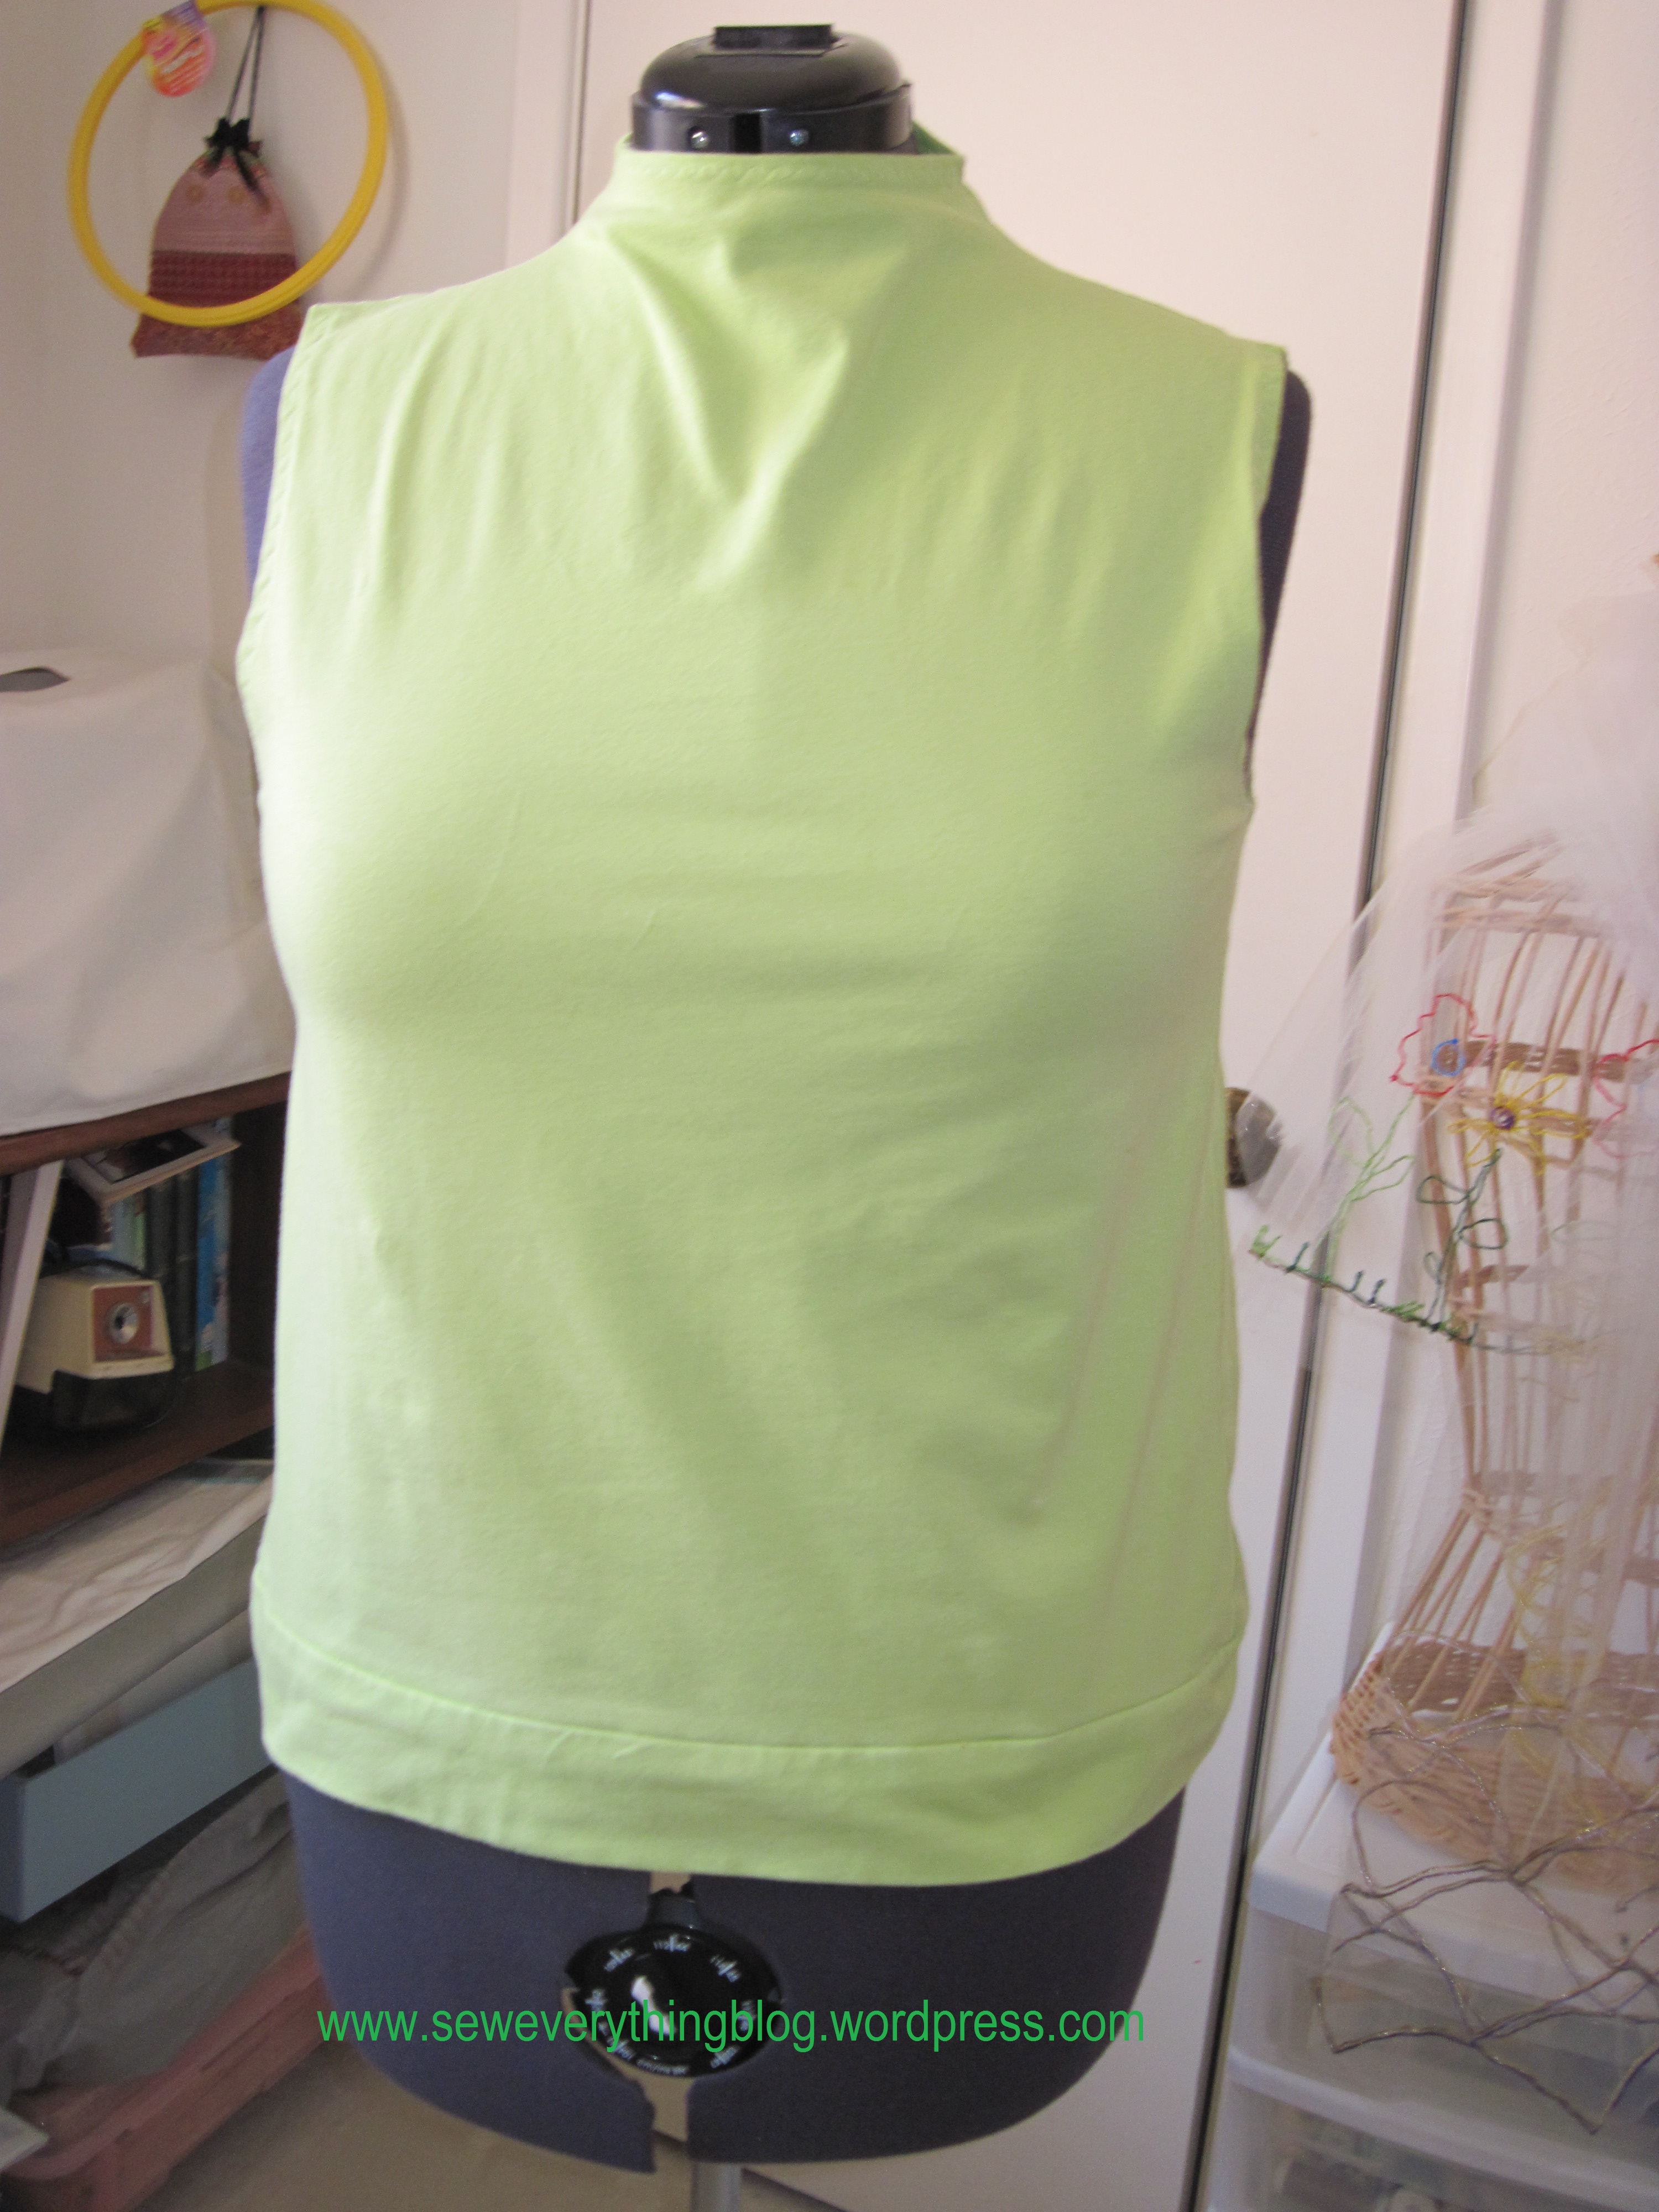
The pleated top pattern has a multi-size pattern for regular misses sizes, and another one for 14W through 28W. These size ranges are also helpfully identified as S, M, L, XL. A wee bit of confusion started to well up in me, and I measured the W sizing on the tissue (for the finished measurements), figured in the fabric stretch and traced first the Medium for the cotton/lycra muslin. after the muslin I cut out the L for the pleated fabric (see next paragraph).
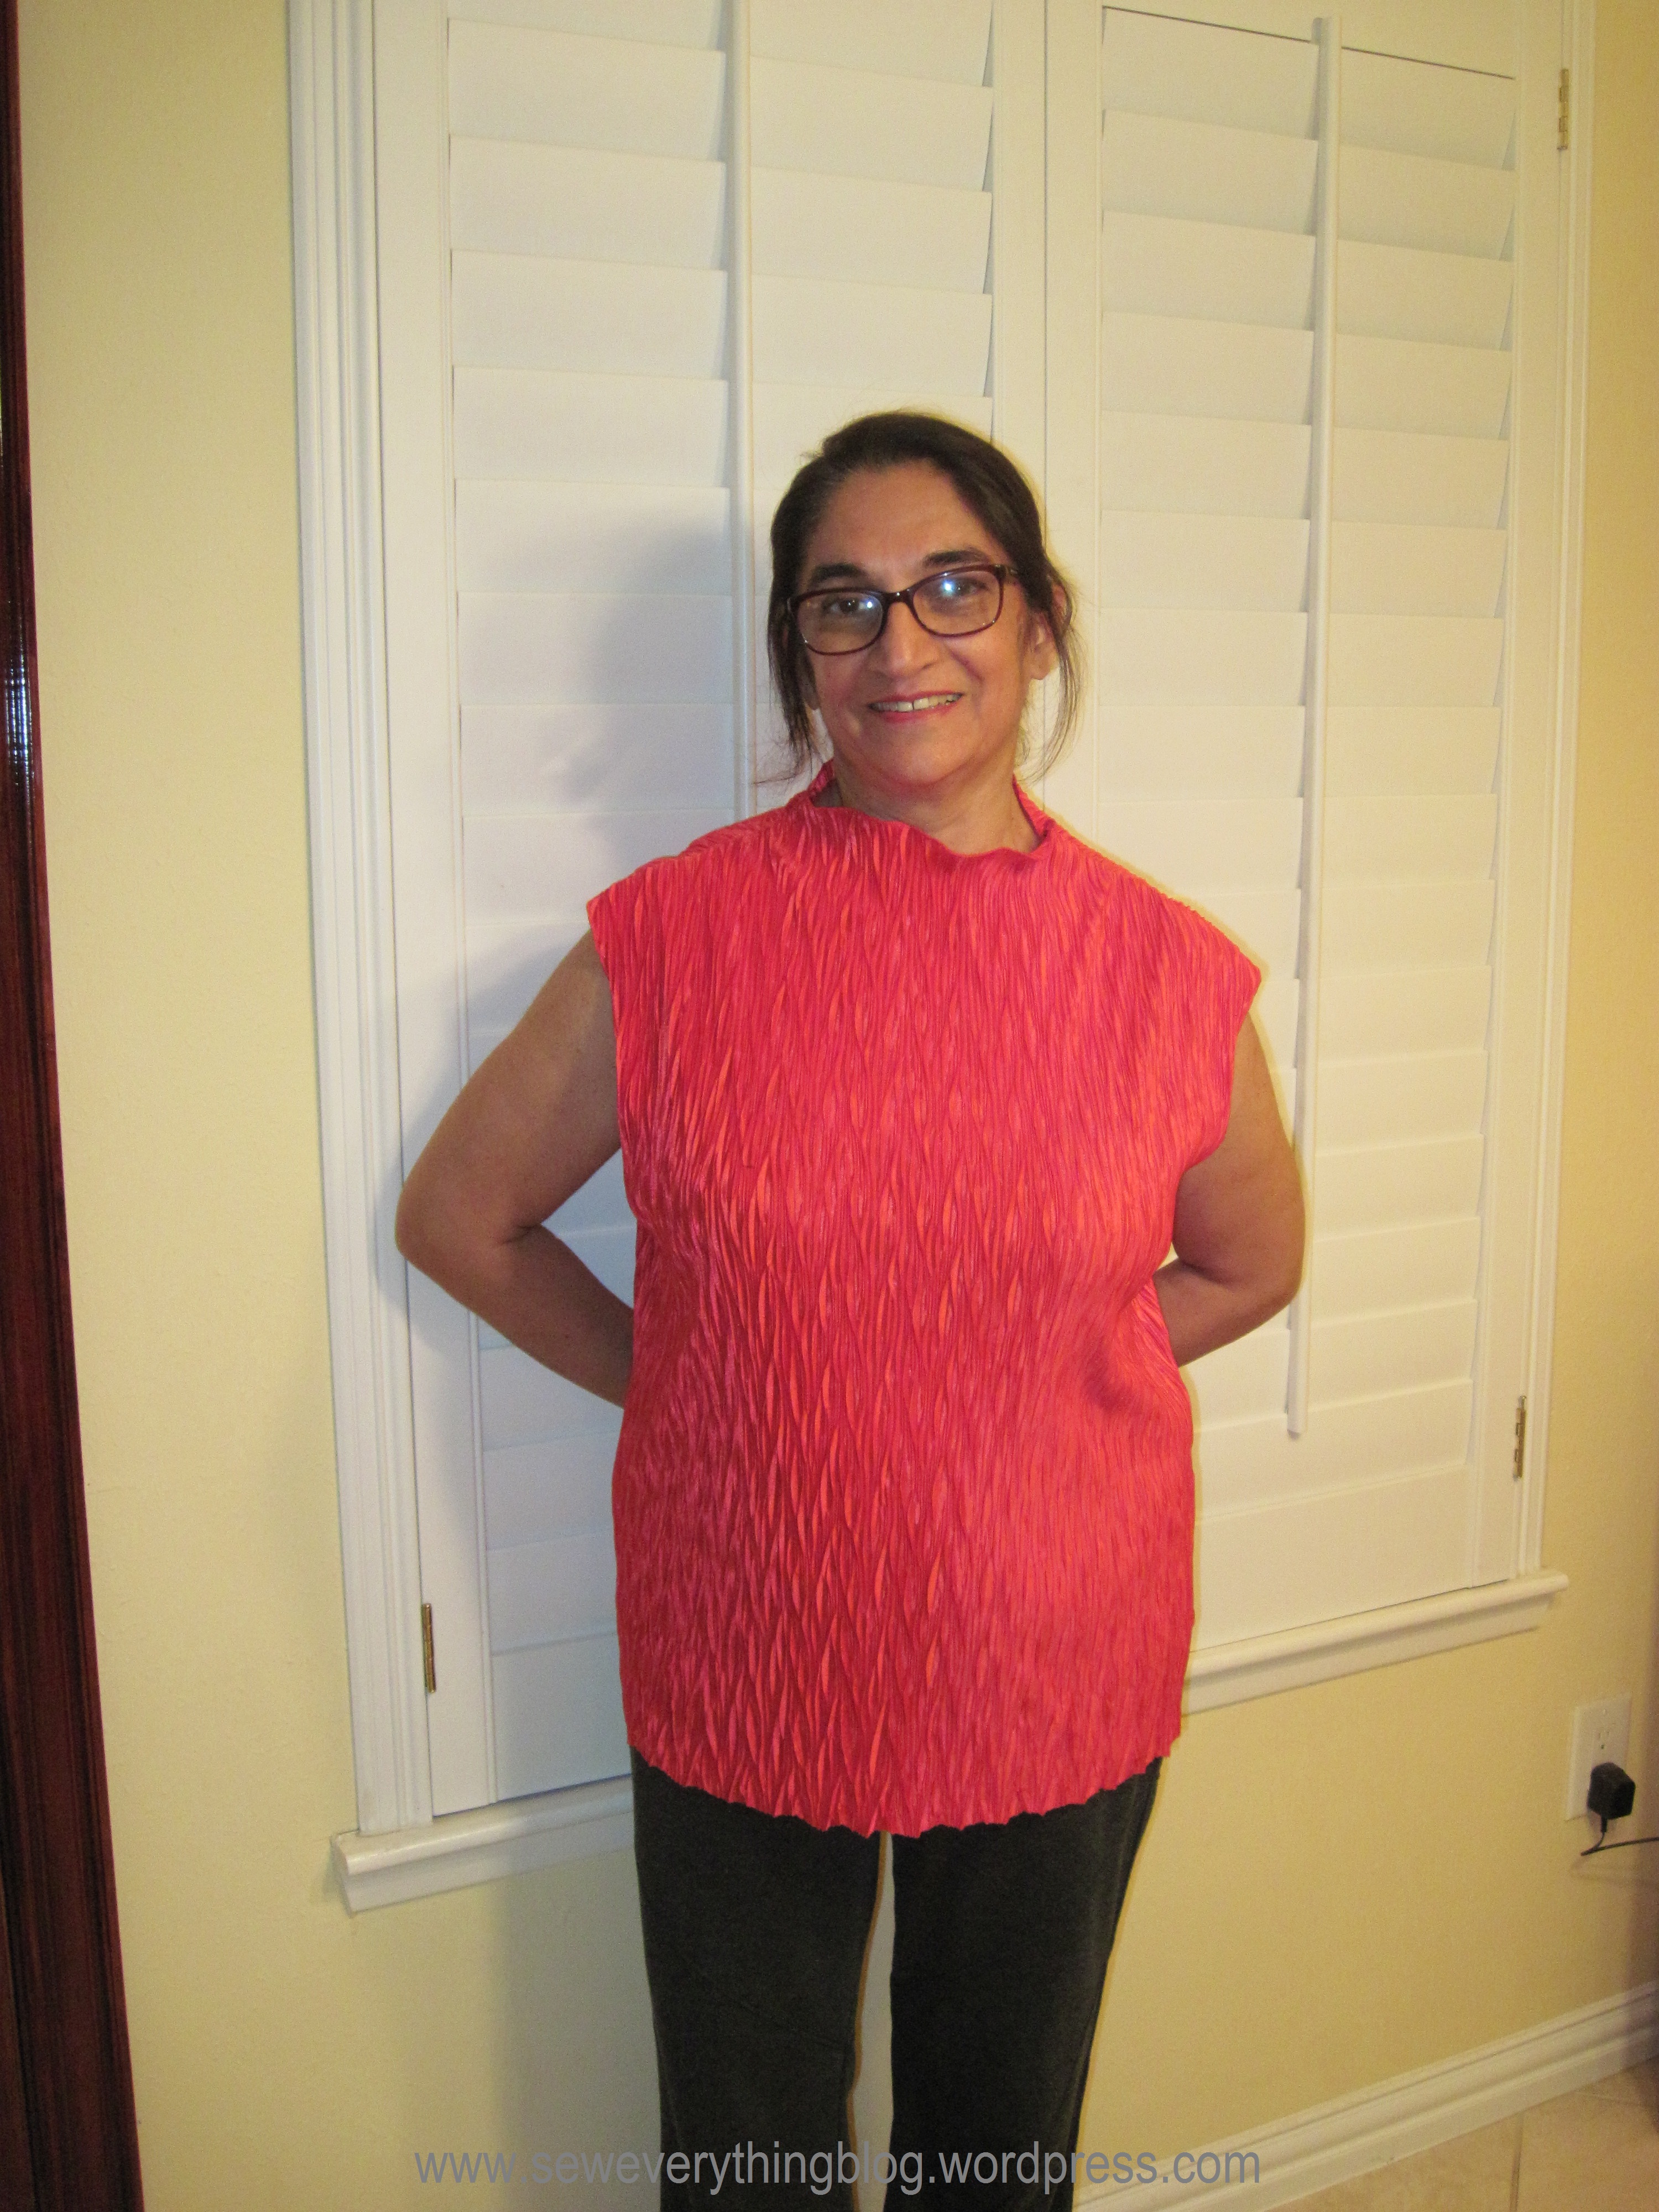
The pleated fabric, it turns out, “stretches” far more than the cotton/lycra. Regardless, I went for a size L to make the red top. The L is boxier than I want and the armholes are larger than I want. I could have used the medium size and the pleats would have stretched enough to get a good fit without looking too stretched. Note to self: Add to “fix list”.
The fabric: It took me longer to research how to sew with pleated fabric than it took to actually sew it. This kind of Fortuny like pleating is permanent, which can only mean that the fabric is synthetic. Permanent pleating does not “take” in natural fibers like silk and cotton. Mr Mario Fortuny is said to have owned the secret to permanent pleating with silk about 100 years ago – and took the secret to the grave with him. If his design house knew the secret, they did not divulge it.
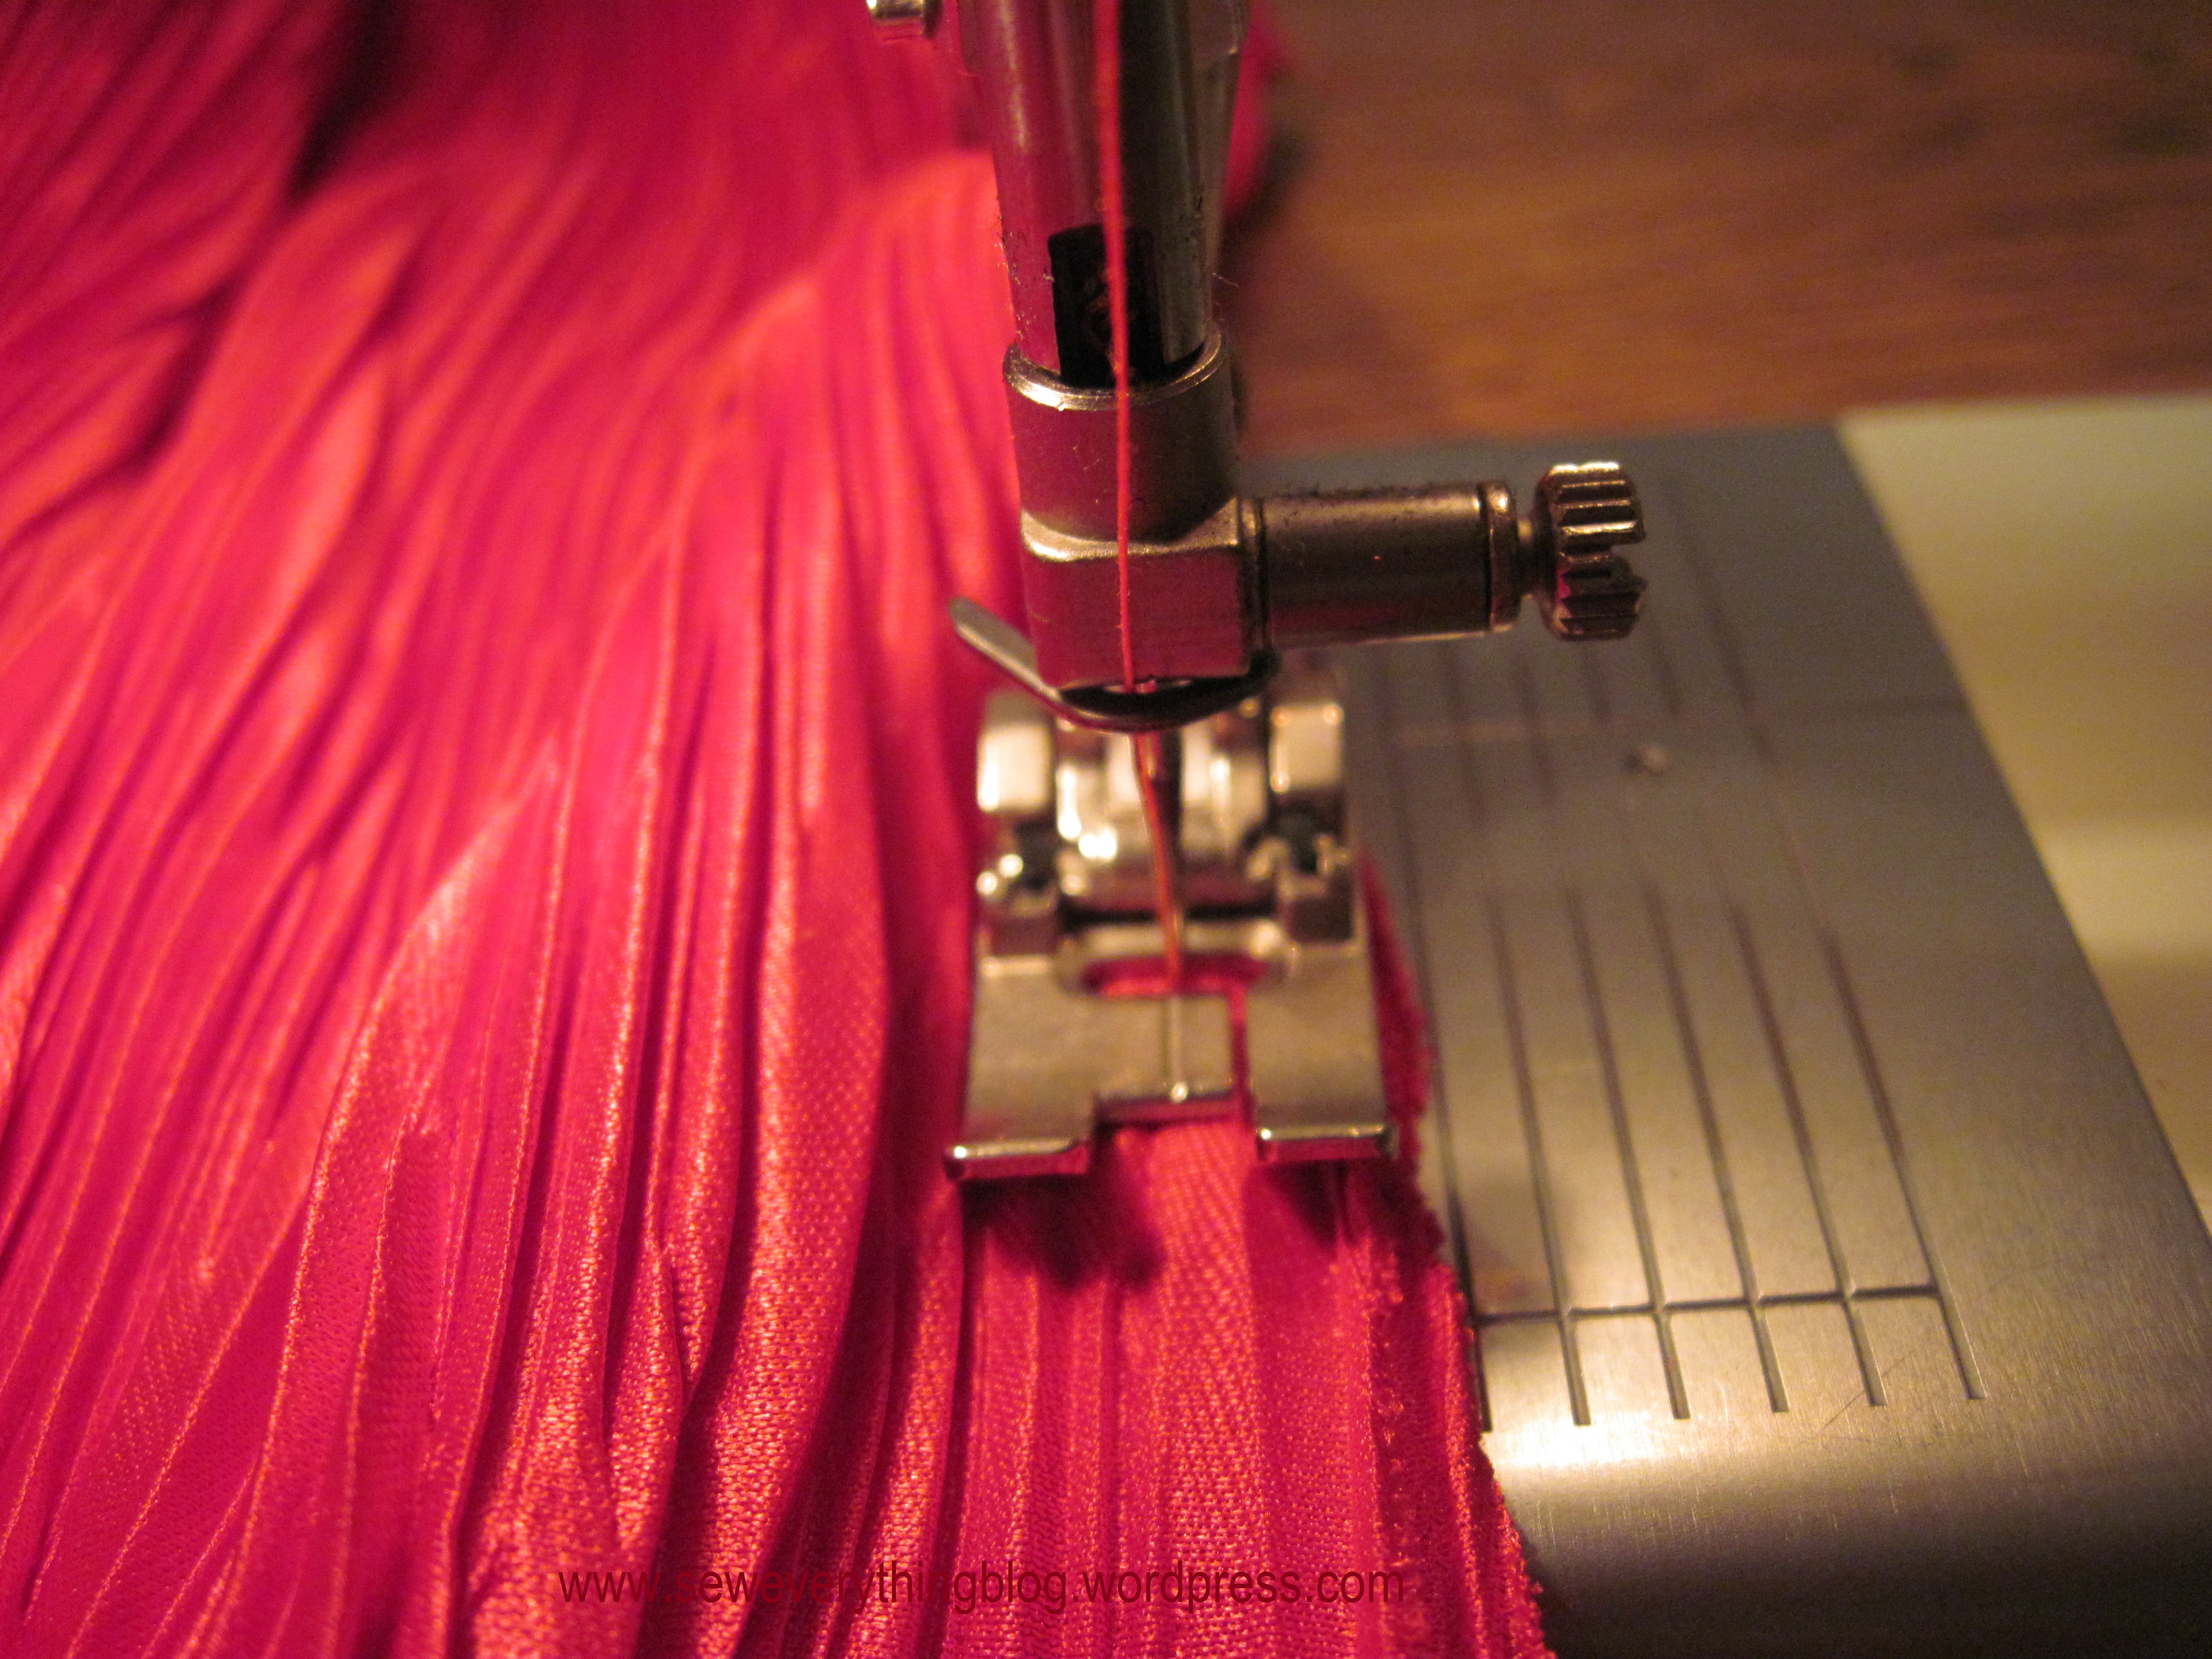
When sewing this pretty red fabric, I found out just how synthetic it was. I used a sharp microtex machine needle, and still felt that the needle was sticking and the stitches were not quite right. But I got through the three seams OK. The top needed to be worn! No occasion, I just wanted to WEAR it.
Cutting: Laying out the fabric was not too fiddly since the pleats tended to stay “together”. I just needed to make sure that they were evenly together when the fabric was laid out. Weights and a rotary cutter worked best. There was no need to mark anything. I did make the length longer to give the top a tunic-like vibe. But looking at the photo, it seems to be cutting me in half. Additional item for the “fix list”.
Prep: The only prep for sewing needed was applying fusible tape to the shoulder seams.
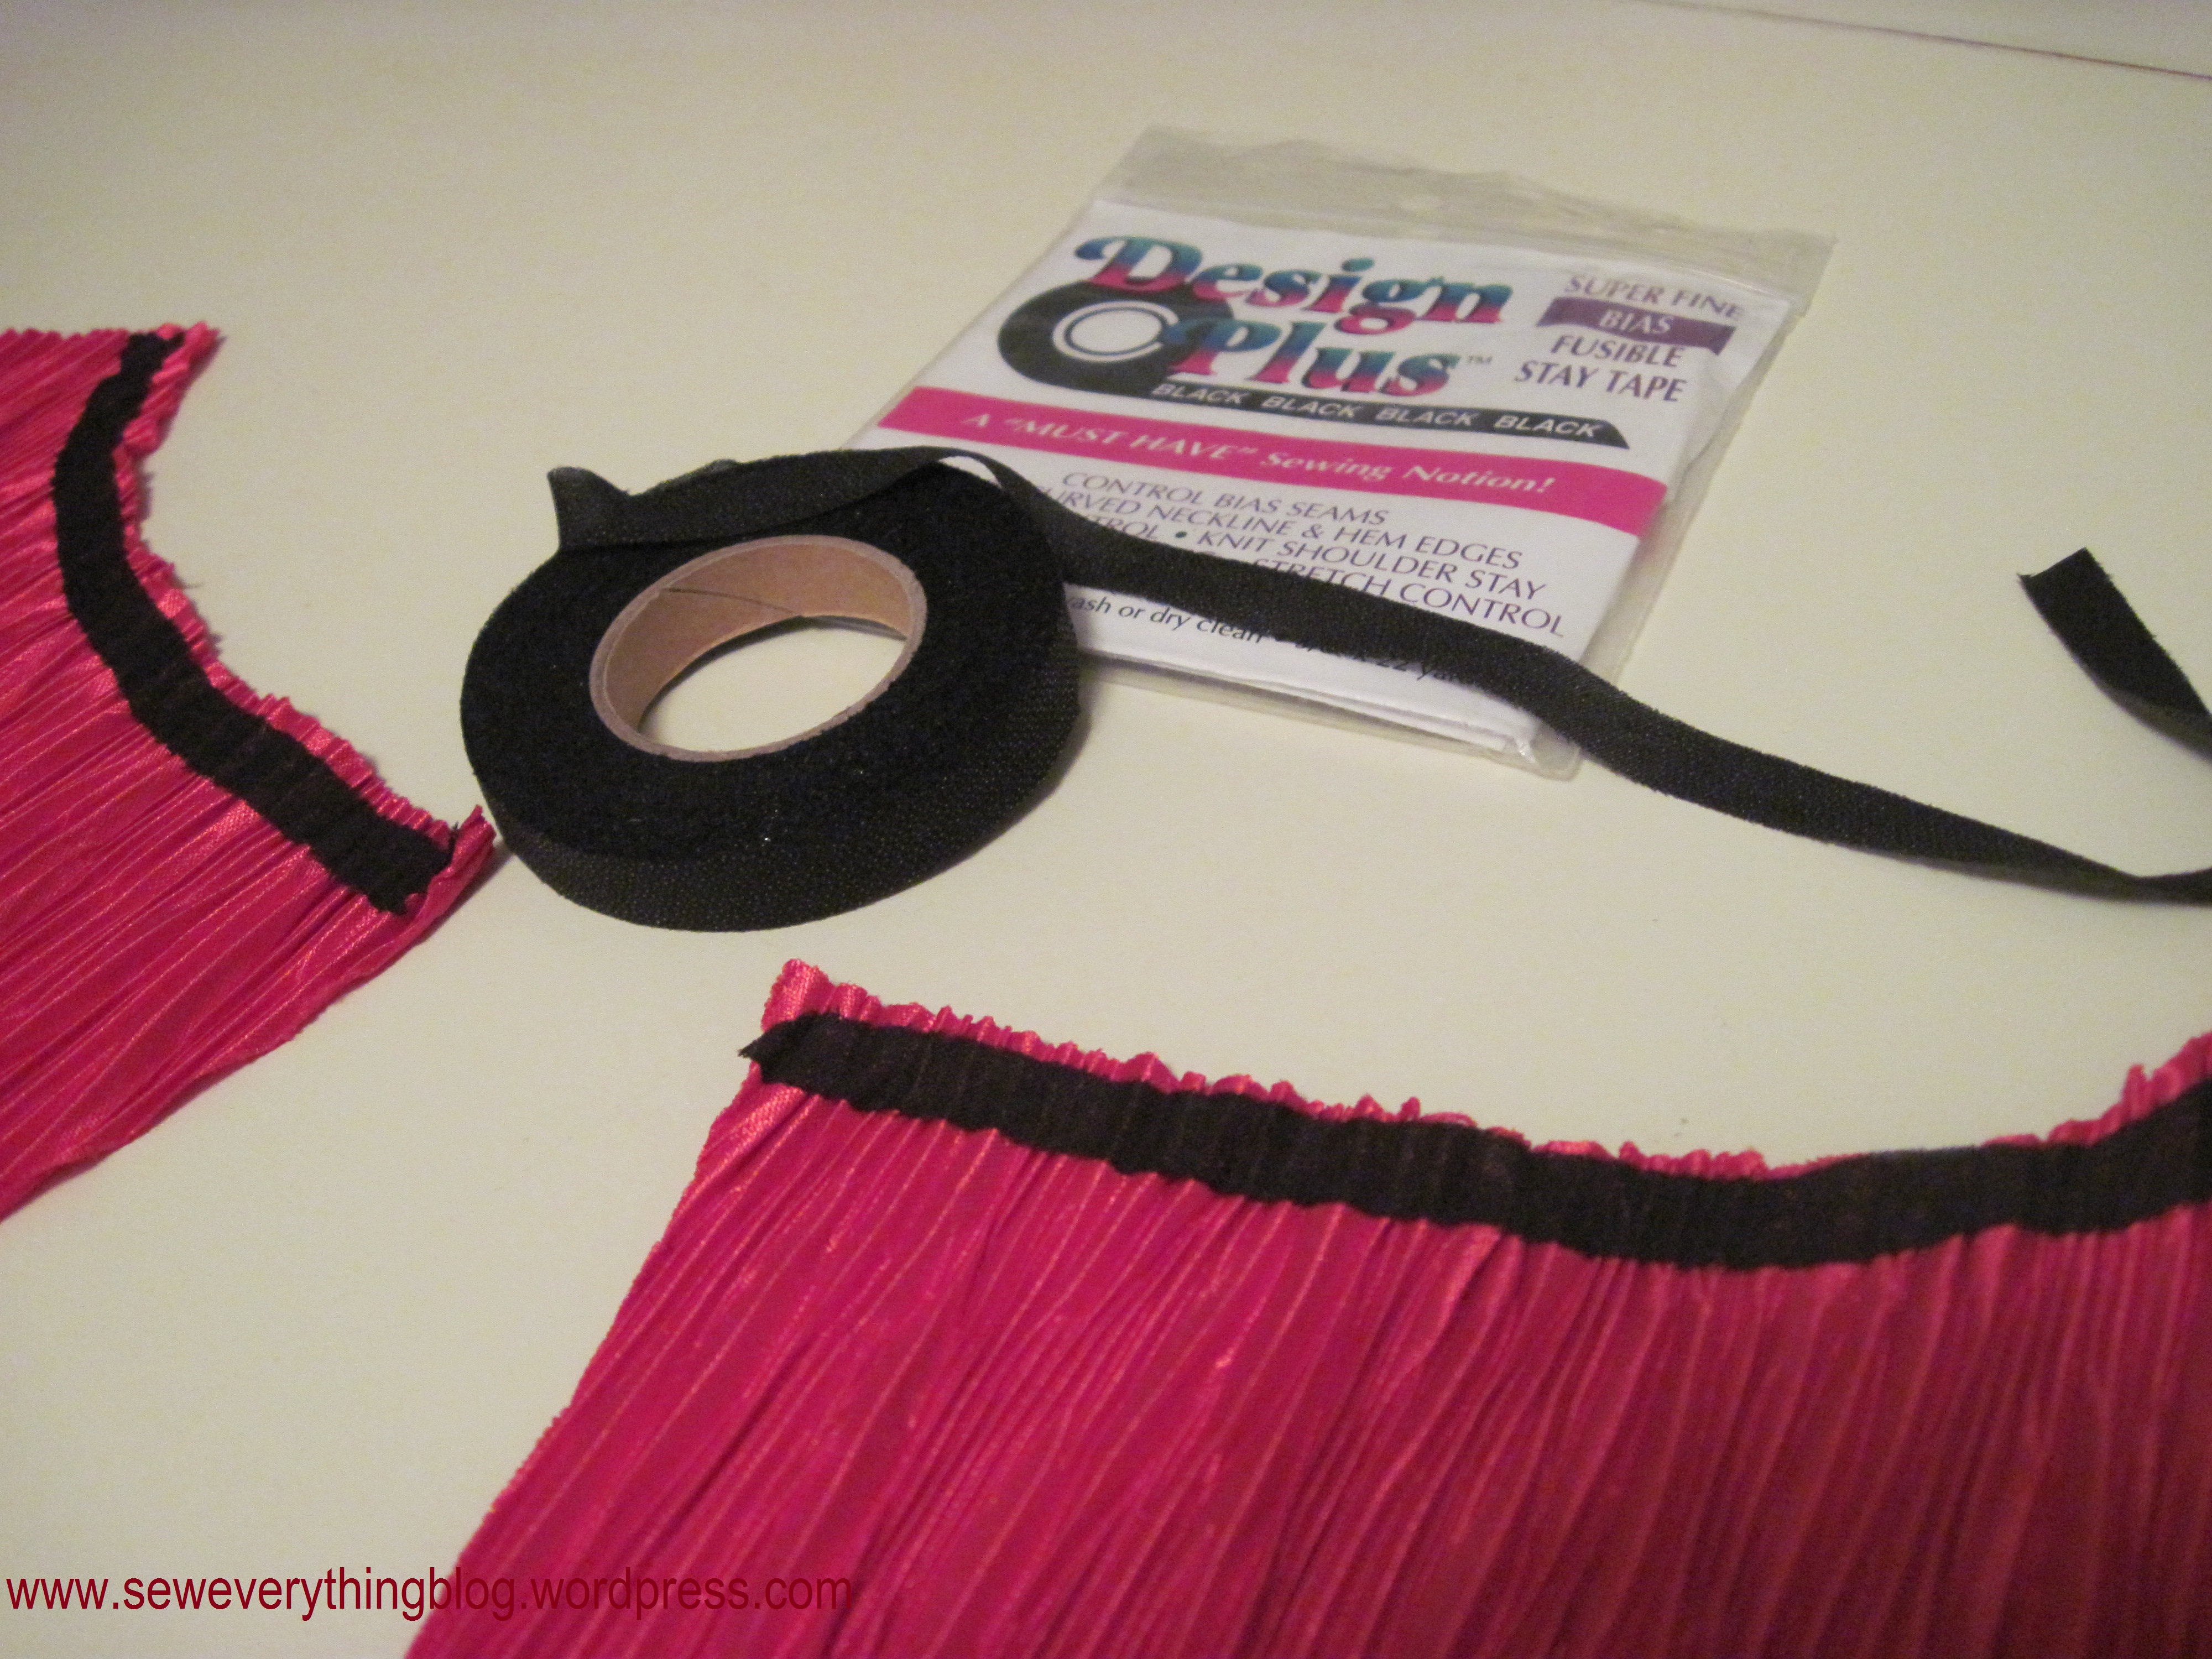
Sewing it together: I used a modified zig zag, almost-straight stitch for shoulder seams and a straight stitch for the one side seam; since this is just one pattern piece with 3 construction steps (not counting the serge-finish), it went fast. Finish the edges with a serger (neck, armholes and hem). Sew shoulder seams and then the one side seam. I kinda liked the way the hem edge was already cut in a scallop, and left it as is. Done. Fair warning: the pattern does not ask you to stabilize the shoulder seams, nor does it detail tips for working with pleated fabric. For that, I consulted my collection of sewing literature, especially Sandra Betzina’s More Fabric Savvy, which had a photo of this very same top.
Unrelated thought: there should be a college course called “Sewing Literature”. (“I have to study for my Sewing Lit exam”).
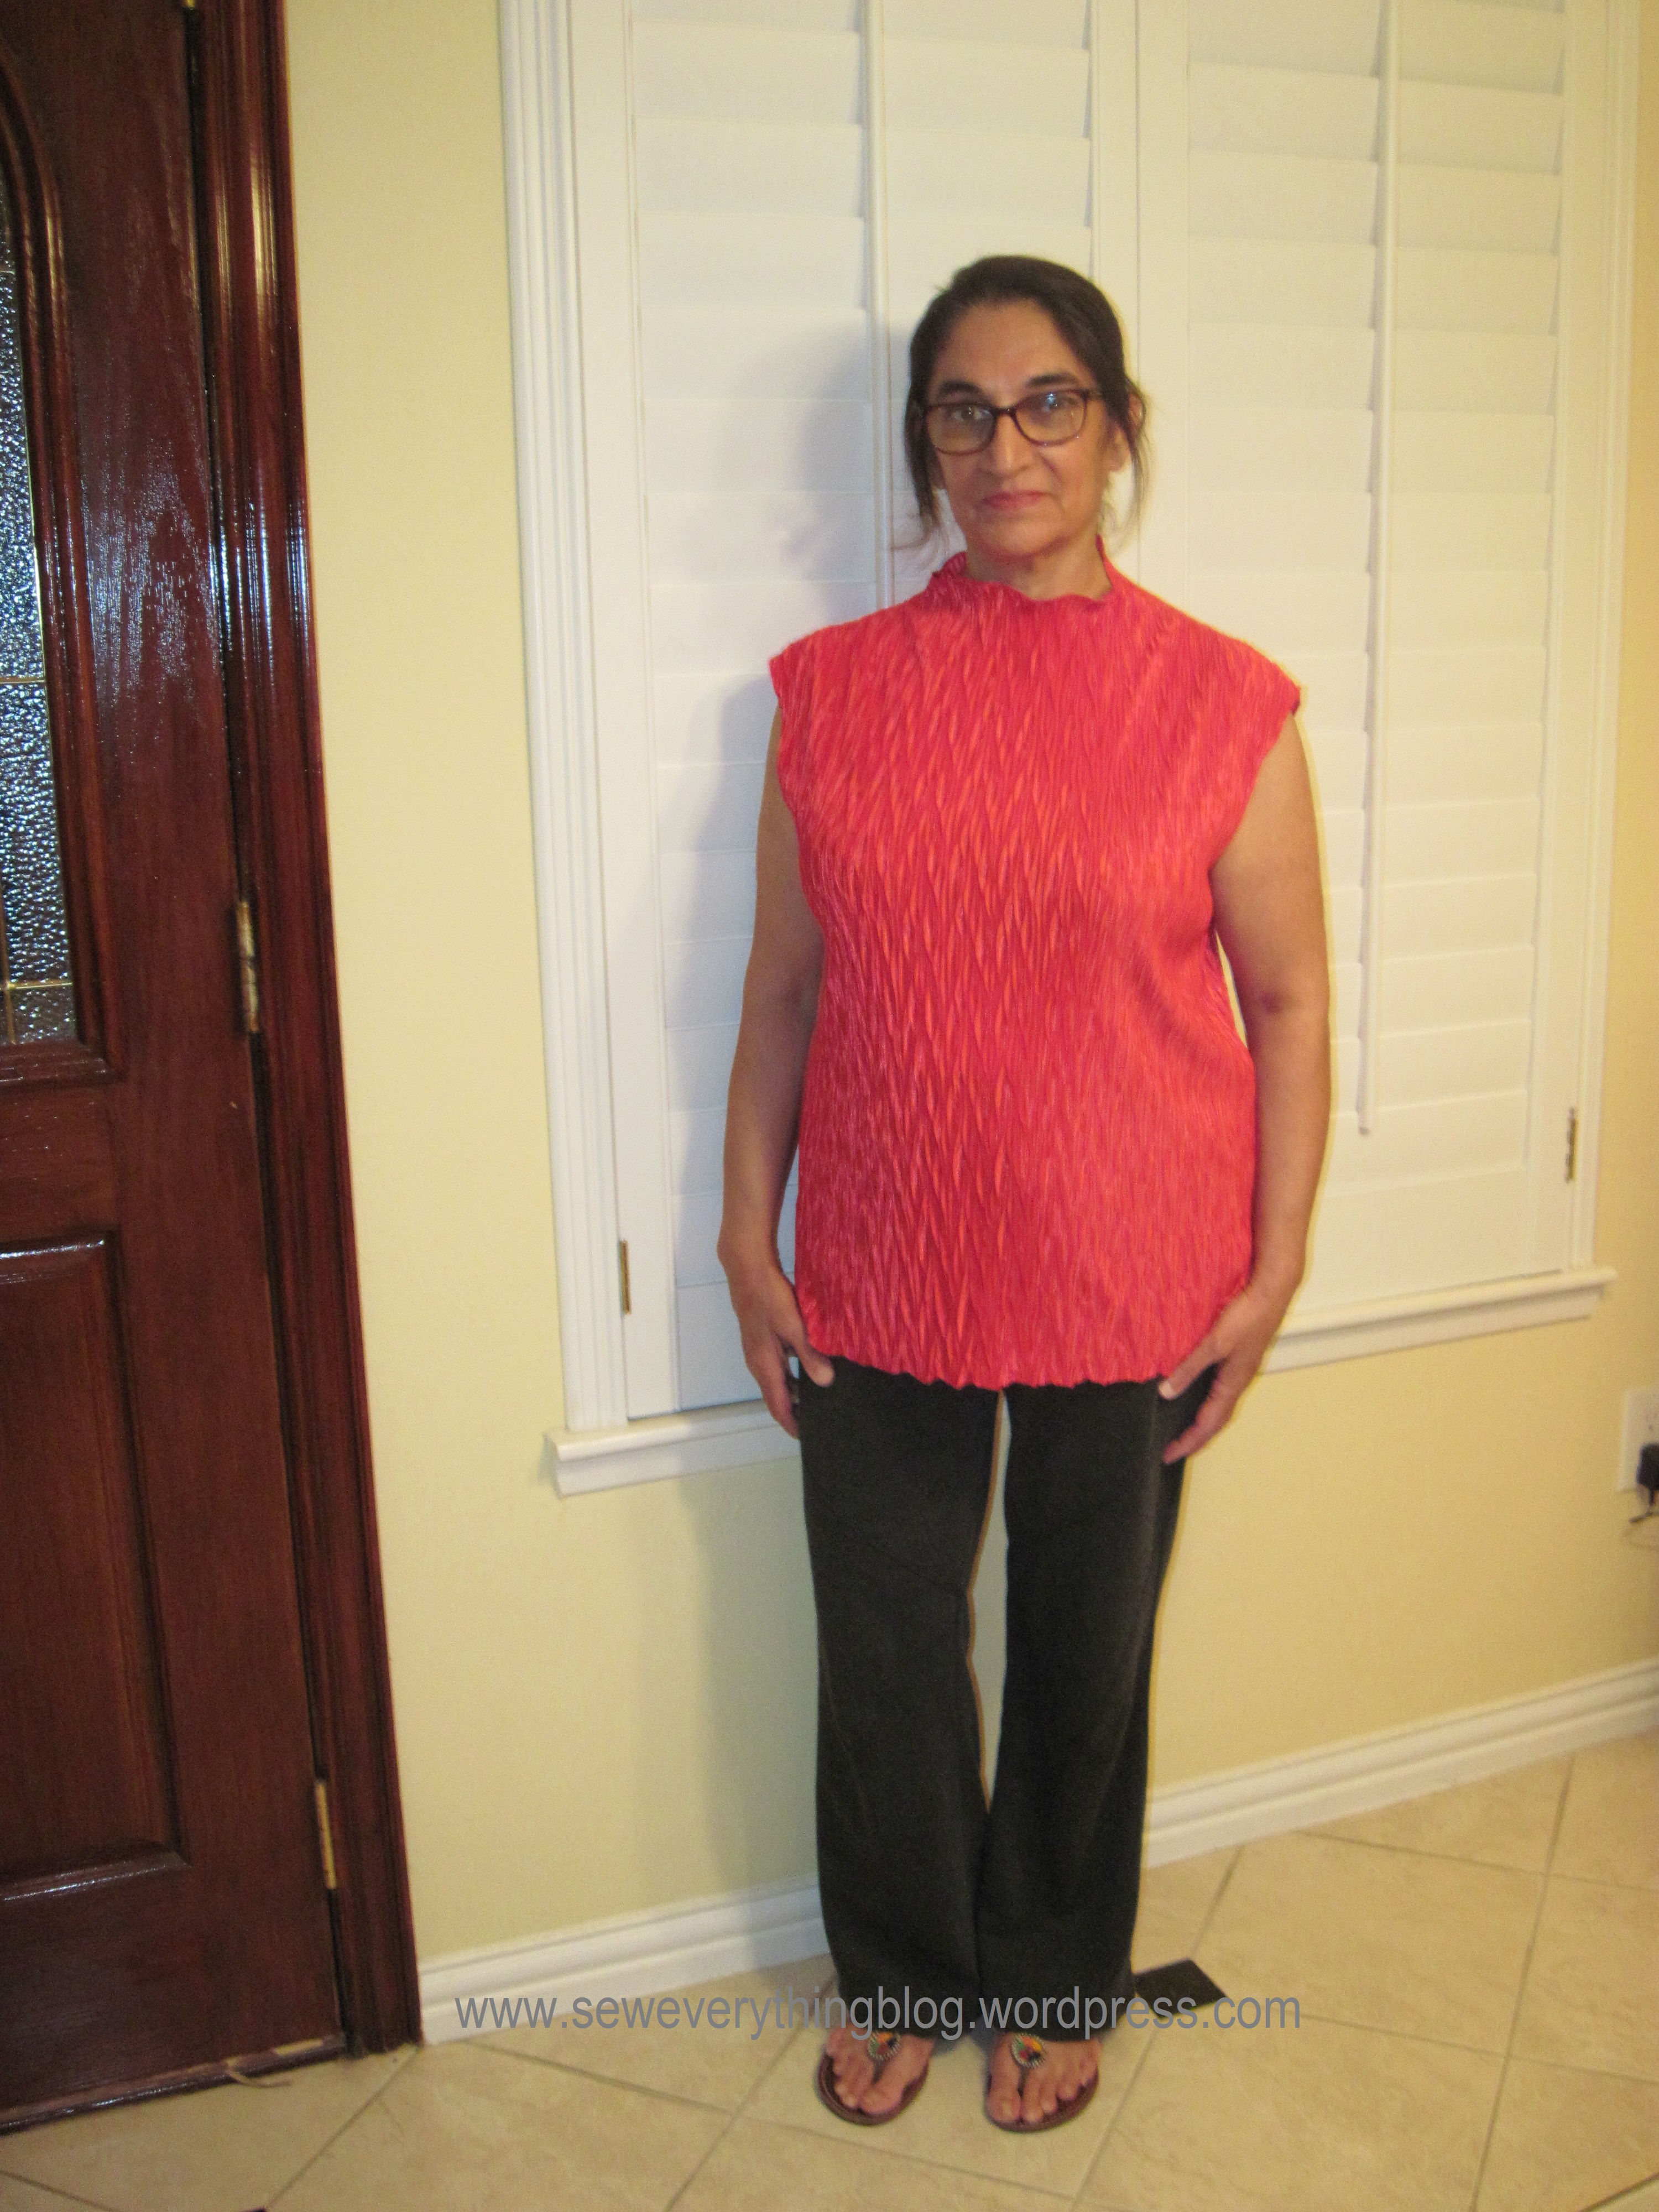
The pleated top has been worn several times already and it does not look too bad. However, the following fixes will need to be made (isn’t that why we sew?):
- Take in the sides; and make the next version a smaller size
- The above fix will make the armhole higher
- Apply red bias binding to armhole; the serged finish of the armhole is not that great.
- Shorten top length by chopping hem at least 3 inches.
Your turn, readers! Anything else you can suggest? If you’ve made this pattern already, what are your thoughts?
Samina

Wel you made your deadline. Interesting way to keep on schedule! I love the first version, the color looks great on you. I think with your added adjustments it will only better. Never used that type of fabric either.
LikeLiked by 1 person
Thanks Samina for the inspiration. I have a pleated black/white fabric from Emma Seabrooke that I have been holding for just this type of top. I might put the seam down the back instead of the side and love the idea of cutting it in one piece.
LikeLiked by 1 person
Janith, putting the seam on the back is a great idea! I’ll be waiting to see that top – sew it up quick since summer is around the corner (doesn’t seem like it right now, though).
LikeLiked by 1 person
I’ve never seen pleated fabric before! It gives an interesting look to a simple top. I like the knit version too.
LikeLiked by 1 person
Sandra Betzina and Ron Collins have a webisode about making a sunburst skirt out of that cool fabric: http://www.powersewing.com/webtv-shows/list-of-shows/
It is no. 115. It used to be free but I think now is only available to subscribers. I watched it a while ago and would love to make one sometime!
Love your red fabric.
LikeLike
I am working on sewing a shirt with a similar pleated fabric but I cannot get the machine to form stitches (it will just sew without ever catching)! It works fine on every other fabric. I’ve tried ball point, Jersey, stretch, and regular sharps (all with polyester thread), but I’ve had no luck. I’ve cleaned the machine and also tried using a stabilizer.
Any additional suggestions?
LikeLike