Easing fabric, in sewing vernacular, really means making one edge of fabric sew up evenly to a corresponding edge which happens to be a different length than the first one. For example, how would anyone sew a 10” fabric edge to an 11” edge without ending up with extra fabric at the end of the seam? You ease the extra length of one piece to the shorter piece. Easing one pattern piece to another is such a part of the sewing activity that one hardly bats an eye when required to do it.
Where is it used? In many areas of garment sewing! Commonly in attaching a sleeve cap to armhole, sometimes in replacing a dart (such as a jacket sleeve elbow dart), especially in haute couture sewing. In a previous blog post, I used easing to reduce the armhole circumference of a ready to wear cotton everyday type of dress. Another use is to control a gaping neckline. It’s used to sew dresses with princess seams.
I will present two methods of easing; there are more ways but I won’t address them here to keep this post reasonably brief. You’re welcome.
Be aware that easing works best with certain fabrics which are able to shrink with steam. Best candidate is wool, then rayon and cotton. If you try easing polyester, you may be left with puckers rather than a smooth eased seam.
EASE STITCH TIP #1
Staystitch Plus OR Finger-Behind-the-Presser-Foot method
As the first name implies, this is a combination of stay stitching (to keep the fabric edge from stretching) and ease-basting in one go. I’ve used this easing technique countless times. Sandra Betzina writes about it in her book Power Sewing, Step-by-Step ! She also calls it “crowding”, which is such a descriptive term. That Sandra, she has a way with words! I’ve learned a LOT of cool sewing tech from her; from her books and from attending her classes in person and online.
This technique is a bit of an organic process. This is how I do it. Let’s take the example of a gaping front armhole in a sleeveless dress. My original front armhole is 11” and I’d be much happier if it was 10”. 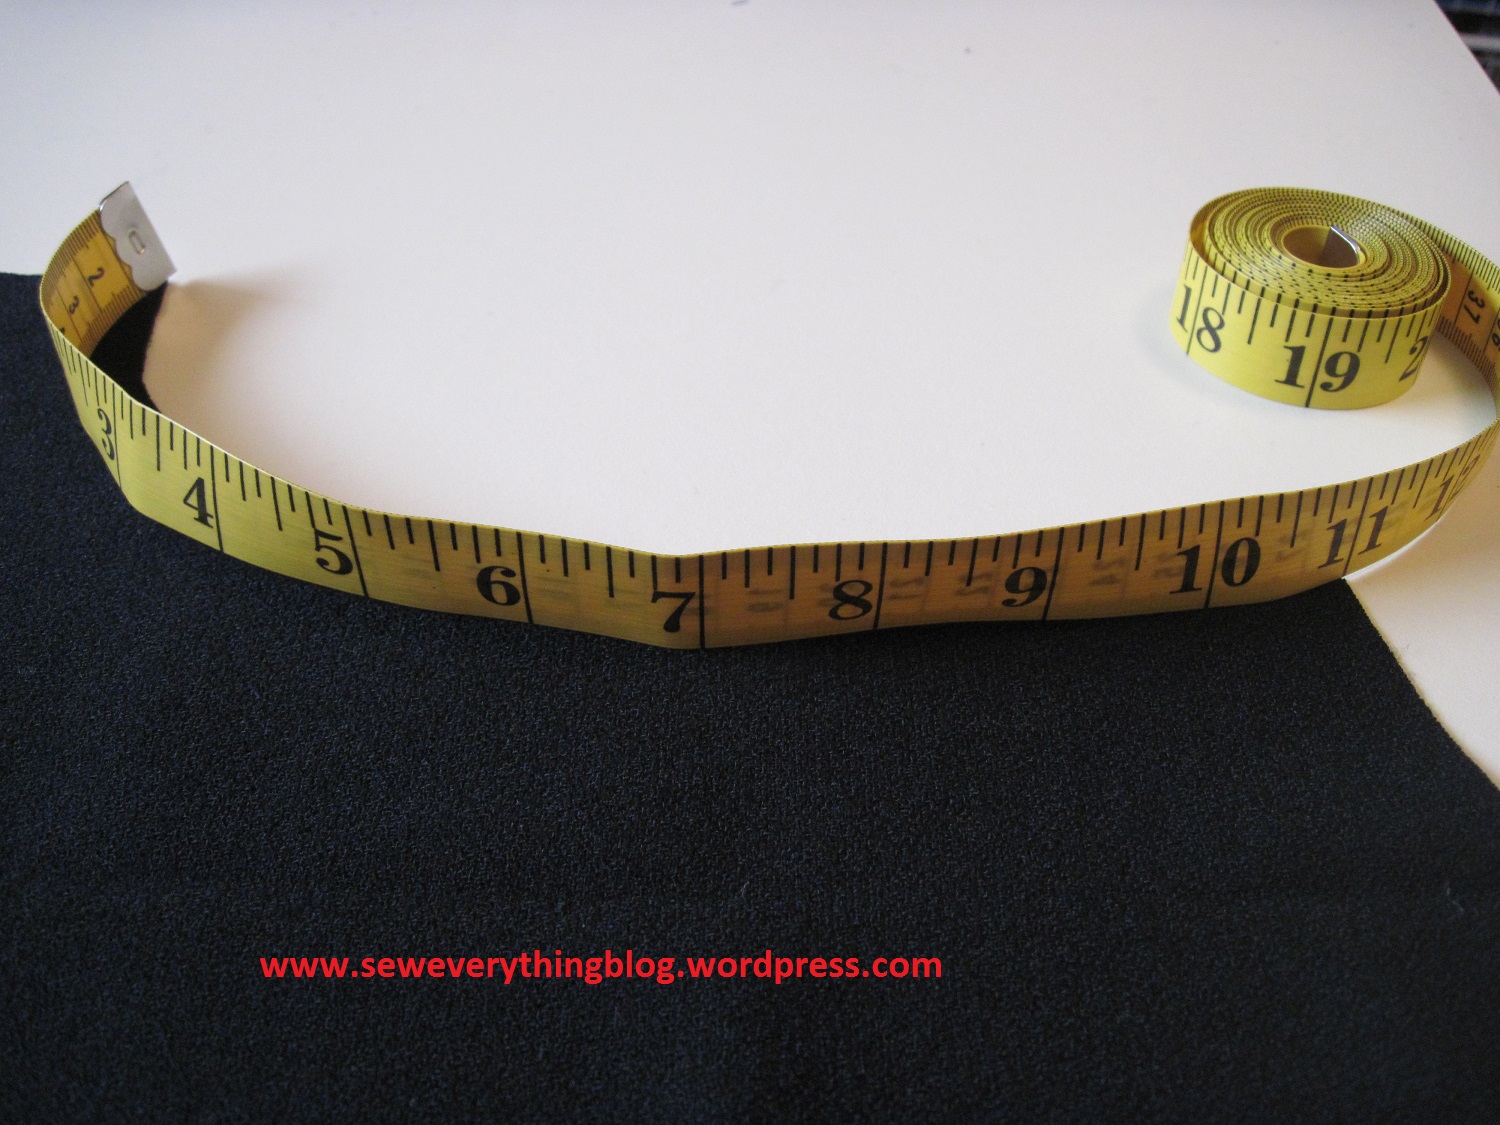
Place two pins (or any other mark) approximately at the lower portion of the armhole front, as shown in the picture. Did I say this is an organic process? 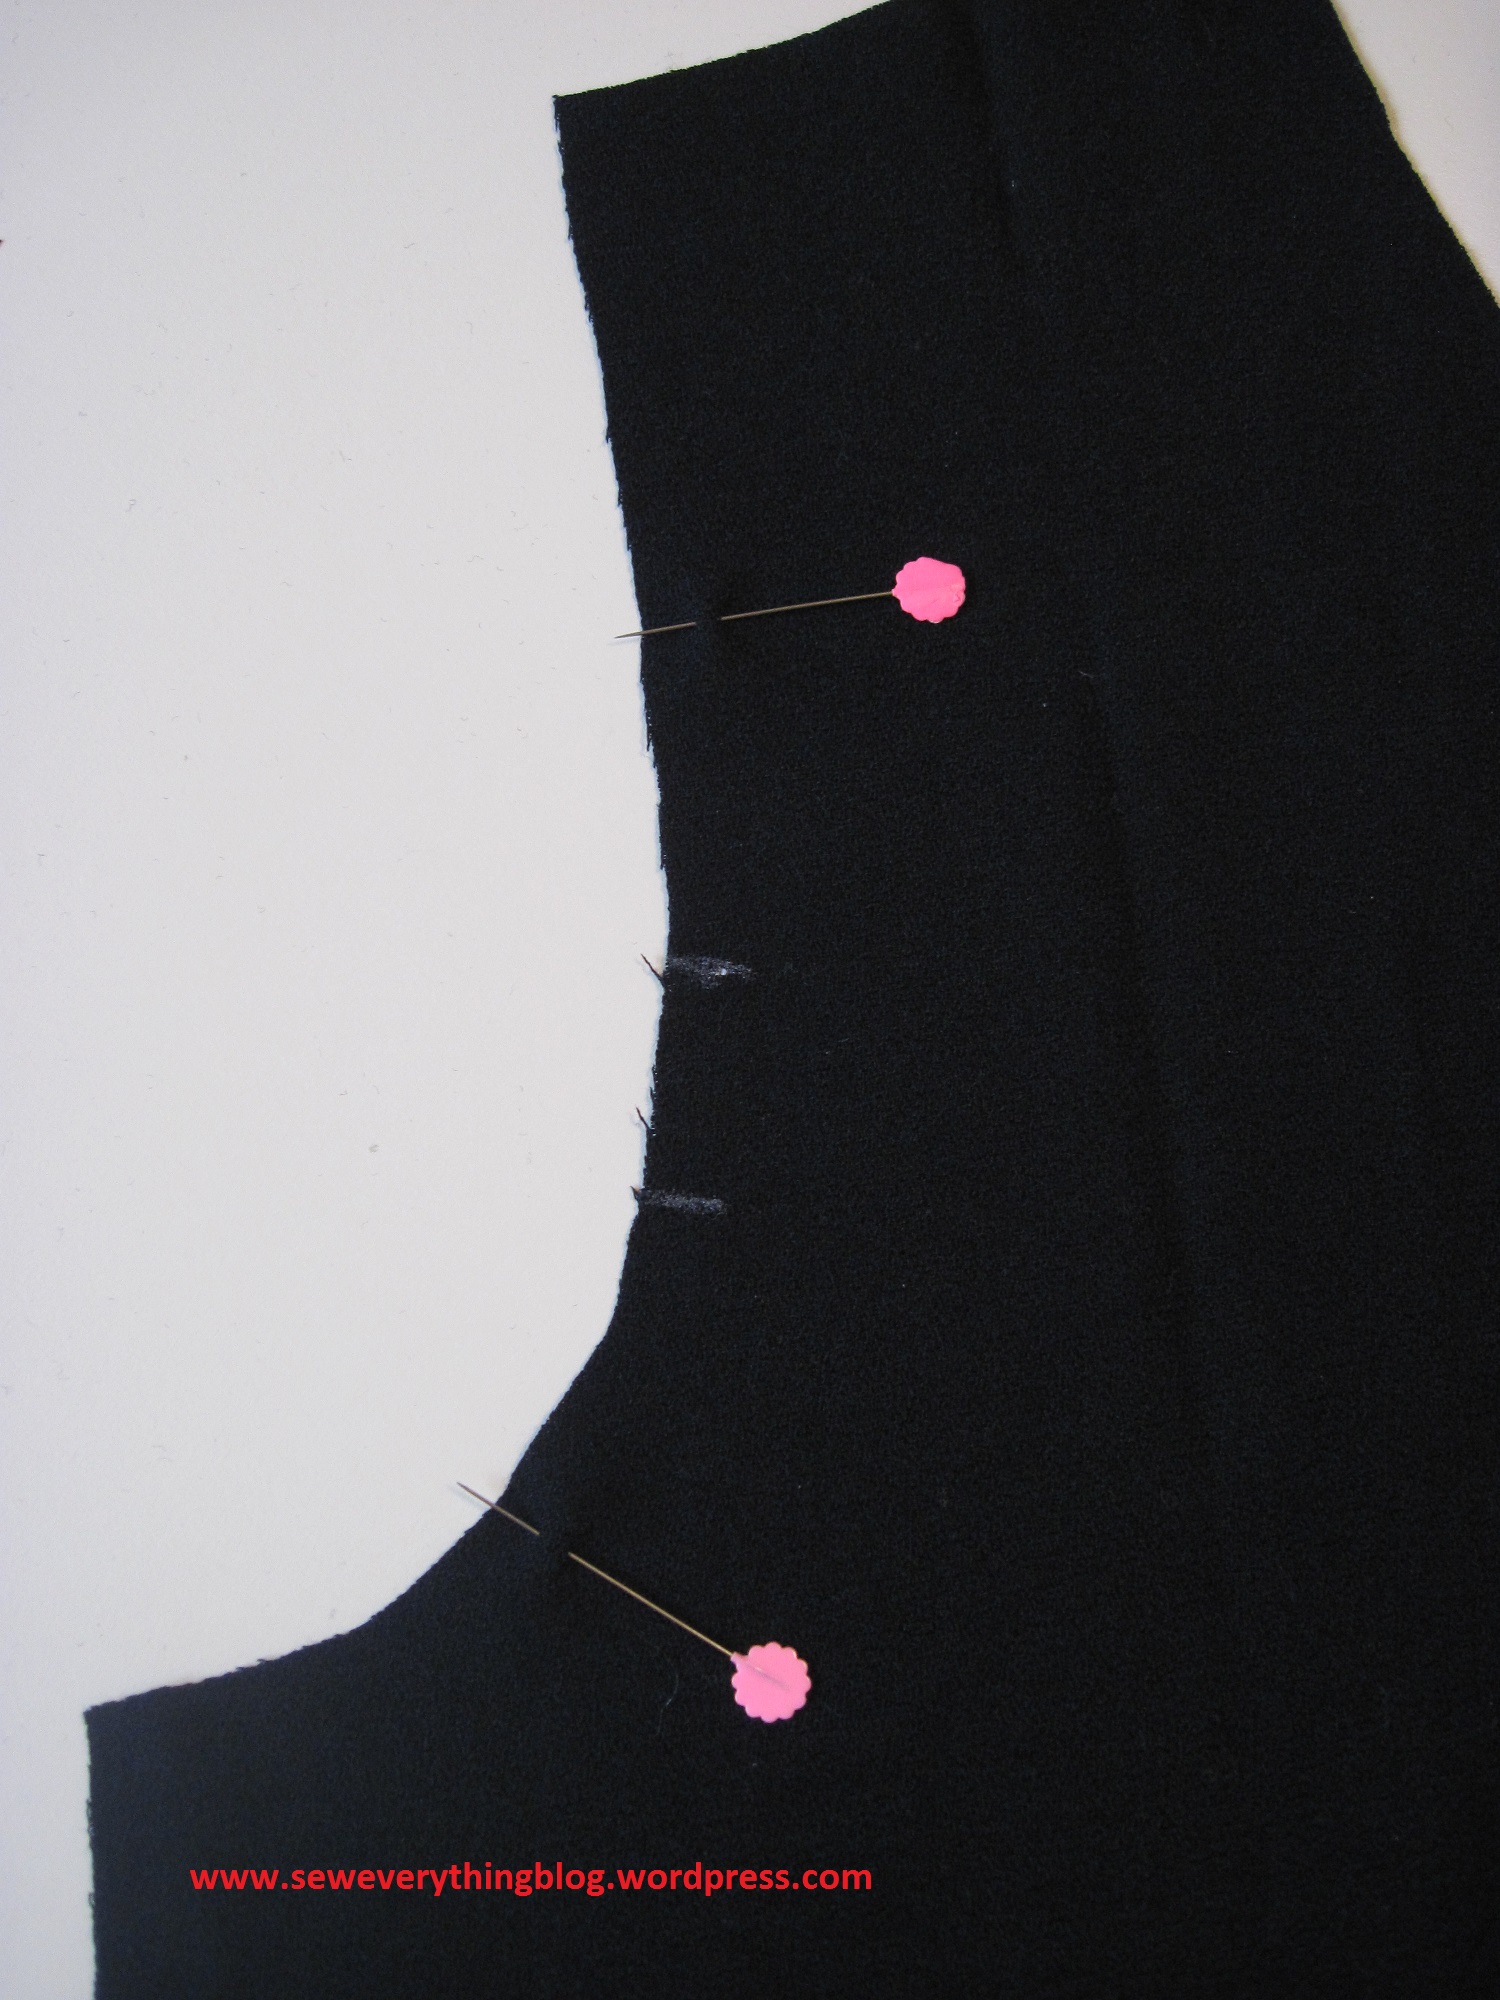
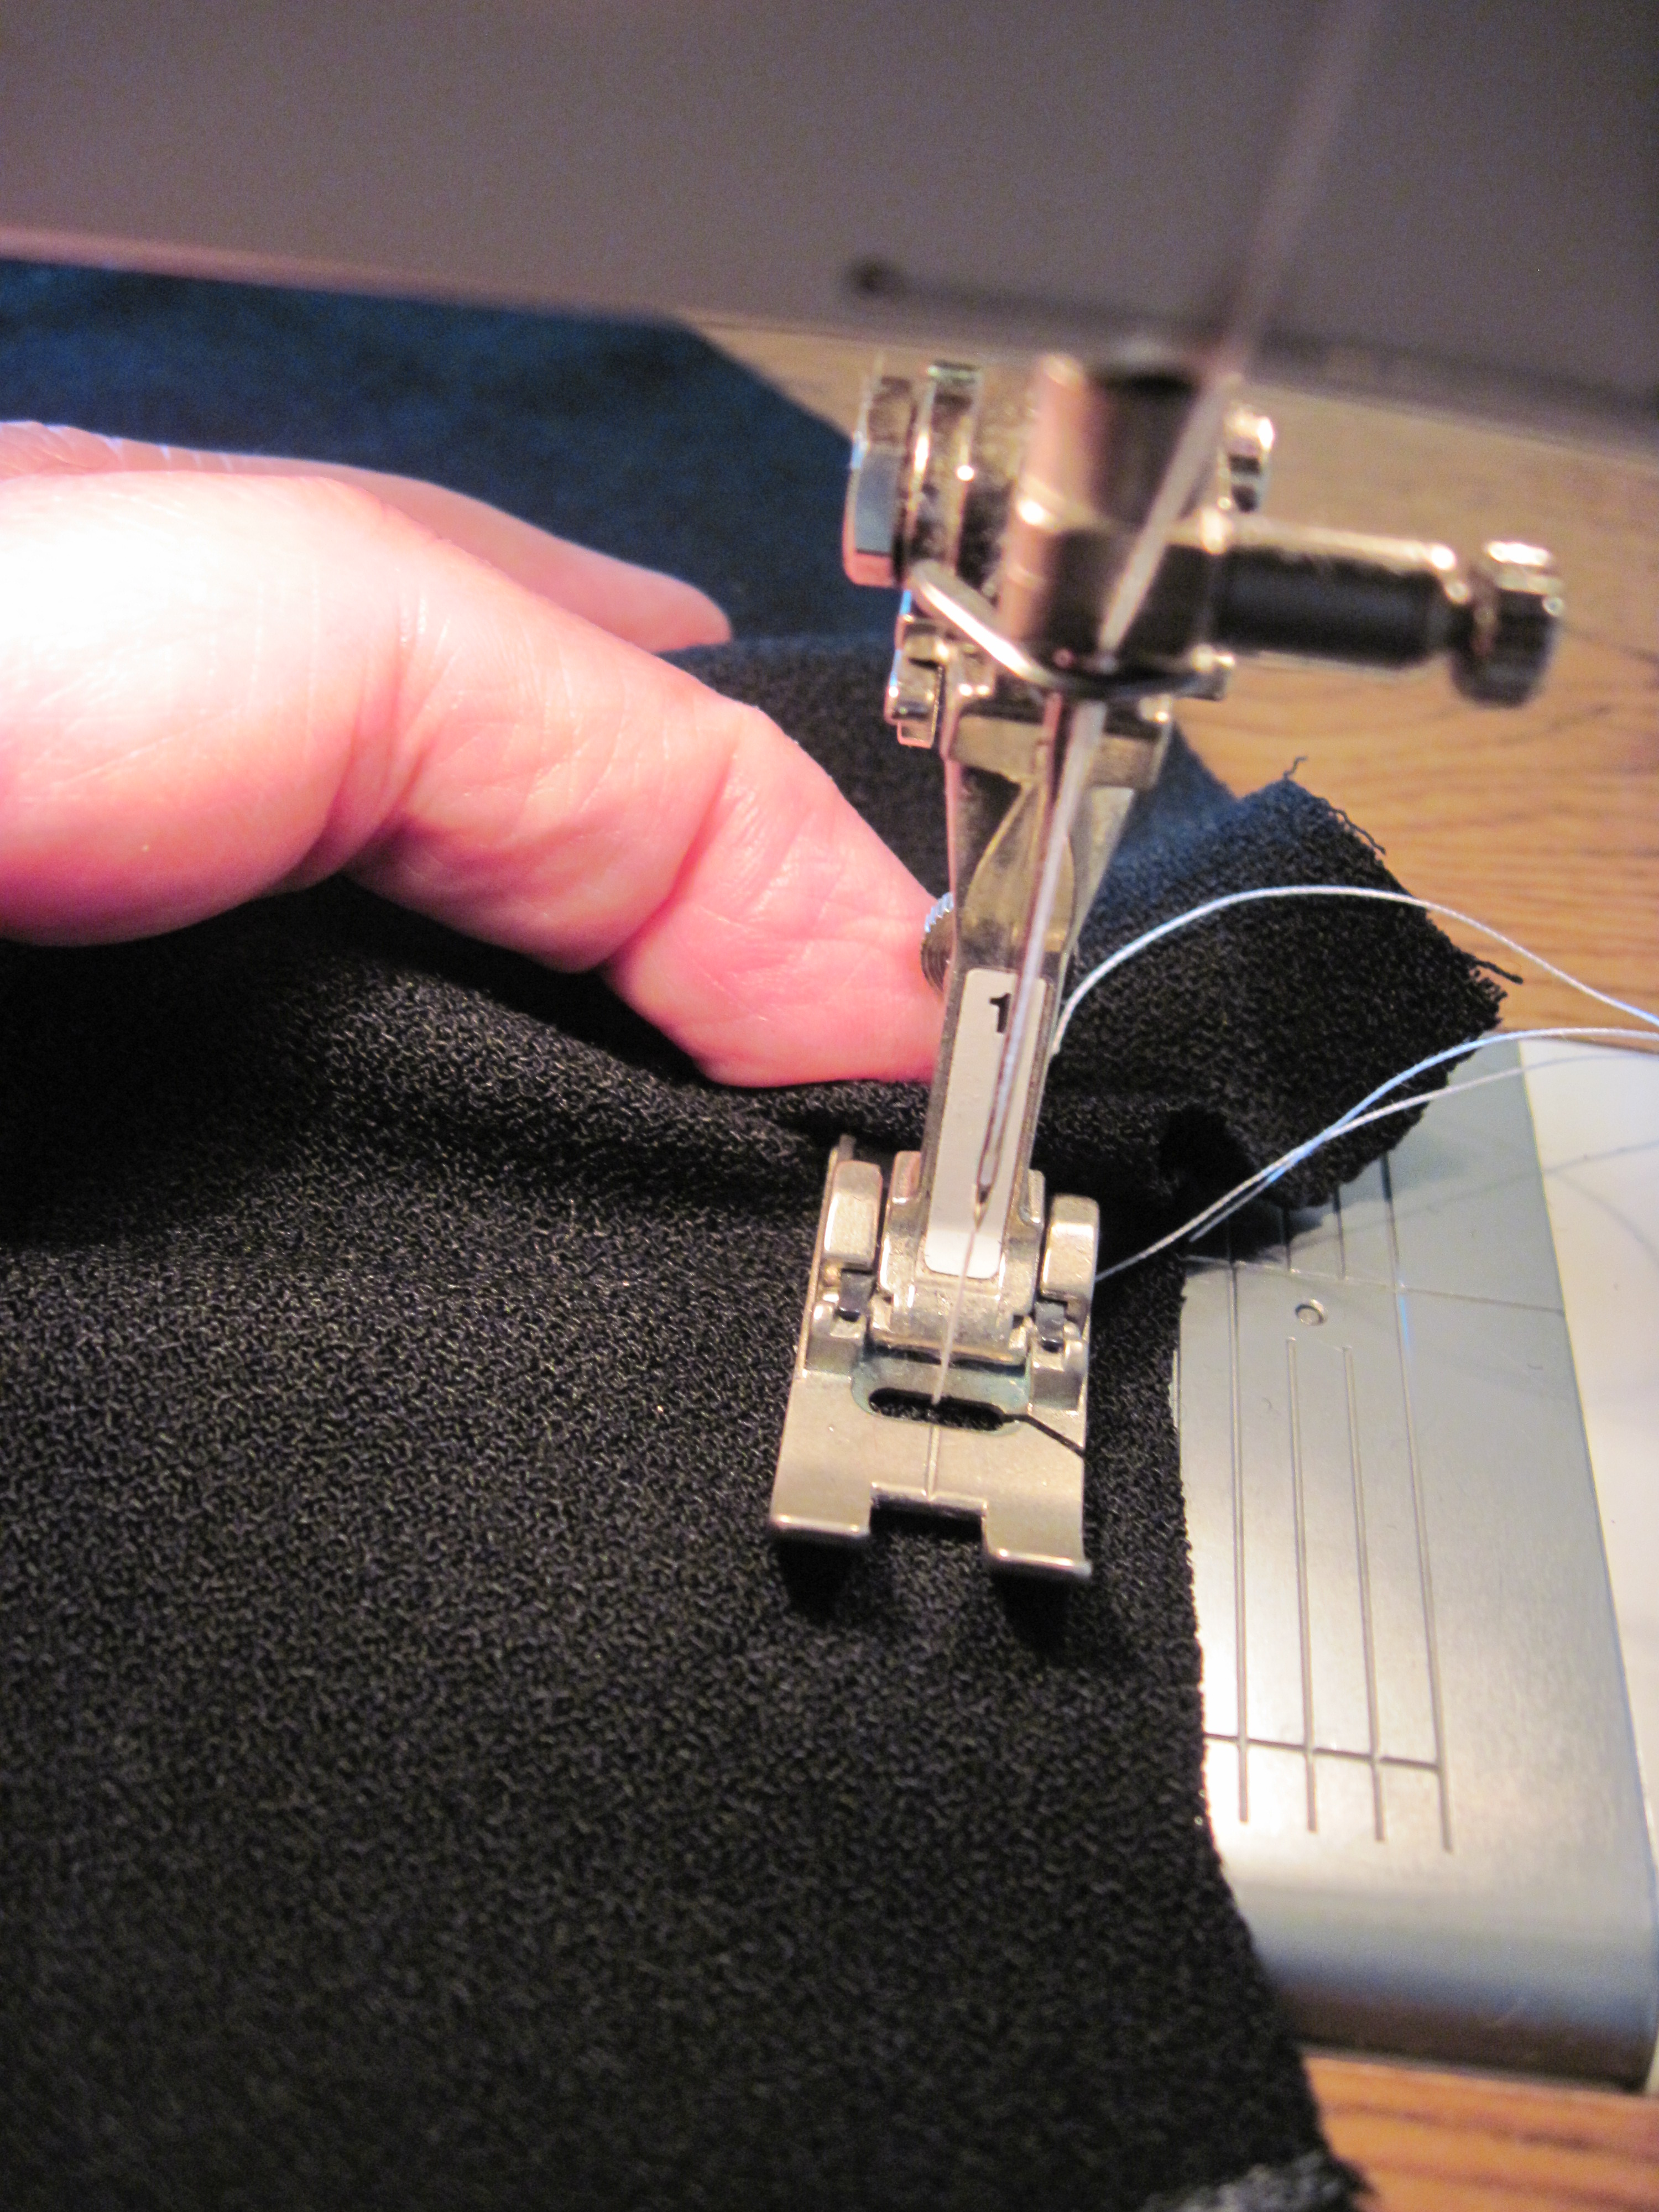
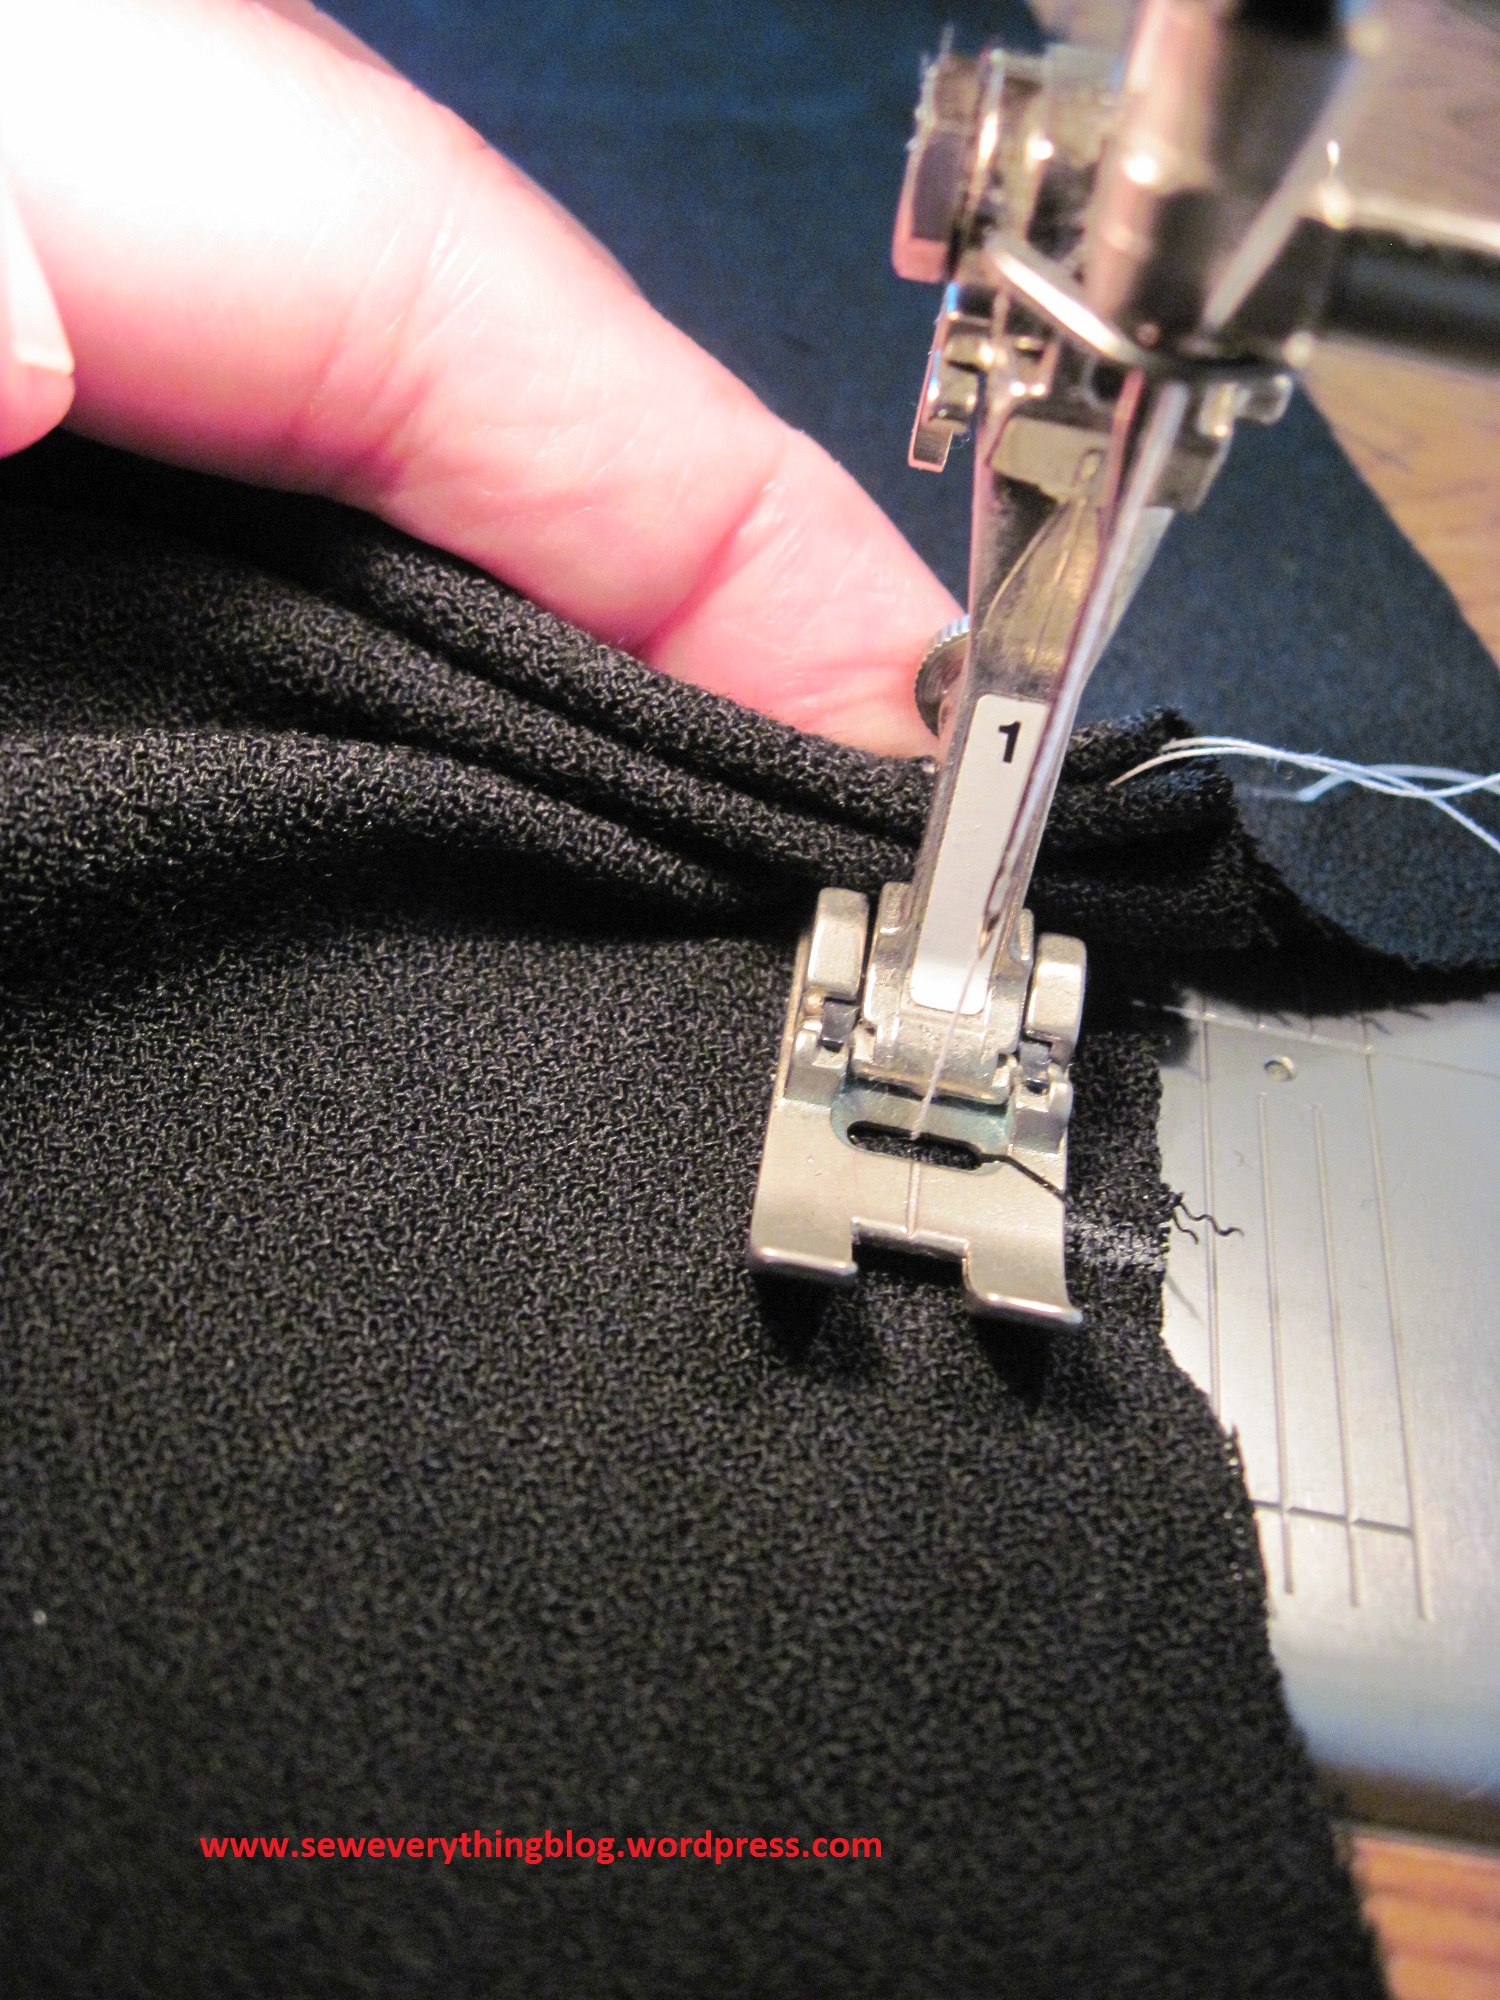
Set machine to a 4mm straight stitch. Before starting to sew, gather one or two folds of fabric at the back of the presser foot with your left index finger and HOLD. Start sewing without moving away the finger. See the fabric collecting there? You’re doing it right!
End sewing at the second pin. Release the fabric from your finger, and remove fabric from machine. You’ll see that it’s somewhat puckered and smaller. 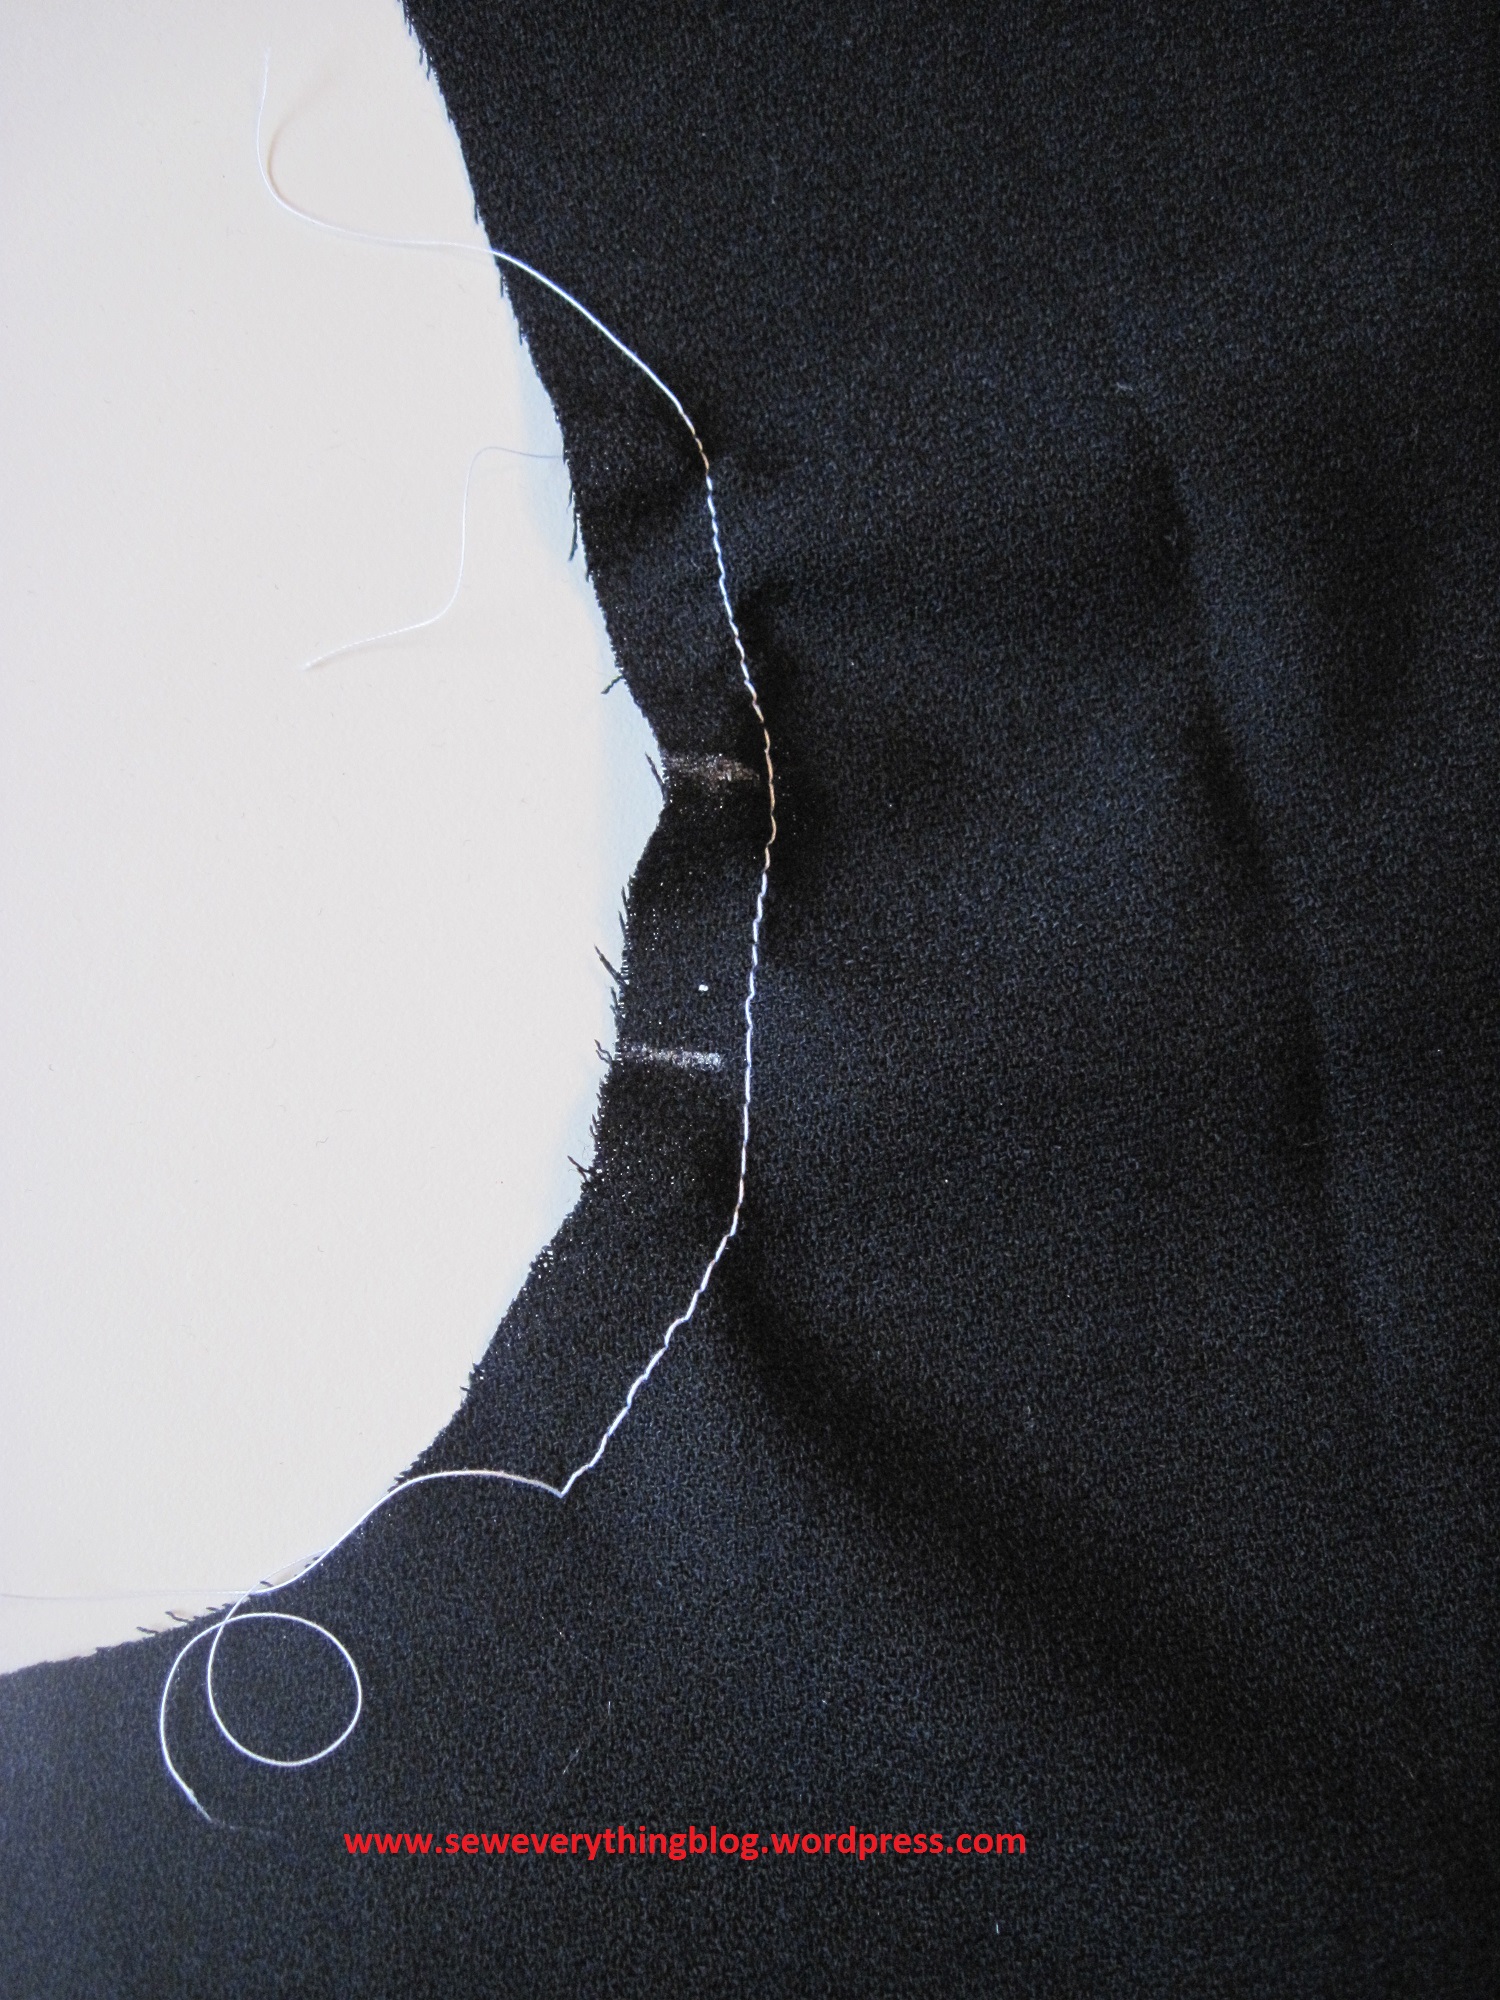
Measure armhole edge again to see if you got the desired size. If not, pull the thread slightly until you have the 10”. If it tightened too much, snip a couple of the machine stitches. My armhole has been eased to the desired 10 inches. 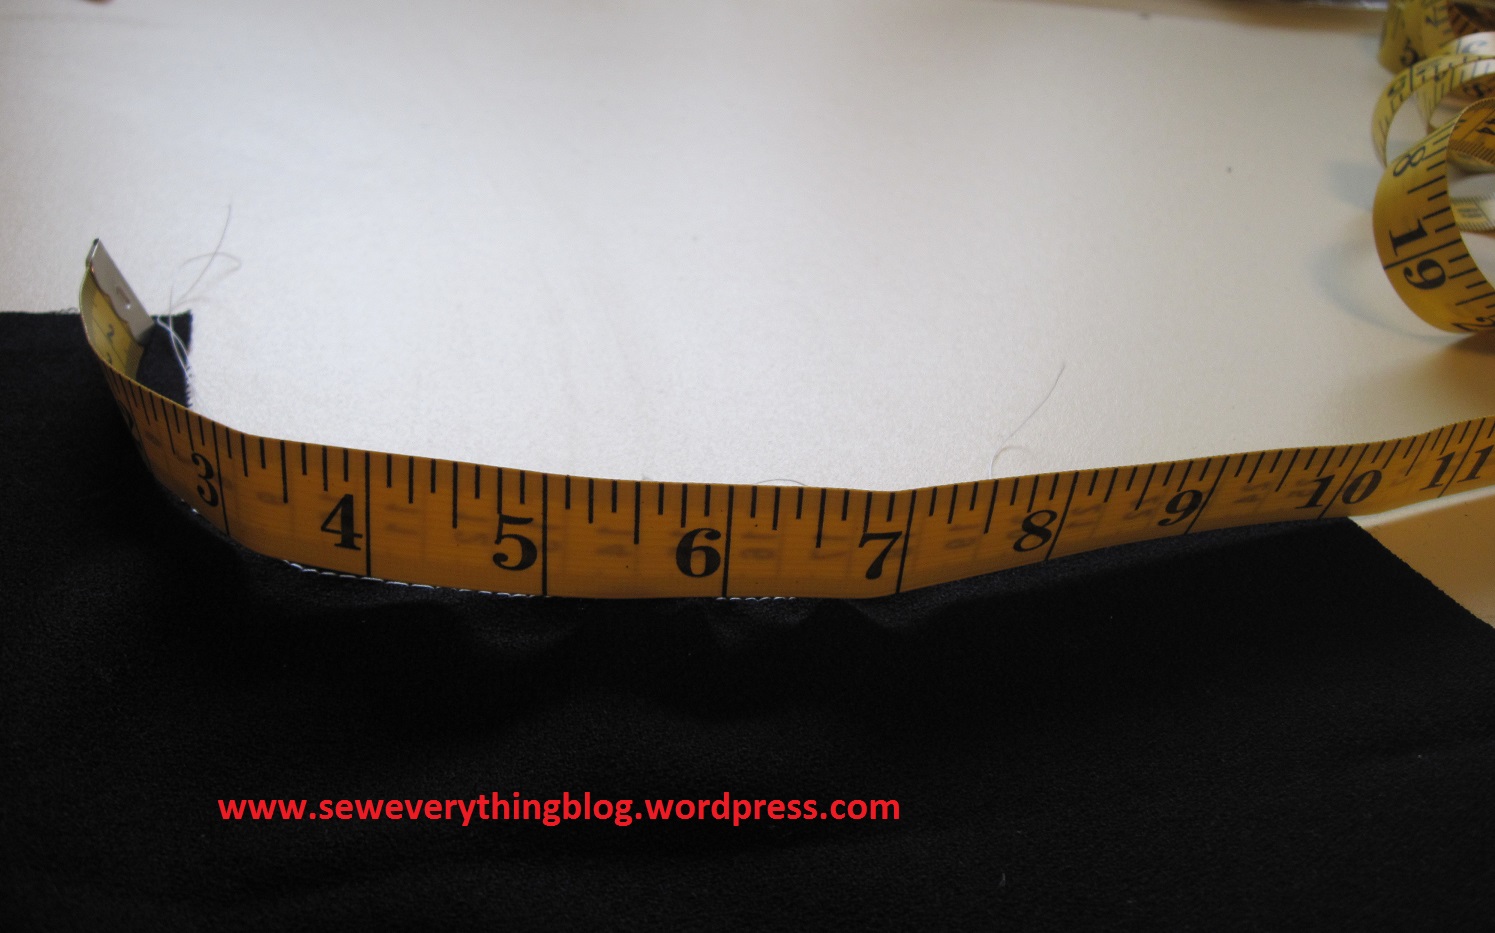
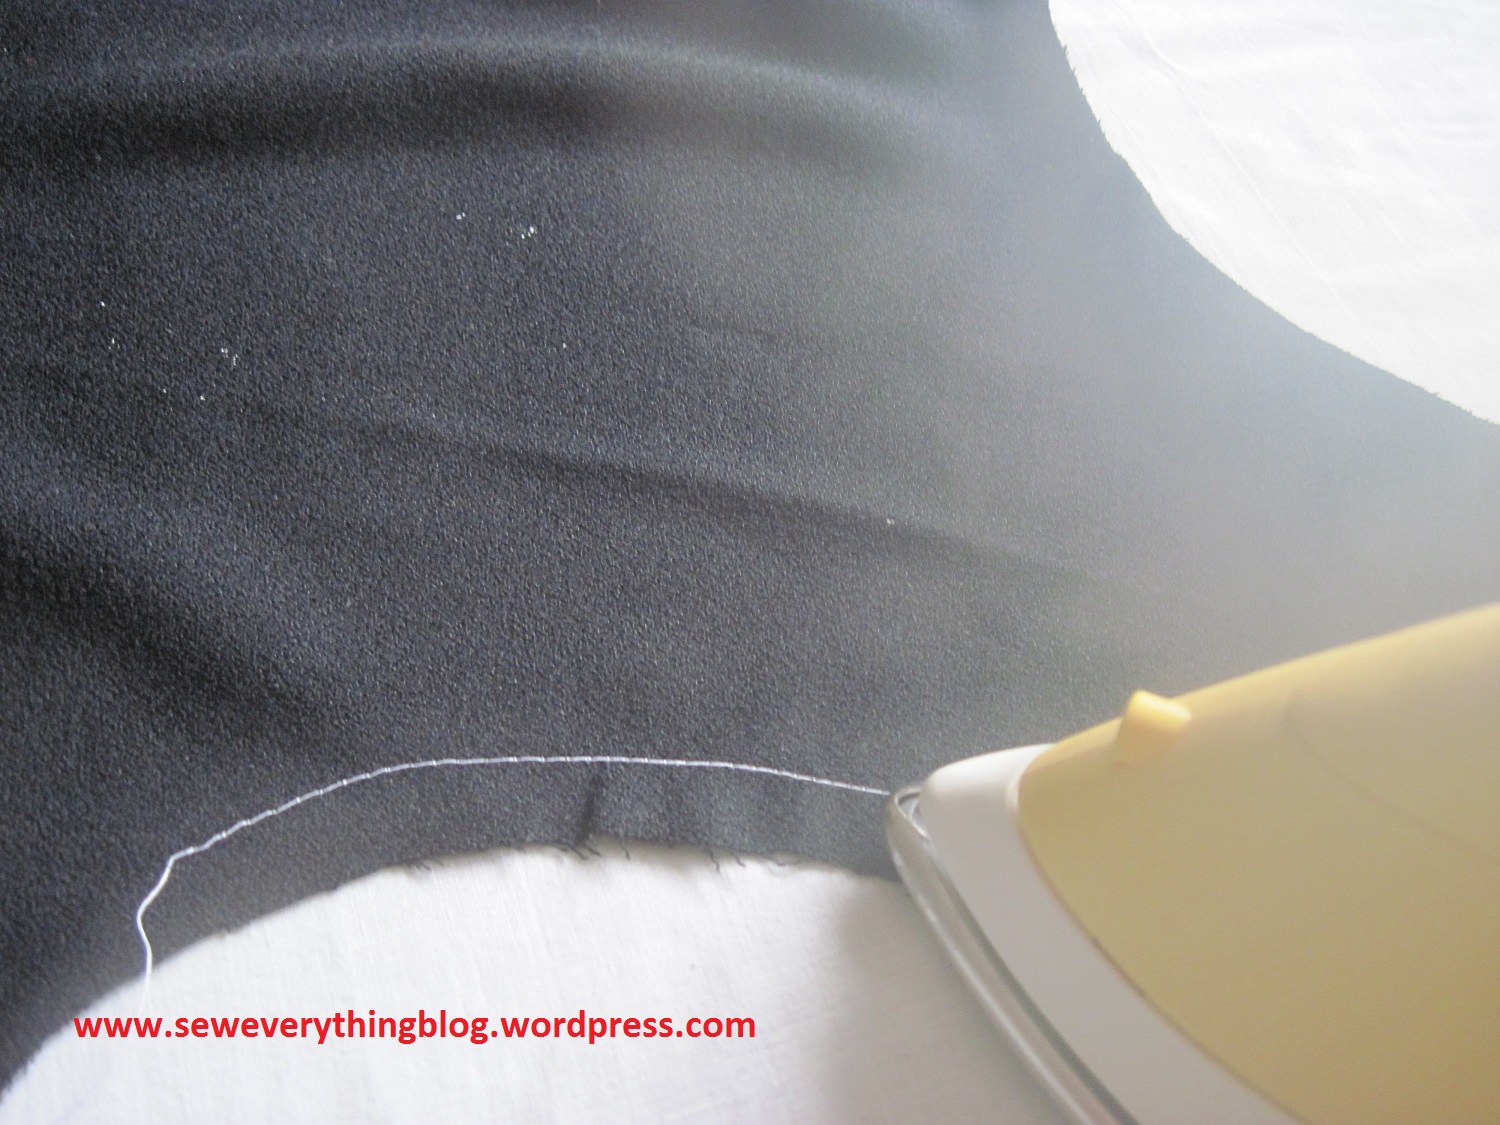
Steam the edge just inside the seam allowance to remove puckering.
EASE STITCH TIP #2
Sewing with a Longer Stitch and Pulling Thread OR Faux Gathering:
For this kind of easing, you start off as if you are gathering the fabric. Sew long stitches 3/8” inside the seam, stitch again close to the previous stitching, leaving long tails. 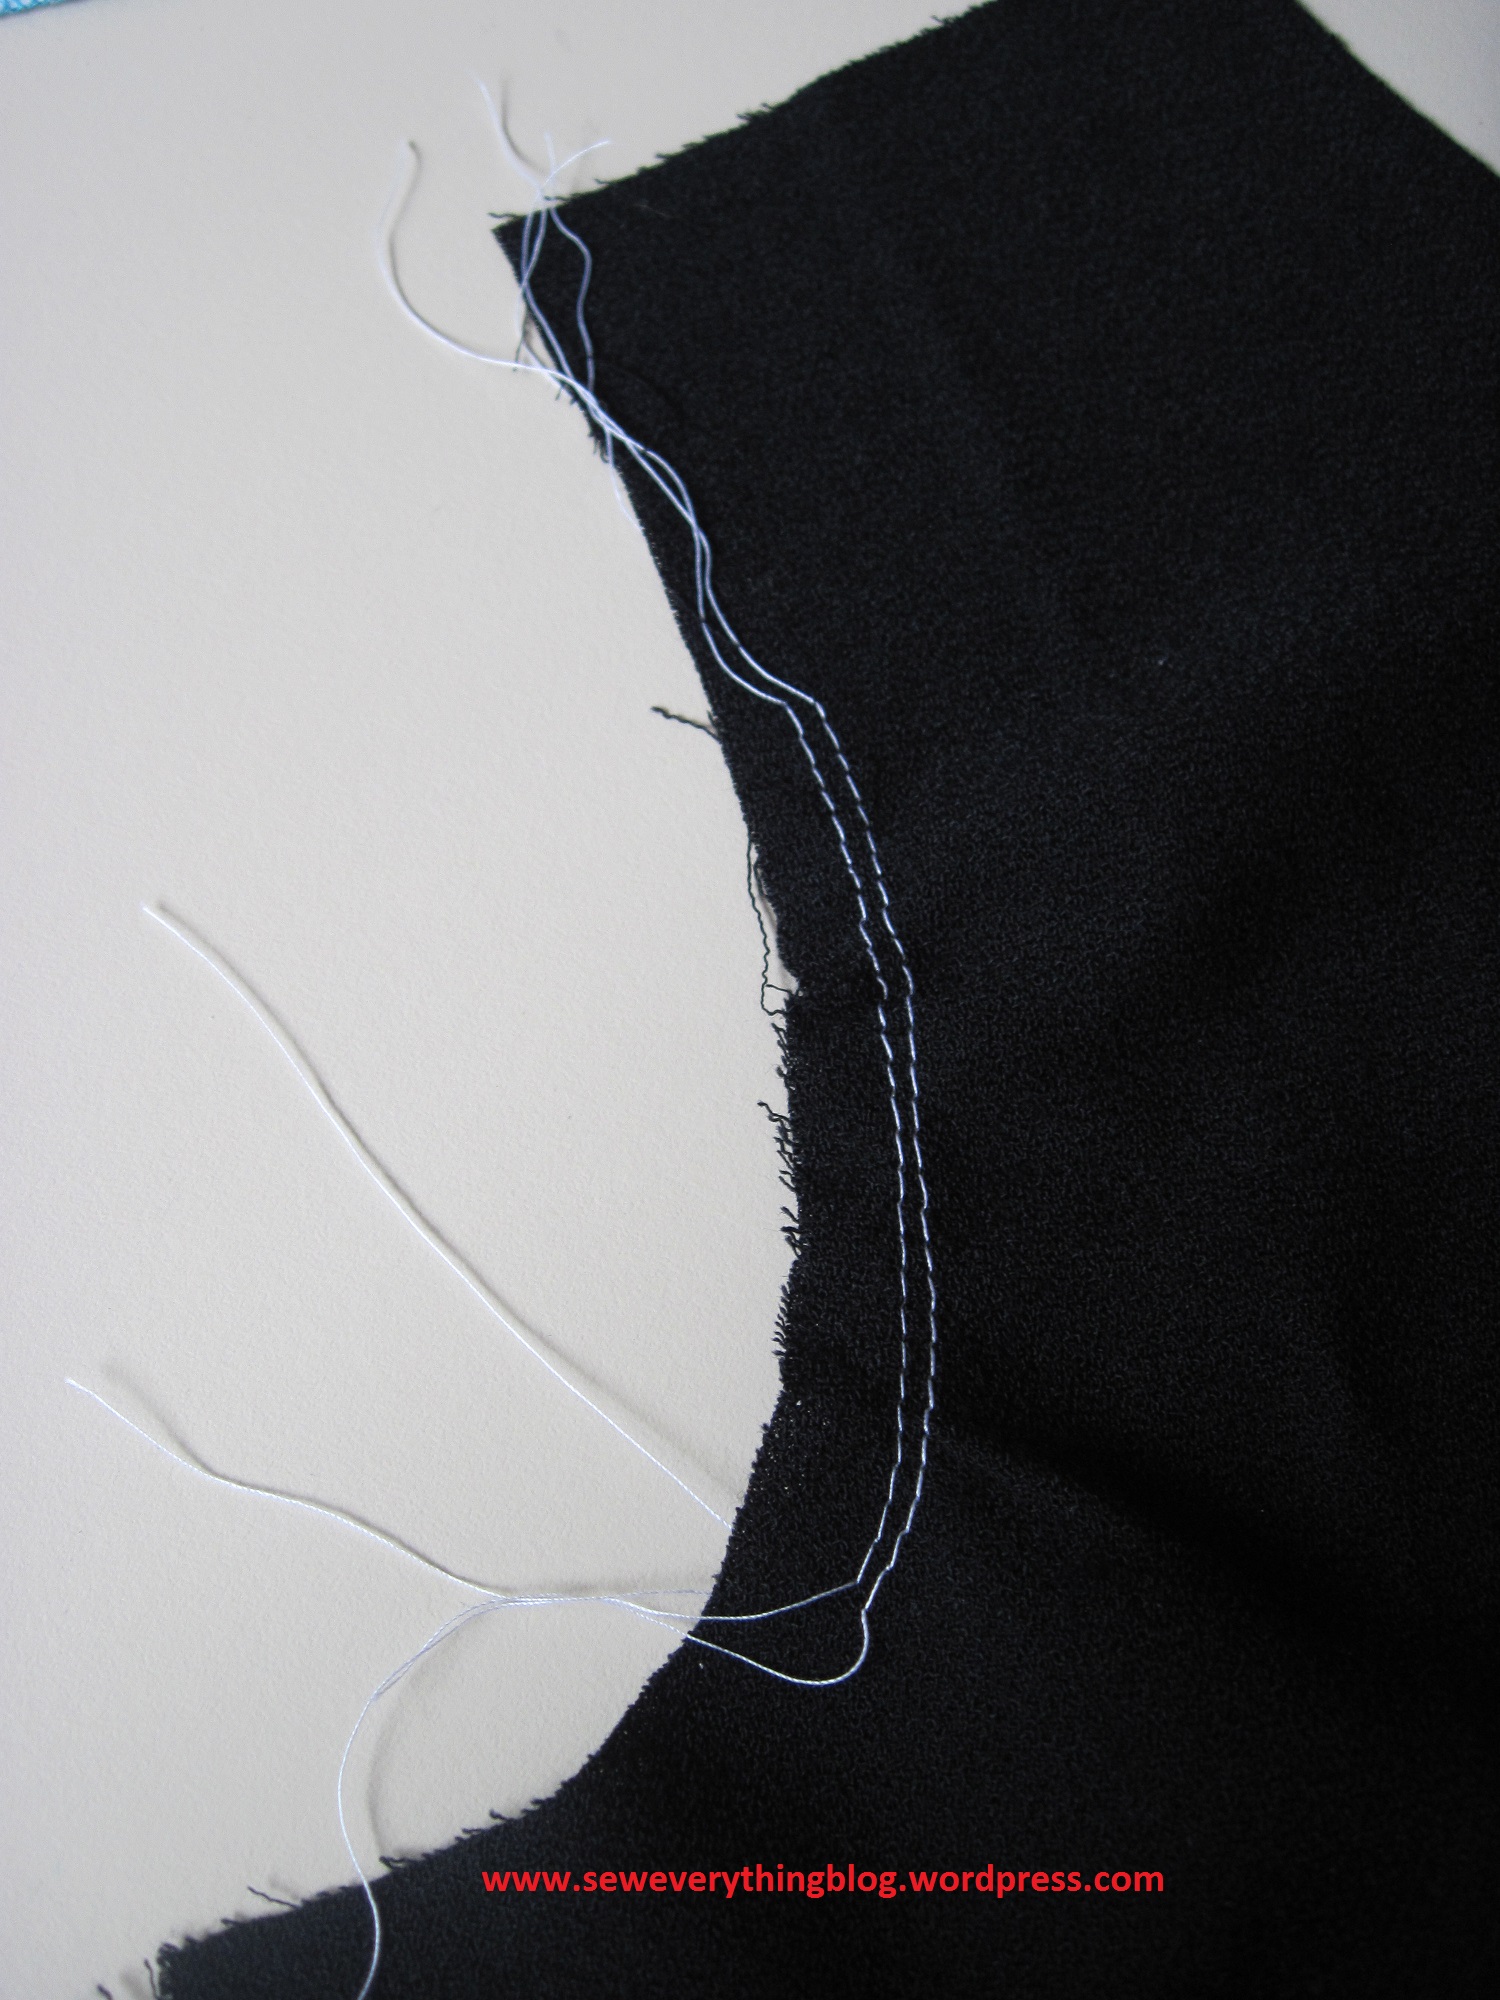
Pull the thread to bring the armhole to desired measurement (in this case 10″) and distribute the “puckers” evenly. Press inside the seam, and barely on the stitching.

Done! Armhole eased to a smaller, non-gaping shape.
Other ways of easing include:
Steam —- without any ease-stitching whatsoever.
Using the combined action of your machine’s feed dog and your fingers to ease two uneven edges together.
I’ll address them another day…….
How do you ease???
Samina

Thanks for the pictures for ease tip #1! As I imagined it’s very similar to a method recommended for sewing knits (or serging without differential feed), if your machine tends to make knits stretch out. My usual method of easing (wovens) is tip #2 with a single line of stitches. Or I just use LOTS of pins. 😉
LikeLike
I’ve never used “crowding” for a serged project. Never thought if it since I do have the differential feed. Good idea!
Yeah, I’ve used the pin overload method too — actually it’s quite a couture method.
LikeLike
I use all of the stated methods, sometimes adding some soothing music and a great glass of wine. Not kidding – it helps! 😉
LikeLike
Annie, I am right now picturing you easing an armhole with one hand and sipping wine with the other. You’re the only one who can do it…..
LikeLike