Dear Readers, thank you for visiting! I wrote these few, very few, sewing tips with a beginning seamstress in mind, but I hope you enjoy them even if you’re an experienced, accomplished sewing enthusiast. I will be making this a regular feature on this blog. As I gather and post the tips, I will be crediting the source. So, do submit your tip! See the end of this post.
Here are my tips:
Tip #1: Look away from the Needle

In the picture above, I’m applying satin binding to a baby blanket, and I’m urging you to keep your eye on the center marking of the presser foot to make sure that the yellow binding edge is feeding just to the left of the center mark. Early in my sewing pursuits I used to wonder why the seam kept getting wider by the time I came to the end of it. Because I was mesmerized by the needle’s motion! I quickly learned to watch the markings on the machine, not the needle: while sewing a 5/8”, or any width, seam, keep your eye on the seam markings on the side of the presser foot to make sure that the fabric edge is aligned with a particular marking. Please do not watch the needle; it can take care of itself! OK, you can glance at it occasionally. This is the habit almost all beginning seamstresses should ingrain in themselves. One of my favorite books is Fine Machine Sewing by Carol Ahles, published by the Taunton Press; this book covers accuracy in sewing as you’ve never seen before.
Tip #2: Leftover Bobbin Thread is Useful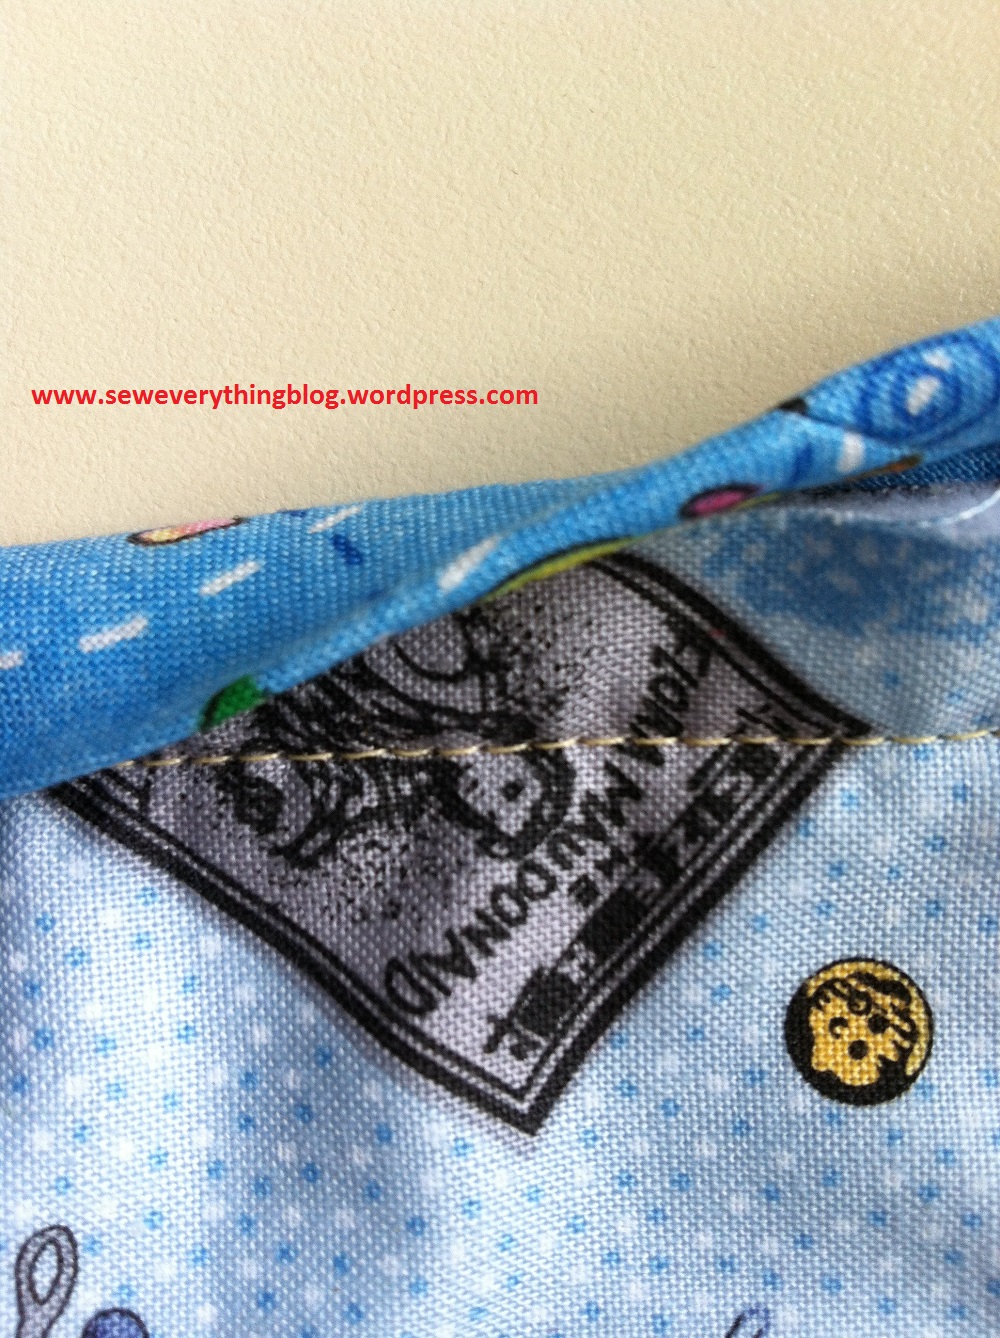
Run out of bobbin thread in the middle of a seam? Before you start another bobbin winding session, take a look at the seam. Will it matter if you use a bobbin thread which does not match the fabric? Sometimes you can use up leftover bobbin thread from other projects if this particular seam will be covered. For example, my seam in the picture above will be covered by bias binding!
Tip #3: Templates
Look at last week’s blog post. I used a humble manila folder to create a template and thus sewed with more accuracy and good results :). Example: A template is especially useful when sewing lapels/facings together on a tailored jacket or other garment.
Tip #4: Specialty Bits & Bobs
Do you have specialty feet? Use them. Always. They are meant to make your sewing easier, quicker, not to speak of accurate. I mean, if you own a ruffler or gathering foot, why make gathers or ruffles any other way? Have a bias binding attachment in your presser foot collection? A blind hem foot? The mitering tool? You need to give them all some love! And the list goes on. What is your most used specialty presser foot or attachment? Above is a fun and illuminating picture which suggests that good product design will live forever. The new ruffler from my Bernina pictured with a photo of a ruffler in a book from 1950.
Tip #5: Lightbulb Moments

You can create your own bits & bobs in the sewing process. Take a look at this nameless tool I created in a hurry. I had to come up with a quick way to add seam allowances to a pattern tracing. Three pencils and a rubber band later I was in business; this was a lightbulb moment for me. I don’t know what to call it. Any ideas? Let’s play Name This Tool!
That’s it for today’s Sewing Tips post. More coming in the future. For the first time I’m including a contact form in a blog post. Hope this works. So… please use this form to submit your sewing tip. I will compile them, create a post and give you credit with a link to your blog or website if you have one. This will be the first time I’m inviting collaboration with the SewEverythingBlog!


Thanks for reading!
Samina

How about naming your tool ‘Samina’s Seaming tool’
LikeLike
I like that name; especially the alliteration! Thanks, Sharon! Years, ago when I bought my Bernina, people (ignorant non-sewers) teased me that I only bought it because it rhymed with my name.
LikeLike