Let’s give credit where it’s due. Many years ago, I discovered the usefulness of manila paper templates. The pattern instruction guide sheet in a Sewing Workshop pattern detailed how to make and use manila paper templates for ease in turning up hems. The much loved piece of clothing from that pattern saw a lot of use, and now occupies a landfill somewhere. However, the use of templates in sewing garments, and everything else, stuck with me.
What are they?
The aforementioned templates are thin poster board or manila folder paper shapes which exactly match a pattern detail on your sewing project.
Any seamstress worth her salt can, and should, make them. All you need is the original pattern tissue piece, a pencil and the humble manila folder. And, of course, paper scissors. There are templates available for sale for some sewing areas e.g. the metal Ezy Hem gauge by Dritz, which has markings for straight and curved edges. 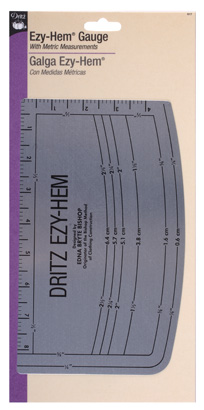 I use this gauge a LOT. However, this post is about creating your own shaped detail templates.
Which part of the pattern should have a template?
Any small area of the project where getting the shape as accurate as possible is key to success. For example, collars, lapels, any shaped area of a design. 
Making a template is easy:
On an open manila folder, place the selected tissue pattern piece, and trace. To keep the tissue from moving during the tracing process, I place both on a pinnable cutting mat and pin them down. Trace. Cut.
There’s more than one kind of template:
Generic Template: After tracing the outline cut out the template and write the seam allowance widths and other pertinent information on it. As an example, take a look at my template of a narrow collar band on this tunic. 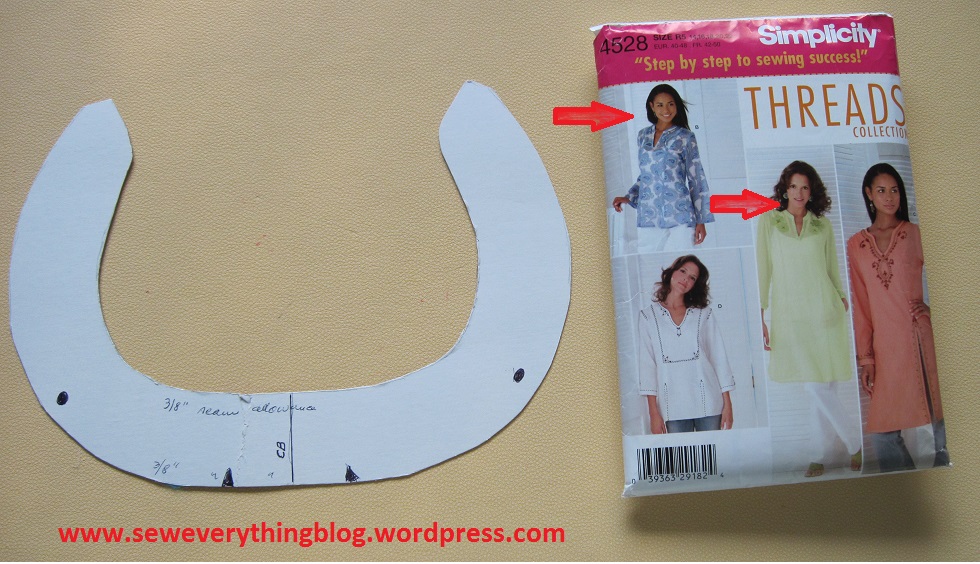
 Why do I even need this? Because I use it to trace the collar band on the fabric and THEN cut it out. It just seemed to give a more accurate line in the finished product.
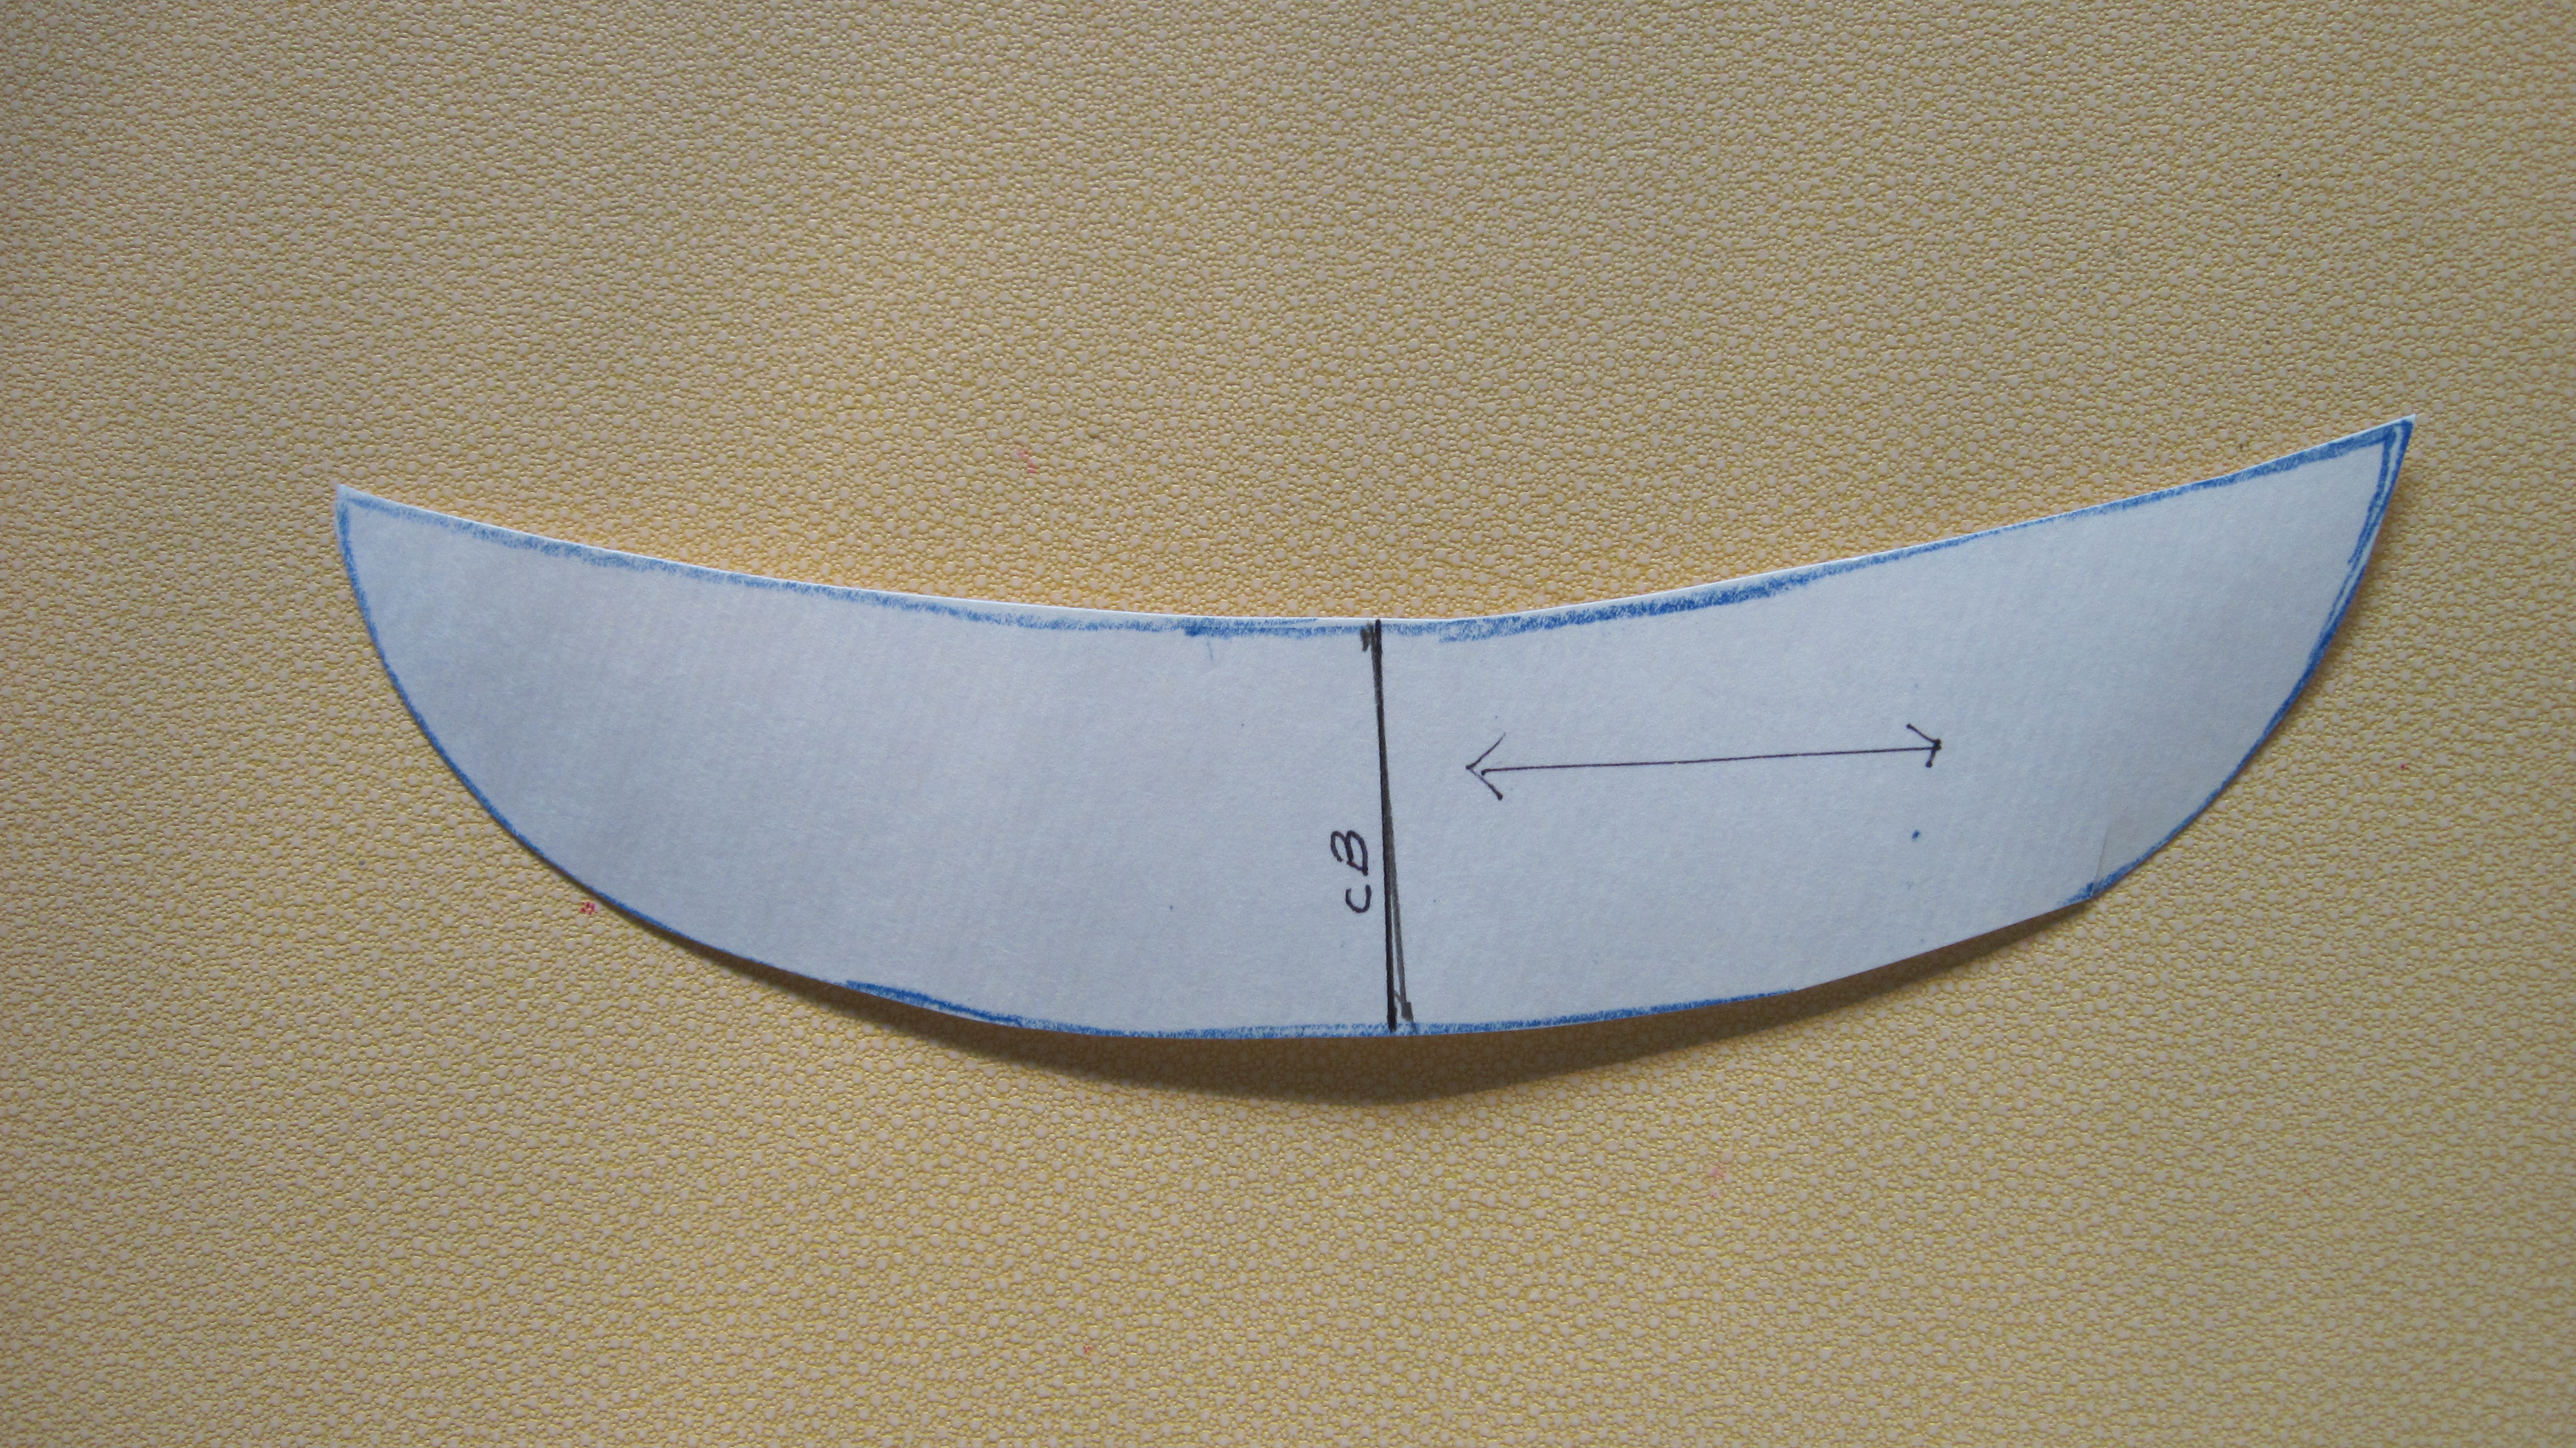
Partial Template: A complete template is not always needed, in which case you can just make a template only for the area of the piece which has a curve, or other shape. 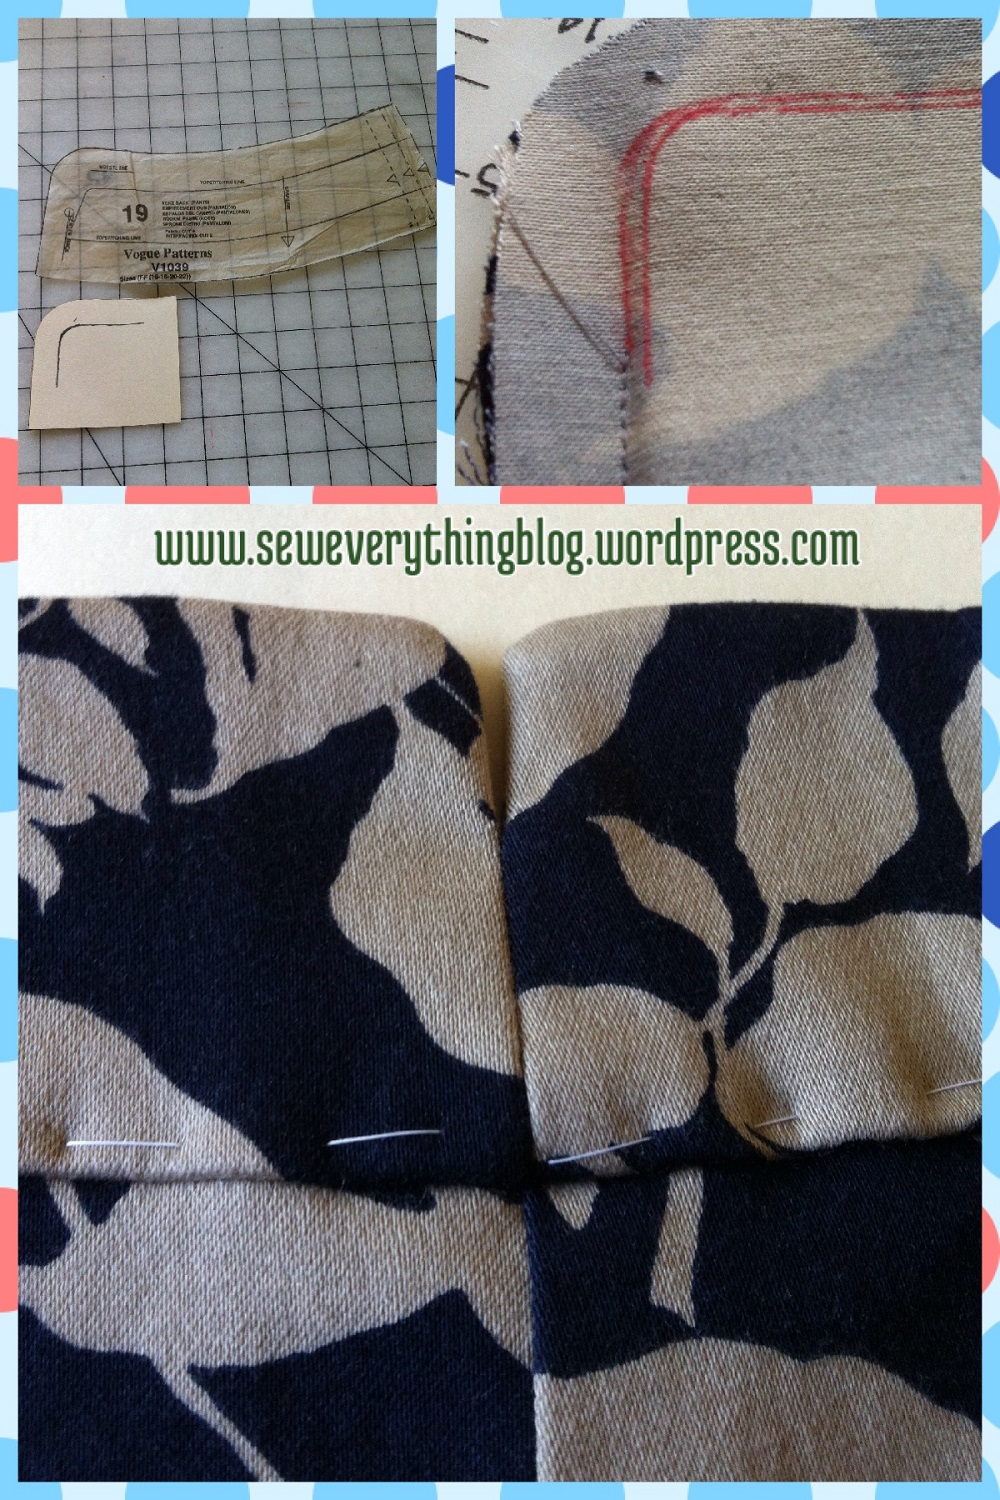
 In this waistband the only area needing a template was the curve in the center back seam of a pants pattern. I made the template only for that curve and a few inches into the waistband pattern. As an additional feature, I cut out a razor thin (about the size of a pencil point) slit with an Xacto knife on the curved seamline to be able to trace it on the fabric – easier to follow the curve accurately on the sewing machine! You can read about the completed pants in my last post, even though the waistband is not shown.
Seamless Template: In this template I removed the seam allowances all together. This little weirdly shaped piece was appliqued to the inside back neck of my Top Shop knock-off linen jacket. Once I had the pattern piece, I created the template so that seam allowances could be turned back over the template and pressed. Thus, appliqueing the piece to the back neck was much faster. The actual piece went on a little wonky, but that is my faulty sewing. Next time, it will be perfect!!

 Thus ends my post on templates, but I’m certain you, dear readers, have your own ideas and methods of sewing the little details such as those mentioned above. I would love to hear your thoughts! Thank you for visiting my blog!
Samina

How weird; I was just cutting some templates, before reading this. These were all purpose curved pieces, and I’ve been using the thin but firm plastic flexible cutting boards, sold for slicing your veg on. Thanks for a timely post, a hem one would be a good idea!
LikeLike
Weird, indeed, in a nice way. I never thought of the flexible cutting mats as template material — thank you for the idea! I will make the next template with the veg mat.
Thanks for the response!
LikeLike