
Hi friends! While writing this, I was pretty sure that everyone knows how to do this, except maybe not my extremely-basic-sewing readers. I wrote it up anyway, and welcome your comments.
Lately, I’ve randomly made a couple of quick projects for myself and my patio to keep the creative juices flowing, sort of. (FYI, I’ve slowed down but haven’t stopped sewing: I made a couple (or three) garments that were not for me; you’ve seen the flowered dress in a previous post. The other projects cannot be divulged just yet).
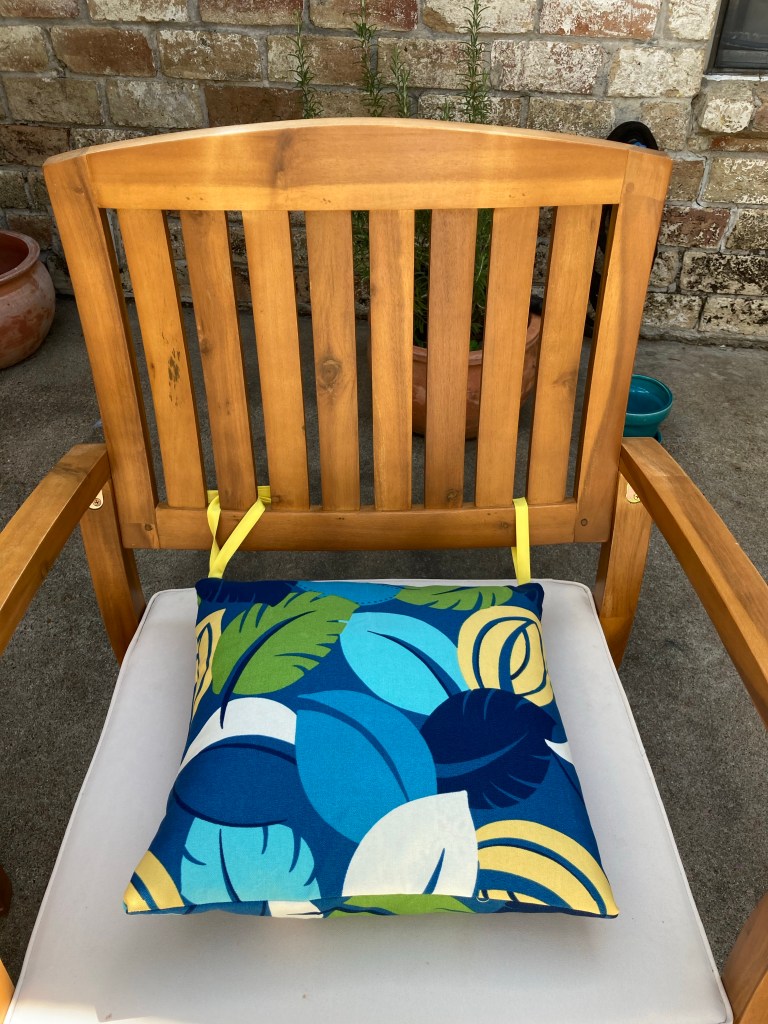
Back to one of my quick projects: a super easy pair of outdoor pillows — because the ones that came with the patio rocking chairs are just not soft and plump enough for me to sit on — I need additional softness; plus, being left outside, and being white, they get dirty real fast. Heh. I used leftover flowered Sunbrella fabric from an old project and filled them with old but still good pillows. FYI, the new pillows are stored inside when not in use. The one thing that dawned on me (at an ultra-nerd, microscopic level), is this: the opening through which to insert the pillow form could be better. This, after sewing pillow covers all my sewing life.
The options are: a zipper opening, a centered overlap on the pillow back with or without buttons.
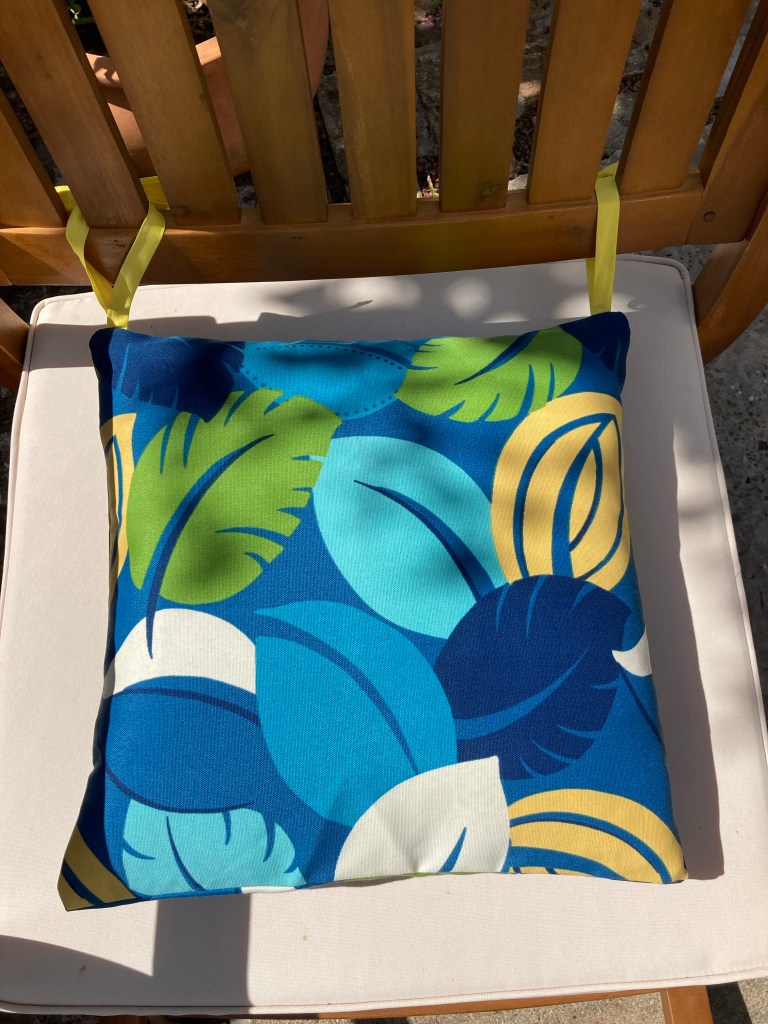
The overlap is where I went with these pillows; but wait; I chose to keep the overlap narrower and higher up on the back with a slightly different process than the centered opening. Because? It is way easier to insert the pillow form, and do a quick flip of the flap to the other side. Note though that the flap is an addition to the top opening in the seam — it encloses the opening.
Okay, okay. These are just pillows. In the grand scheme of things, what does it matter how you insert the pillow form? But there is a minor tinge of satisfaction when there’s a realization that you “discovered” (probably not really) a smoother and “orderly” option.
Here’s how, and it’s simple:
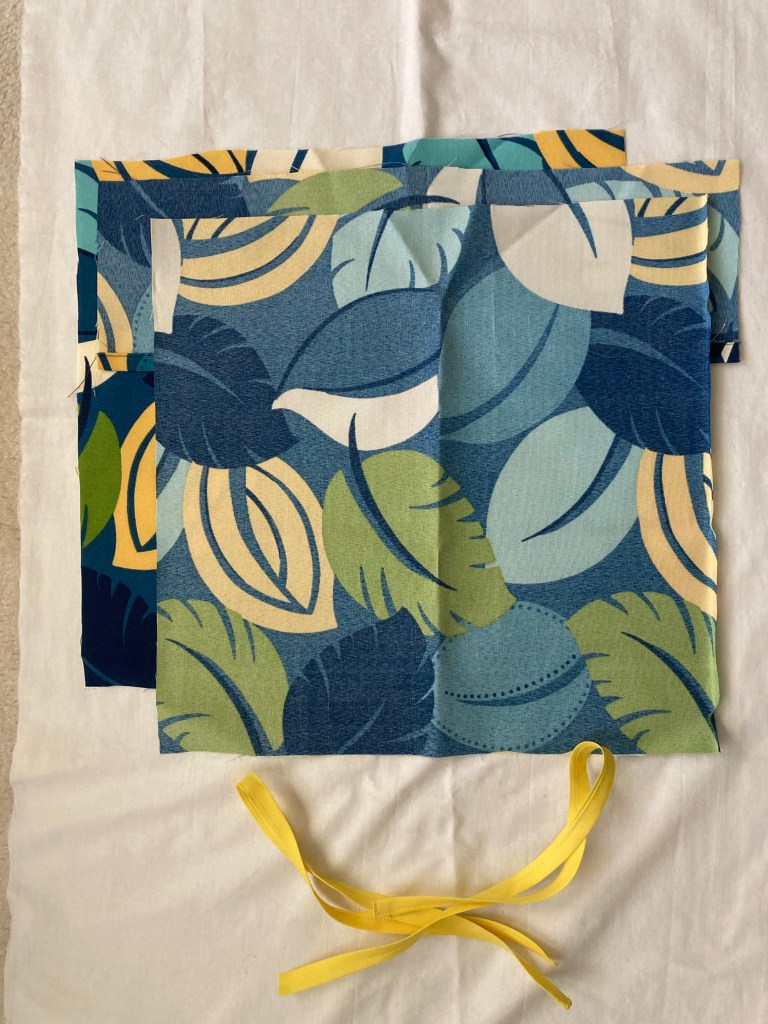
An additional fabric panel is needed, which is the same width as the pillow front/back pieces, but shorter in length — let’s say about one third of the pillow square plus hem allowance of two inches.
Step 1: turn up 1” of the hem allowance of the narrow flap twice and stitch. You now have the hemmed short-flap.
Step 2: sew the flap to one edge of the front pillow piece at the upper edge —- right sides together. I used 1/2” seams throughout.
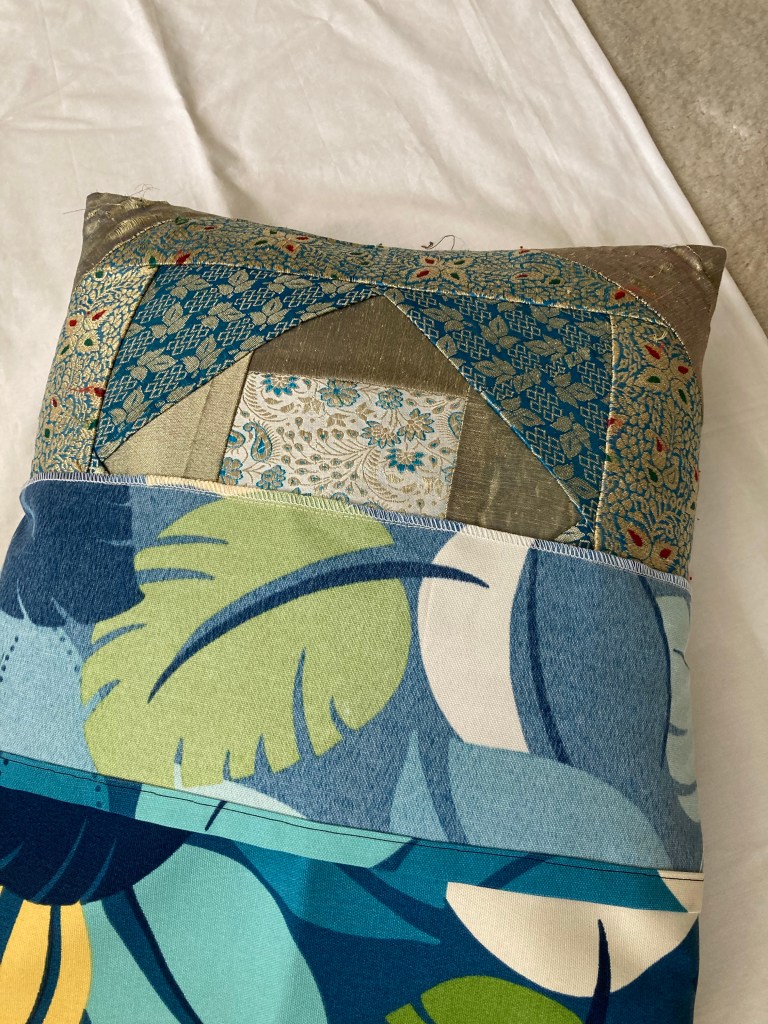
Step 3: If using ties as i did, pin the ties in the seam allowance in the appropriate places between the two pillow pieces on the opposite side of the flapped edge. Pin both pillow pieces, right sides together (with the short flap sandwiched between) and sew three sides (making sure the loose length of the yellow ties do not get caught in the seam, and leaving the flapped side open. Serge finish the three seams or finish any other way to prevent raveling — yes, my Sunbrella fabric raveled. Now, serge-finish the raw edges of the opening.

Step 4: insert pillow into the opening, flip the flap to the other side, poking the corners out sharply. It will enclose the opening.
That’s it! It gave me a sense of order and accomplishment when the pillow went into the case this way. For those rolling their eyes, yeah I want very little out of life.
Now, here’s an opportunity for the next pillow-flap to get buttons and buttonholes, a scalloped edge or any other fancy shmancy twist. How about an embroidered name on the flap of a child’s pillow? Would initials on the flap make a good wedding or baby shower gift?
The moral of this story is, that things can be satisfying and happiness-inducing at the most basic, granular level.
Have a great rest of the summer, friends! See you next time!
Samina

Your pillows are pretty. If you want to avoid the corners sticking out you can make each side seam curve outward from the corners. You don’t SEW a perfect square, but after it is stuffed it looks like a square pillow.
LikeLike
Thank you for the pillow corner tip! Appreciate your comment. I will remember to do that with the next pillow.
LikeLike