
My curiosity about clothing design and design details in a historical context knows no bounds. It seems that some details in modern apparel which seem so new and fresh can be traced back into the ages. Conversely, I love new and innovative design which has never been seen before.
One such new-old detail showed up in Oscar de la Renta’s Spring 2019 collection.
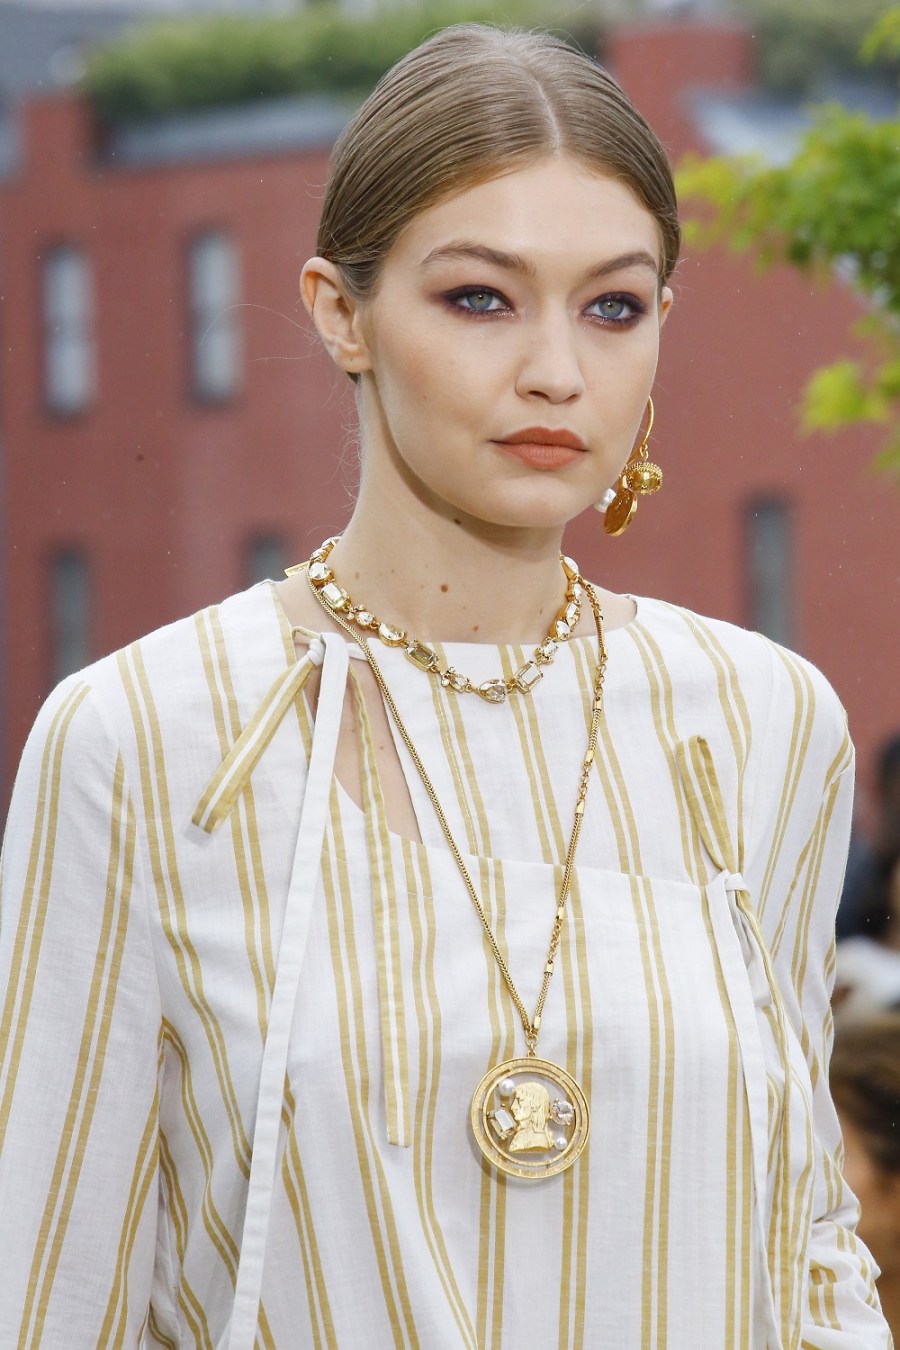
Immediately, I decided that the asymmetrical, overlapped neckline detail was knock-off worthy. It looks gorgeously fresh and new but has roots deep into the past, and clear across the globe, and because the so-called Moroccan and old Indian influences in fashion are trending this season.
This is how my asymmetrical neckline treatment went down:
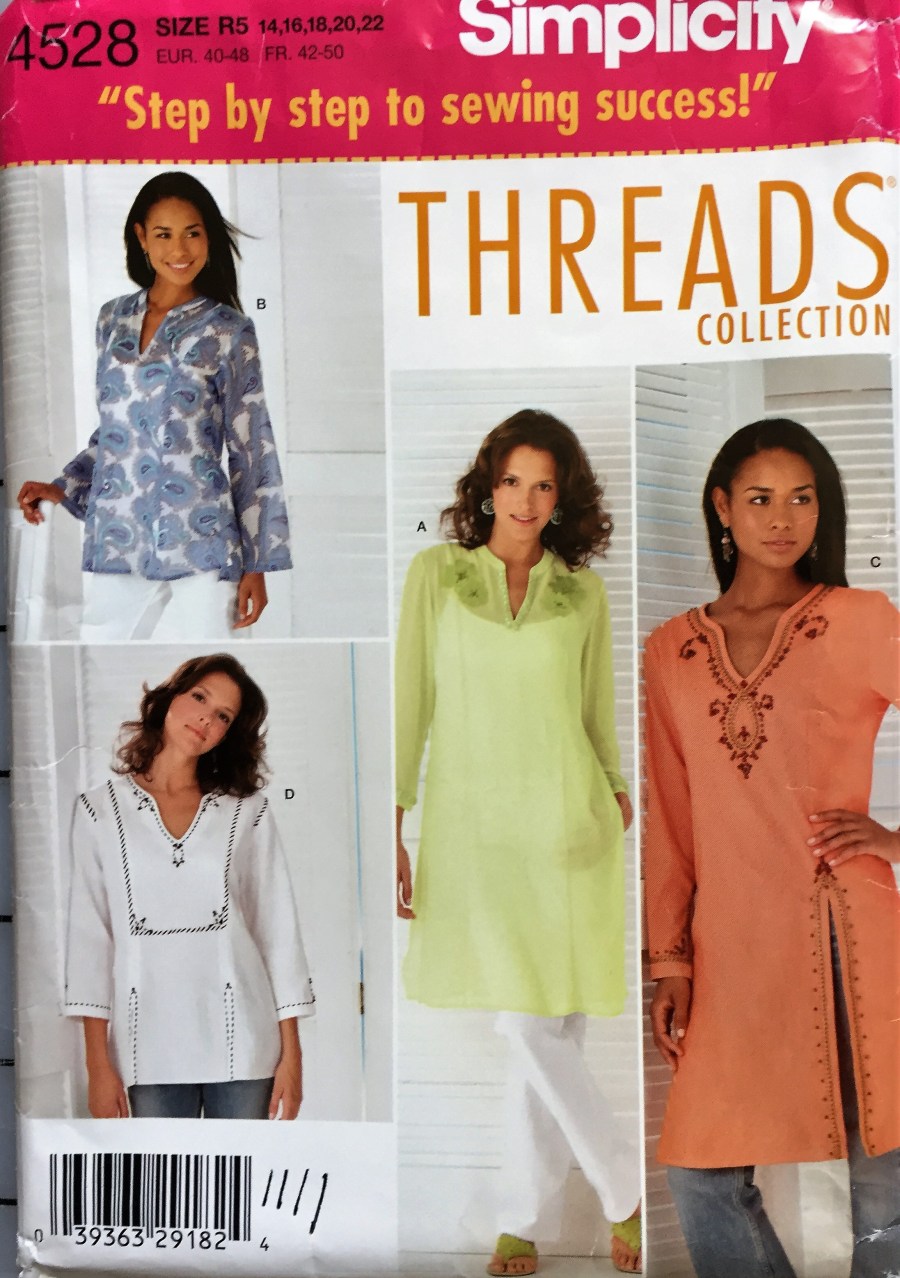
Pattern: Simplicity 4528 (out of print) has princess seams which extend to the shoulder rather than the armhole – and they worked perfectly for this project.
 The actual garment is not completed yet, but I am excited to share the neckline treatment with you. The inspiration tunic has more ties on the opposite side of the panel.
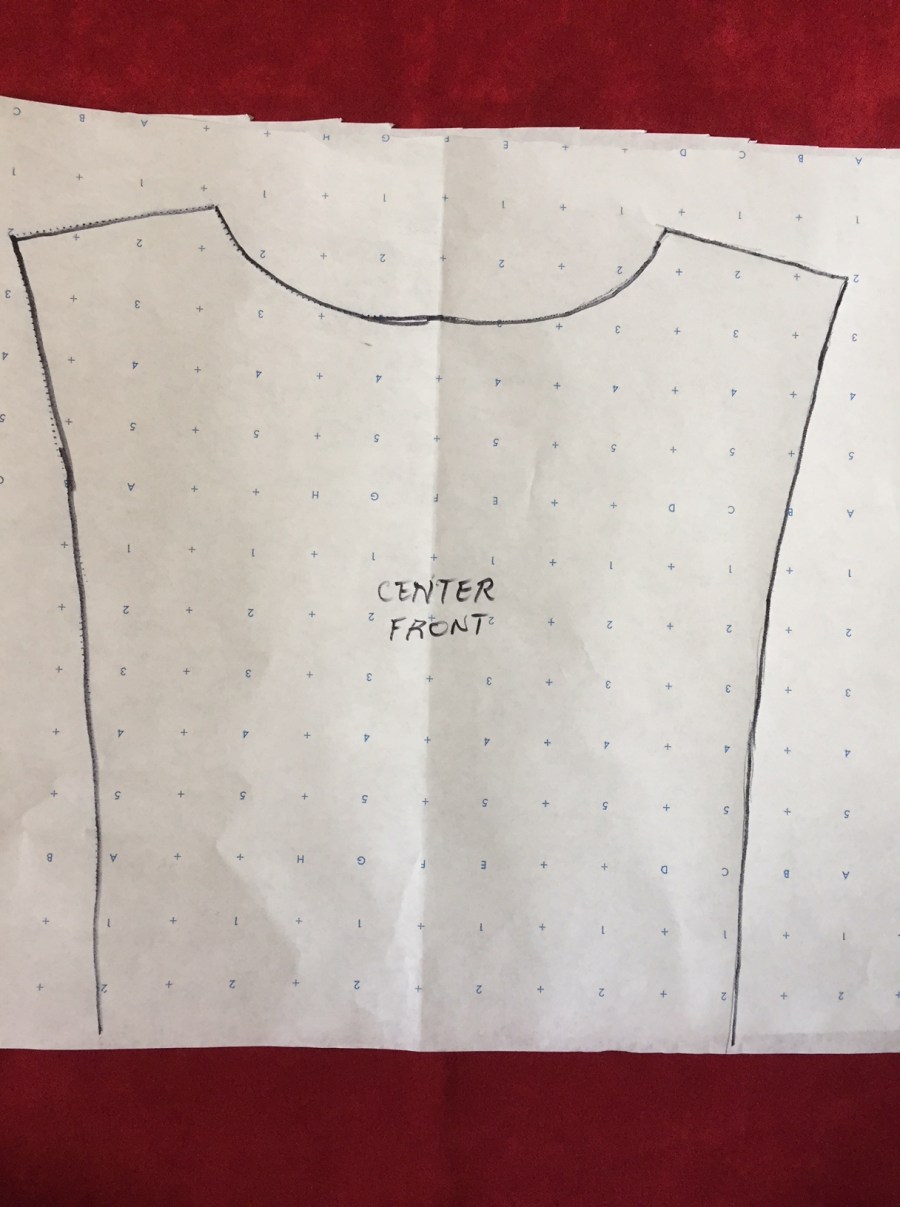
On plain paper, trace the FRONT center panel of this pattern twice on the fold and then open them out as full patterns, because the garment has two pieces that overlap each other; no need to trace the neck details on the pattern, and no need to trace it all the way down, but just up to a level about 3 inches below the bust line.
Creating the shape: Referring to the inspiration photograph where Gigi is wearing this look to perfection, I hand sketched shapes on the traced out pattern so that they corresponded and overlapped to create the look.
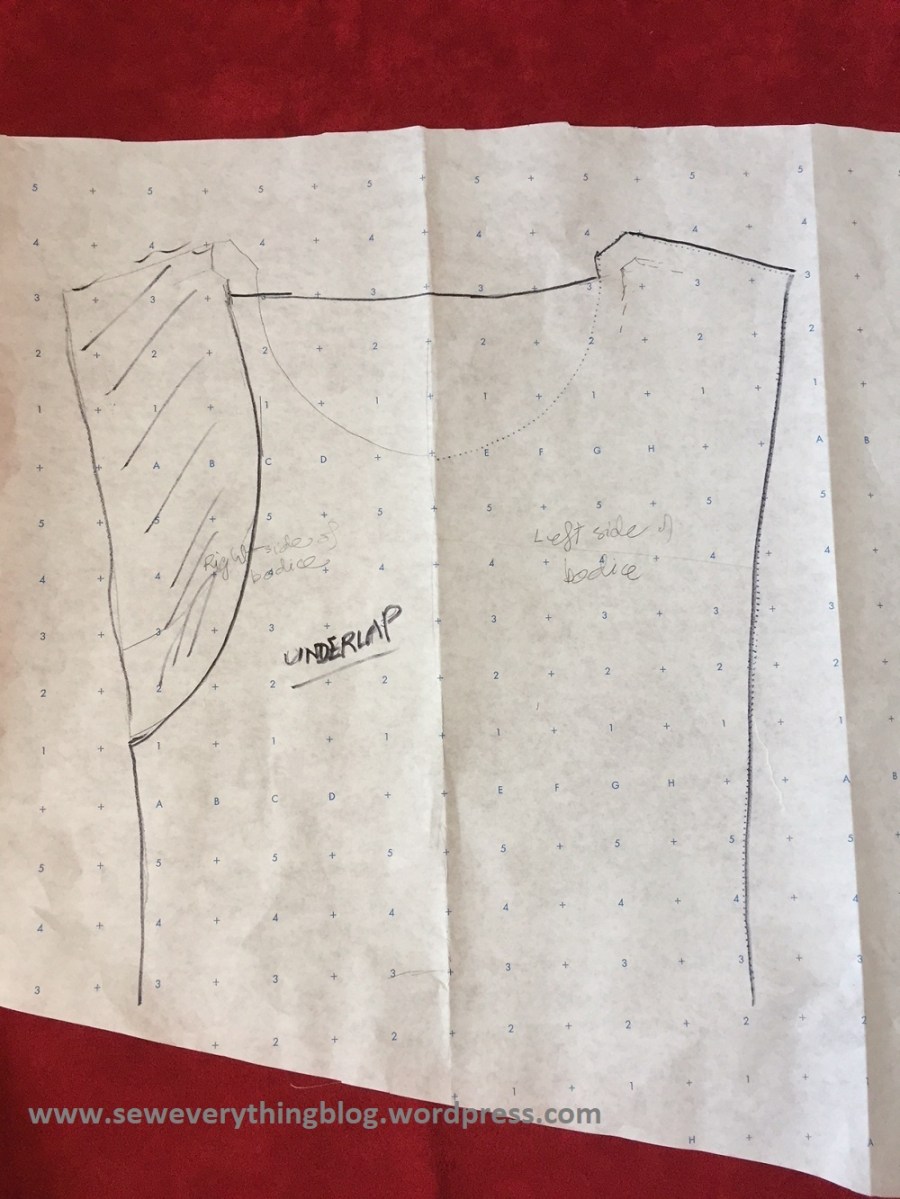


The over- and underlap pieces look funny, but once put together (photo at right), they make sense. Note: the overlap and underlap are now left with one shoulder each. The other shoulder edge of each one has been shaped into the neck. Also note: it is crucial to mark the center fronts of each pattern piece. We must remember to keep seam allowances in mind when cutting out the new shapes. When overlapped, the resulting neckline looks good to go.
Cutting the fabric: In an ideal world, I would have cut two full length panels of the center panel, each with the corresponding neck shape and ties coming down the side. But due to fabric shortage, I cut the overlap as a full length piece and the underlap ended just below the bust. No side ties. Important: Cut the center front on the fold of fabric using the original pattern, but leave the neckline uncut and chalk mark the shoulder points; open out the fabric panel, place the newly shaped overlap pattern on it, matching the armholes, the shoulder marks and center fronts; cut out the weird looking neckline on the panel. The underlap is cut directly with the shaped pattern, unless you have enough fabric to cut it out full length — in that case follow the same process as the overlap.
 The two are basted together, with center fronts matching under the bustline, and making sure the shoulder of each is on the same level (placing on a gridded surface helps).
Cut out the back center panel per pattern instructions.
Sewing: sew the shoulder seams of the new front center panel to the corresponding back center panel. Finish the shoulder seams from the inside as desired. I used pinking shears to trim the seam allowances, opened and pressed the seam. No serging because of the delicate nature of this Indian tussore silk. Hand baste the two front pieces together horizontally to keep them together while you finish the neckline.

Finishing the neck edges: I finished the entire neck edge, including the vertical shape of the underlap with a bias facing because that’s how the inspiration piece seems to be finished. A contrasting piped edge is an option. Now, the sides of the two pieces can be basted together and treated as one piece.
The ties: The inspiration tunic has ties made on the straight grain of fabric, but I made my ties with a bias strip, folded and sewn together on the long edge all the way, turned inside out using a loop turner and pressed. Beginners, watch for a post on making perfectly even ties like these.


One tie was hand tacked to the shaped point of the underlap and the other one was tacked just below the shoulder seam of the overlap. The two can now be tied with artful abandon……

Next step: finish the garment, pronto. As if. This is going to be slow due to my other life activities.
Samina

This is so cute and i will be trying it asap!
LikeLike
Fabulous! Do share when you make it, and feel free to ask any questions.
LikeLike
Great knock-off Samina! This design is adorable and I’ve added it to my list of things to try!
LikeLike
Thank you, Charlene! I’ll be eagerly waiting to see your knock-off. I tried to find the same, or similar yellow/white striped fabric but wasn’t successful. If you see it anywhere, let me know.
LikeLike
This is adorable! Such a lovely idea and perfectly made!
LikeLike
Thanks 🙂
LikeLike
That is a really clever idea Samina! Thanks for sharing!
LikeLike
Thanks, Linda! If I could find yellow/white voile or lightweight linen or cotton, the knock-off would have been near perfect. Lol.
LikeLiked by 1 person
I love it! The fabric is beautiful too! And yes these beautiful styles stand up through the test of time!
LikeLike
Thank you! I’m definitely making more…..
LikeLike
I love this! What a great way to simply dress up a top.
LikeLike
Thank you, Janine!
LikeLike