
Recently I had to sew an underarm gusset in a batwing sleeve, at the same time wondering why a batwing (or dolman) sleeve even needs a gusset. Anyhow, it started out as a godet insertion in the sleeve underarm. It meant 4 insertions which when sew together, served as a gusset. But…. sewing a godet into a slash rather than a seam allowance was a challenge. The end product was fine, but I want to share the process with you with these samples in cotton and linen. The original project was done in a knit.
First, for the beginning seamstresses, a description of both terms:
Godet: a triangular piece of fabric inserted in a straight seam. It’s mainly for design purposes, and is sometimes crucially functional. Here’s an example: A long straight ankle length skirt might need an aesthetic break below the knee, as well function better for movement (such as walking, running, sitting with legs crossed etc). On a purely aesthetic level, a godet can be inserted in the lower half of a long sleeve, or at the waist of a blouse to create a peplum; godets are frequently added to evening gowns to add flare into the skirt. A godet can be as small as you like or as large. It is inserted with the point of the triangle at the top, and the opposite widest side at the the hem level.
Gusset: a purely functional, small piece of fabric; it is inserted at the under arm between all other seams, to create ease of movement in the arm and bodice. There is no free hanging edge in a gusset. Most of the time, it is not too visible, depending on the wearer’s arm movements. Mind you, a gusset is mostly found in well-made vintage women’s jackets.
One might say that a godet is the outgoing, flamboyant sister to the discreet, introvert, useful gusset.
Right now I’m obsessed with the godet: the design of my particular project, (a commercial pattern), included batwing sleeves (sleeves cut as a continuation of the bodice), with a gusset at the underarm where the side seam curves out to become the sleeve. The gussets are formed by 4 godets inserted in a slash (one godet in each of the front and back sleeve underarm).
Well, good so far. Inserting a godet is easy at the end of a seam; but inserting it in a slash is not a happily done task. Here’s why. The insertion in a seam has seam allowances which can easily be matched with the seam allowances of the godet piece. But, when a godet needs to go into a slash, the seam allowance becomes elusive. It can be done successfully if you’re willing to fiddle your way through it.
Inserting a godet in a slash
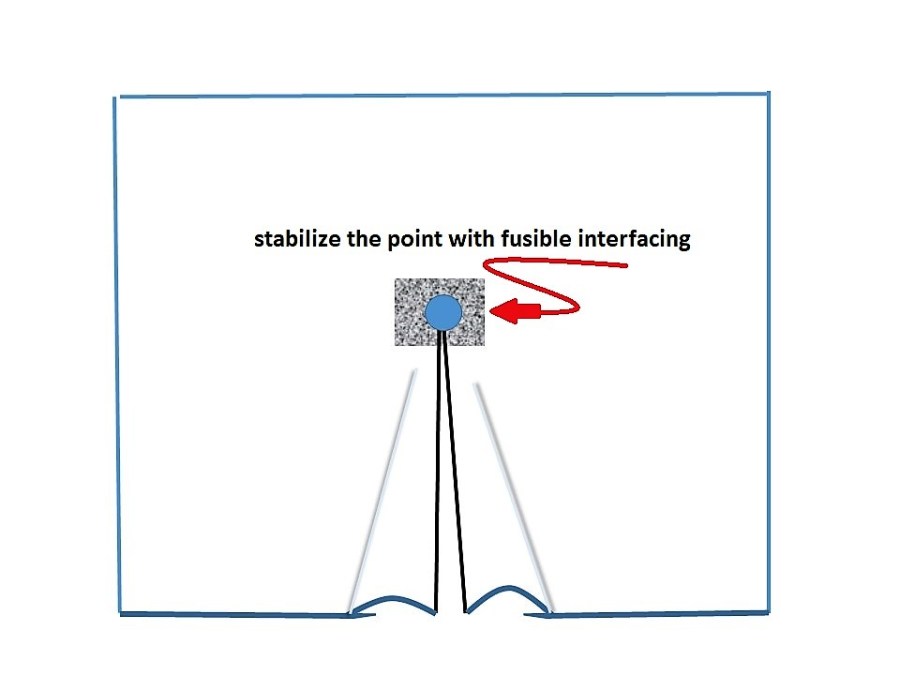
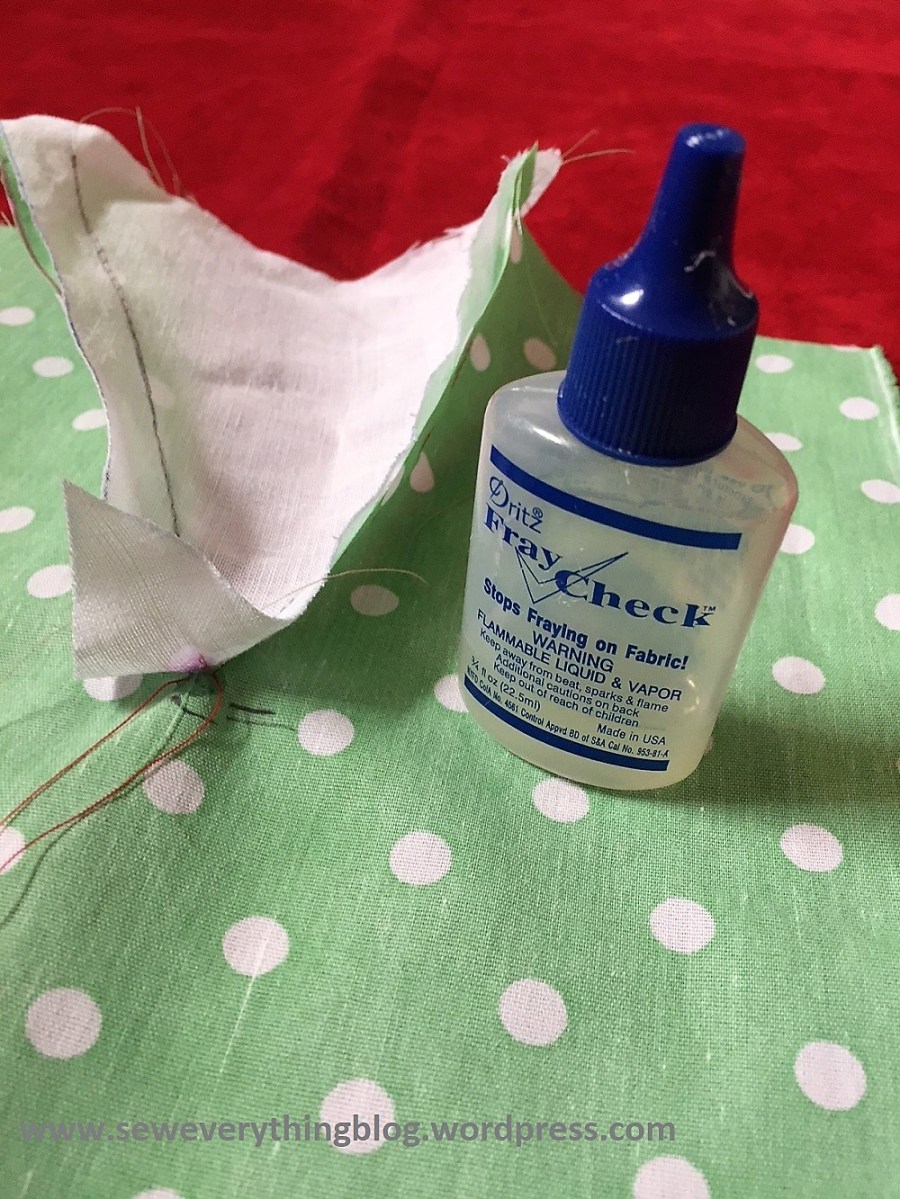
- Mark vertical line on the fabric from the bottom (or hem) up to however high you want the “flare” to go. Back the upper point of the slash line with a piece of fusible stabilizer. Slash fabric up to the point. I neglected to stabilize my sample, so I created an illustration which shows the piece of fusible material. Please do as I say and not as I do.
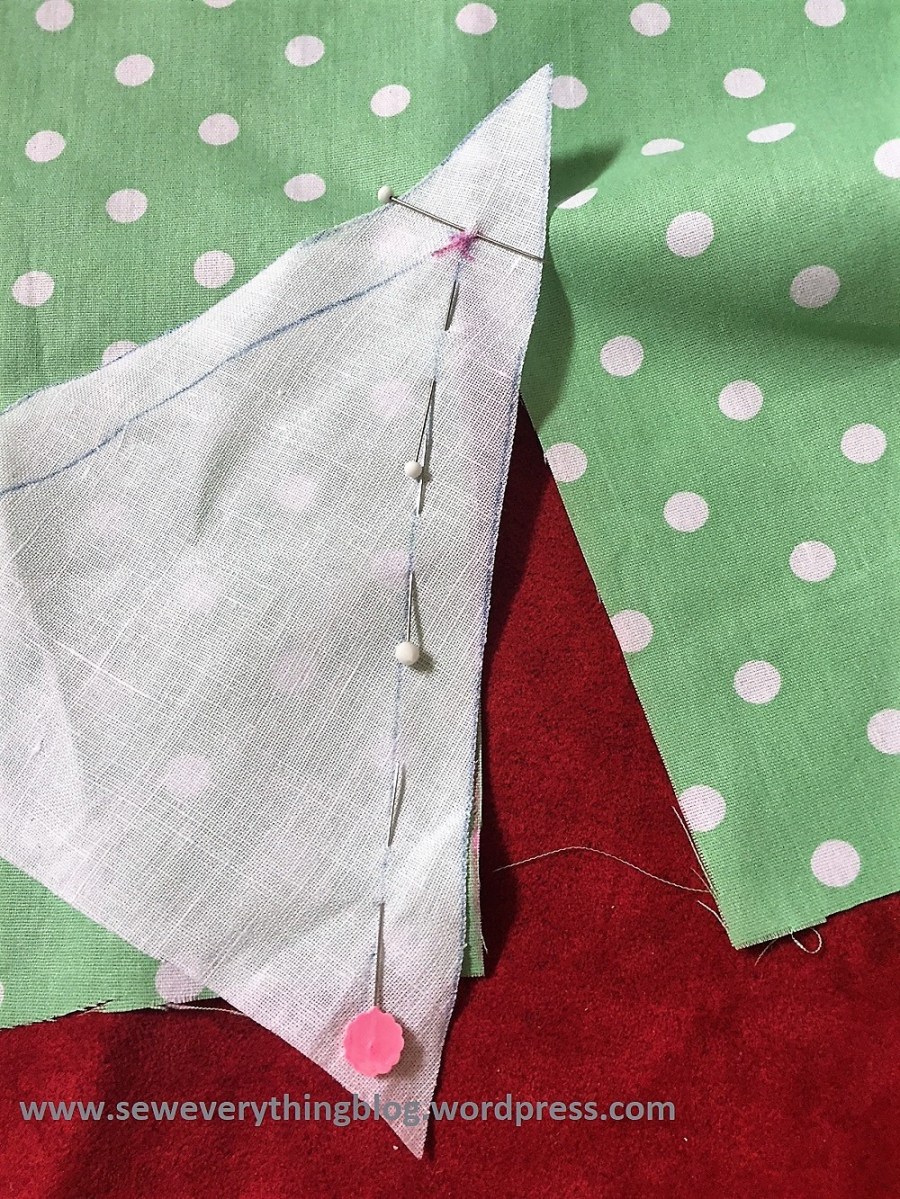
- Pin one side of the godet triangle to one side of the slash, matching the points exactly!!

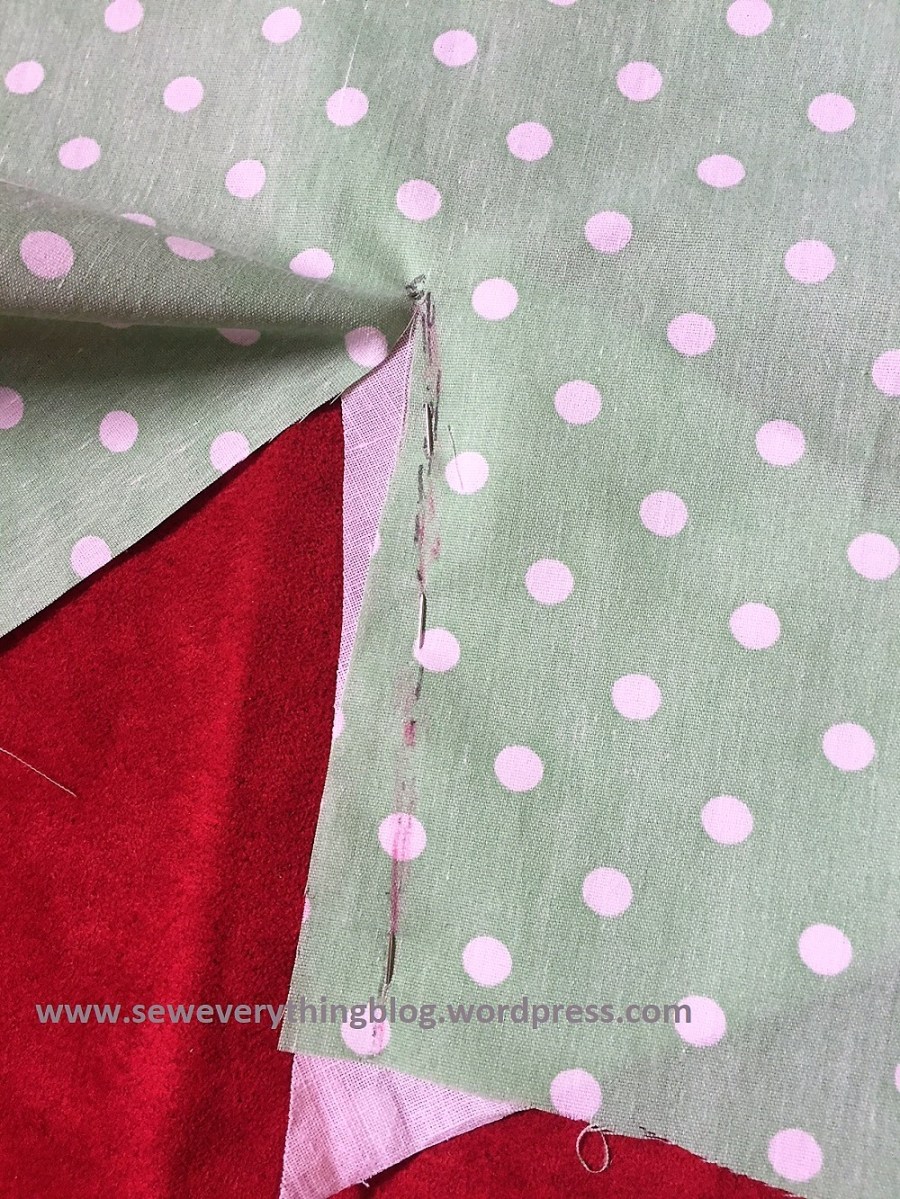
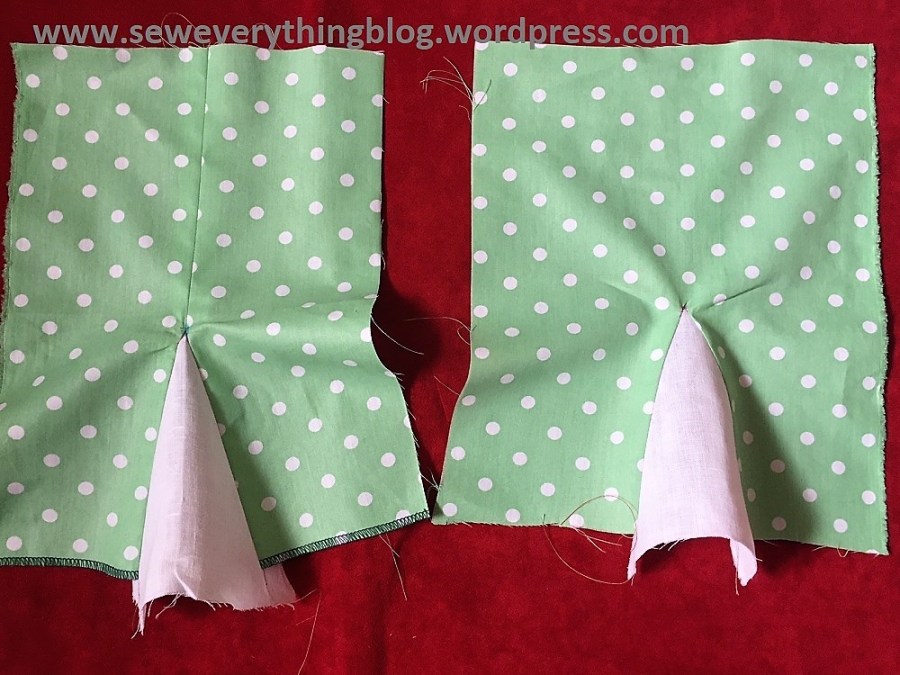
- the raw edges will be together at the lower end and get uneven as we approach the upper point, which has already been clearly marked with your marking pencil or chalk as a cross or large dot. Sew this seam following the seam allowance of the godet, the end at the point will include just a thread or two of the slashed piece and the raw edges will not be even. A visual is the best way to explain it. See the polka dotted fabric side? The seam retreats into the point on this side but remains even on the godet side (second photo below).
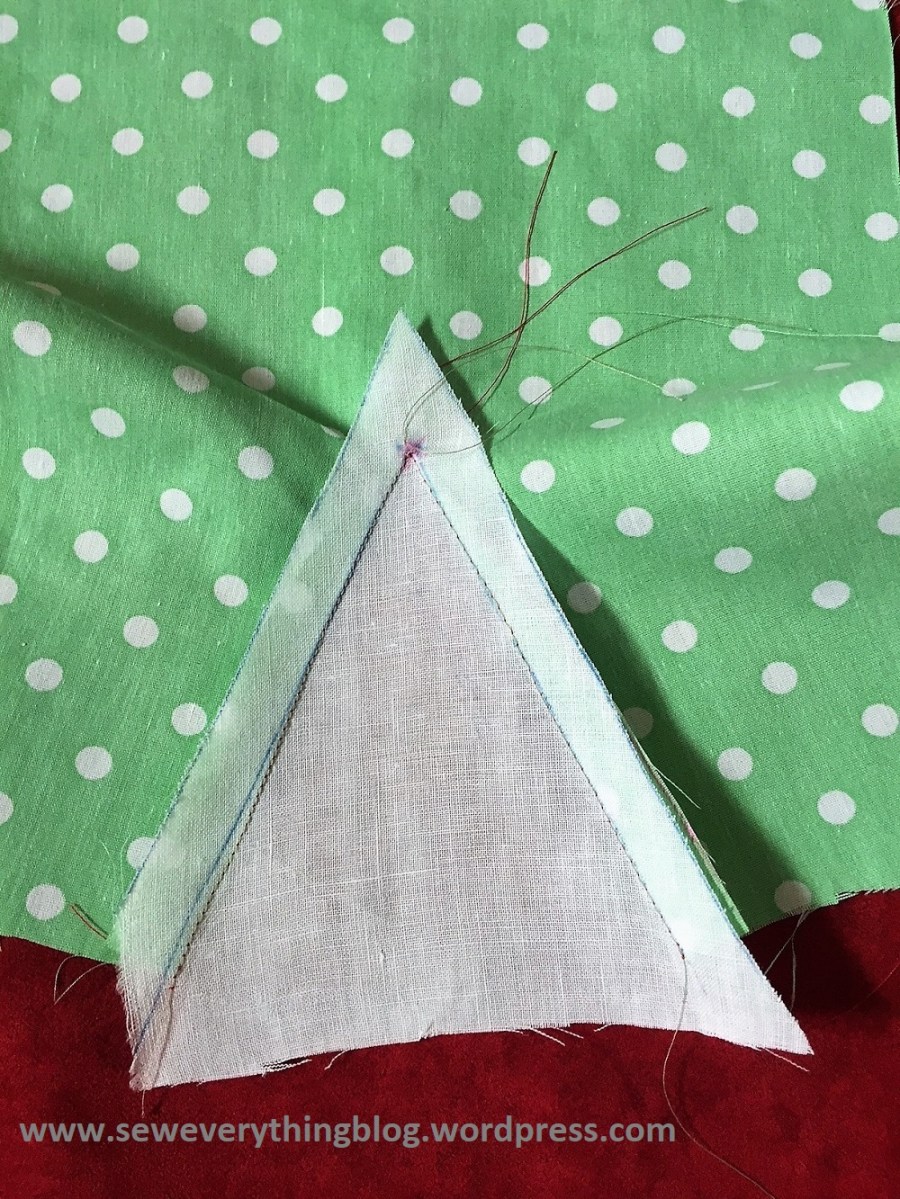
- Repeat this on the other side of the slash/godet seam, and I recommend that you start this one exactly where the previous seam ended. That is why I leave long threads and do not snip them until the task is done.
- It works best of you do not try to pivot at the point of the slash. There may even be a minuscule open space at the point – I’m saying that is okay.
- For you visual learners, I found this video on, where else, YouTube. I ended up subscribing to this channel called Paukshte Fashion Workshop. The lady is speaking a language I don’t know, but a voice-over translates everything into perfect English. Be aware that she calls them “gores” which is NOT a correct use of the term – she is inserting a “godet” not a “gore”.
How do four of these godets translate to a gusset? Well, the godets’ lower raw edges are now part of the underarm seam of the batwing sleeve (also known as a dolman sleeve). Once the underarm seam is sewn together, it becomes a gusset. I’ll visit this process again (the pattern, the style etc) in a later post, a much later post.
Until next time,
Samina

Nice explanation and tutorial! Also love this description “One might say that a godet is the outgoing, flamboyant sister to the discreet, introvert, useful gusset.” 😀
LikeLiked by 1 person
I always wonder — how the seamstresses at the high end design houses insert a godet in a slash (versus a seam).
LikeLike
If you draft the 2 godets as one, short (bottoms) sides together, you create a “football” gusset. You’ve eliminated that center seam. I used these in dance costumes where movement is exaggerated in underarm and leg inseam. I love gussets!! Thanks for the post.
Renita in NC
LikeLiked by 1 person
Thanks for the tip, Renita. I had to follow this particular pattern instruction exactly. Otherwise, I would have done exactly what you suggest. Also, I would have turned around the gusset shape so the pointy ends would be included in the underarm seam.
LikeLike
Thank You! I love this! I learned a lot.
LikeLike
So glad you liked this.
LikeLike
I did a godet in the seams of a dress once, I found it easy – I couldn’t image doing one without a seam! Well done with your instructions!
LikeLike
Thank you, Linda!
LikeLiked by 1 person