
Is it Piping? Or a Facing? Why, it’s both! Well ok, it’s not traditional facing or traditional piping, but it works in a lovely way.
Hi guys! Today I’ll share a neckline finishing technique with you. For the expert sewers who are very familiar with this technique, chime in with suggestions; if this is too elementary for you, feel free to check out my other posts. Heh.
I used this 20 plus years old unused, hoarded pattern to make the featured dress. It’s above the model’s knee, but on me it’s way below the knee, which is the look I wanted.
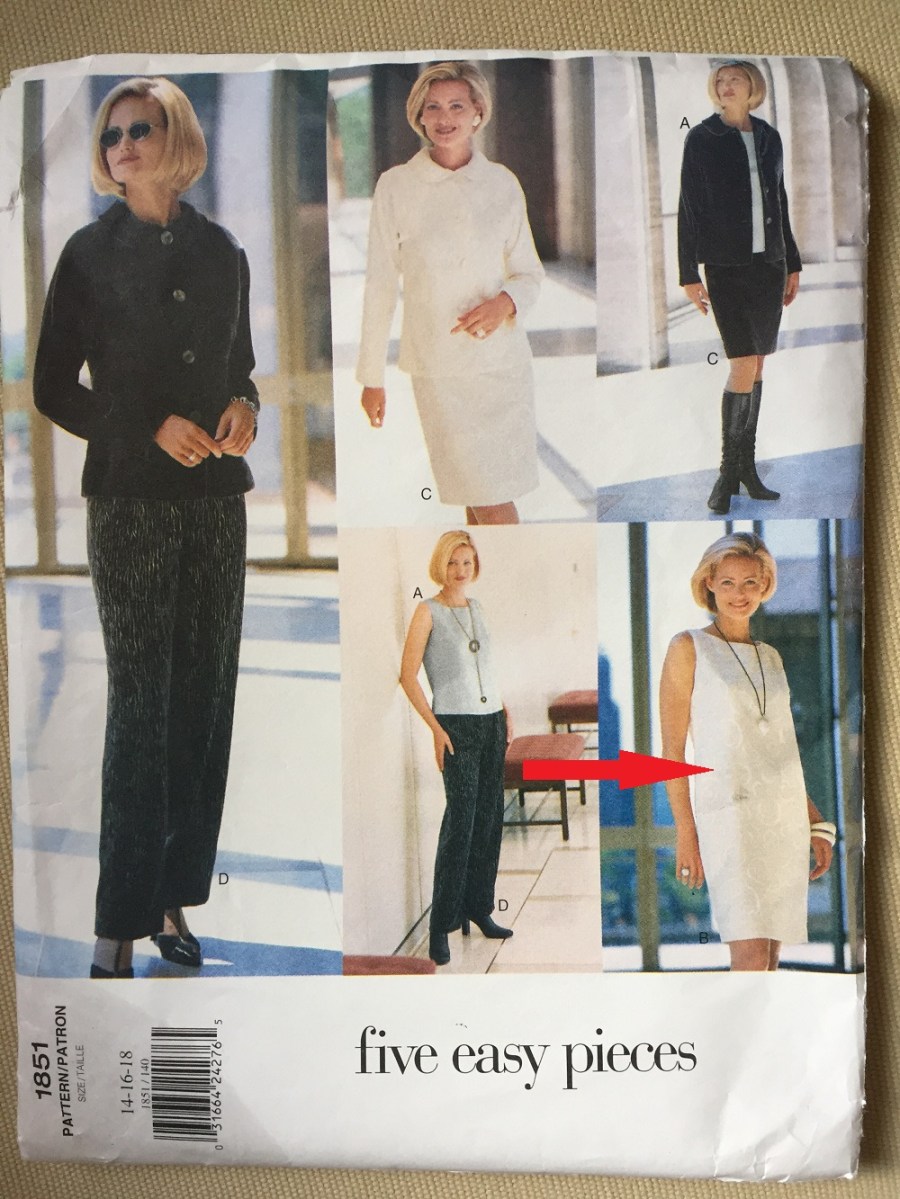
But the focus of this post is the neckline. The pattern instructs you to fully line the dress, which means the neckline and armhole are enclosed in the dress/lining seam, but I wanted to keep it unlined. Which brought up this question: how will I finish the raw edges of the neckline? Read on for the details.
- First, stabilize the neck edge with stay-stitching or iron on a fusible strip at the neck seamline, like I did. Then, put together the main dress pieces before starting on the neckline finish – the shoulder and side seams. However, since hindsight is always 20/20, I encourage you to apply the piping/facing finish before sewing up the side seams (sew up the shoulder seams only, of course, and finish the back neck opening.) It’s easier to work with the neck edge when the garment is “flat”.
- Measure the neckline, not at the raw edge but at the seamline – it’s a 5/8” seam in this case.
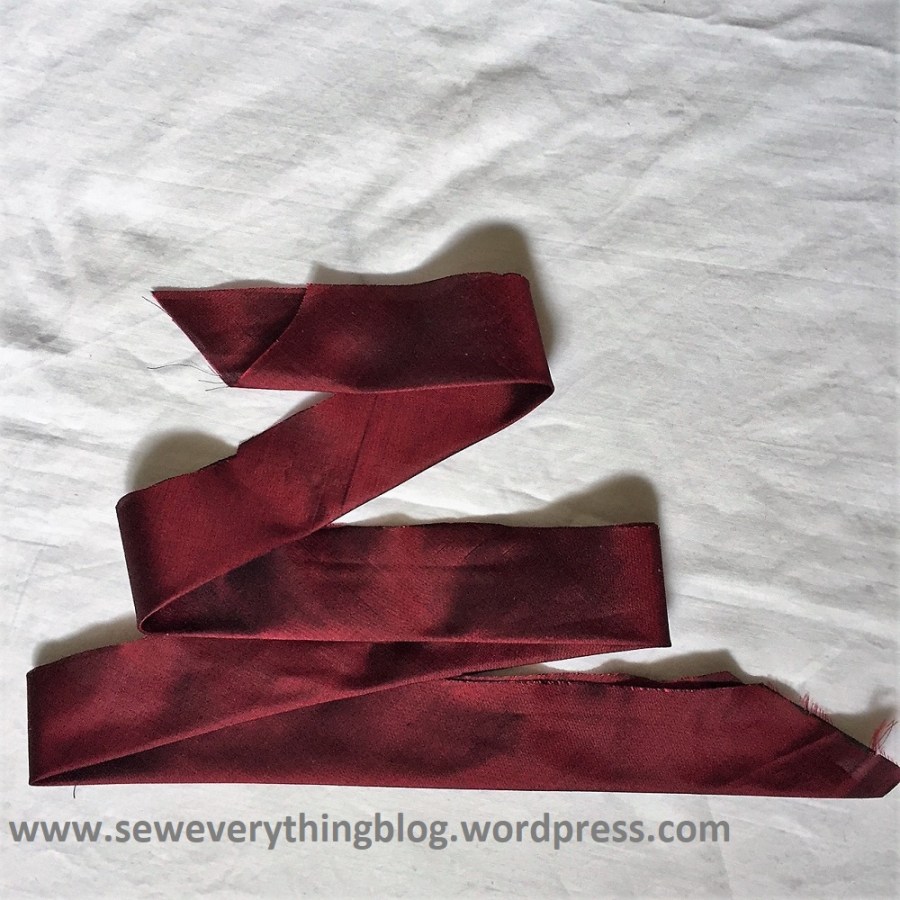
- Cut a fabric strip on the perfect bias (45 degree angle) measuring 3 inches wide X neckline measurement + 2 inches. Fold and press the strip, lengthwise.
- Raw edges together, pin the strip to the right side of the neck edge, starting at one back opening and ending at the other; and, remembering to wrap 1 inch around the back openings corners.

- At this point, I would recommend hand basting before permanently machine-sewing in a 5/8 inch seam. Basting is good only because the strip will have a lesser chance to slip around. I would also give it a press while it’s in basted form. Don’t worry when the strips curls up a little from the folded edge.
- Machine sew the seam and pull out the basting. Trim the seam allowance down to 1/8 inch.
- Turn the strip UP and press. Then, turn the strip over the narrow seam allowance to the wrong side, snugly. What about the back opening where the strip was folded over, you ask? Well, it forms a clean finish at that corner. Pin through the seam, catching the strip on the wrong side; remember to fold the strip edge at the back neck corners to the inside. From the right side, machine stitch through the seam (the “ditch” in sewing vernacular).
- You’ll see that the trimmed down seam allowance inside the fabric strip gives the look of corded piping, and the rest of the strip folds over to the wrong side to create the facing.
Do you find this intriguing? Try this technique the next chance you get.
Until the next post…..
Samina

I love it! Thank You! I agree, finish the neckline before sewing side seams! Basting makes sense, I need to take the time to baste more.
The color of your trim is beautiful and it matches the fabric beautifully!
LikeLike