
Hi all! I might be on an embroidery kick; you may have noticed if you read my posts regularly. I dug into some unfinished sewing archives and look what surfaced in a ziploc bag.
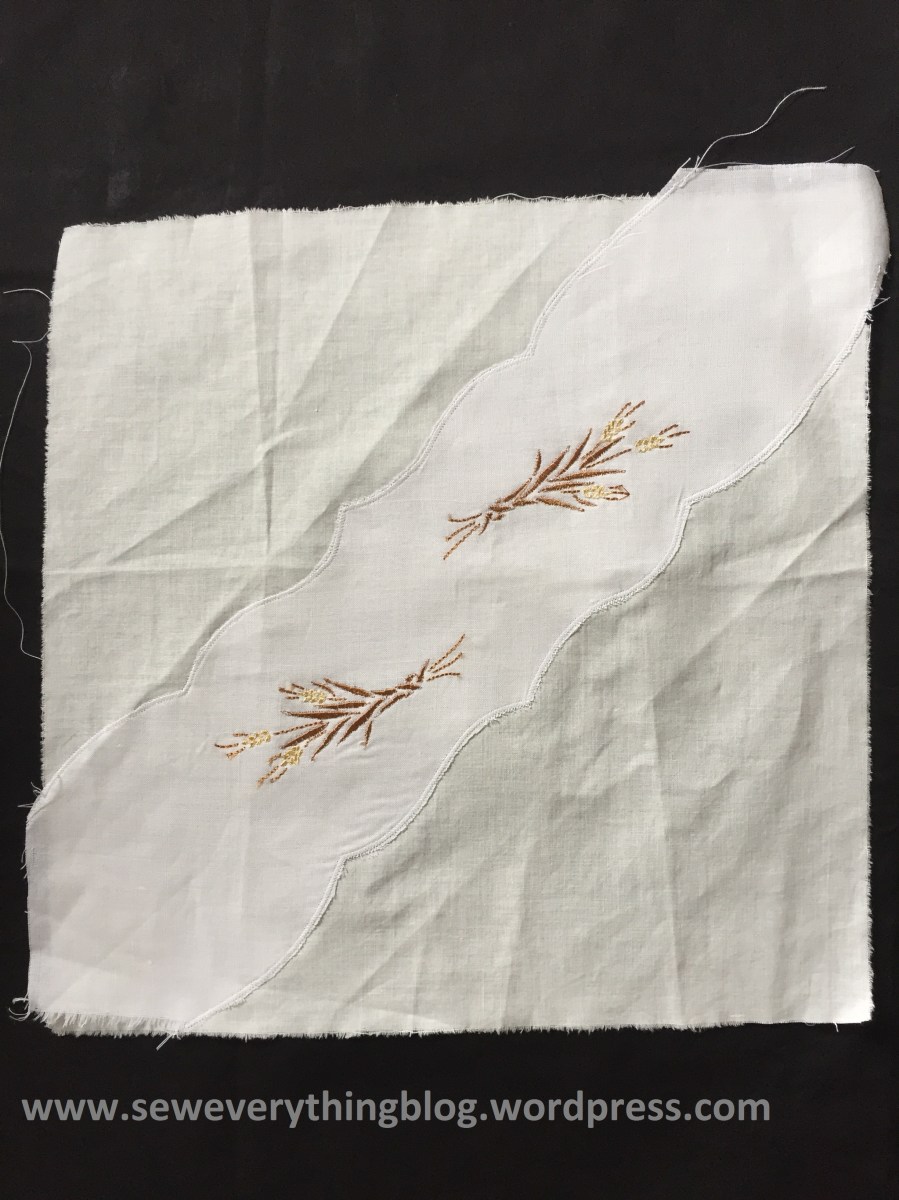
Except, I can’t remember how it was supposed to be finished. A long time ago, I took a machine embroidery class when I was still in need of instruction and inspiration to use my Brother PE-200 (although this machine is pretty user friendly).
In that class, I ended up with this project. It’s still unfinished so my enthusiasm must have waned. To be fair, I used the embroidery machine a lot in those days, made stuff for family, friends and myself. Those were the days before the obsession with recording everything I made.
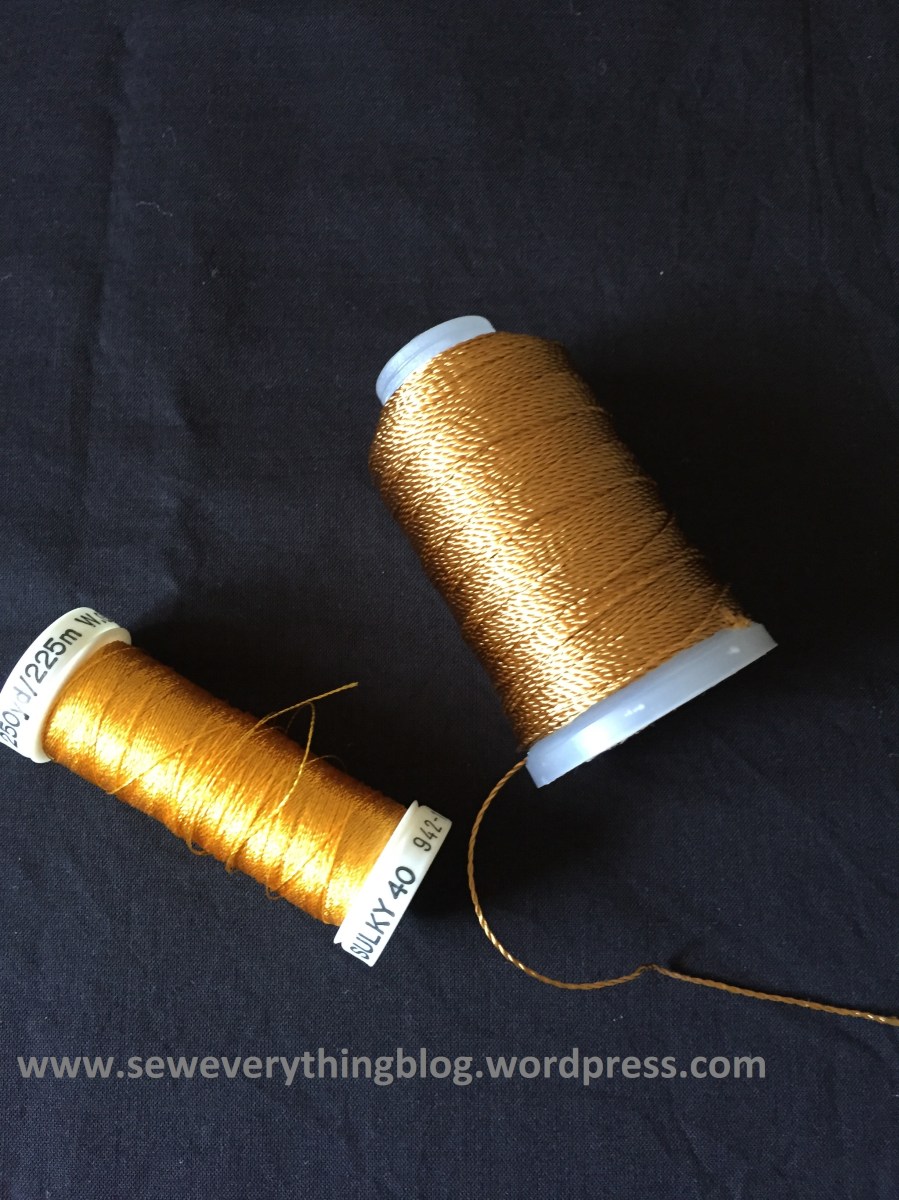
Well, this square doily is going to be finished now, since my latent machine embroidery interests are kicking into high gear again. The motif was actually done, but I need to add finishing touches. In the baggie was a spool of gold Sulky rayon thread and another one of gold perle cotton. I think I know how to finish this.
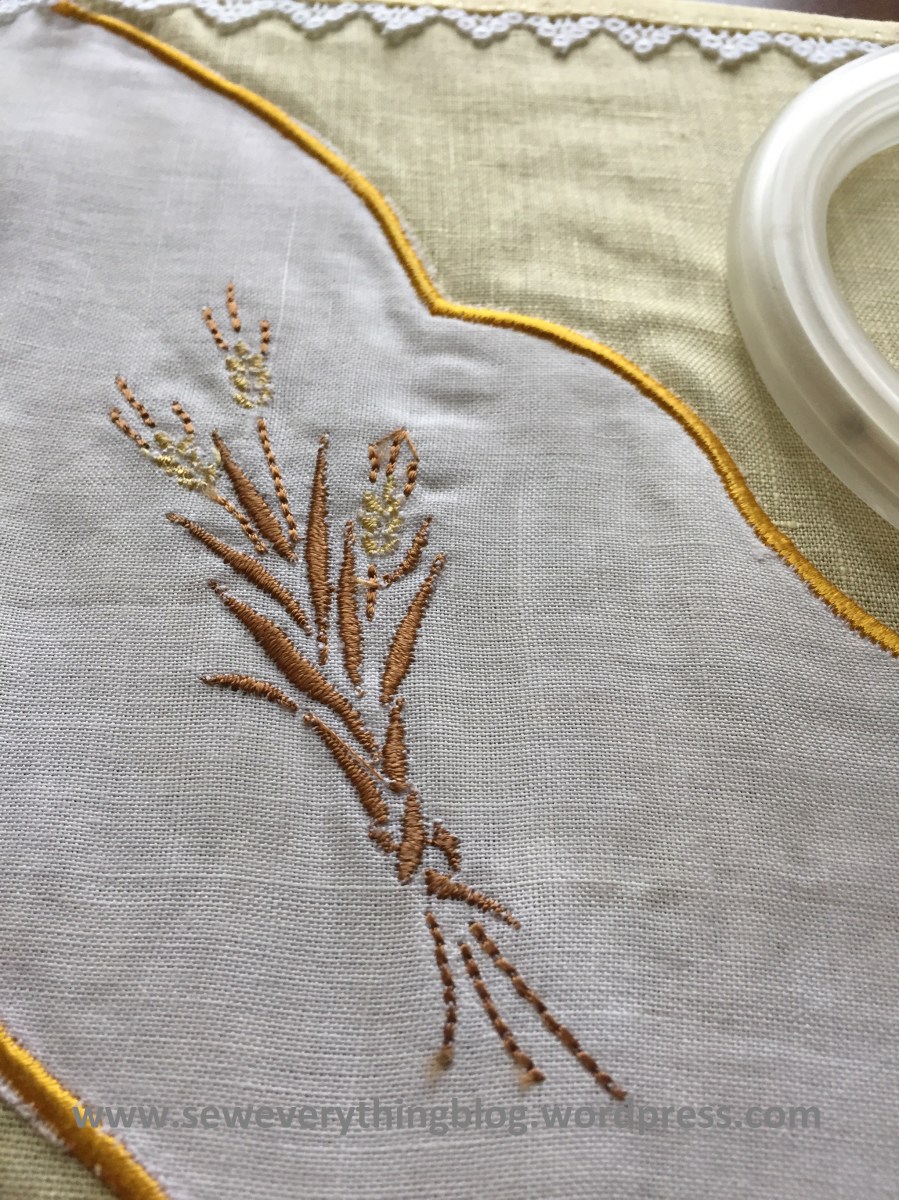
Close up of the embroidery
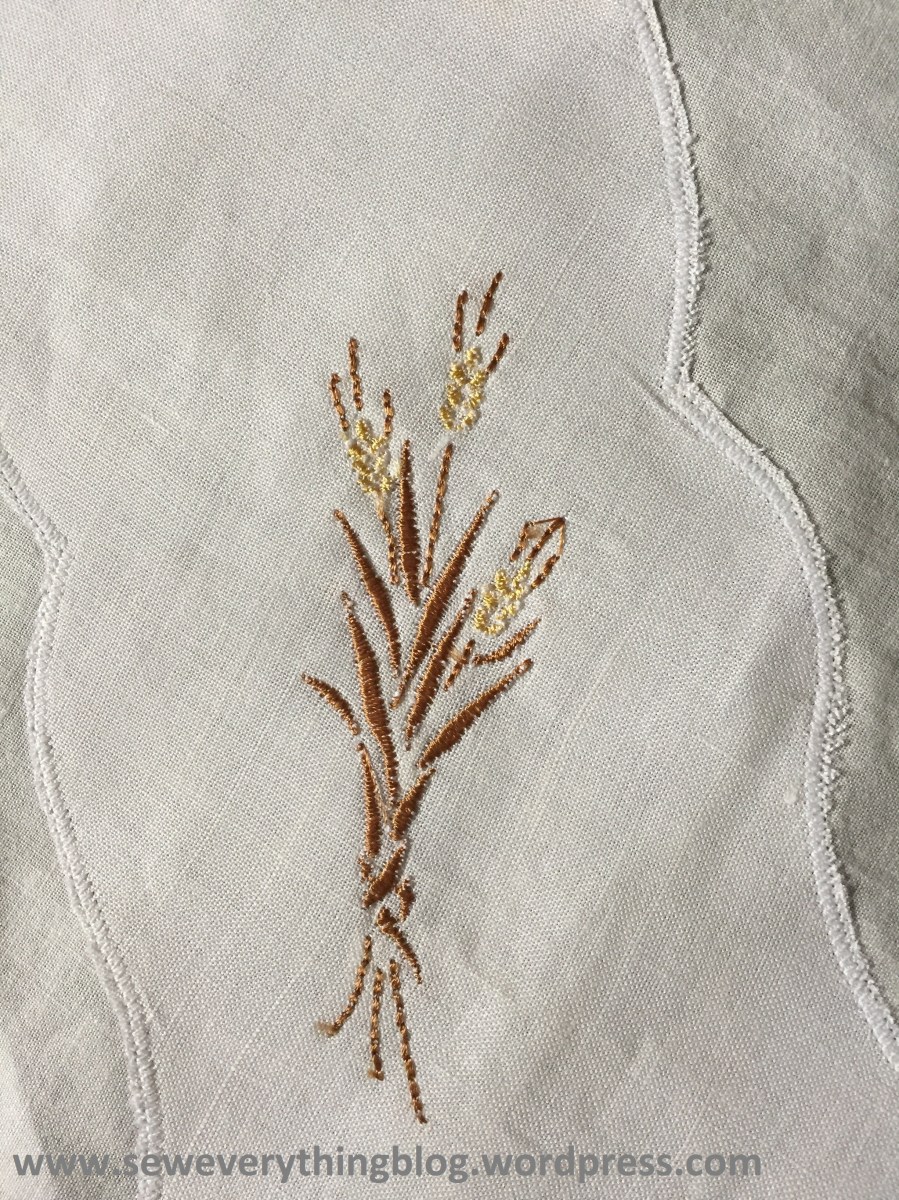
The middle shaped piece is the star of the project. It has harvest type motifs embroidered on it, has shaped edges and is then appliqued on to the piece of muslin, with a zig zag stitch. I’m not sure I remember how was supposed to end up; is the muslin a backing for finishing the scalloped edges with a satin stitch and then cut away (to leave a slim little doily)? Or was the doily supposed to be a square with the curved piece appliques on. If the latter, I would really like to change the plebian muslin backing to aristocratic linen.
And I did! This is how:
- Cut away the muslin from the scalloped edge and the back of the linen piece.
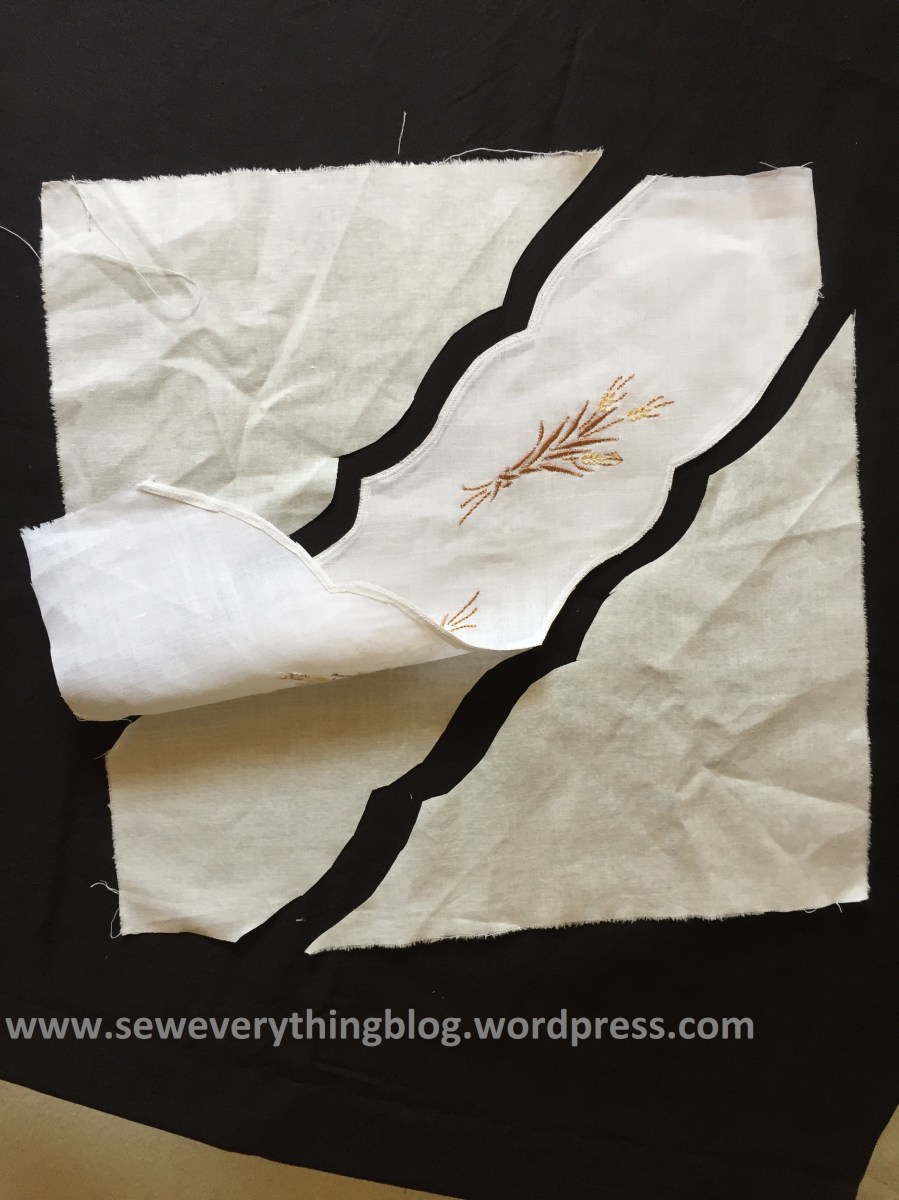
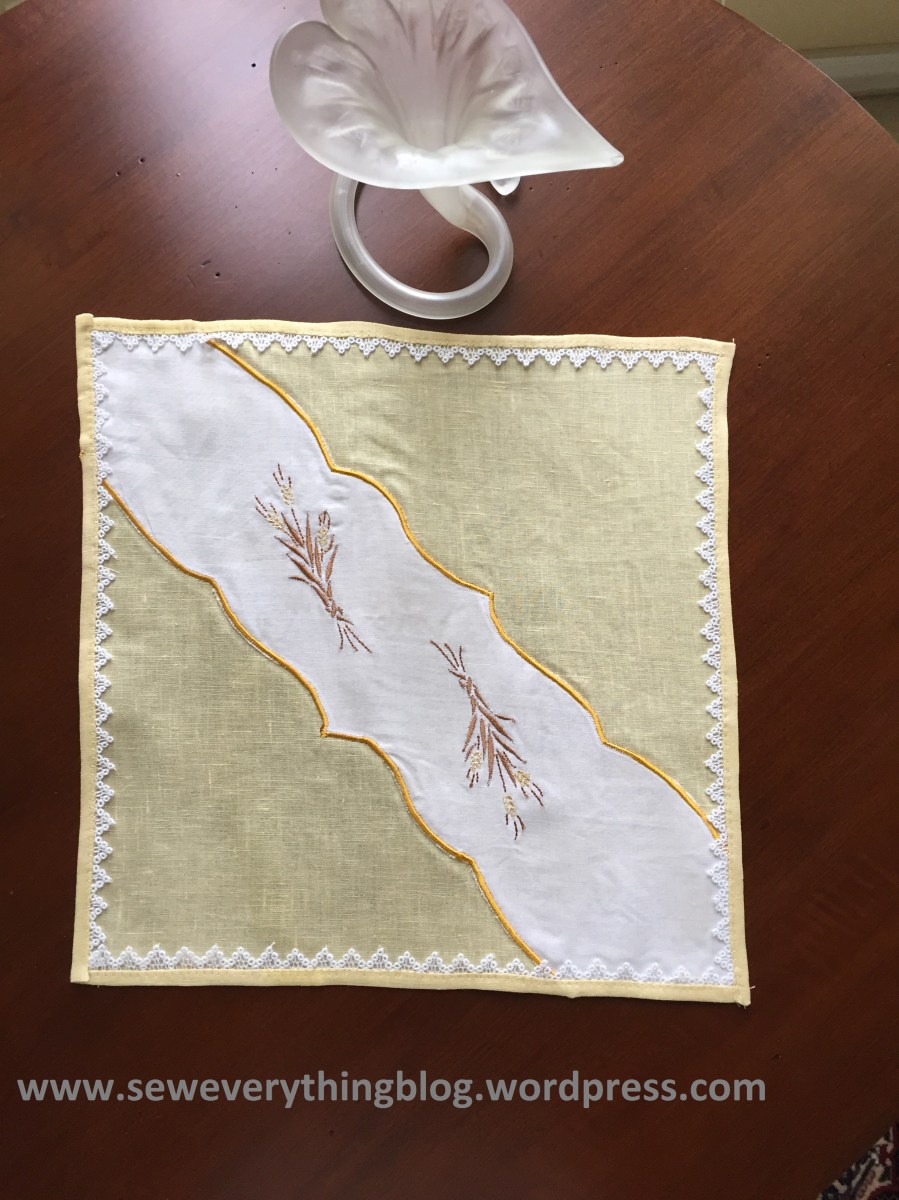
- Place the embroidered piece on a square of butter yellow linen (scrap stash). Please do not shudder, but a small spot of glue was used to anchor the white piece to the yellow linen. Tiny spot….

- Fixed the middle piece to the yellow linen with corded satin-stitching at the scalloped edges. This is where the perle cotton and rayon thread come in. Not perfect, but not too bad. Paper solvy stabilizer (also in stash) was used on the back.
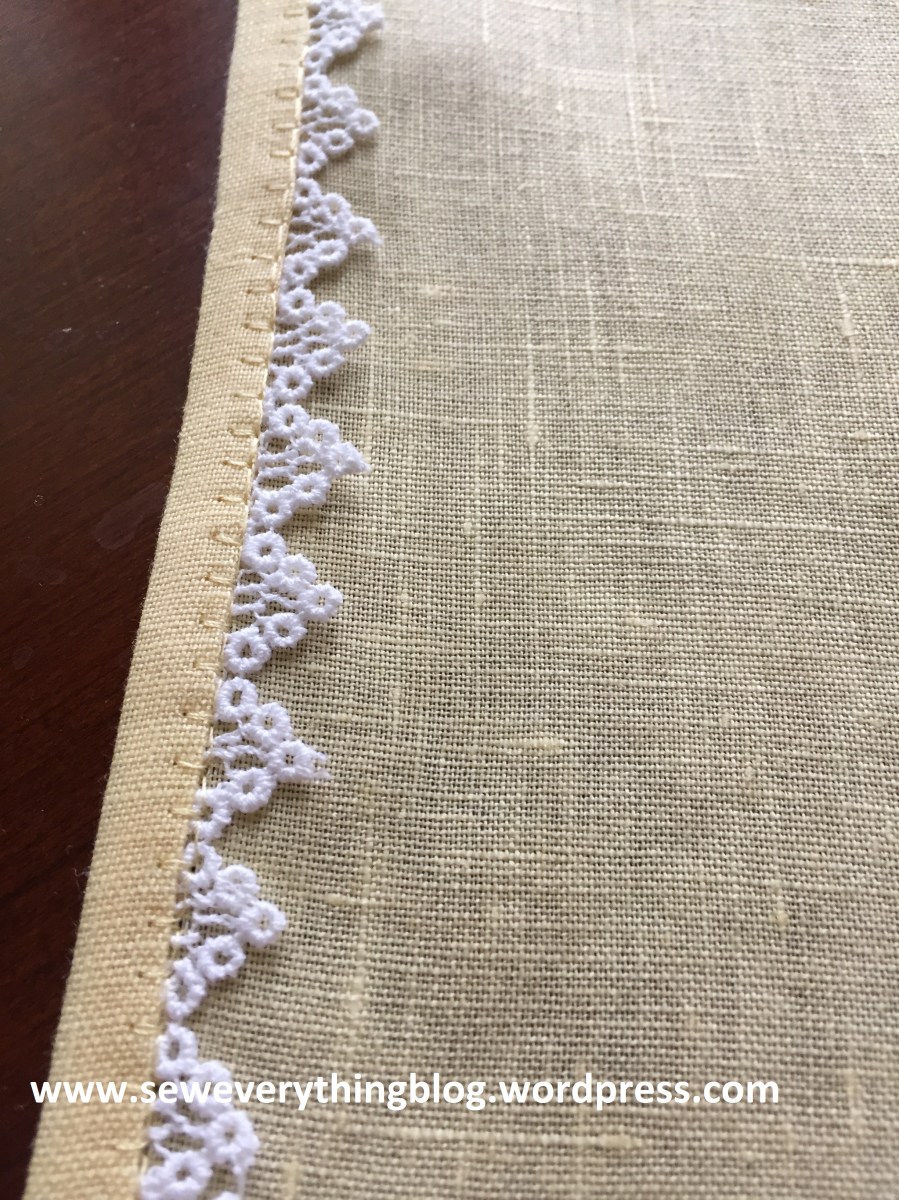
- To hem, the edges were turned to the right side of the doily (stay with me here), a lace trim inserted in the fold of the hem, and stitched down with a “blanket stitch” on my trusty 27 year old Bernina 1230 (I’ll never trade her for another machine).
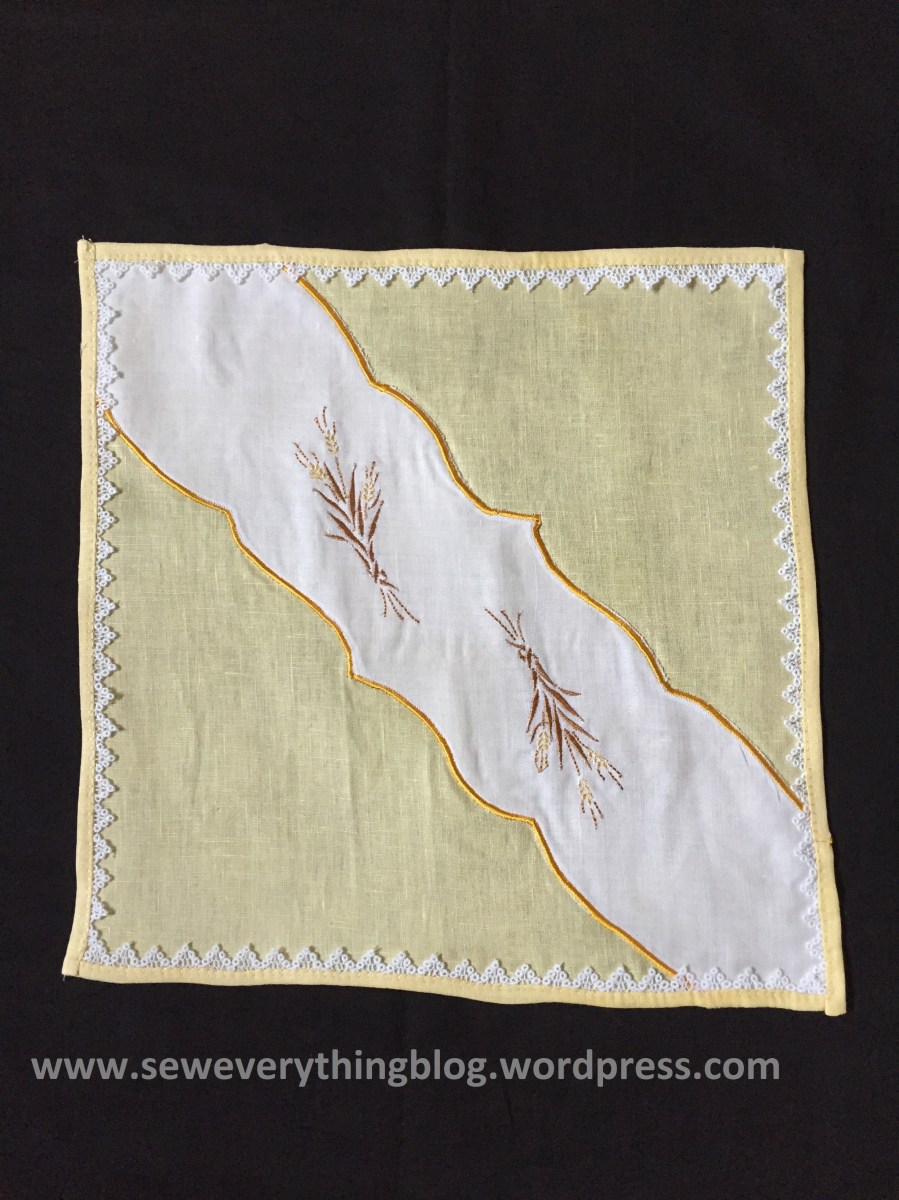
Pretty new doily!! Or is it a dresser scarf? I’m so glad I ran into this UFO. It finished quickly and nicely.
Have a great summer, my friends!
Samina

Very pretty. Wish I could get my machine embroidery mojo back. With luck you will inspire me.
LikeLike
Beautiful!
LikeLike
I love it! So creative. I barely have time to sew- which I must! It’s like breathing, you just have to sew! I have no time for embroidery :o( I’m quite a bit older than you and going through my old incomplete projects, salvaging all I can! Love your blog! Just found it!
LikeLike
Thank you, Liz! So glad you found the blog, because I adore sharing every little thing I make with fellow sewing enthusiasts.
LikeLike
Very beautiful! Something ordinary, into something extraordinary!
LikeLike