
I recently decided to make good on a long ignored item on the sewing list: a faux fur vest from this pattern, Simplicity 2285.


No fabric is hard to sew if you know how. There are exceptions, of course; it happened to me once. The fabric in question was a weird wiry cloth and I just could not make anything work. That was one of the few times I’ve actually thrown out fabric.
If you have not handled fur fabric, there’s a lot to learn. In my opinion, reading up on it extensively does not really prepare one completely. I have sewn faux fur before, but in a small way, as accents; I made a fur collar, and once made a winter hat with fur edges. Those were furs with shorter fur and therefore easier to sew.

The fabric I used for this particular vest is longer haired and the knit back was thicker & firmer than I liked. And, therein lay the frustrations I encountered. Not insurmountable, but hindrances nonetheless. The faux fur was an online purchase and it looked great on the seller’s website. Heh.
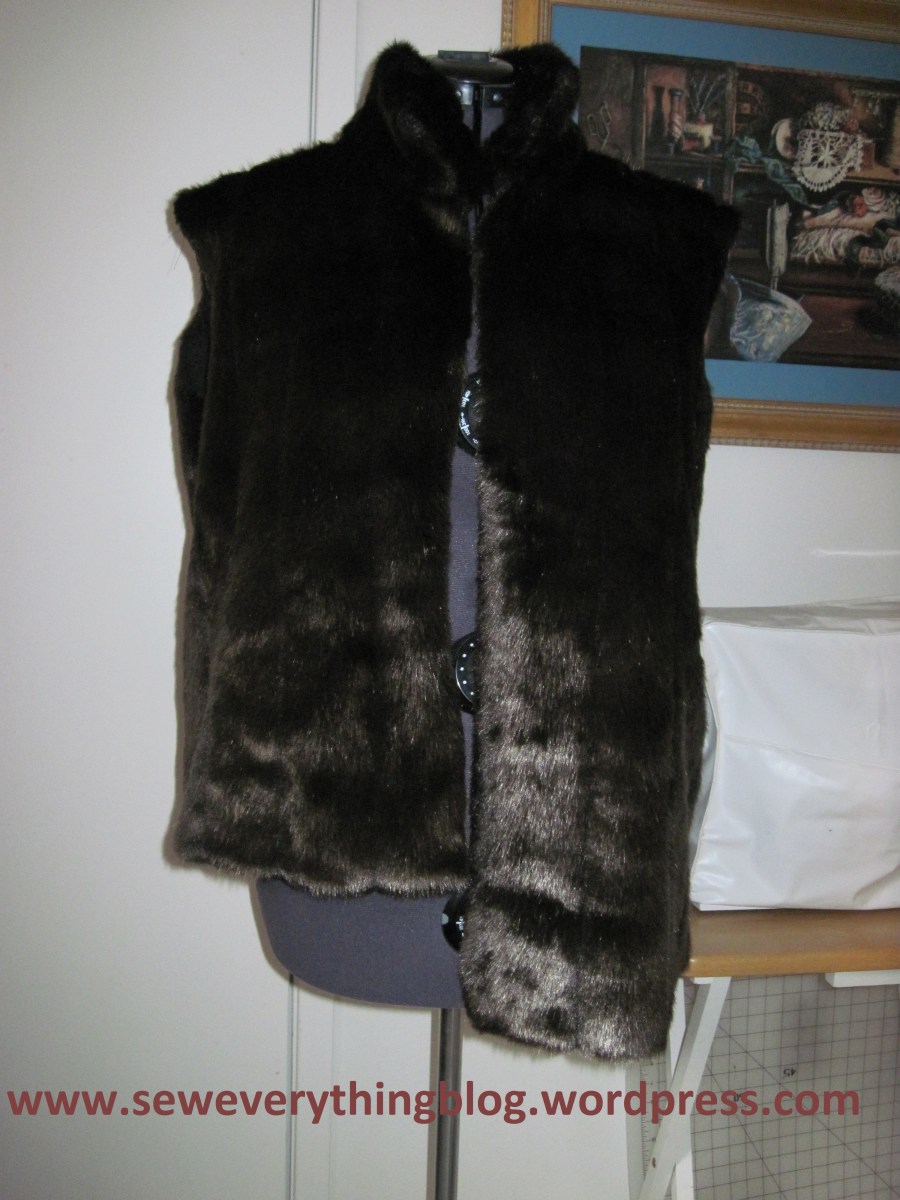
So here is the not-quite-finished vest, where I’m still undecided whether to leave the length as is, or make the vest shorter. At this time its giving off a very grizzly bear vibe! And, I’m bored enough that the sewing has slowed down. But I am learning a lot. Below is some of what I gathered from books and magazine articles, and from working on the grizzly bear:
- Choose a pattern with as few seams as possible. Hence the Simplicity 2285 – sorry that it is now out of print. But you can use any vest pattern, provided there are minimal seams.
- The choice of machine stitches is varied. Some “experts” suggest a zigzag. And that is what I used. Because a zigzag makes it easier to fluff out the fur over to the right side.
- Use complete pattern pieces to cut out single layers of the fur. Cutting on a fold is not a good idea.
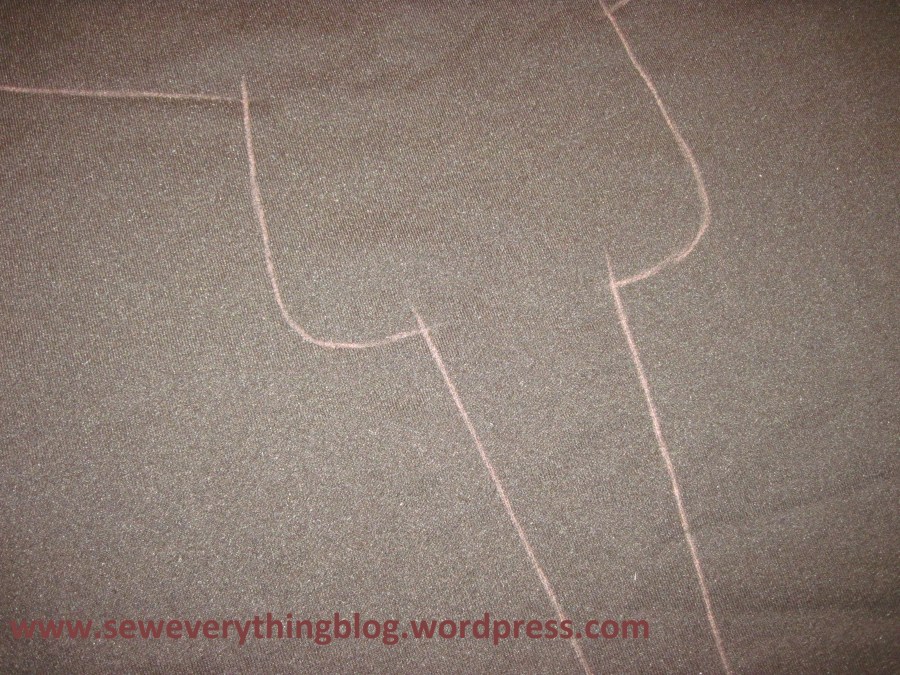
- Use tailors chalk to trace around the pattern on the wrong side of the fabric. I traced one side of the back, turned it over and traced the other side to get a complete outline of the vest back.
- Marking: Use tailor’s chalk, please. No snipping to mark notches etc. The pattern I chose did not need too much marking, anyway. But I made sure to mark the center back.
- Cutting: It’s important that you do not whack through the fur fabric with your shears – that is what causes the fur to fly all over the place. Here is what I did, and in the process the furry mess was contained almost totally.
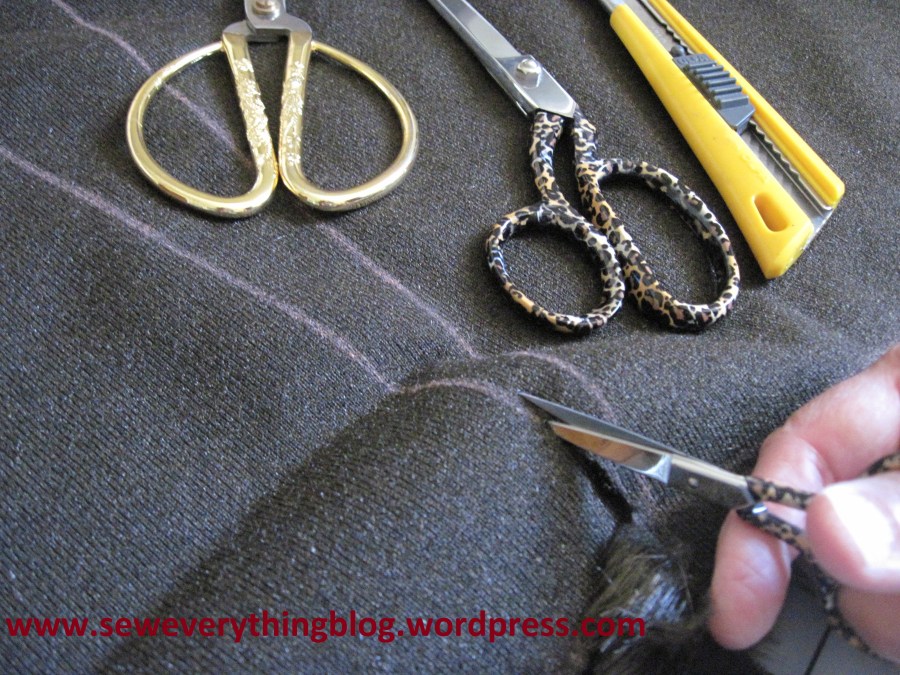
- The cutting is done only on the back of the fabric in a small snipping motion. Remember, no whacking through the long fur. It takes time but this is the best way. I tried all these cutting tools (including the box cutter in the picture above) and found that the small, sharp Gingher embroidery scissors worked for me. Razor blades or sharp exacto knives are also recommended. Just remember to NOT cut through the fur. I was amazed to see a YouTube tutorial whack through the fur fabric. Yikes!
- After cutting, I separated the pieces, pulled out loose bits from the edges. The hairy bunch you see in the picture is the loose fur I pulled out of the cut edges. And that’s all the “mess” I encountered.
- Shake it out. Just to be on the safe side, I shook out each piece to get rid of some more fuzz. There wasn’t much that fell out. I think I caught the shaking action pretty well in the photo – and also caught the recycle bin in the background. Oh, and check out the oranges!
- Therefore, with some preparations and the above cutting method, the shedding was almost non-existent while sewing.


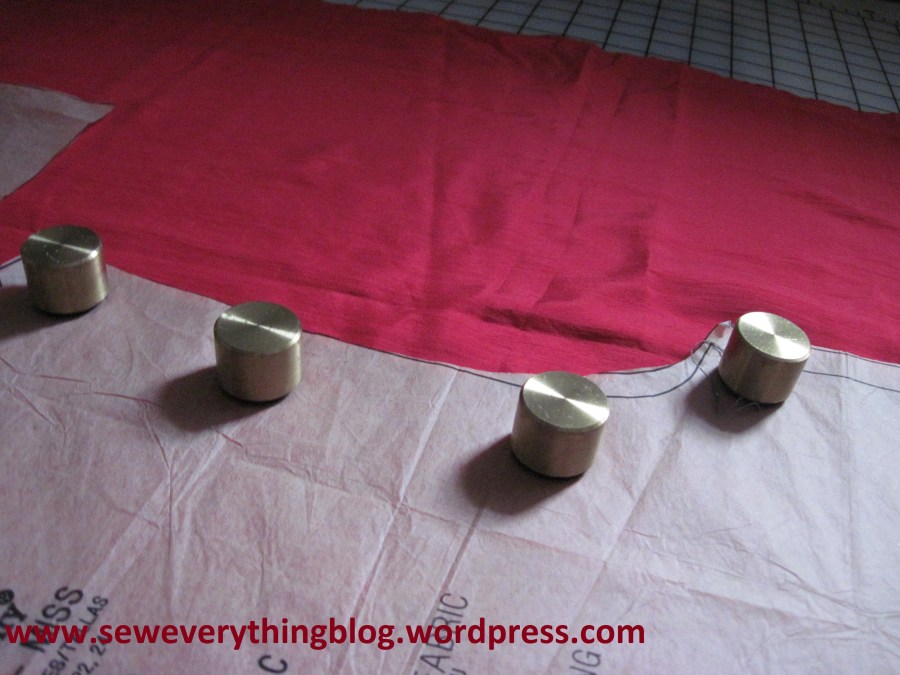
So, there you have it. What remains is the red china silk lining. Yup, I’m using that expensive silk because — I have it. I promise this vest is not going to become a UFO; it’s just that I’ve slowed down a bit. It happens. My message today is…… DO NOT FEAR THE FABRIC.
Hope you get to sew fearlessly…..
Samina

Can’t wait to see it on you. I made a full length coat from the same stuff about 20 years ago. Didn’t wear it much, Sold it. But it was fun at the time. Still have my scraps.
LikeLiked by 1 person
What?? You made an entire fur coat? I should’ve consulted you before I began. Seriously. For some tips I may have overlooked.
LikeLike
I bought 2 different faux furs a few years ago to make my daughter and myself coats. Well. She wore hers twice, and grew out of it. I still need to make mine…
LikeLiked by 1 person
Well, good time of year to start yours now!
LikeLike
Lots of good tips here! Can’t wait to see it finished!
LikeLiked by 1 person
Still working on the lining :(. Wasn’t kidding when I said I’ve slowed down….
LikeLiked by 1 person
It happens sometimes!
LikeLike
Beautiful faux fur!
LikeLiked by 1 person
It IS beautiful, just a little bit stiffer in the knit backing.
LikeLike
[…] saga continues. At the end of the last post, my first faux fur garment had yet to be hemmed, sides sewn and lined. I plodded along, went […]
LikeLike