
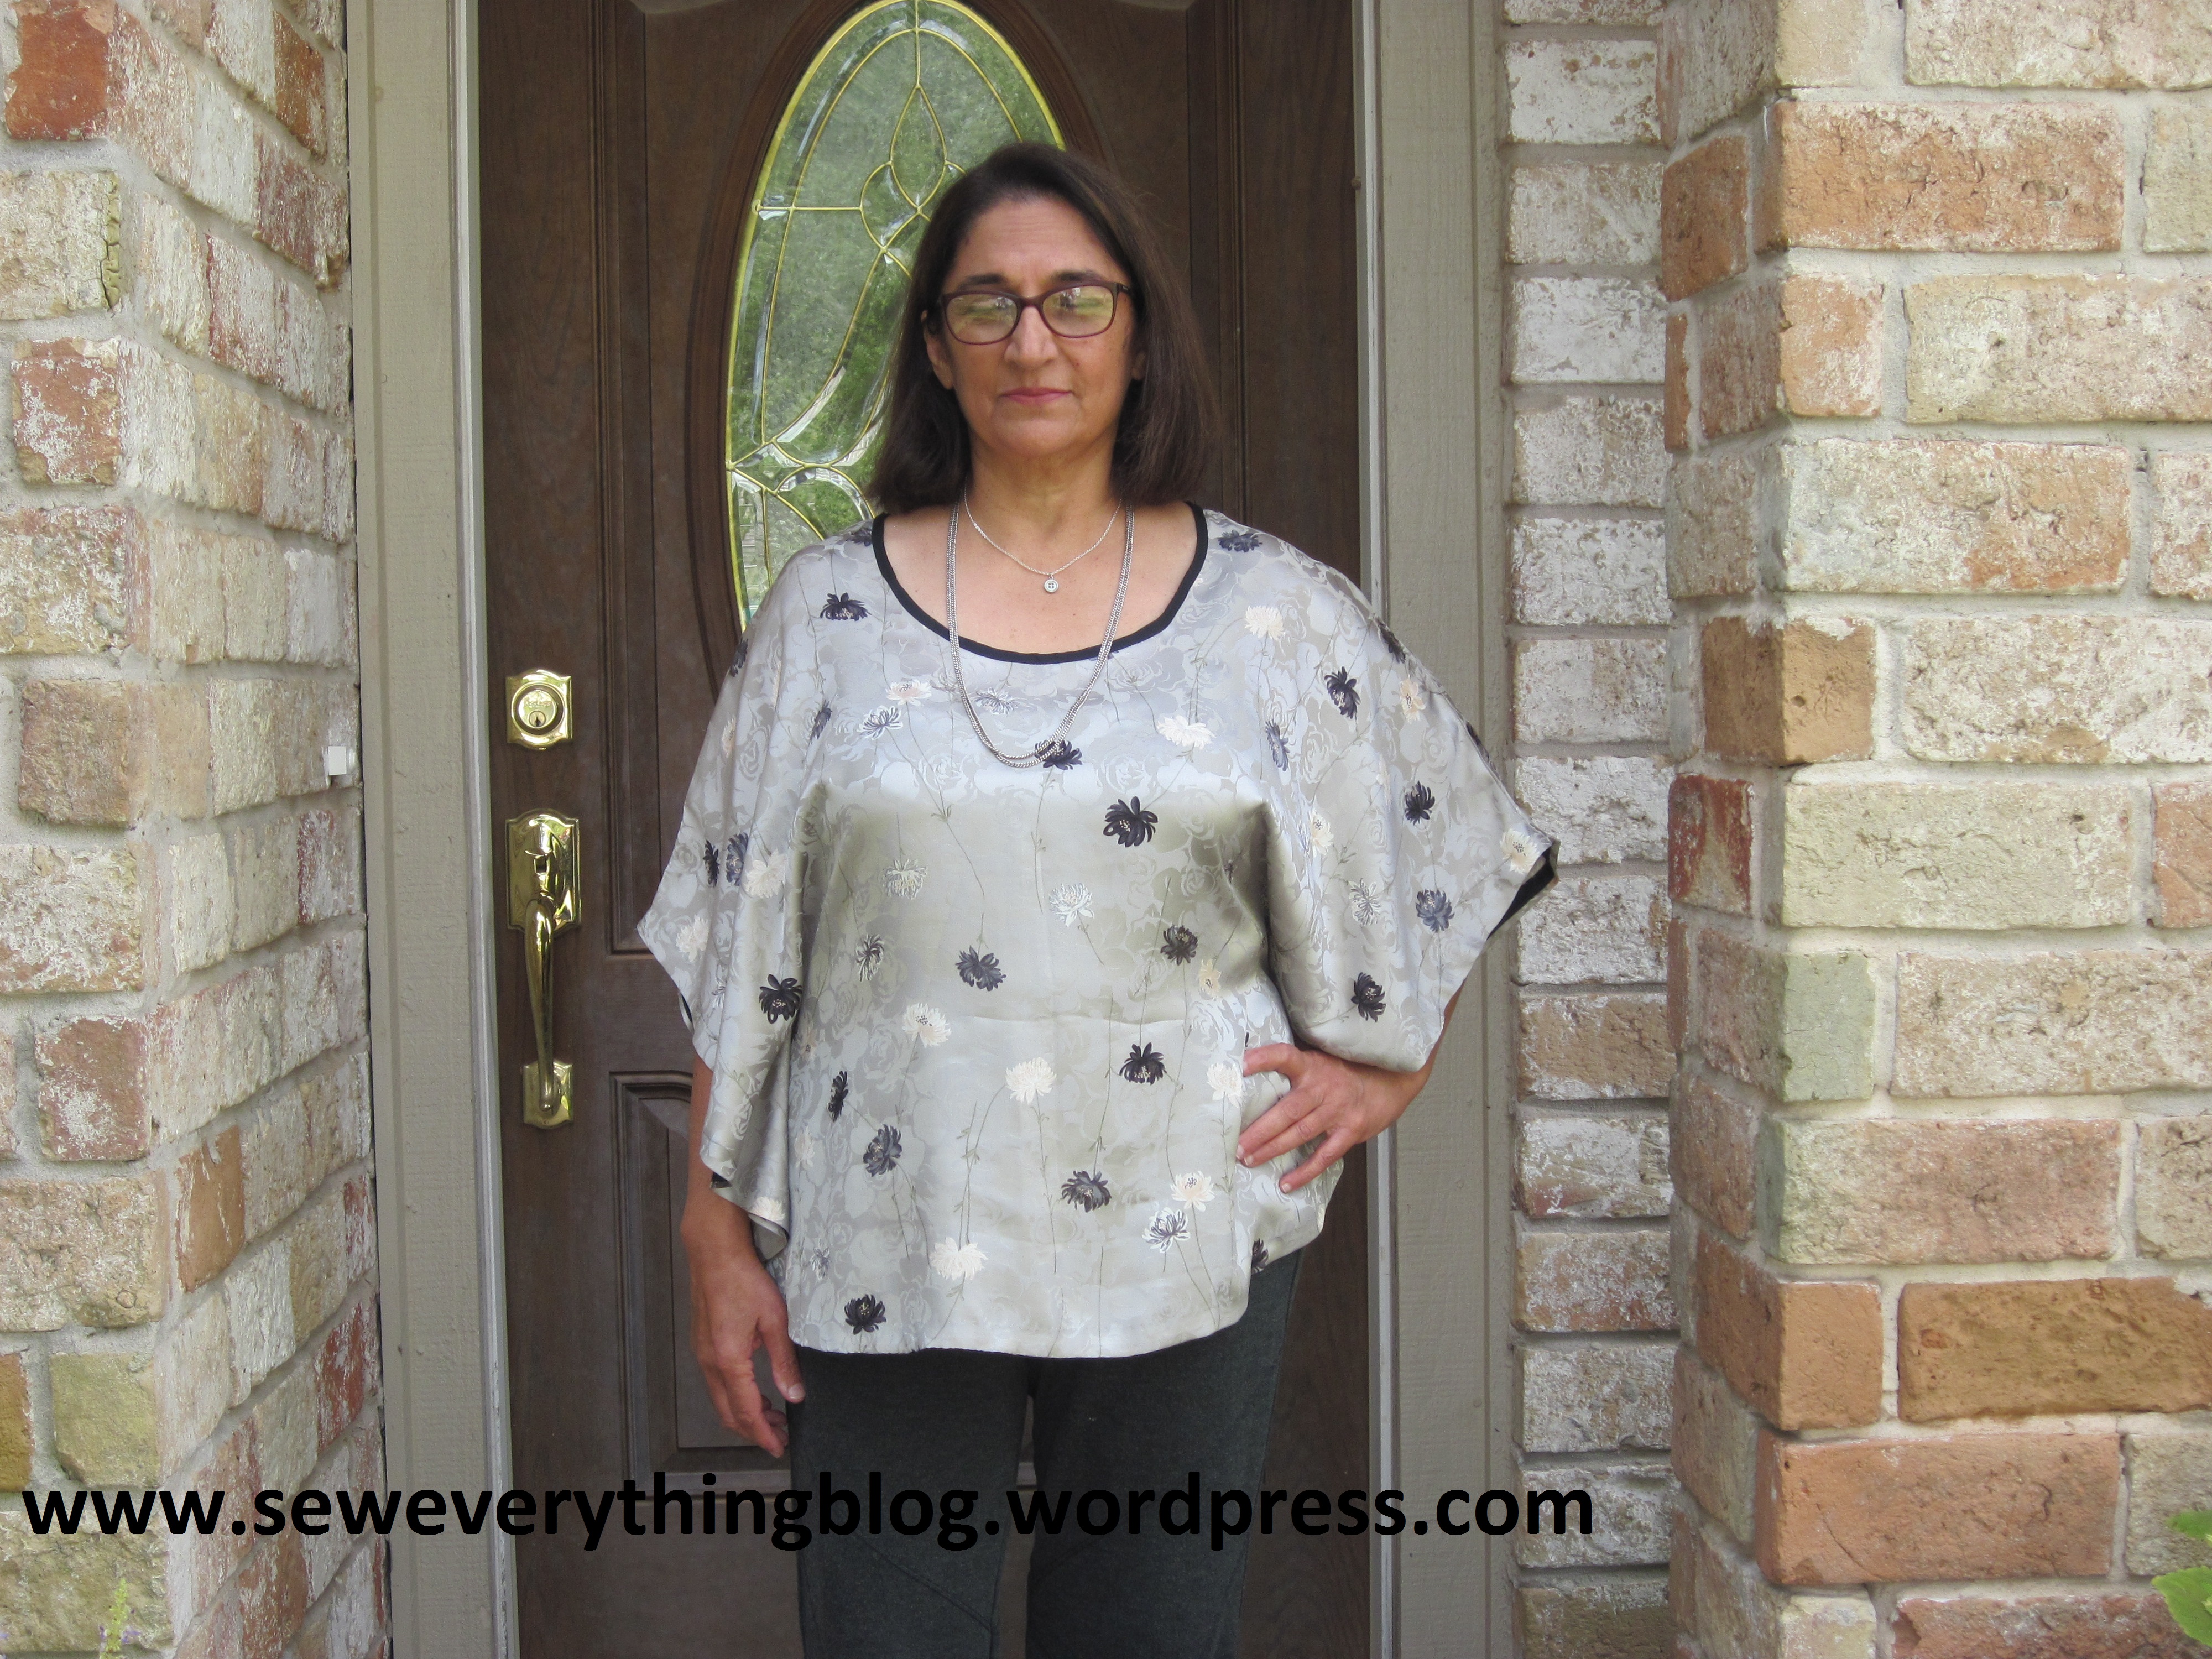
With Spring 2016 sartorially on my mind (and its not even Fall yet where I live), I pulled out the long stashed McCall 6510, sewed up View A, and regrettably, did not like the end product on myself. I can’t pin down the reason. The combination of style, fabric, color, or some other elusive element, just does not work for me. Meanwhile, here’s a short review (short by my standards, since I tend to ramble on. And on).
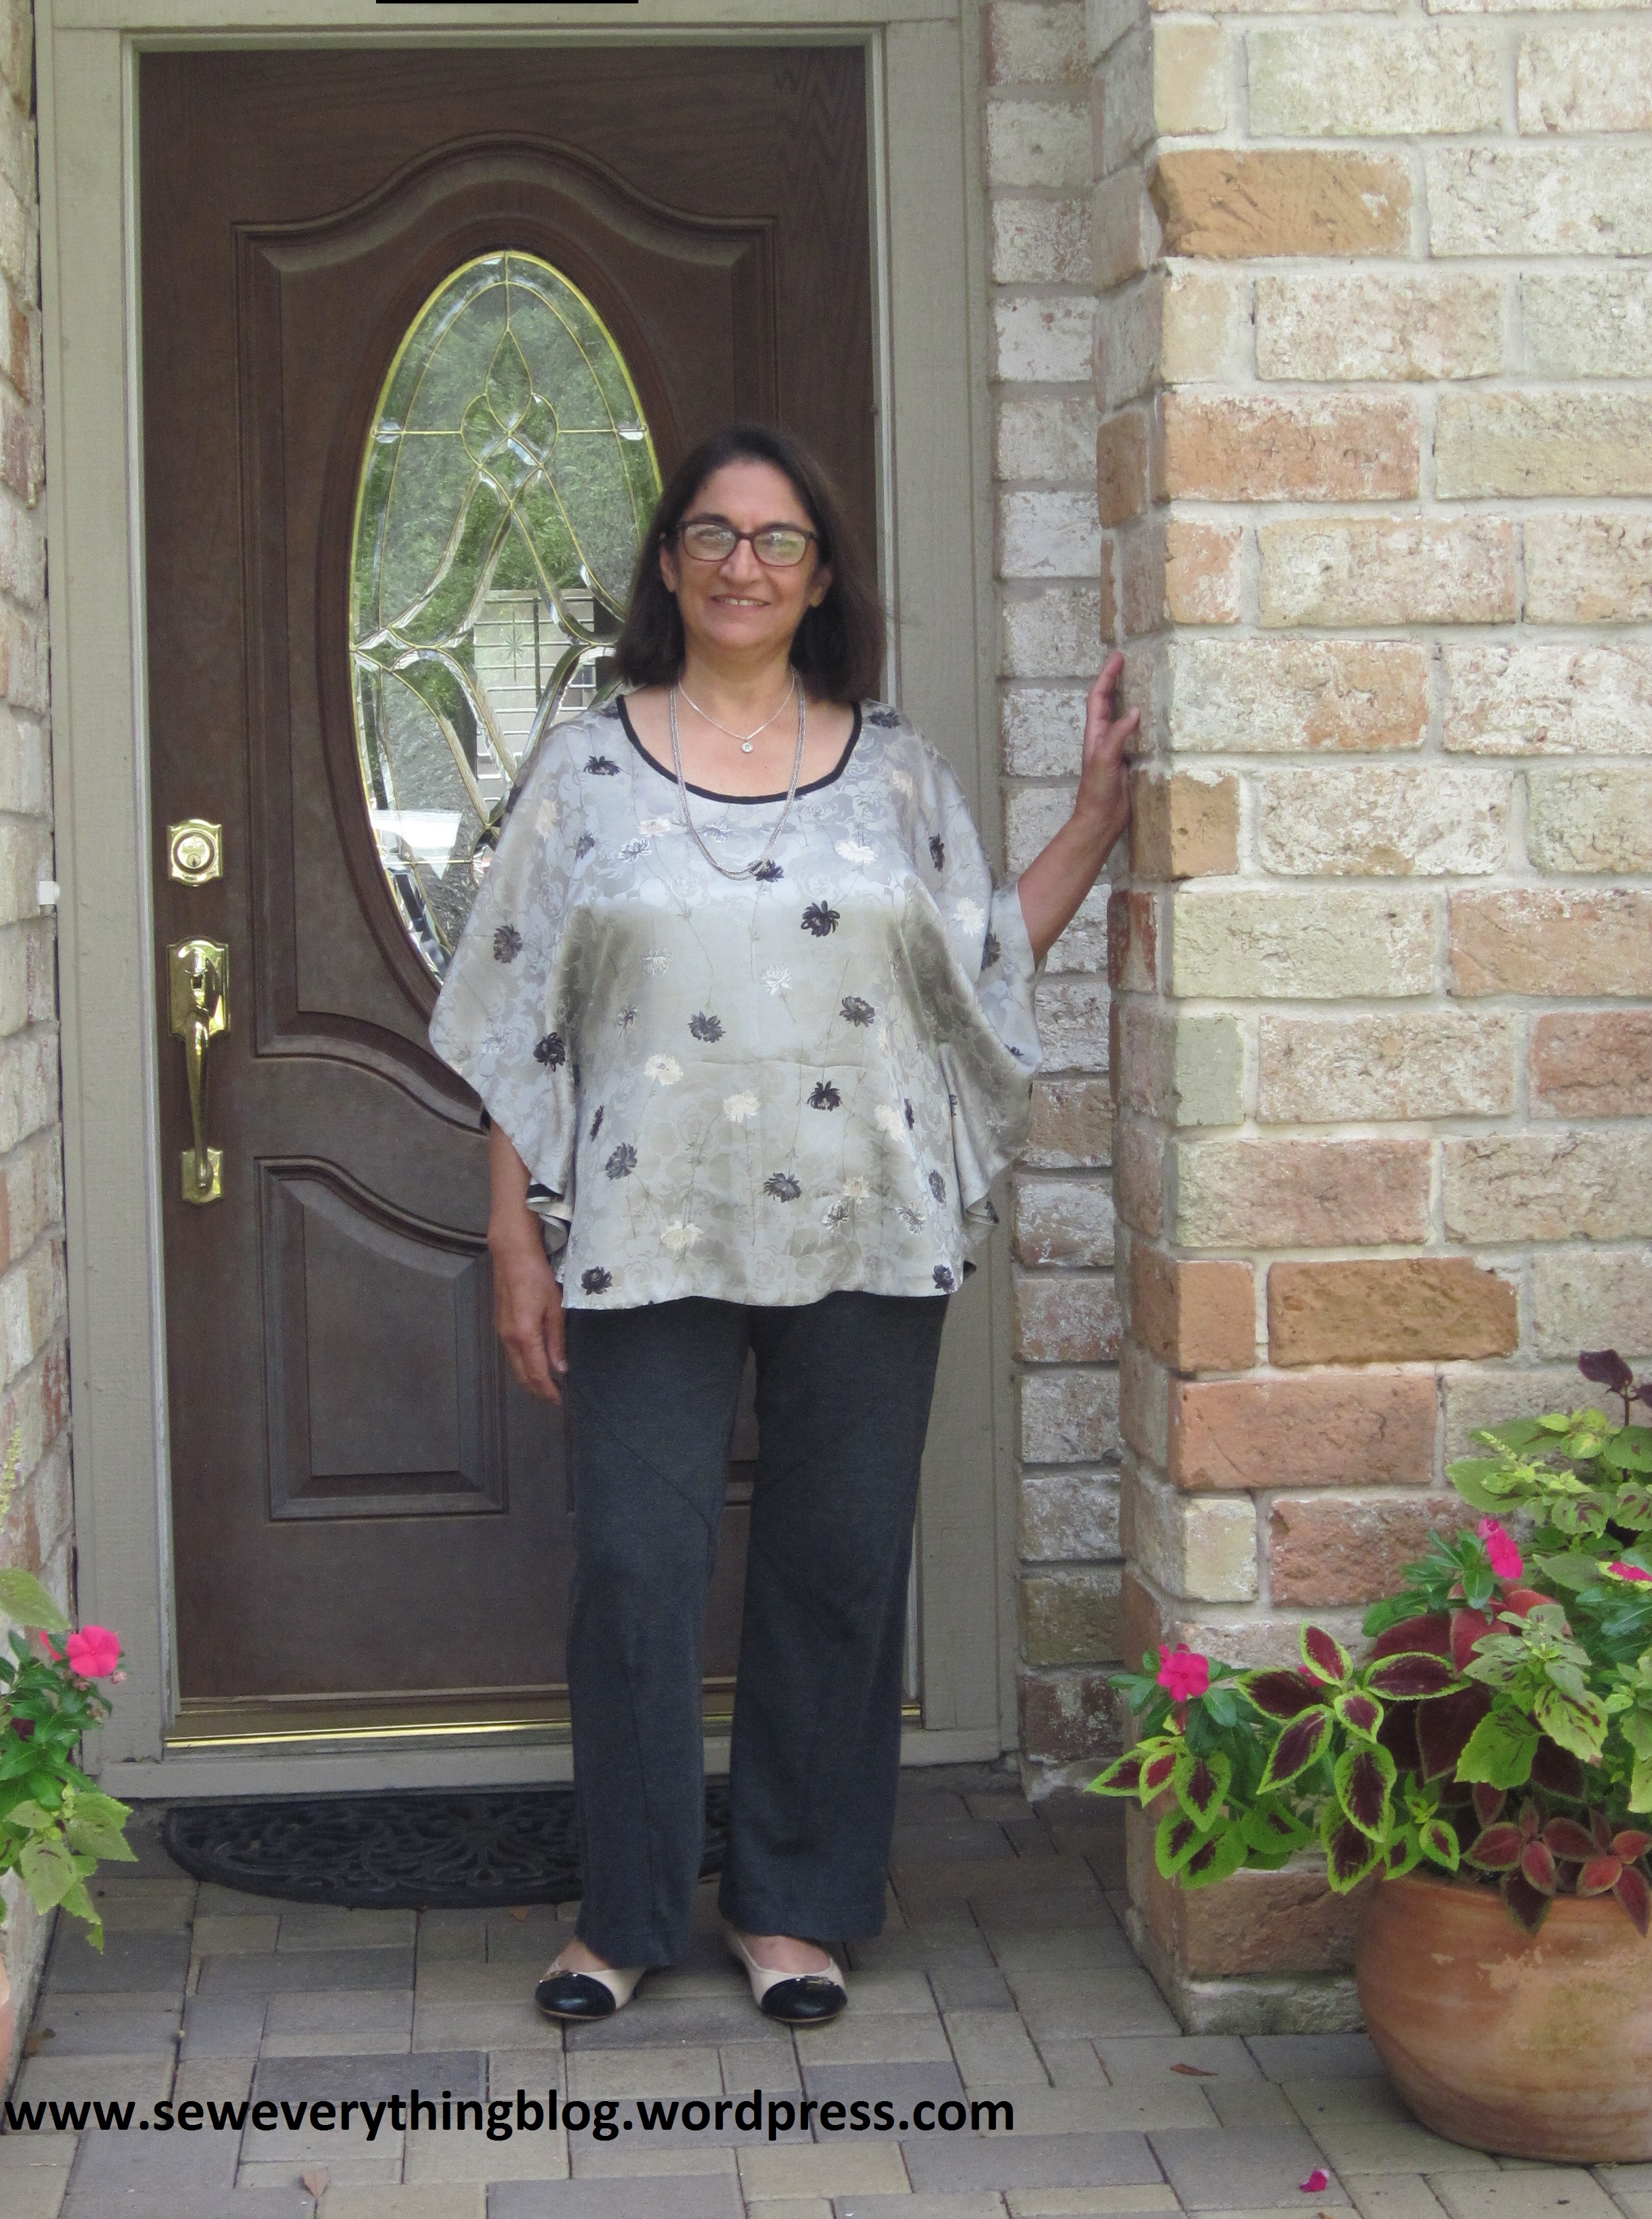
View A is extremely quick to sew; some might say that there’s no need for a commercial pattern for that view. McCall’s Patterns, though, has included other tops or tunic designs in the pattern package for those who want to make them. View A has two main pattern pieces, plus a pattern for the neckline bias tape. I must note that the shoulder seams have a slope, so the pattern does not have the fabric-thrown-on-the-body look — I like that.
Pattern changes:
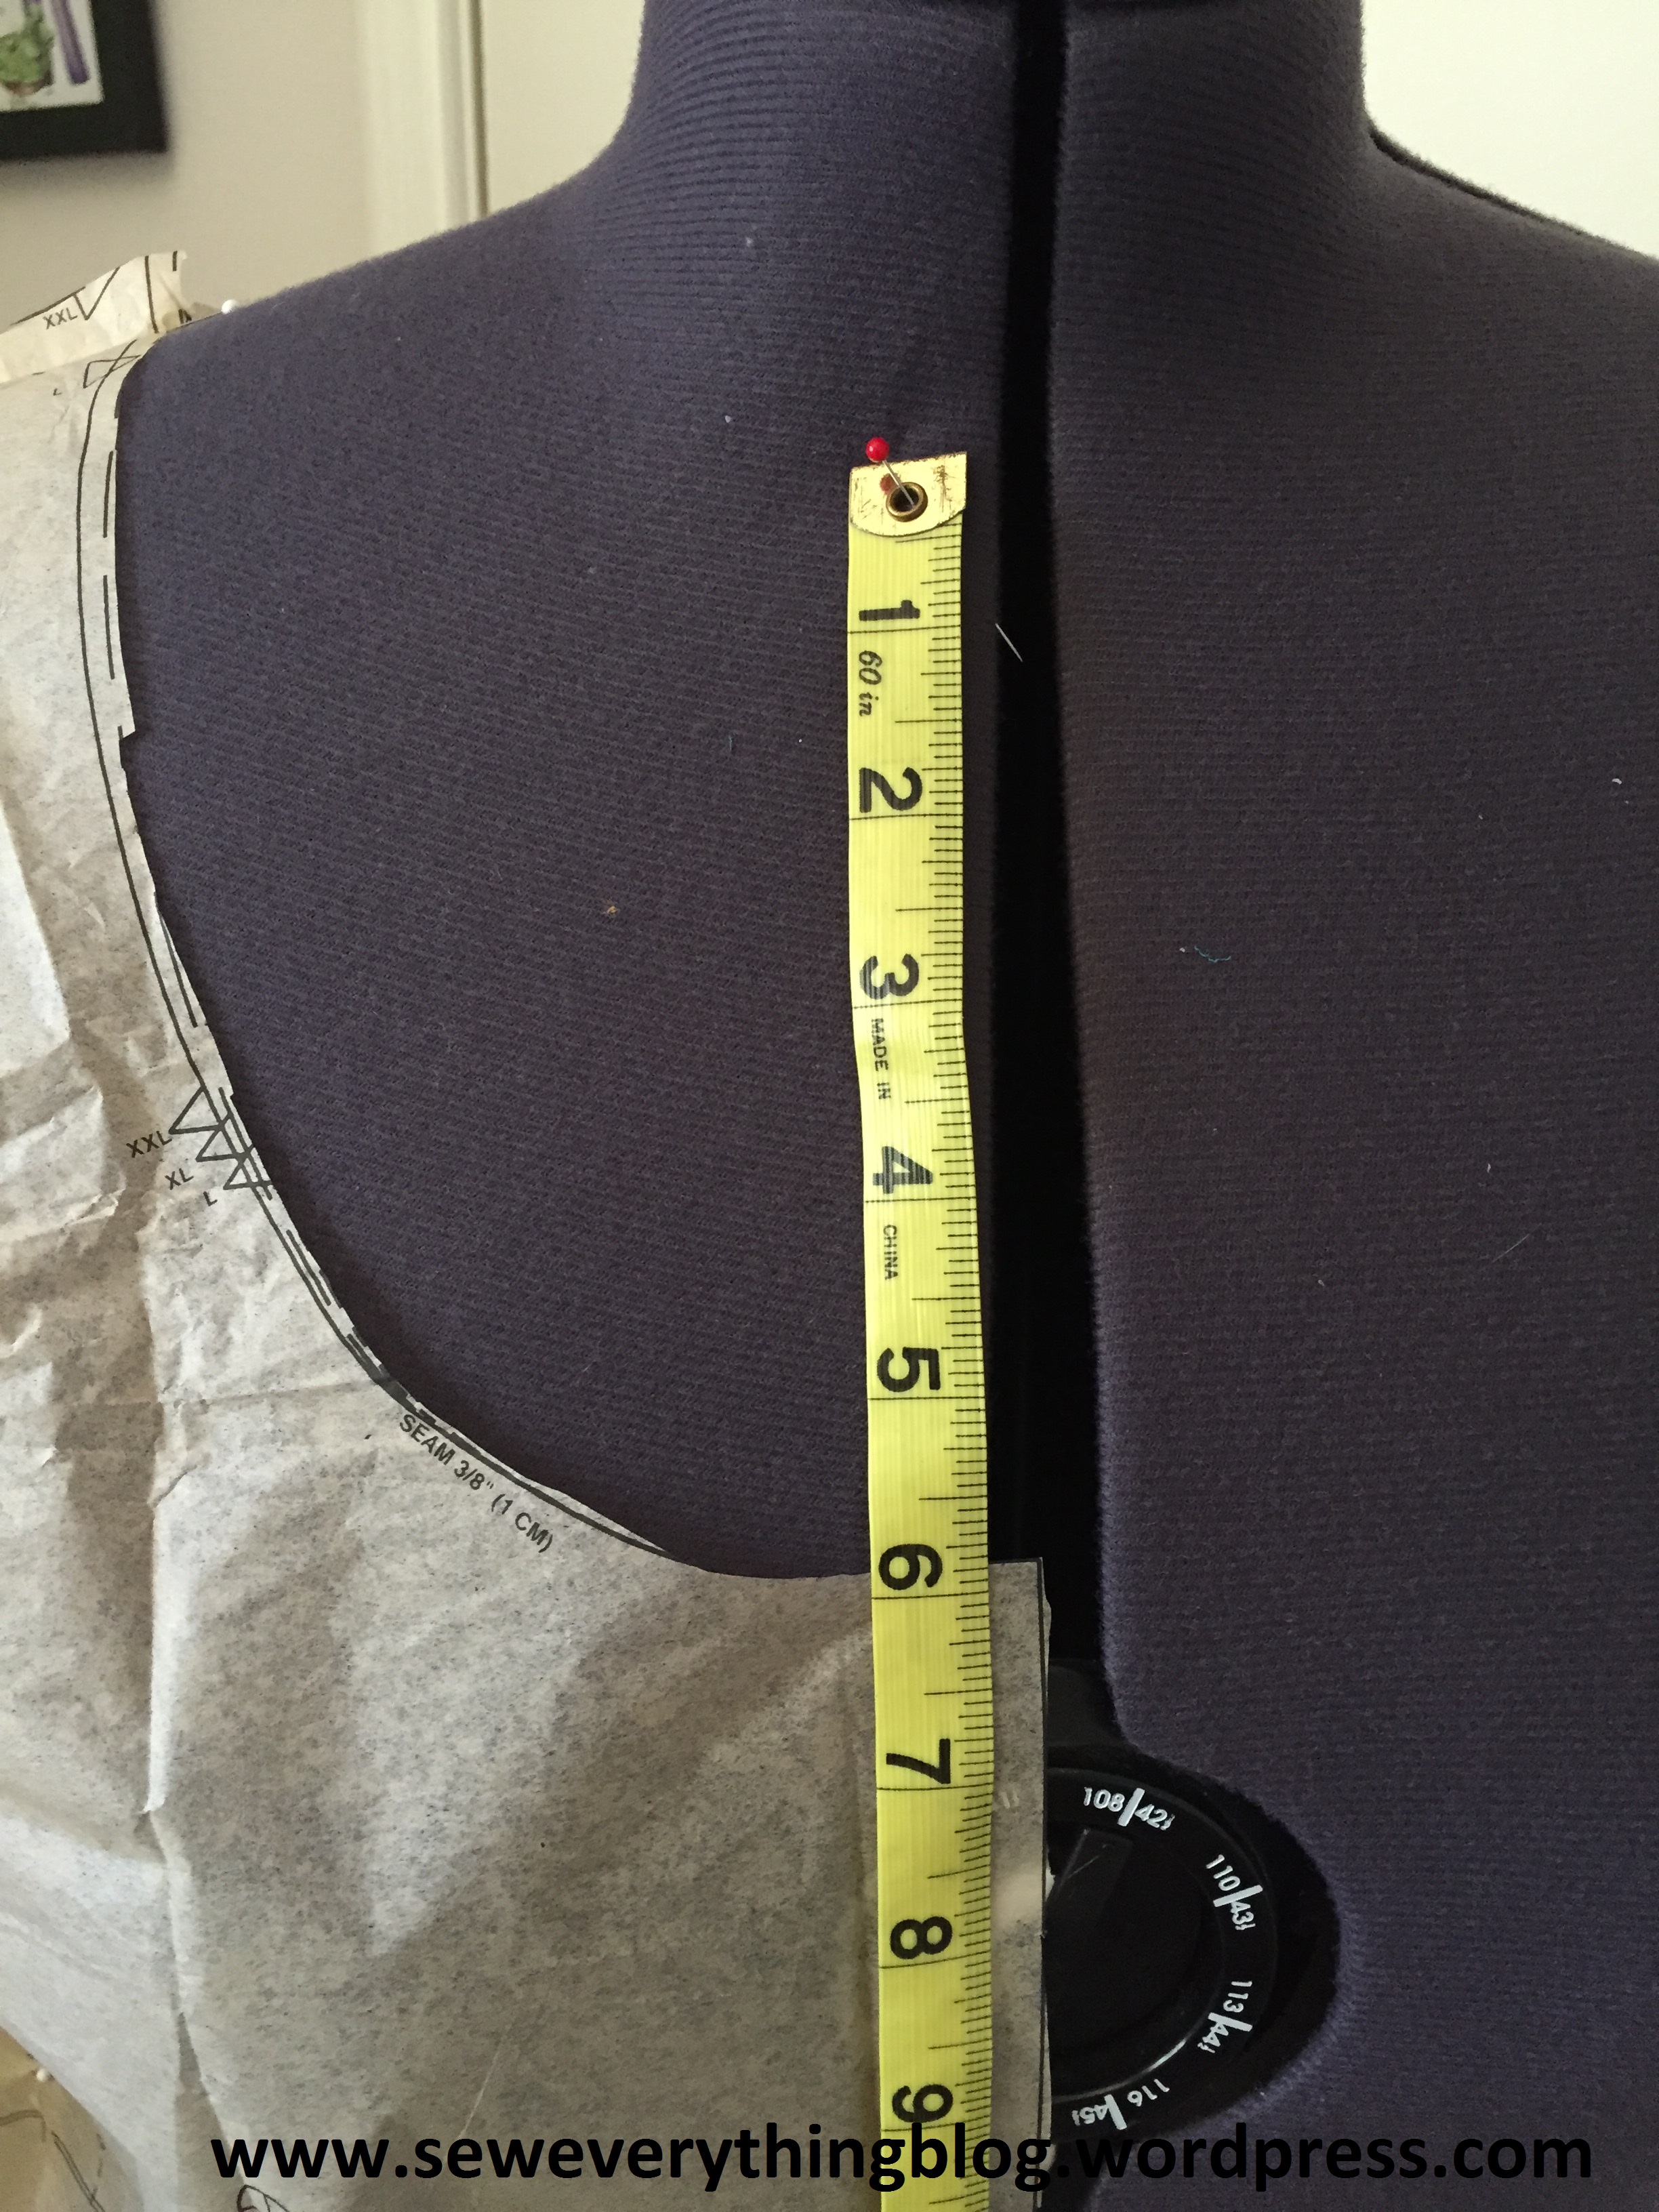
- Reduced the length by tucking along the waist marking on the pattern.
- Raised the neckline. This view has a low, low, low neckline at the front. It’s one of those garments which would tend to slide off the shoulder at the slightest move – you know, the sultry, slippery, sliding, exposed-shoulder look. But that’s not my look. The pattern photos and illustrations show my preferred, conservative look.

Fabric: a long-stashed lightweight printed grey silk jacquard which was originally purchased for lining a jacket. I’m told that there is considerable emotional attachment between fabric stashes and owners. Maybe that’s why I think the fabric pieces have feelings, and are devastated when they’re sewn up into something that is not exquisitely high fashion. Do you see a story here?? At least another fun blog post, maybe. (That was totally a ramble…)
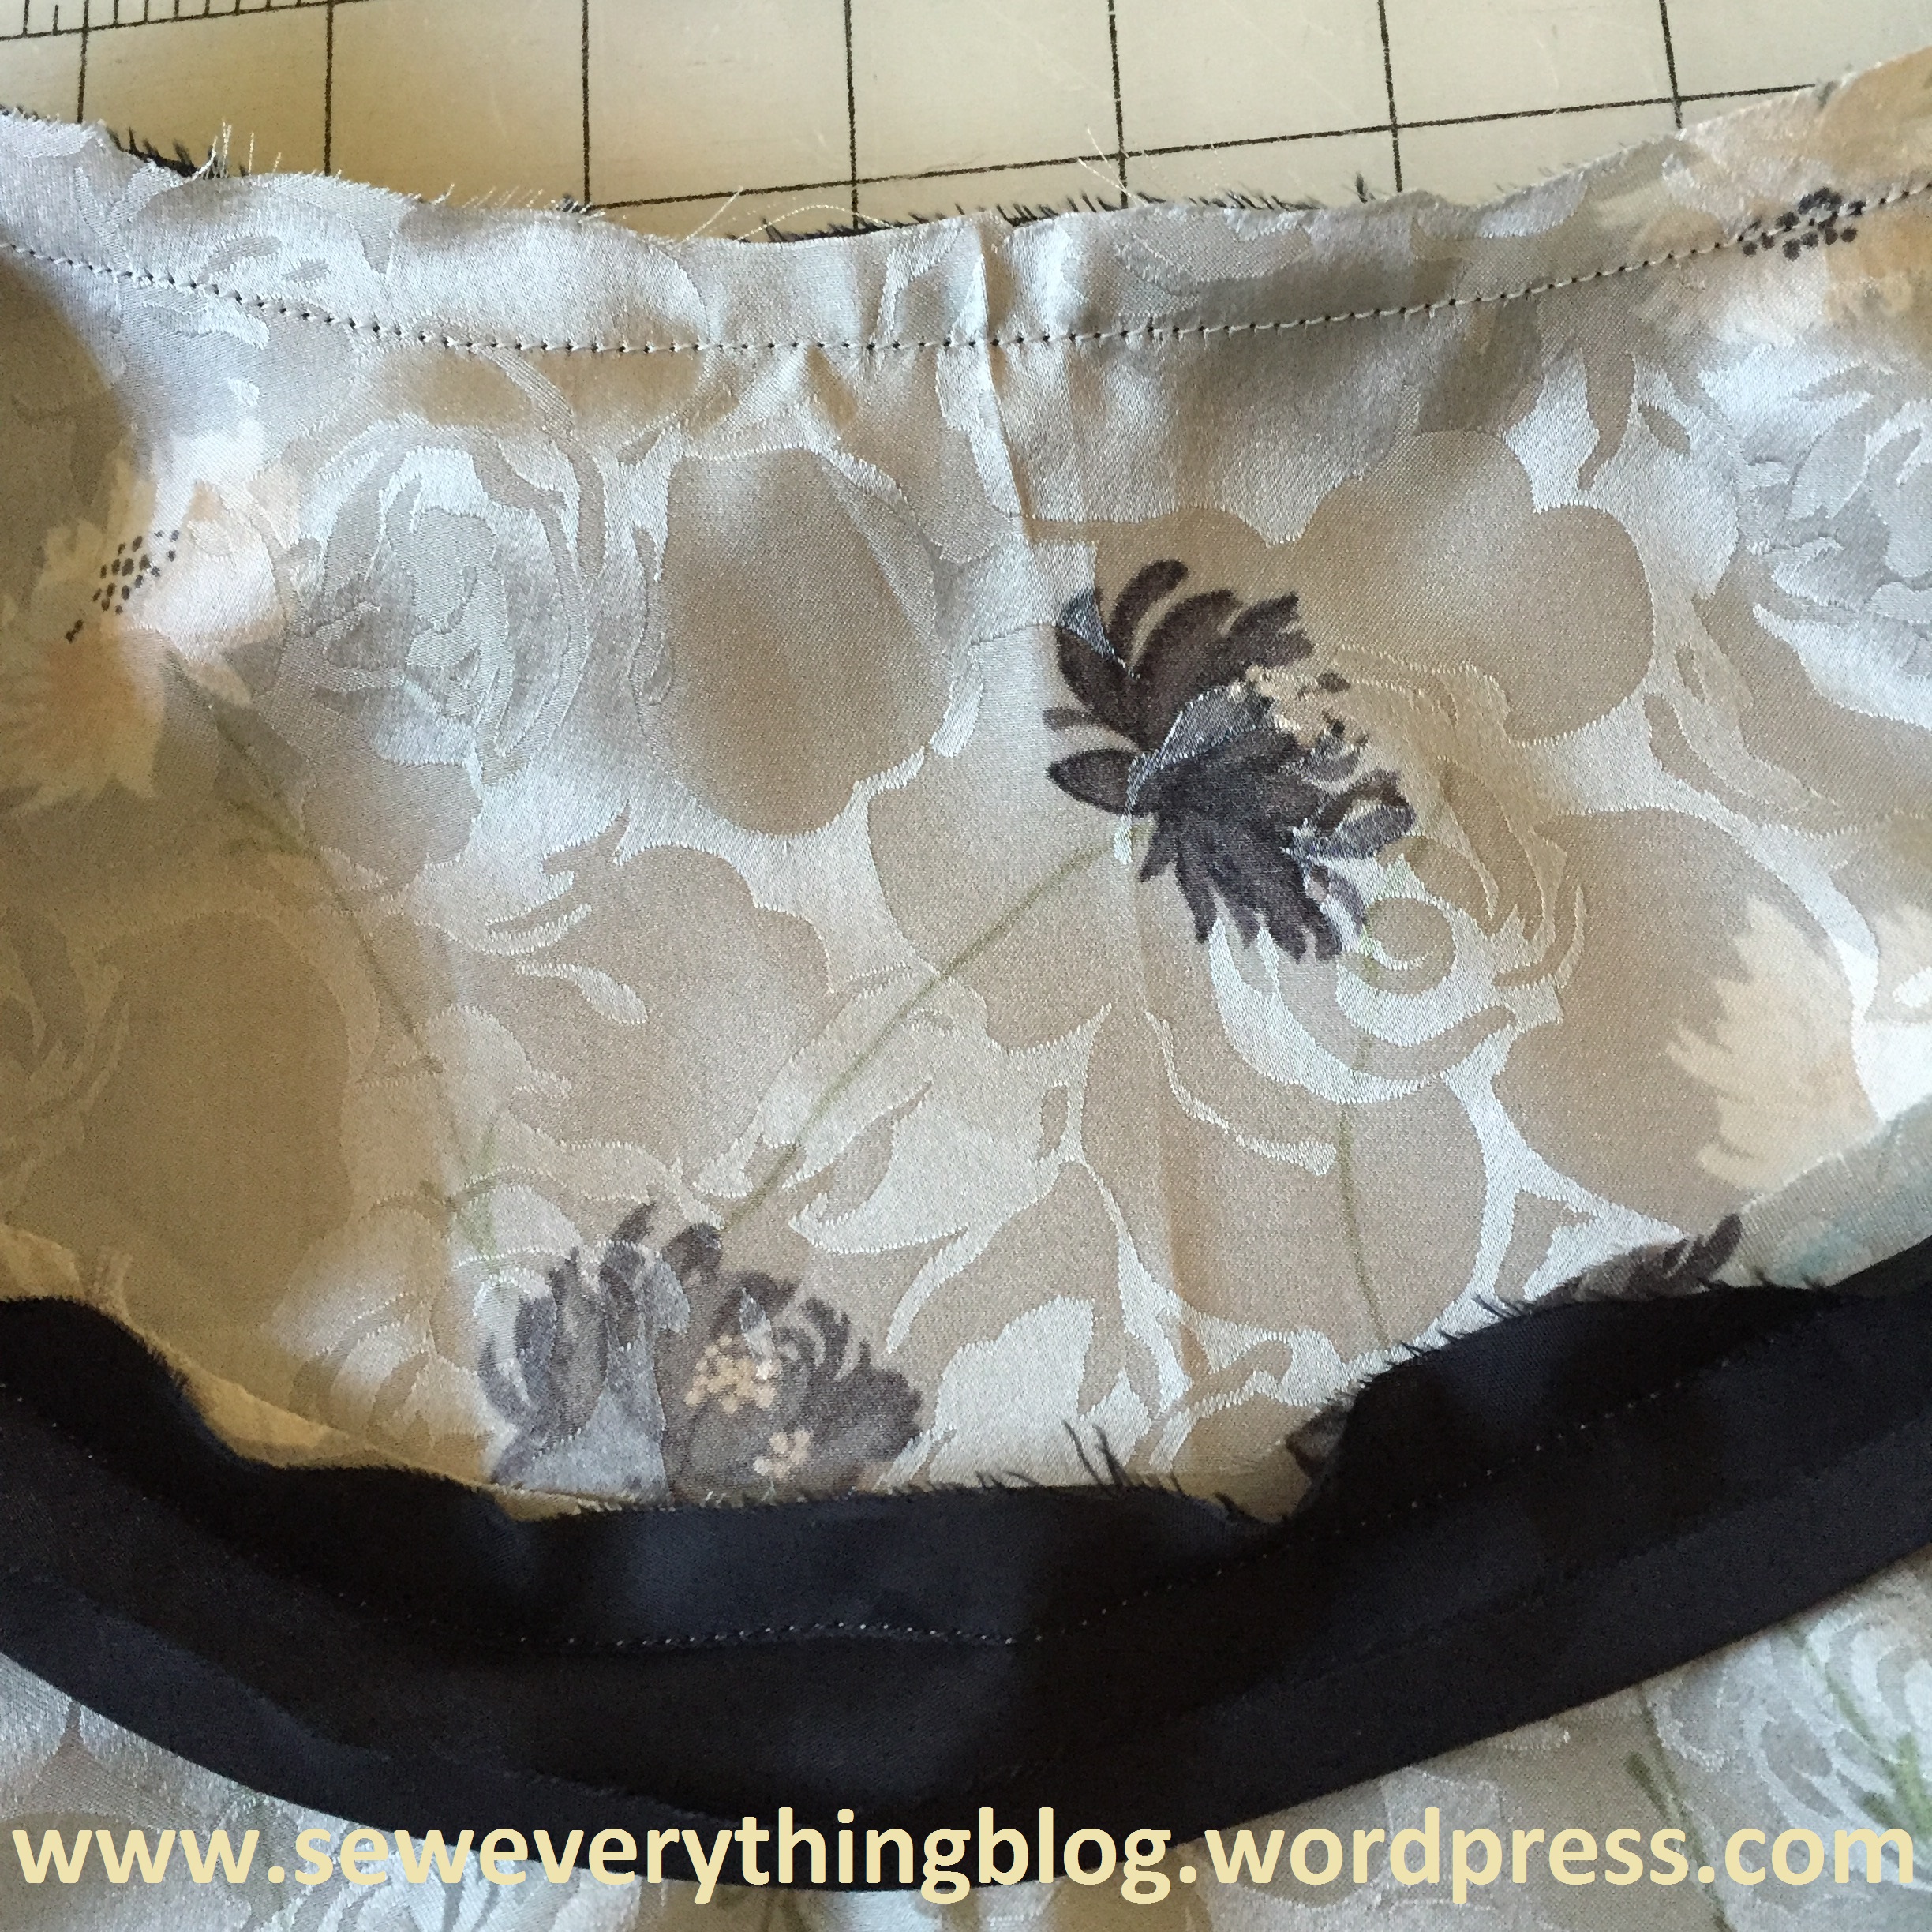
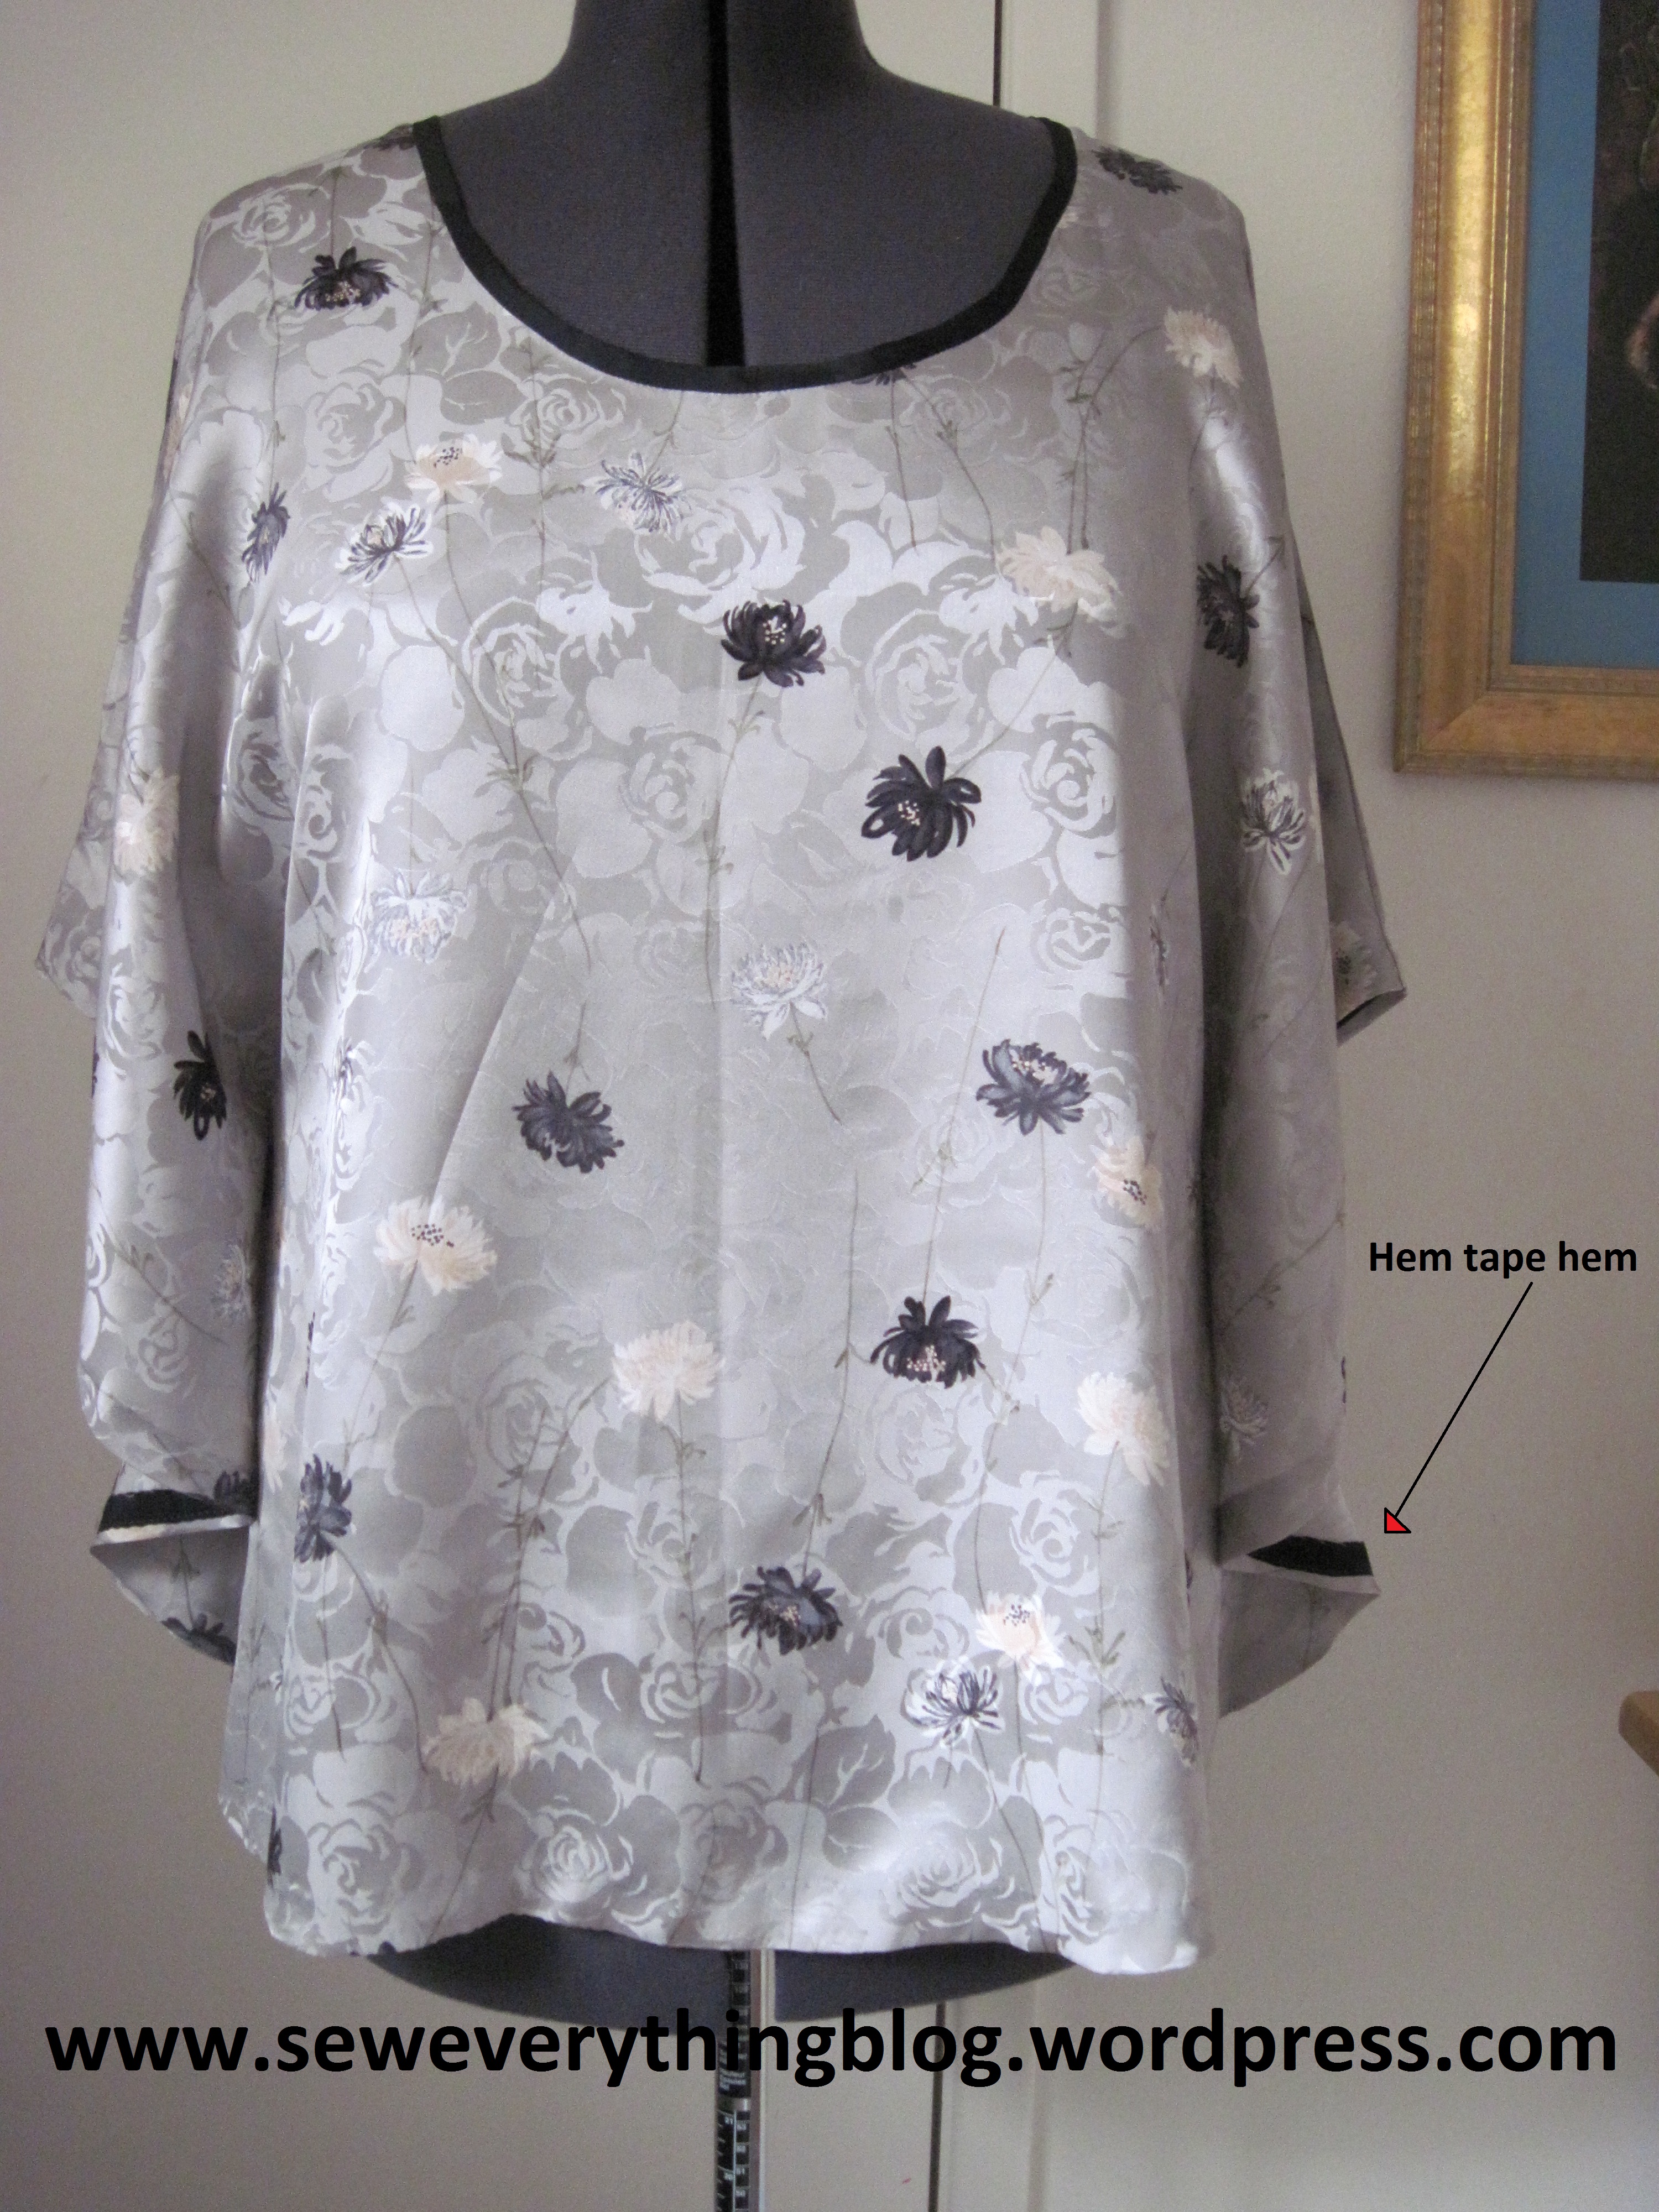
Neckline: to somewhat “anchor” the floaty look of the top, I bound the neckline with black Bemberg rayon bias binding rather than self-fabric.

Hem: The guidesheet recommends a narrow hem which includes the bottom and “sleeves” in one go. However, I refrained from a narrow hem, because I did not want to deal with making it on a slippery fabric in a circular shape. First, I ran a line of stitching close to the hem edge to “pull” it in, pressed, and stitched lightweight black rayon tape to the hem edge. The tape was pressed up and stitched down. For working with a curved hem, I’ll send you to this post by a young lady who writes “Fashion Behind the Seams”. You can see her instructions, and other lovely things she has on her blog.
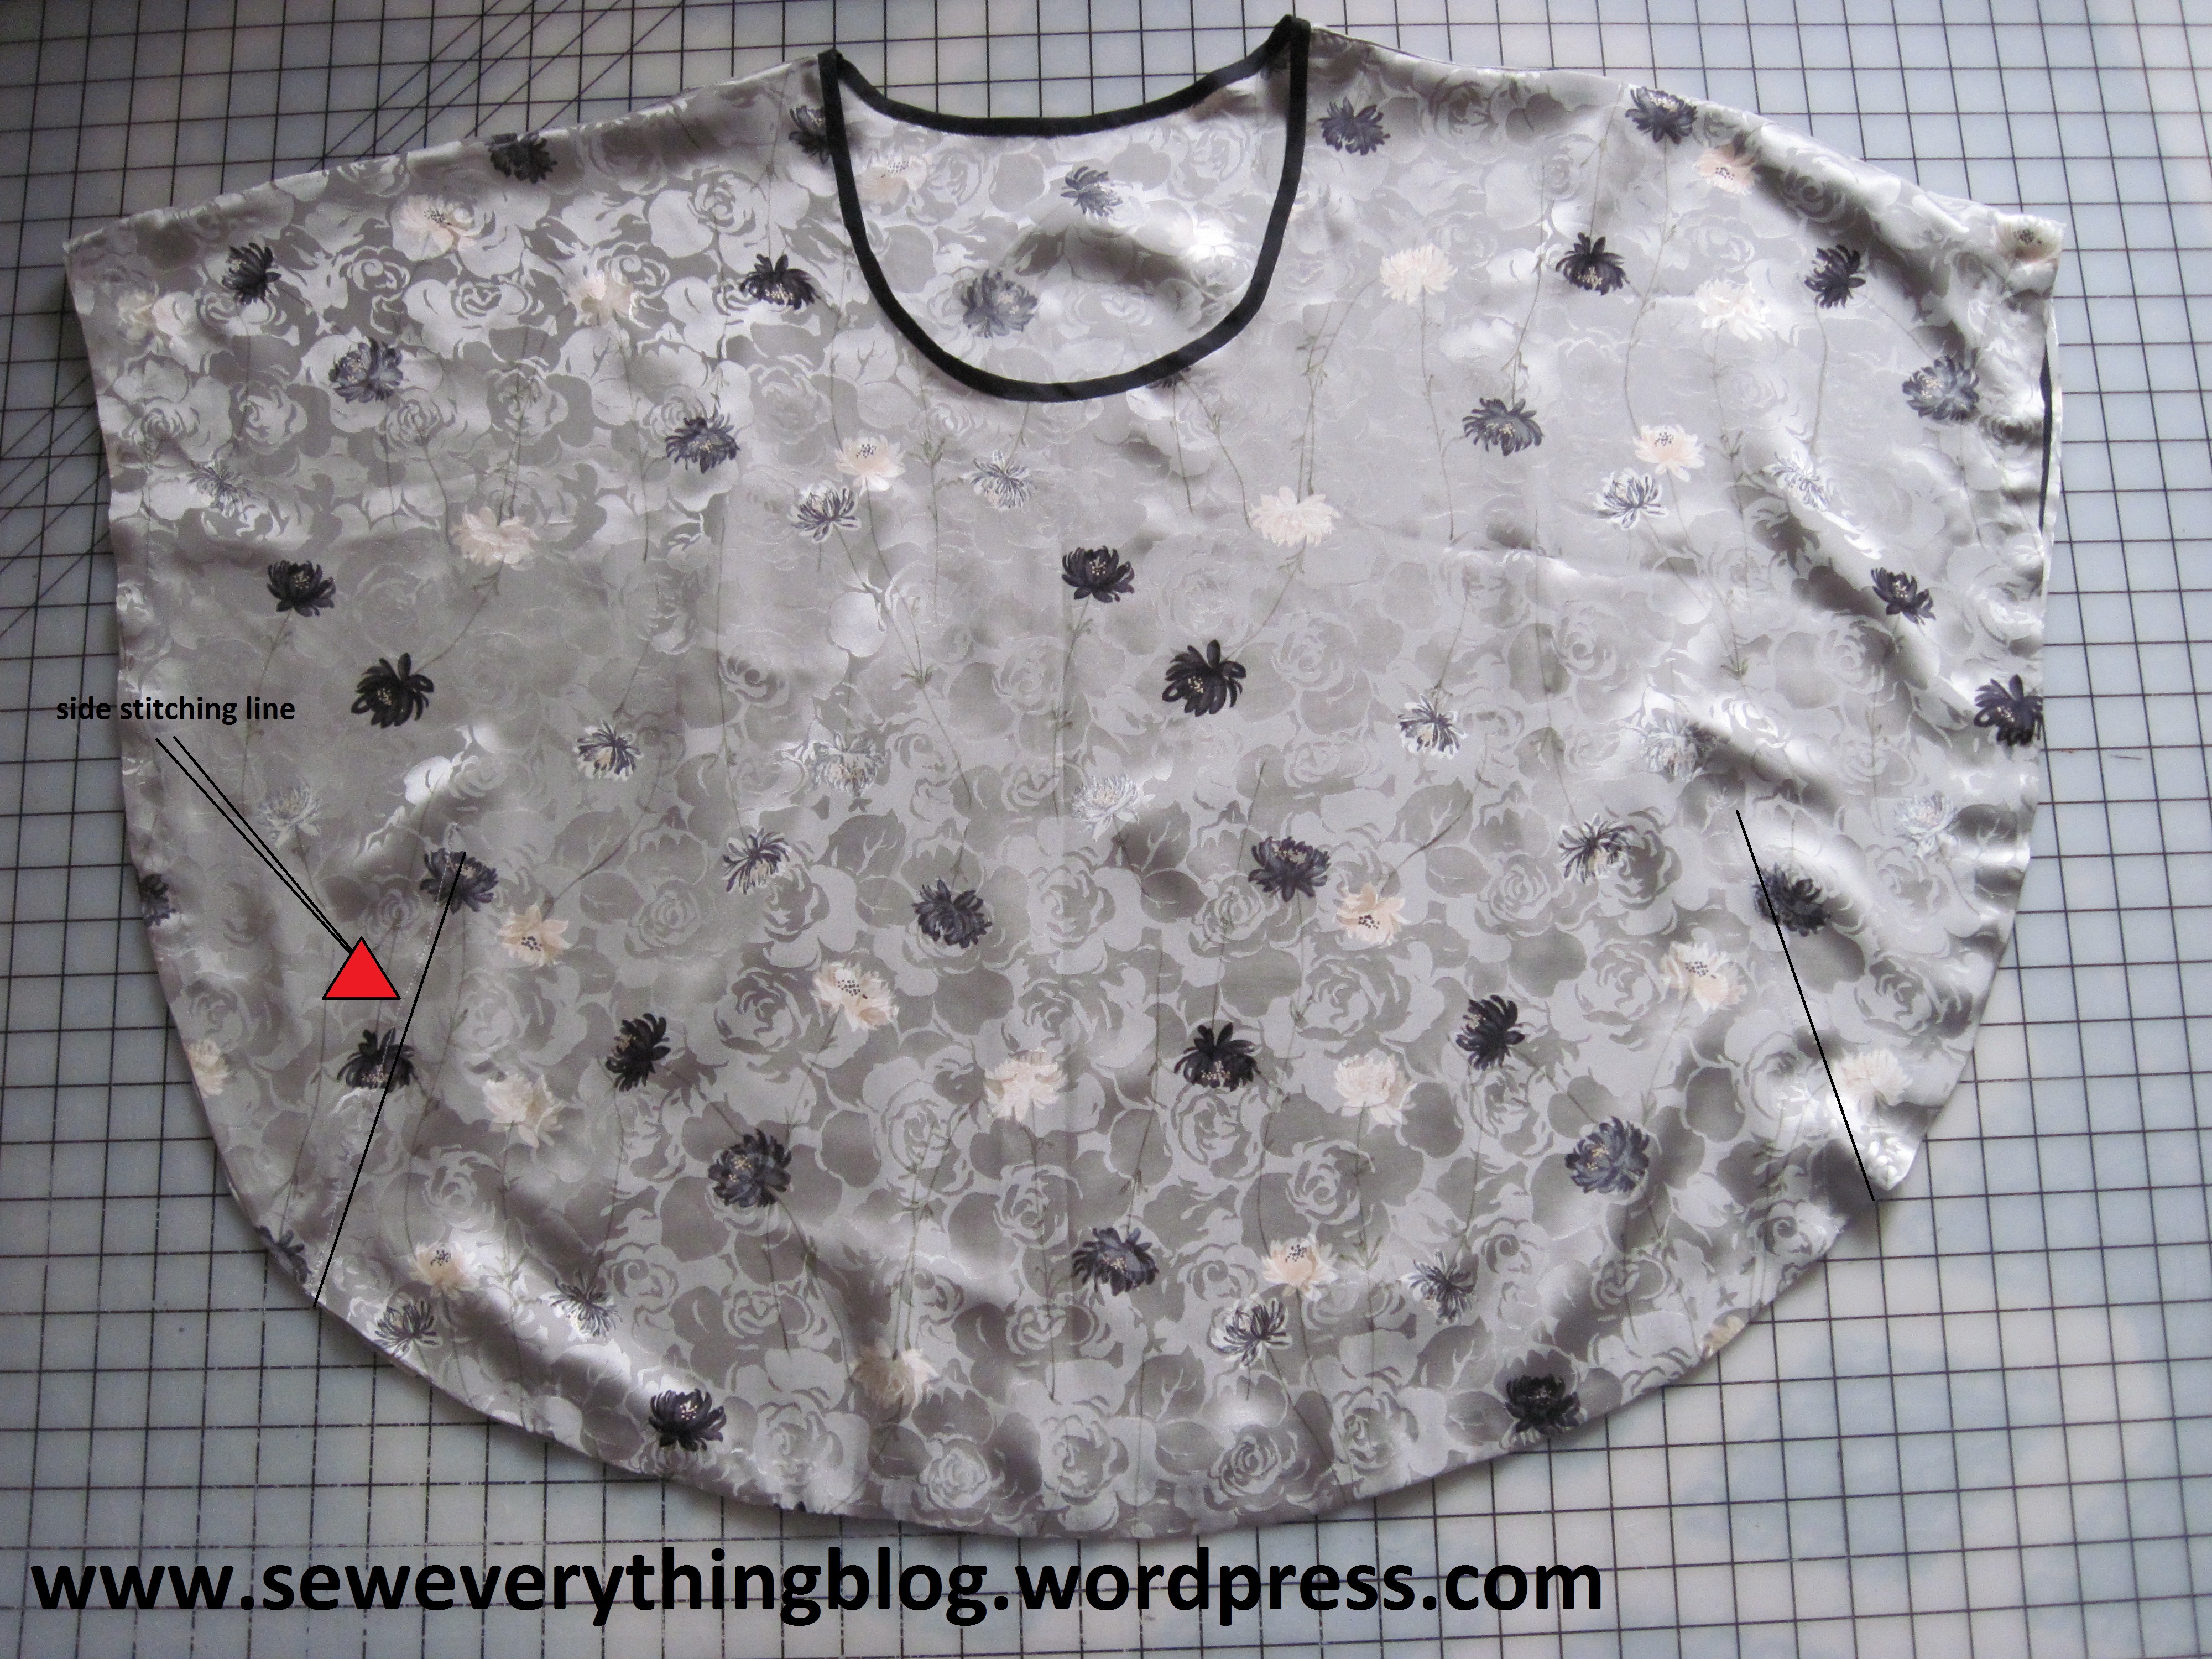
Side seams: The two marked lines on each side of the front and back, are the “side seams”. These stitching lines close up the sides AND create a batwing sleeve in one go. They can be adjusted easily to make the top fit your own torso. The pattern designates this view as close fitting, although the general look is loosey-goosey.
Done. In retrospect, even though I don’t really care for the style on myself, it IS lightweight to wear; almost as if you’re wearing nothing, and that’s a good thing for Texas summers. However, the wearing-nothing feeling was gone when I had to wear a camisole underneath because a slight move of the arm can display a considerable portion of your underarm and torso. Making the “side seam” higher was making the top look worse. Oh well, I’ve road tested this top and will keep wearing it until the Texas winter kicks in around January. Then, it gets stashed away till spring of 2016.
By the way, any styling suggestions? No belts, please…..
Check out others who’ve made M6510 at the PatternReview.com website! They all look lovely. One reviewer bound her neckline in leather, and looks fantastic!
Here is the kicker: I’m making it again with a changed shape. More about that in a later post……….
Keep warm and may your sewing mojo never freeze this winter.
Samina

Make it floor length (silk?) and you can wear it for a ‘cover up’. Perfect for throwing in your suitcase.
LikeLike
It is cuter than you think. If cut on the bias instead of the straight of grain it may more gently drape over the bust. Thanks for sharing Fashion Behind The Seams. That is a good post and a very good technique and one I use often on particularly difficult fabrics
LikeLike
I agree with “metoosewsnh” – the top is much cuter than you think, and the fabric is lovely. However, I see your point about it needing “something. I am a busty woman, and personally feel a scoop neck to be the least flattering of the bunch. Since there is so little sewing involved in this top, I think I would convert the neck to a deepish “v”, and open the front and add cool buttons. Like you, I’m not a fan of belts as “fixes”, as they rarely work. As to the arm holes, have you considered adding a small seam, say 2″, toward the outside? Say at a 75-80% angle from the side seams, at the top, and to the left or right, respectively? I’m not at all sure, but it seems to me that this might just coax the fabric into draping in a more modest fashion. xxx
LikeLike
I always wonder about those patterns, where if you move your arms everything shows! Not my kind of style. But I do love your fabric!
LikeLike