
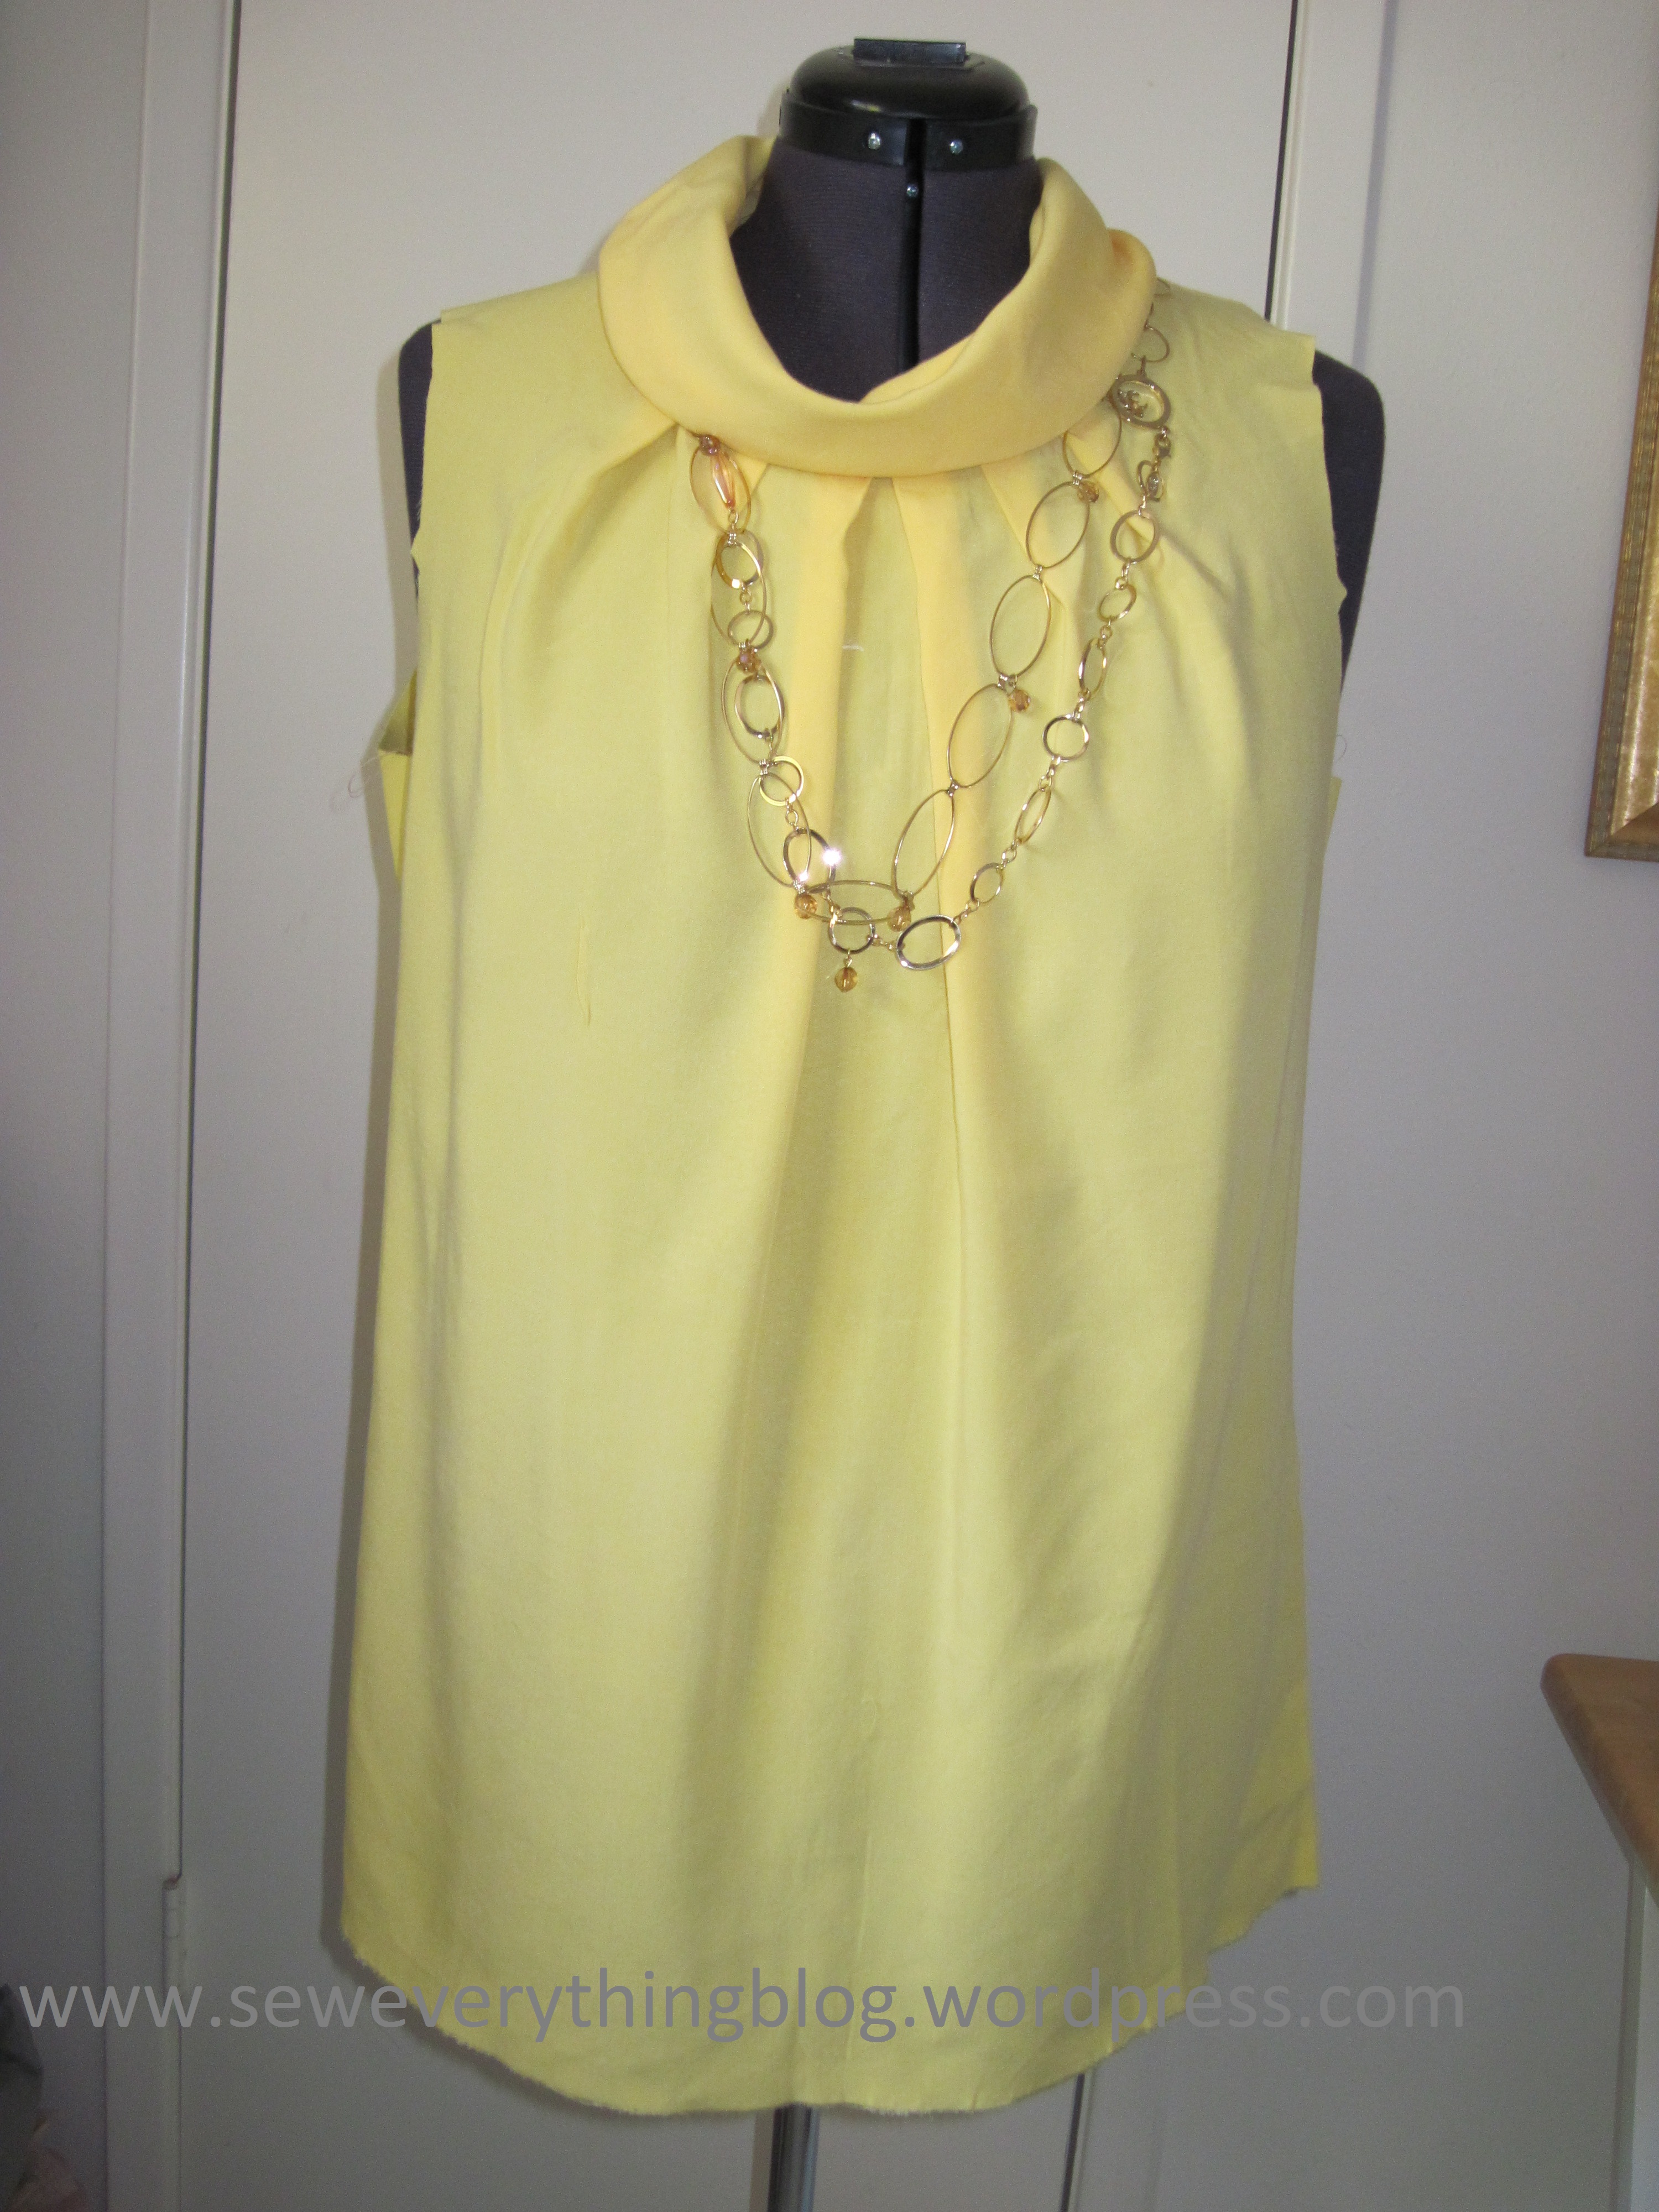
To emulate the professional stylists who dress celebrities, I like to add “options” to my wardrobe; and this is the latest one. I love this tunic. It is KwikSew 3691. It has a vintage 60s vibe, and at the same time works for my wardrobe in 2015. I made two in quick succession.


With just three main pattern pieces plus facings you can invoke the speed sewing demons. I ran into no obstacles – unless you count the time I spent on some decision making in how to finish ¼ inch seams. Yup, as with some KwikSew patterns, the included seam allowance is just ¼ inch.
There are advantages to a narrow seam allowance:
Some fabric is saved; there is that much less fabric used when the seam allowance is ¼ inch. Just think – 3/8” less on each seam multiplied by the pattern pieces, placed close to each other, can save fabric. Therefore, if there is fabric shortage, a ¼” seam allowance can be a life saver. There is less trimming and clipping. Maybe that’s why the narrow seam is the retail industry standard. It saves fabric and work.
If you’re a quilter, no need to read further because ¼” seams are what you do. Let the crazy garment sewers deal with seam finishes. Your seams will be sandwiched safely between the quilt top, the batting, the backing and will be quilted all over.
But how does one finish ¼” seams in clothing? If the fabric was a non-ravel variety such as knits/jerseys, leather and such, there would be no need to finish the seam allowances. Bias cut edges do not ravel either – most of the time. But what about wovens which start raveling before you even touch them? There isn’t much room in a ¼” seam to accommodate raveling.
In making these two tunics from the same pattern, I explored the usual options of seam finishes to see which ones were best for a narrow seam allowance. The pattern guidesheet suggested “overcast the edges” – some pattern companies love to generalize. KwikSew does not gab on their guide sheets. On the other hand, there are some pattern companies who consider guidesheet writing an exercise in creating a tell-all book. I love them all….
So, this was where I relied on my own devices and proceeded with the seam finishes:
First option is a plain seam with unfinished seam allowances. There is less thread in the garment if the allowances are left alone. If the project is a lightweight silk, the less thread the better. Lightweight fabrics CAN be densely woven and thus will not ravel. That much less time is spent on the project, and one can move forward to the finish line quickly. It should be pressed open, at the risk of some hand burning. I mean, ¼”…….. Or, press both edges to one side.

With loosely woven, quickly raveling fabrics, though, a seam finish is a must to keep the seam strong. Here are some options:
Press to one side together and topstitch from the right side. As I did on the shoulder seam in the photos below.


Serging the allowances together. Perfect, but when the serging stitch is almost as wide as the seam allowance, you might as well have serged the entire piece. Plus, serging adds a lot of thread. I’m still glad I used this finish on the side seams since it made quick work of the tunic. However, its best to be mindful that the serger knife just barely skims the edge; otherwise the seam allowance will end up being even narrower.


Use pinking shears, but pink the very edge of the allowance.

Run a second line of stitching. A possibility is combining it with pinking the raw edge.

Zigzag the edges together.

Hand overcasting the edges together is an option and I opted out of it. This works if you want to spend some relaxing sewing time and bond with your TV at the same time.
What would you do? I want to think of more creative, seam finishes for the 1/4 inch seam allowance. Got any ideas?
Samina

Quarter inch or 8mm is often the bite of industrial overlockers and patterns intended to be overlocked/stitched in one pass get those. I’d only normally cut my seam allowances as narrow as that if I was going to construct the garment with the overlocker, otherwise I don’t go smaller than Icm. That’s only a couple of mm bigger, but it makes it easier to neaten. If I were stuck with quarter inch and not overlocking, it’d be zigzag together. The exception would be for fine fabrics which didn’t fray overmuch, where a very narrow french seam might work – ie take 1/8th first pass, trim really close to the stitching, take 1/8th second pass. Nice tops!
LikeLiked by 1 person
Thanks for your input! I may try the narrow French seam on the next use of sheer or ravelly fabric.
LikeLike
When I want/need very narrow seams (less than 1/2″) I serge seams first then sew the seam right on the inside edge of serged seam. Years ago I did industrial sewing. One of the machines I used was set up to serge and sew a 1/4″ seam at the same time. It’s a nice neat finish for lighter weight fabrics.
LikeLiked by 1 person
Thanks for the comment!
LikeLike
I’m voting with Robbie on this one. My serger is set for 1/3″ seam/serge generally.
If I’m making this for someone else, I’m using a 1″+ SA for fitting. And often I do trim to 1/4″ for the final, particularily for a blouse in a sheer/lightweight fabric. But I’d never start there. Too much potential for extreme failure.
I think KwikSew defaults to 1/4″ because of their knit specific history.
LikeLiked by 1 person
Thanks for leaving a comment. You may be right about the knit lineage of Kwik Sew. I have just three Kwik Sew patterns, all for woven fabric. Two of them have 1/4 inch allowance and the third one includes 5/8 inch.
LikeLike
In a lightweight fabric that would ravel, I often clean finish the edges with a three thread overlock before I sew the garment together. I might also just serge the long seams. For the side seams I might also have cut the pattern out just a smidge larger and pinked the edges. I mark the seam line so I don’t change the size. I do like the look of the top stitching on the shoulder seams, it’s a nice finish. Good job, Samina!
LikeLiked by 1 person
Thanks, Sue! Marking the narrow allowance sounds like a good idea.
LikeLike
For the First time I have used a Kwik Sew pattern with 1/4 inch. Seam allowance. Over stitch? Yikes! I sew with a Singer Featherweight 221. No serger or zigzag. What to do?
LikeLike