
This summer shirt in light apple green, slightly see-through cotton-linen, is beautiful for extreme summer weather. Why has it remained barely worn all these years? And — why do I look so miserable in the photograph? It’s the sleeves, ya’ll. This Hot Patterns Tuxedo Shirt pattern is lovely, but it’s the hottest part of summer and the sleeves have got to go.

Here’s the plan. I’m not just whacking off the sleeves to a shorter length; nor am I going for a sleeveless look. I like cap-sleeves, therefore will use the sleeve pattern from this Simplicity pattern, View E, which also has a tuxedo vibe. It’s the illustration at top right on the pattern envelope.

There were two issues to work out, after which you’ll understand why it wasn’t a good idea to just whack off the sleeves:
- A cap sleeve requires a closer fit at the shoulder; but my shirt had a dropped shoulder.
- The hem of a cap sleeve is curved rather than a straight line. A straight hem looks too much like a man’s shirt sleeve; a curved one is more feminine.
So lets do this:
- First step is to remove the offending sleeve the easy way. Why bother with a seam ripper – unless you want to? I carefully cut along the armhole seam to separate the sleeve from the bodice.

- I determined my shoulder width and removed 1” from the original dropped shoulder. See picture below. It was marked with a disappearing marking pen, then cut in a curve to blend into the original armhole line at the bottom. You can use another pattern for reference at this point for guidance regarding armhole shape — or “play it by ear”. I suggest doing the front and back separately for this step. I considered tightening the underarm too but decided against it.

- Measure the armhole and the sleeve tissue. A set-in sleeve requires that the sleeve cap should measure approximately 1” more than the armhole, because there will be easing at the top half of the armhole seam. (If the armhole and sleeve cap measured the same, you would probably have difficulty moving your arms). OK, I measured both and discovered the pattern tissue was more than 2″ larger than the armhole. No problem. I made a little fold down the center of the sleeve pattern to make it smaller. Now I am happy with the sleeve cap.


- I used the old sleeves to cut out new ones. I cut open the originals, placed the new pattern appropriately, minding the grainline, and marking the notches. Notches are important because they will indicate the back and front of the sleeve. The back always has two notches and the front has one. Also, mark the center of the sleeve cap.
- The (very short) underarm seams are sewn and serged.
- The sleevecap is stay-stitched to keep it from stretching.
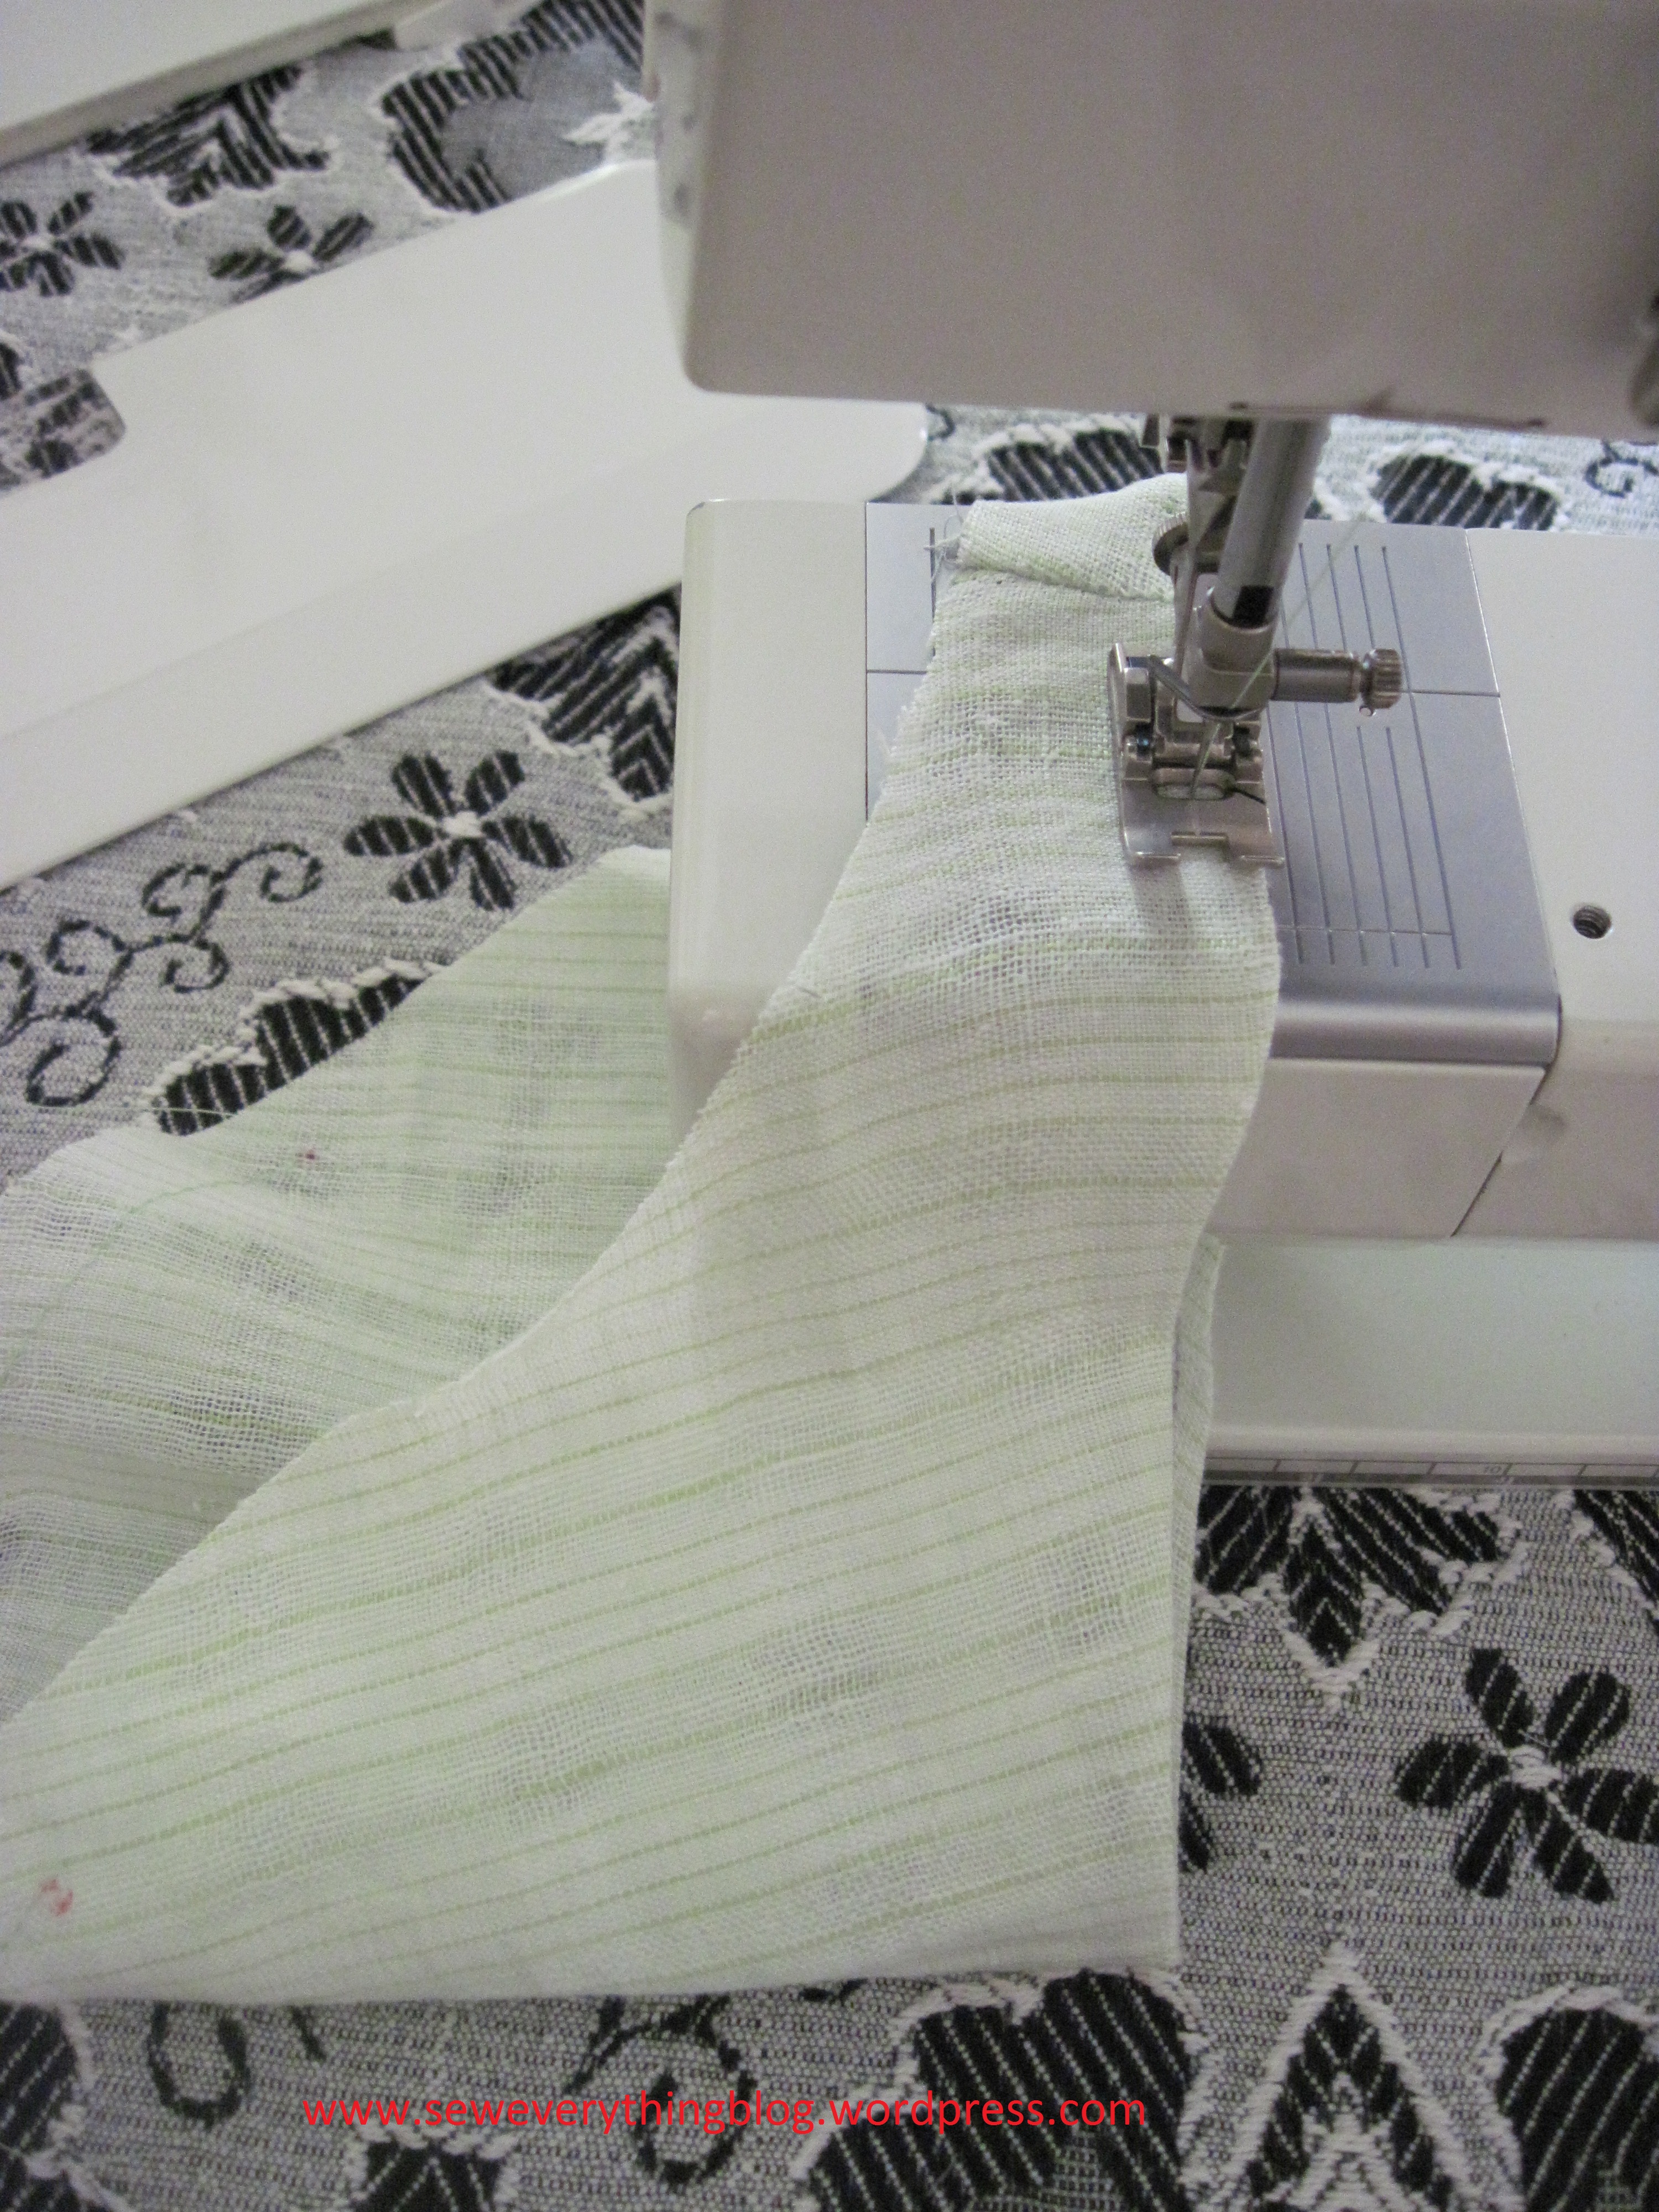
- Cap sleeves are hemmed before attaching to the blouse. It’s a narrow hem which can be done with a hemmer foot; but this hem has a curve, so I go for the quick method – serge/press/topstitch. At this point I want to wear the dang shirt. Notice that I’m hemming in the round with the little “table” removed from the machine.
- To set in the sleeves, I follow the usual routine; insert the sleeve in the armhole, right sides together. Match the side/underarm seams & pin; match the top mark to the shoulder seam and pin. Since the blouse has no notches to match up with the sleeve notches, I go about it this way: pin together evenly about halfway up the sleeve seam, then ease the sleeve cap to the armhole right up to the shoulder point, both front and back. Keep pinning.
- Next step – hand basting!! I try on the blouse , am satisfied, and machine sew the seam. I serge-finish the armhole seam; here you can use any seam finishing method you like.
Done and done! I think I’ll wear this blouse a lot more the rest of the summer! This is my summer sewing “hack” (it’s amazing how new terms get introduced to the sewing world with each generation). You can call it a “re-fashion” if you wish, but “hack” sounds good to me right now.


How about you? Hacked anything lately?
May the sewing force be with you.
Samina

Samina, your blouse looks wonderful on you and your directions for this style change were perfectly clear to anyone who sews. Having lived in Houston many years ago, I wonder why anyone would have a long sleeved shirt at all!
Kudos on your hack!
LikeLiked by 2 people
Hi Annie! Thanks! That’s the goal — to make sewing methods clear as a bell.
LikeLike
So pretty! 🙂
LikeLiked by 1 person
Hi Als! Nice to see you leave a comment. Hope there will be a sewing area in that new house 🙂
LikeLike
Great job Samina!!!!
LikeLiked by 1 person
Thanks, Tee! Its amazing that I am wearing the heck out of this blouse. Since I made it in 2011, it was just hanging in the closet each summmer, unworn.
LikeLike
As an aging lady with….aging lady arms, I am less likely to hack. But I am also a WARM old lady, so off they go! Does take a slight uptake in the armsceye at the front (a tiny dart)(dartlet?).
Nice work!
LikeLiked by 1 person
The dartlet (love that word) you mention is achieved either through the slight inner curve of the front armhole/armscye and the front of the sleeve, In case the sleeves are completely removed, an easing session in the front armscye should get the front closer to the body. Thank you for reading the post, and leaving a comment!
LikeLike
Lovely and so much cooler-looking (from both a fashion and temperature sense…). Great job and thanks for the tutorial.
LikeLiked by 1 person
Thanks, Sue!
LikeLike
That’s a pretty shaped sleeve.
I do a lot of improvising when I buy something that doesn’t fit and tailor/refashion it. I can really use that information about the sleeve cap being 1 inch bigger than the opening because I often shorten the armscye and then don’t know how to alter the sleeve. Just what I needed to know!
LikeLike
Thank you, Lisa! The 1″ applies to set-in sleeves for most blouses. In jackets the difference is even more!
LikeLike