
Does a blog post have to focus on one particular project, technique or idea? Maybe, but not today. Lets just have a sewing “conversation” about nothing in particular. Like an episode of Seinfeld, which was “a show about nothing”. Lets just hang around and talk. Join in with your comments.
- Pins should face the same way on a magnetic pincushion.
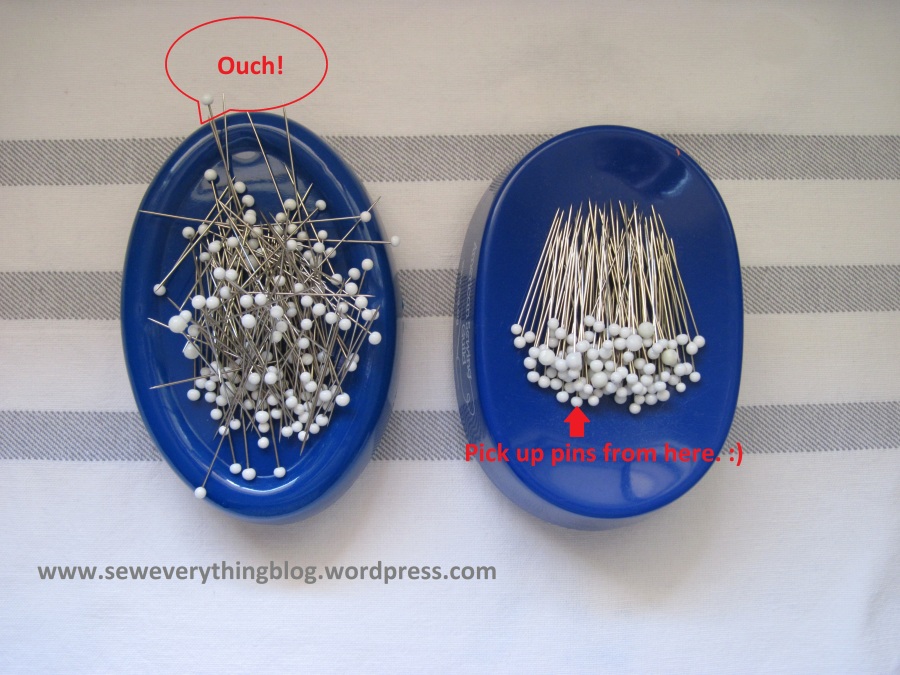 Otherwise there’re lots of pin pricks and discomfort. Guess how I came across this gem; heh, my fingers used to be at the dangerous end of these very sharp, very thin pins until I started to face all of them one way on the magnetic pincushion. Now I pull out a pin by it’s head from one side of the pincushion. No, I’m not OCDC, just a seamstress with pin holes in my hands. Ouch.
 - Pre-waxed hand sewing thread is available!
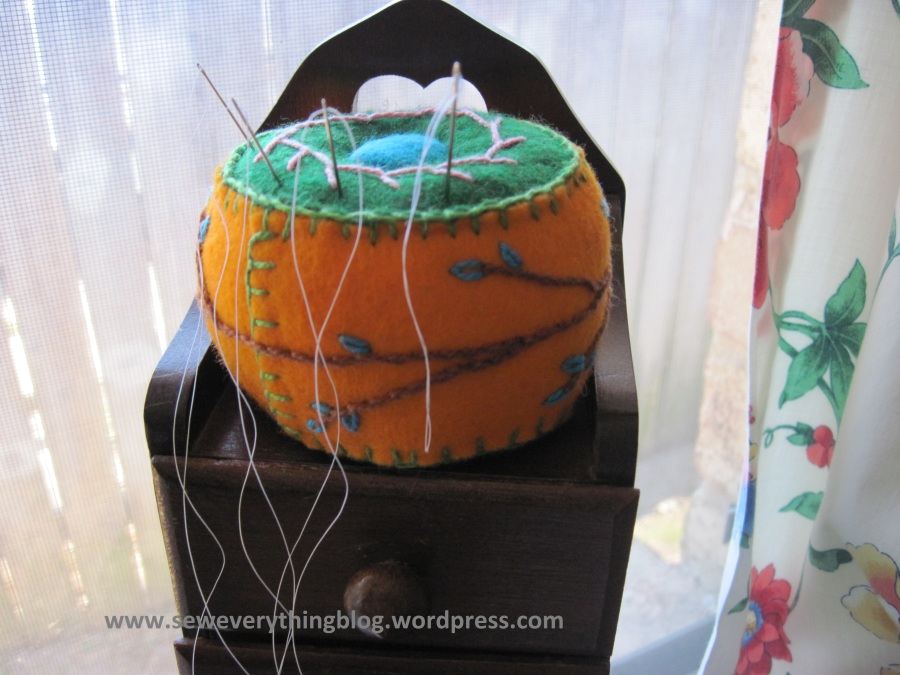 Well, the picture is just a snapshot of my sewing room corner. I believe you already know that hand sewing thread should be bees-waxed and ironed (to set the wax in the thread) before hand sewing. I just found out from this YouTube account from a very nice gentleman tailor that pre-waxed and pre-cut thread lengths are available commercially, which will save some sewing time. Not sure where they can be purchased, though. Maybe a tailor’s shop? Sorry, I could not find the particular video by Mr. Jim where he mentions the pre-waxed thread. Maybe you want to browse through the videos. They are informative.
 - Thread a hand sewing needle with the nap, as it is coming off the spool. Speaking of hand sewing, I’m not sure where this tip came from. So, if the tip-giver is reading this, thank you!
- Take a hammer to bulky points, usually done on jeans hems. This time I used it on that snob of a fabric called silk velvet. It worked!
 The other layer is cotton in this item, but the bulk at the collar/ felt neckline seam was beady and irritating, so I took an extreme measure. I hammered it into submission; do not overdo the hammering, though. Disclaimer: I DO NOT recommend it in all cases. You be the “decider” and hammer a sample first. “Decider” is a funny term; is it a legitimate term in the English language?
 - Have you looked at this new blog Uh Oh Embroidery? The writer is Nicole, and I love her posts! There is little content there because it’s a brand new blog, but what’s there is terrific. Don’t you love the premise of the blog? It focuses on machine embroidery oopsies and how to save them. Non-embroiderers will also like Nicole’s fun site. Go give her some love. No, she does not pay me to say this. I just like to pass along good things.
- Which of the following is correct? a) Pressure foot b) Presser foot
- I’ve been saving this Michael Kors top for re-fashioning, but cannot focus on how or what. The sleeves are billowy and raglan, and the neckline is way too wide.
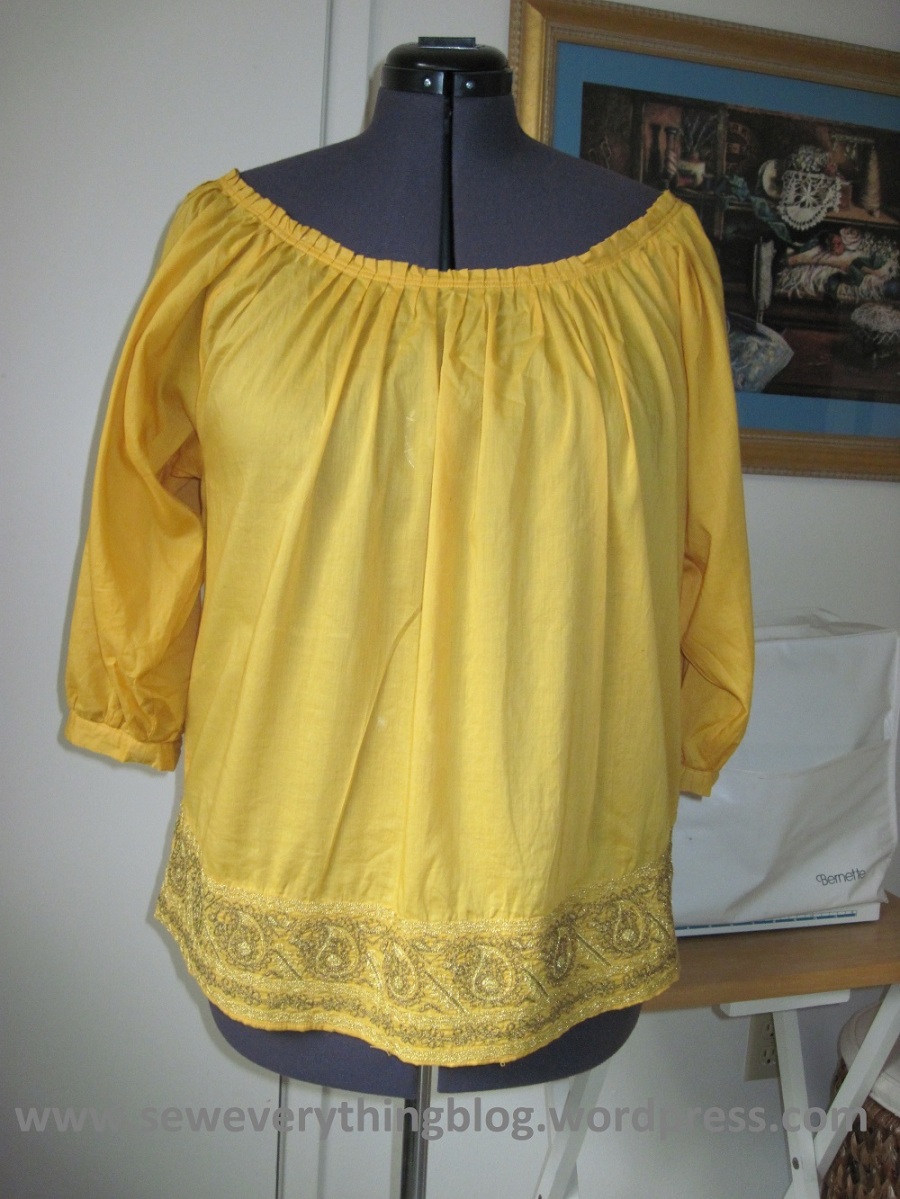 I could remove the sleeves and use the embroidered sleeve border to make a stand up collar close to the neck (throwback to the 60s). That would make it a halter-like item, and I don’t do halters. Any other ideas? By the way, this belonged to one of my daughters. My daughters are a great resource for good clothing which can be re-fashioned for myself. I’m still consciously working on busting my stash, though.
 - Because what’s a conversation among sewing enthusiasts without sharing a stash item?
 I love this silk crepe with a New York print, purchased in New York City! It is a 15 year old old stash inhabitant. Maybe it will see light of day in 2017.
Have a great rest of the summer, friends! Keep on sewin’.
Samina

I say presser foot. So brave to hammer silk velvet – would have never thought of that! I might need to look at a few places where I hate the intersection and see if I might be able to “recover” the garment. And I love the New York print that you got in NYC. What will you make with it? Inquiring minds want to know!
LikeLike
I’m not sure yet what the New York print will become. Probably something with minimal seams. On the hammer issue – hammering should be explored further as a sewing technique…. lol. 😀
LikeLike
Check out EBay for the waxed thread. Great post Samina. My magnetic pin cushion looks like yours now except mine is pink. 🙂
LikeLike
EBay!! Why didn’t I think of that. Thanks for the suggestion, Ruth.
LikeLike
Love the IDEA of pins facing the same way, but rarely is executed that way.
I have a regular old hammer, but I like that little gold one!
And speaking of gold that top looks like there is a lot there to work with, yardage wise. Wonder if you could release all those pleats and make something completely different?
Love a blog with oppsies. I did most of my machine embroidery with the hoop on upside down. Still have to think, when I put the hoop on.
Presser Foot.
I never use wax for sewing. I’ve seen wax but didn’t know what it was for until recently. Now, I need to buy some wax.
LikeLike
Jill, that little hammer came with a packet of snaps – the kind you have to hammer in. I’ve found a new use for it now – heh.
Thanks for the re-fashion suggestions. I guess I’ll have to take the pleats and the sleeves apart – was trying to avoid that. But finally, I’ll open it up and use the yardage.
LikeLike
Presser foot. I don’t have a magnetic pincushion, now I’ll have to see if they’re obtainable here. The top – so pretty, I suppose you’ve already considered making a layering piece, a top in toning silk with bra friendly neckline and armholes?
LikeLike
Presser foot is correct 🙂 . Magnetic pincushions are available everywhere – or so I thought. Mine are quite old.
Thanks for the suggestion for the yellow top. That bra-unfriendly neckline is the reason I want to refashion the top.
LikeLike
I have a round beeswax thing I picked up with other vintage sewing things, but I think I might have tried it only once. I watched a video on you tube on how to use those little wire threaders to thread a needle. I’ve never known how to use them. My mother had one of those nifty red and white gadgets that you press the little lever and the needle is threaded. Magic!
The yellow top: wide straps made from the lower third of the button band? If that is still a little bare for you, a yoke made from the lower 2/3s of the sleeves. Or take it all apart or layer it over a tank top.
LikeLike
I look forward to seeing what you make with that fun print.
LikeLike