
The saga continues. At the end of the last post, my first faux fur garment had yet to be hemmed, sides sewn and lined. I plodded along, went through a little bit of ripping out the side seams (which was surprisingly easy, and did not ruin the fur), re-sewing the seams, etc etc. Lessons were learned.
(Recently, I learned about a just released DVD where Kenneth D. King teaches all about sewing on faux fur. Ok. I’ll order the DVD regardless of any further fur adventures, because Mr King is master of all things sewing.)
Taking up where I left off:

Lining: it was cut with the same pattern as the vest, but instinct told me to include a bit of slack in the lining (meaning, cut the lining out just a tad larger). Something to do with the old “turn of the cloth” concept, especially in the back. I included the slack even though the lining is the inside layer and does not have to go “over” anything. I’m sure glad I did. One day, I’ll blog about “turn of the cloth” for those who want to know.

Turning the lining to the inside: I moved away from the pattern guide sheet suggestion. Since the fur was a high pile, I went my own way. They suggested that the fur and lining be sewn at the armholes, neck and hem, (including the collar about which I write below) and leave the side seams open which would facilitate turning it out through the side seam. I decided to leave the hemline and the neck unsewn. Turning the vest became super easy now. And by this time, I became sick and tired of the fur. Can you tell by the tone of this post?
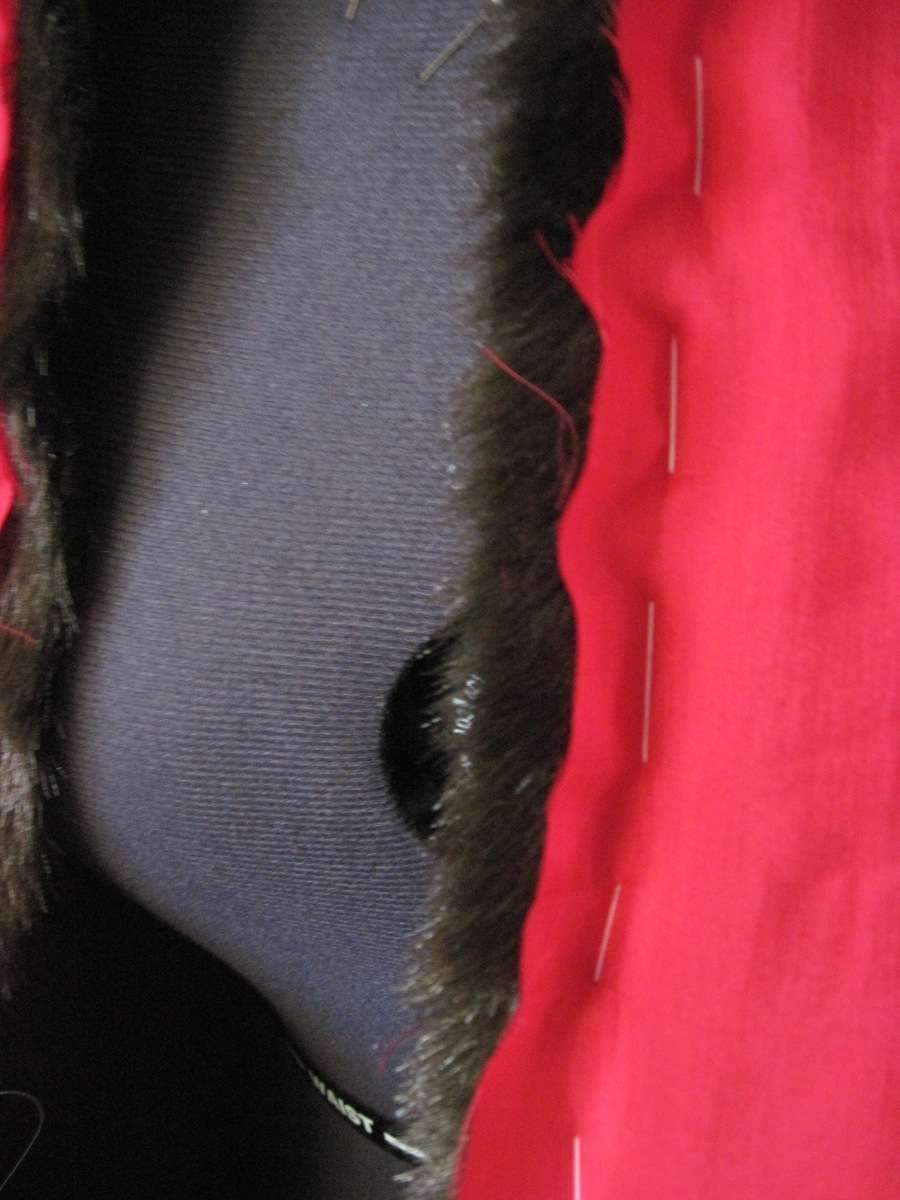
Sewing the seams: I basted the seams with white thread (for better visibility), then machine stitched with the narrow-seam/zigzag-stitch combination. You can see the front/lining seam in the picture above.


Reducing the furry bulk: Then, the task of snipping off fur from inside the seam allowances is kind of a weird thing, but must be done. You can call it shaving if you want; I’d call it giving the grizzly seams (only the inside of the seams) a crew cut. I could immediately feel the bulk lessening. Weird, huh? This also means a little bit of a mess, but doing the task with the vest spread out on newspaper, or any paper, usually keeps the fuzzies to a minimum, because you can just fold up the paper and throw it away and spread out a new sheet as a fresh fuzzy receptacle.

Keeping the lining from peeking out: I plan to understitch the armhole seam by hand, only to give a little finesse to grizzly. Grrr – is how I started to feel at this point. I want to be done with this project. The enjoyment meter is leaning heavily toward “UFO” or “WIP”.


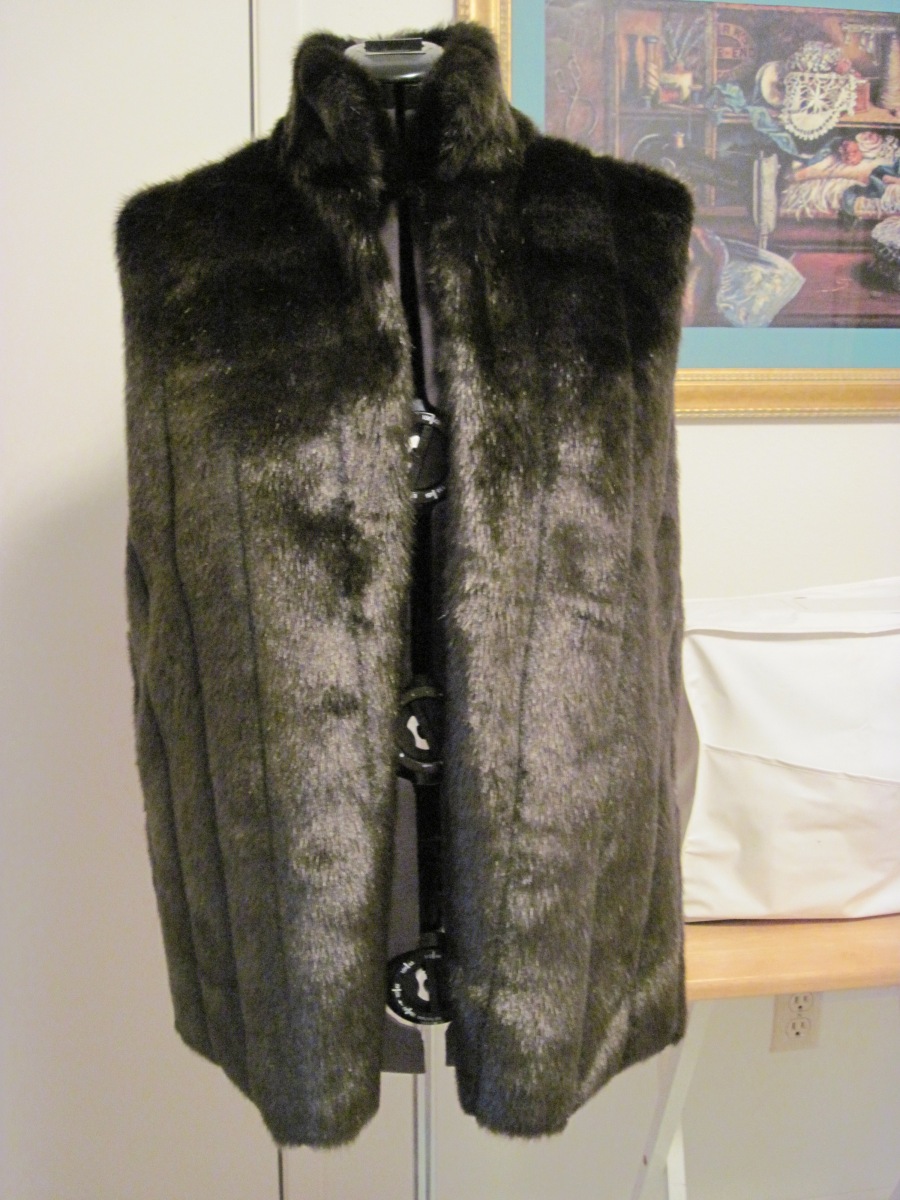
The collar: Here, too, I decided to move away from the guide sheet instructions. The instructions want you to sandwich the collar (which has already been assembled) between the vest and lining. That would have made three thick fuzzy wuzzy layers of the faux fur plus the lining, and it wasn’t happening on my sewing machine. I attached just one collar edge to the vest neckline and left the other open for attaching to the lining, separately. I could see that it would have to be hand done – and that is OK. The photos above show the collar from the back.
At this juncture, the remaining tasks are the hem and the collar. Yep, not done yet. The sun is shining brightly and the temps are a balmy 80 degrees. What do I need this fur for, anyway? So, it’s still a work in progress.
Thank you for letting me vent about my love/hate for the grizzly. Just get it done, Samina!!
Samina

Reblogged this on vintagethrifter51.com and commented:
I have only ever sewn with Berber faux fur and even that was a challenge. Kudos to you for tackling this project. Already it is looking beautiful. Can’t wait to see the final results.
LikeLiked by 1 person
Thank you very much! I hope to finish it before the warm weather begins :).
LikeLike
This is beautiful + very professional looking + I love it!
LikeLiked by 1 person
Janet, thank you so very much!
LikeLike
Hi again: I saw this recently: a similar vest and it looks so stylish! The vest-model is a favorite blogger of mine (she’s 81 years old!) http://www.seniorstylebible.com/ethical-fur-styling/
LikeLike
Congratulations on taming the beast!
LikeLike
It’s looking amazing! Sounds very difficult, and well, hairy. You’re not only sewing the grizzly -you’re its barber.
LikeLike